GarageBand is an amazing creative resource, easy enough for beginners and polished enough for professional work. The app boasts a huge sound library and flexible tools to upload your own recordings. Basically, everything you need to start creating podcasts or music is already installed on your Mac. Amazing, right? But not if you sit down to work on your projects and your Mac crashes.
When you find GarageBand slow, before you (artistically) throw your computer at a wall in frustration, there are some other simple solutions, both in the app itself and in regular Mac maintenance, which can get you back to creating with ease.
How to speed up GarageBand?
The most common reason GarageBand slowly runs is that the app is large, thus heavily taxes your Mac’s ability to process information. Sound files take up a lot of space, and manipulating or replaying them requires a lot of simultaneous actions that are hard on your Central Processing Unit (CPU).
While CPU issues are often at the root of why older Macs run GarageBand slow or crash, new Macs might experience glitches, too. Reducing the impact of running such large apps is key to having them run smoothly. Using a combination of some or all of the strategies detailed below will help GarageBand speed up at last.

1. Update the app regularly
While the main attraction of updates is sound packages chock-full of Instrument Loops, if GarageBand is running slow and you haven’t updated it in a while, it’s possible that you’ve missed a bug fix — an important repair embedded in the updates to keep the app in great condition.
Check to see if you have the latest version of GarageBand by visiting the App Store on your Mac and clicking Updates in the sidebar. Also, take note if your issues persist after an update.
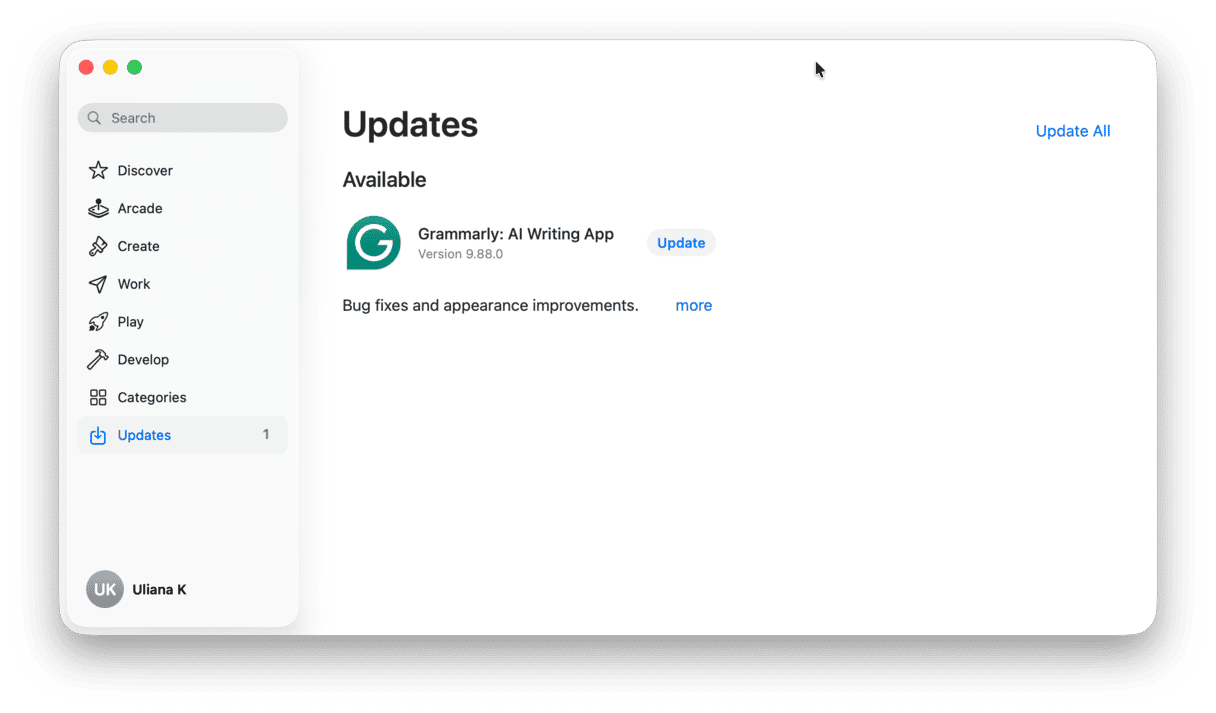
To make sure you’re always up to date, check the Automatic Updates box under Settings in the App Store.
2. Keep track of your tracks
While you’re working, make sure you know how many tracks you have on the go. Since playing back numerous tracks is hard on your CPU if you can consolidate what you’re currently editing, it can help your Mac execute a playback faster.
One way of making this work is to group together tracks you know you won’t change. If you’ve quilted together and locked down a part of your song or podcast, great! Export these multiple tracks into a single sound file. When the export is finished, drag the exported sound file back into your project and remove the unnecessary tracks it has replaced.
While combining tracks like this helps your Mac run GarageBand more efficiently, if you’re not ready to commit to exporting but want to decrease your CPU use while creating, you can use Lock Track.
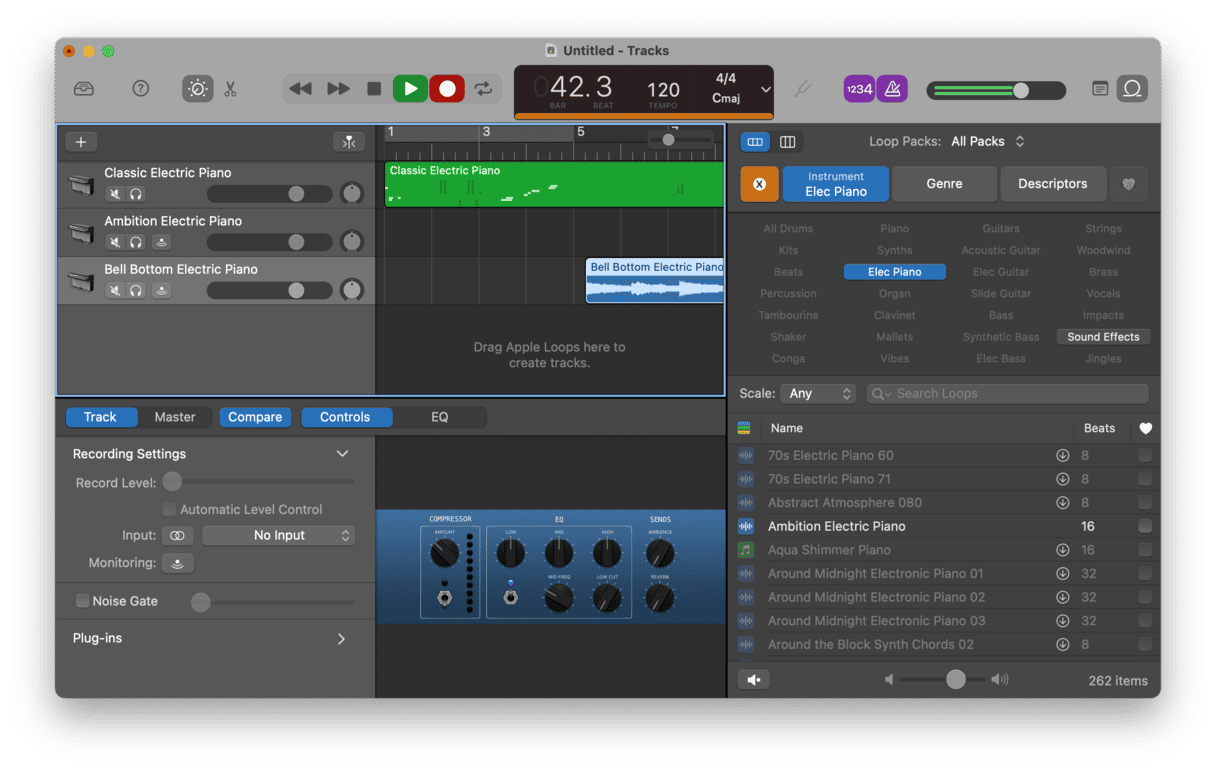
As you might have guessed, locking a track doesn’t allow you to make changes while working. To lock or unlock a track, click the padlock icon on the menu left of the Instrument Loop, which will appear open when editing is allowed or closed when restricted. Having a track locked will aid optimization and take some pressure off your CPU.
3. Convert Software Instrument Loops to Real Instrument Loops
Another choice you can make while you create music that reduces stress on your CPU is switching Software Instrument Loops to Real Instrument Loops.
Software Instrument Loops, the green tracks with dots, are flexible and allow for changes and modifications to the sound. Because they are so complex, they put a ton of pressure on your computer. Real Instruments Loops, the blue tracks with audio waves, are fixed and less editable, so they take less effort for your computer to play back.
Knowing the difference and when to use which one can help you alleviate the burden off your computer. If you know you want to convert a Software Instrument Track to a Real Instrument track, do so by holding the Option key as you drag it into the timeline.
4. Run First Aid
There are also some things you can do outside the app that may help GarageBand speed up. If your Mac is new and has lots of space but still runs GarageBand disk too slow, errors or a corrupted folder may be the issue. Simply repairing the disk will self-diagnose and repair any broken files.
To do it, search Disk Utility in your Applications > Utilities folder and open it. Select your startup disk from the sidebar, click First Aid from the toolbar > Run First Aid.
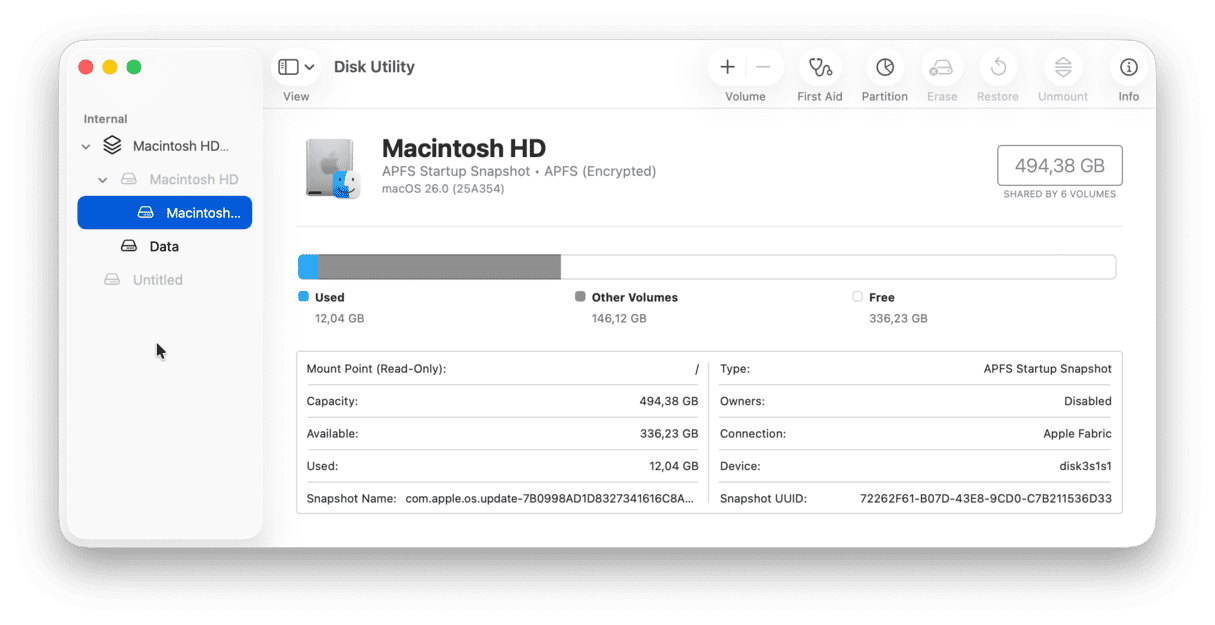
When the First Aid process is done, a dialogue box will report any programs or applications preventing your Mac from running optimally and point out the next steps to resolve these issues. Finally, restart your computer and try opening GarageBand again.

5. Reinstall GarageBand
Because GarageBand comes installed on your Mac, deleting it is a little drastic but helpful if there is ongoing corruption.
To reinstall GarageBand:
- In the Finder, select Applications.
- Find the GarageBand app and drag it to the Bin. Then, empty it.
- In the App Store, click Store and then View My Account.
- Find GarageBand and reinstall it.
6. Repair disk permissions
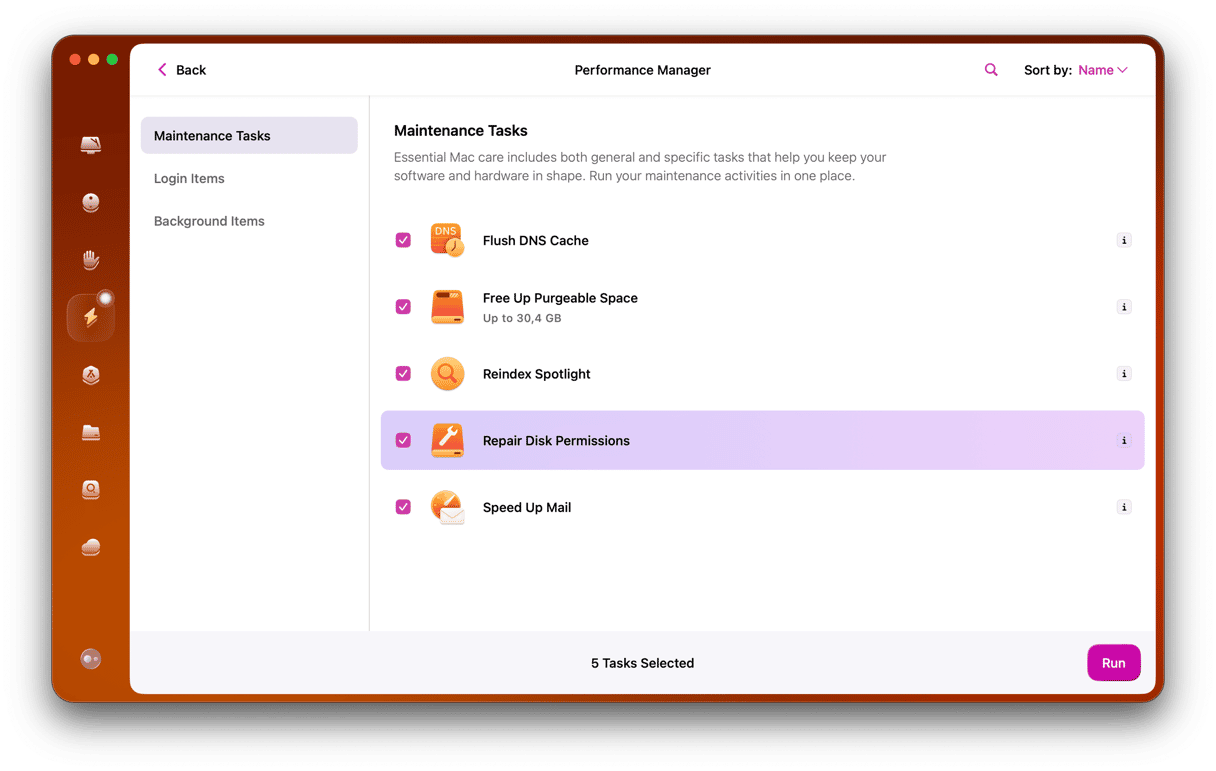
While it’s a good idea to invest some time in developing ongoing organization when working in GarageBand, save yourself some time by repairing disk permissions or uninstalling and reinstalling the app by using an optimization utility like CleanMyMac:
- Download the free trial of CleanMyMac.
- Drag it into your Applications folder.
- Open the app and choose the Maintenance tab.
- Select “Repair disk permissions” and click Run.
While you are at it, you can take automatic cleaning a step further and create more space on your computer using the Uninstaller feature. In addition, you can use the Uninstaller to reset GarageBand back to its factory settings. To do that, just select the Reset option next to GarageBand in the Uninstaller tab.
Ultimately, to speed up GarageBand, you need to keep on top of regular maintenance and remain mindful of the volume you ask your computer to process while working with large files in the app. Making regular scans a monthly habit can also go a long way in ensuring your Mac stays in great condition. This may not sound creative, but using some of these tips will help your actual creative part get much better.


