For better or worse, iTunes is one of the leading and largest media ecosystems ever released. Since 2001, people worldwide have been using the app to store their collections of music, movies, TV shows, and podcasts and play them on all of Apple’s devices, starting from the very first iPod.
Today, iTunes has become the go-to place for buying or renting any of the media formats we consume. And given the size of our extensive media libraries, it’s no wonder that the app may appear slow from time to time. What’s more, Apple hasn’t been paying too much attention to updating and optimizing iTunes in a timely fashion. But fear not, here are a few tips to get your iTunes flying.
Why is iTunes so slow?
There is a direct relationship between the amount of space your iTunes library takes up and the app’s responsiveness. So, it’s inevitable that unless you boast a beast of a Mac, you will face an iTunes slowdown eventually, as your library gets to 30, 70, or 100+ GB.
To counter all the iTunes inefficiencies, you can update the app, keep most of your library in the cloud, clear cache, take it easy on your RAM, turn off your antivirus, and use automated optimization software such as CleanMyMac.
Update iTunes
More often than not, the iTunes app slows down on its own due to a variety of bugs, such as a 450% traffic increase between the app and its media library in the 12.7 version. Still, keeping iTunes up to date is the most effective way to get rid of any serious performance issues.
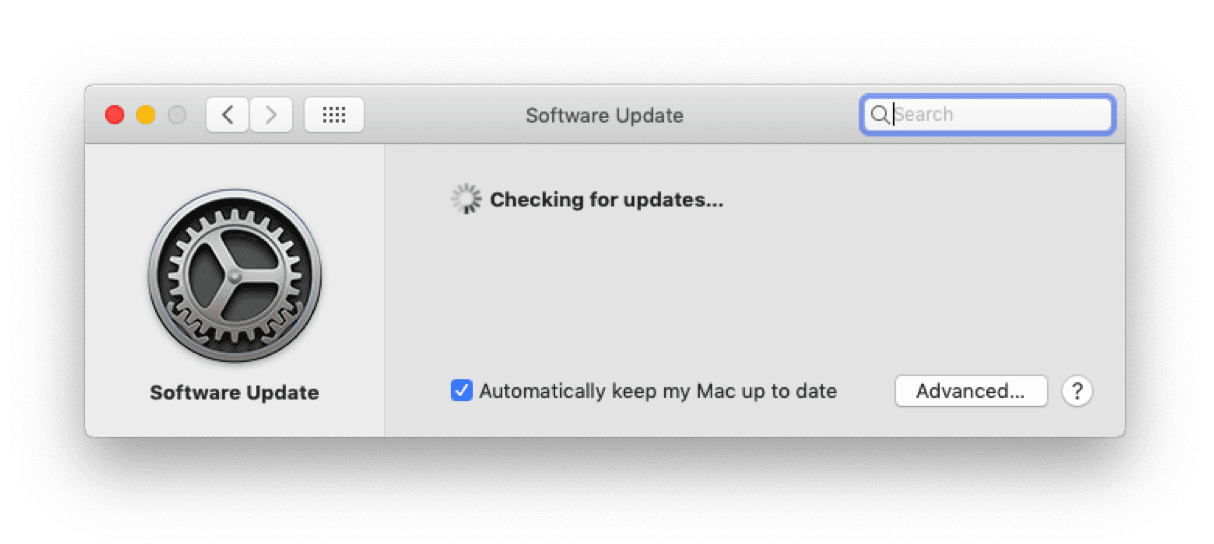
As iTunes and macOS updates are now bundled together, to get the latest one, you should:
- Go to Apple Menu > System Preferences… > Software Update.
- Download and install updates, if any are available.

Keep iTunes library in the cloud
If you not only store but actually buy media through iTunes, you have the option to keep all the files you own in the cloud (as indicated by the cloud icon). That way, you can significantly decrease the amount of traffic between iTunes and your hard drive.
To remove a downloaded file from your computer but keep it accessible via the cloud, simply right-click on the file and choose Remove Download.

Delete iTunes cache
Whenever you use iTunes, it caches all kinds of data for pages you visit, songs you listen to, and previews you watch online. Over time, these cached files can take up a significant amount of space in your iTunes folders and slow down the app itself.
It’s a good practice to remove the cache from time to time. To do that:
- From the top menu, select Go > Go to Folder…
- Type in ~/Library/Caches/com.apple.itunes and click Go.
- Inside the iTunes folder, delete fsCachedData and SubscriptionPlayCache.
Although this tip alone can save you hundreds of megabytes, don’t forget to clear out the cache for the iTunes Store as well:
- In iTunes, go to Preferences > Advanced.
- Click Reset Cache.
Cleaning cache folders is a proven way to speed up iTunes, especially if you’ve never done it before.
Use less RAM
Essentially, the iTunes app slows down when it can’t access the necessary amount of RAM on your system. Hence, one of the most effective and practical solutions is to free up as much RAM as possible to give iTunes some space to breathe.
First, you need to know what’s actually taking up all the memory on your Mac:
- Go to the Applications folder and launch Activity Monitor.
- Switch to the Memory tab to see which apps consume the most RAM.
Once you find out the perpetrators, quit them. And if so many apps are using the memory that your Mac slows down considerably, restart the computer.
Lastly, if you use some form of antivirus software, you should consider whitelisting the iTunes media library folder so that it’s not being scanned with every little change.
Simply automate your iTunes chores
Although going through all of the tips mentioned above is guaranteed to speed up iTunes, it takes quite a bit of precious time, and you have to remember to repeat the process somewhat regularly.
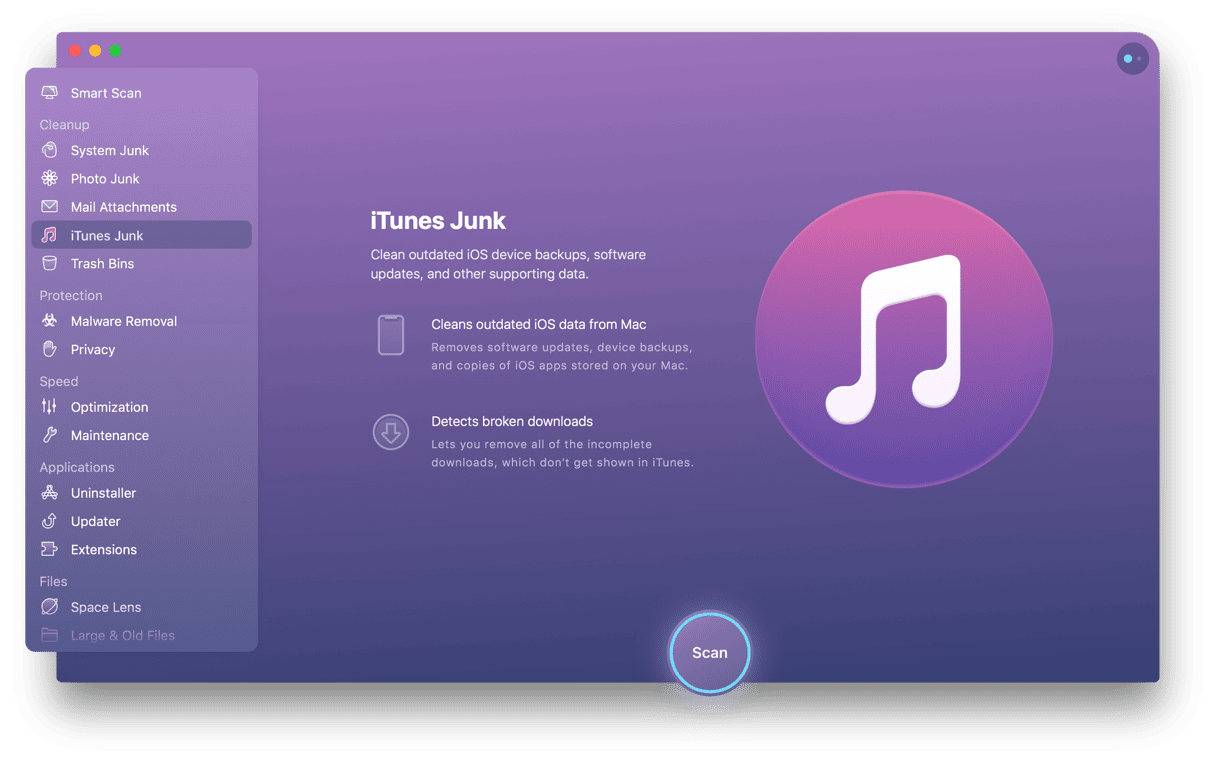
A better solution is to use an automated optimization app, such as CleanMyMac. With CleanMyMac, all you need to do is run a few scans, and the app will do all the necessary cleaning for you. Here’s how it works:
- Download the trial of the CleanMyMac for free.
- Click Scan in the Smart Scan tab and proceed to run with the suggested solutions.
- Then navigate to the iTunes Junk tab and run the optimization test there.
- When the scan is ready, simply press Clean.

CleanMyMac makes it effortless to keep your Mac healthy and performing at its best. Just remember to repeat steps one to four once every month or so, and you will likely never experience issues with your iTunes again.