Have you ever had a creepy feeling that someone is watching or listening to you? Like you were just discussing with a friend that you wanted to buy a new sofa, and in 30 minutes, you saw furniture-related ads in your Facebook feed. Coincidence?
Many users believe that Facebook is listening to their conversations in order to show more relevant advertisements. However, Facebook denies these rumors:
“Facebook does not use your phone’s microphone to inform ads or to change what you see in News Feed. Some recent articles have suggested that we must be listening to people’s conversations in order to show them relevant ads. This is not true. We show ads based on people’s interests and other profile information – not what you’re talking out loud about.”
But if you are still concerned that Facebook might be listening to you, you can limit its access to your microphone. Let’s find out how.
How to stop Facebook from accessing your microphone on iPhone
When you installed the Facebook app for the first time, you may have permitted it to access your microphone. If you want to change that now, you need to follow these steps:
- Go to Settings on your iPhone.
- Tap Privacy & Security.
- Tap Microphone.
- Tap the Facebook switch to turn it off.
If Facebook is not listed in the Microphone section, then you haven’t given it permission to use your microphone.
How to turn off microphone in Facebook Messenger
You may have also given permission to Facebook Messenger to access your microphone. To check it out, you also need to go to the Privacy settings on your iPhone:
- Open Settings.
- Tap Privacy & Security.
- Tap Microphone.
- Tap the Messenger switch to turn it off.
If you don’t see Messenger in the Microphone section, it means that you haven’t given it access.
Learn what apps have access to your microphone on Mac
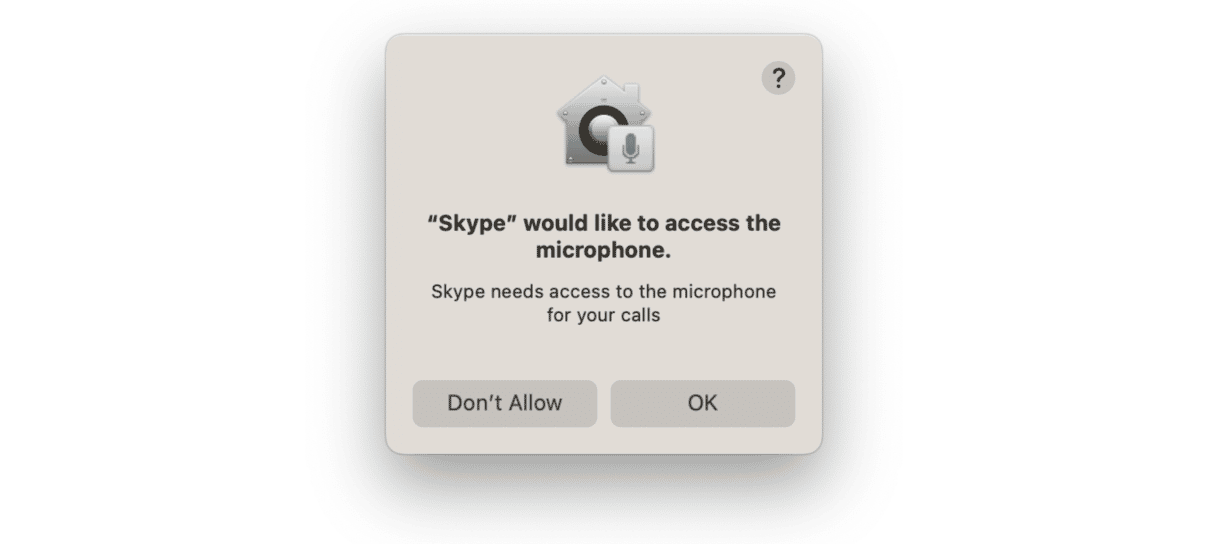
The first time the application tries to get access to your microphone on Mac, you’ll see a prompt from your system with the name of the app you are installing:

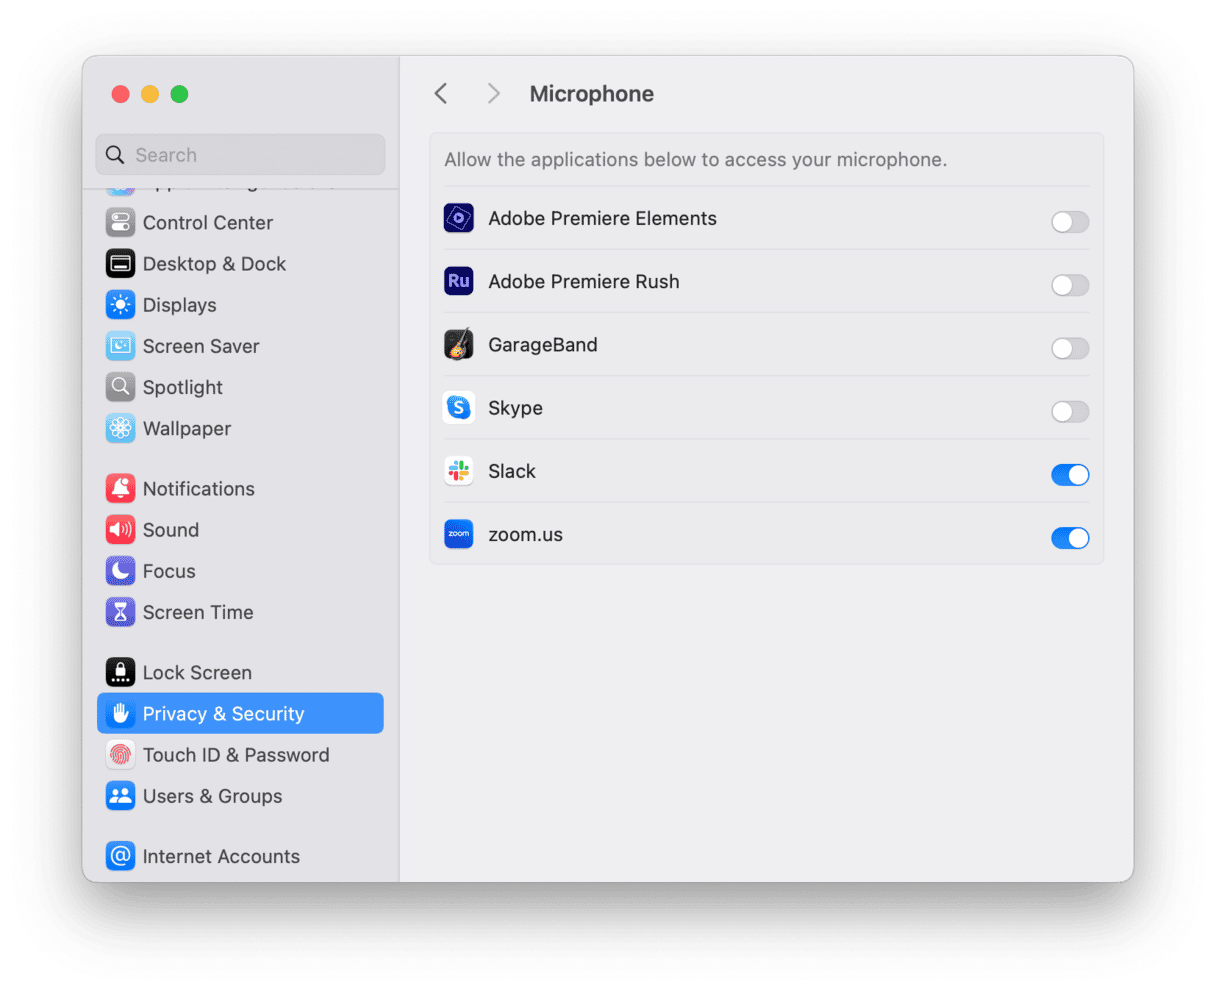
Surely, you can’t remember if you allowed this or that app to use your microphone. In order to check the current settings, follow these steps:
- On your Mac, choose Apple menu > System Settings.
- Click Security & Privacy.
- Click Microphone under Privacy.
- You’ll see a list of apps that have access to your microphone.

If you want to deny access for some application, disable it by using the toggle. You might be asked to quit the app to limit its access to your microphone. You can click “Quit Now,” and the program won’t be able to use your microphone anymore.
How to control app permissions easily from one place
Don’t feel like checking your System Settings to view and change microphone permissions? Try an easier and faster way of controlling your permissions — CleanMyMac.

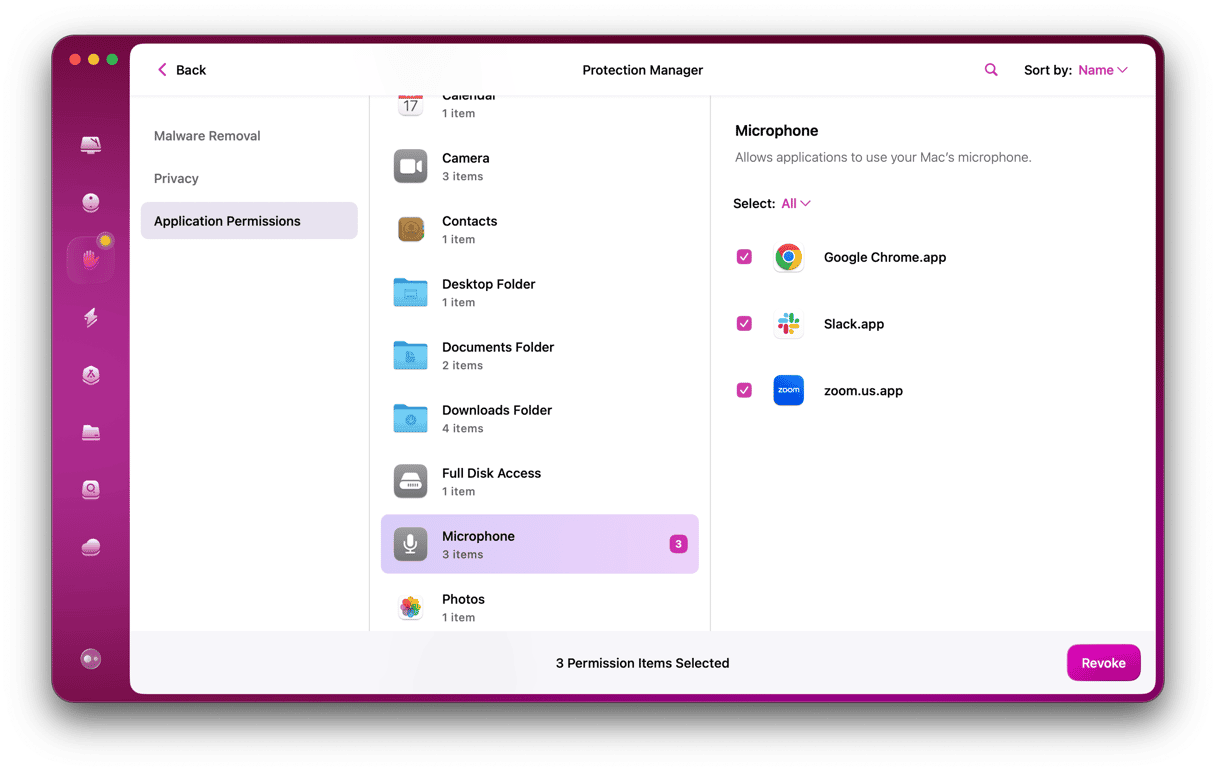
It’s a popular app that has a lot of tools for optimizing your Mac performance, and one of them is called “Applications Permissions.” With its help, you can easily check what apps have access to your microphone, camera, files, and folders and adjust those permissions in a few clicks.
Here’s how it works:
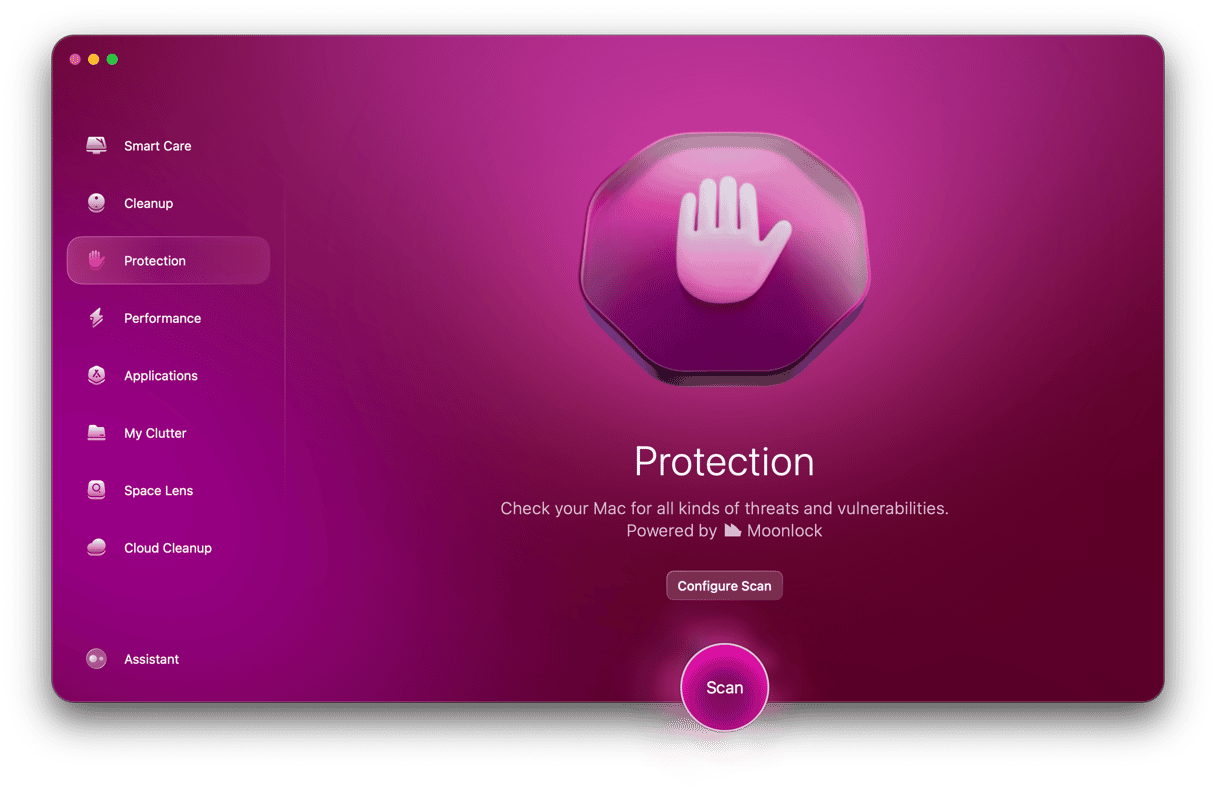
- Open CleanMyMac (get your free trial here).
- Click Protection > Scan > Manage Privacy Items.
- Choose Application Permissions.
- Change permissions as you wish.

May your personal information be safe and secure. Thanks for reading, and stay tuned!


