If you want one of your Mac computers to show on your other Mac as an external drive, target disk mode is the way to do it. Target disk mode is one of many ways to share files from one Mac to another; however, unlike other modes, it requires a physical connection between two devices. In this article, we’ll explain what target disk mode is and how to use it.
What is the target disk mode?
Target disk mode on Mac is a feature of macOS that allows one Mac to act as a storage device for another. When you connect one Mac to another and boot it in target disk mode, it shows up in the Finder of the other Mac as if it were a storage volume like a hard drive, SSD, or USB memory stick.
When it was first introduced, Macs had to be connected using a FireWire cable. Since Apple stopped using FireWire on Macs, you can now use either USB or Thunderbolt cables. However, if one of the Macs you are connecting is running macOS 11 or later, you must use Thunderbolt.
You can connect either Apple silicon or Intel-based Macs or one of each. On Macs with Apple silicon, the feature is called Mac sharing mode. If you want to connect an Intel-based Mac to a Mac with Apple silicon, the latter has to be the target disk.
If you plan to copy all the data from one Mac to another using target disk mode, it’s a good idea to eliminate all the junk first. The simplest way to declutter your Mac is by using the System Junk module in CleanMyMac. It scans your Mac looking for junk files, and when it’s done, you can either review what it has found or delete them all with one click. CleanMyMac also has the My Clutter feature that identifies the largest and oldest files, duplicates, and other unneeded files, letting you remove them to free up space.
Get your free CleanMyMac trial.

Target disk mode requirements & exceptions
Target disk mode lets you use one Mac (the “target”) as if it were an external drive for another Mac, making file transfers much simpler. For the target Mac to support target disk mode, it generally needs:
- A FireWire or Thunderbolt port
- A hard drive that’s an ATA drive on ATA bus 0
However, even if your Mac meets these criteria, there are a few models that still can’t boot into target disk mode:
- iMac (with tray-loading CD-ROM)
- Power Macintosh G3 (Blue & White)
- iBook G3 models without FireWire
- Power Macintosh G4 (PCI Graphics)
- MacBook Air (2008-2010)
- Unibody MacBook
If your Mac isn’t on this list, learn how to set up and use Target Disk Mode.
How to use target disk mode with two Intel-based Macs
If the Mac you want to use as the target disk is on:
- Connect the two Macs using either a USB, USB-C, or Thunderbolt cable. If either of the Macs is running macOS 11 Big Sur or later, you will need to use a Thunderbolt cable.
- Go to the Apple menu, click System Settings, then General.
- Choose Startup Disk, then Restart in target disk mode.

If the Mac you want to use as the target disk is off:
- Connect your two Macs using a USB, USB-C, or Thunderbolt cable.
- Start up your Mac and press and hold the T key while it boots.
Now, let's get to your other Mac:
- Open a Finder window and select the target Mac (shown as an external disk) in the sidebar.
- Drag files to or from this disk to transfer them.
When you’re done, Control-click the disk in the Finder sidebar and choose Eject [volume] to disconnect safely.
How to use target disk mode on a Mac with Apple silicon
If you want to connect a Mac with Apple silicon to an Intel-based Mac, you need to use the former as the target disk.
- Connect the two Macs using a USB, USB-C, or Thunderbolt cable (again, if one of the Macs is running Big Sur or later, you must use a Thunderbolt cable).
- On the Mac with Apple silicon, go to the Apple menu and shut it down.
- Press and hold the power button until you see ‘Loading Startup Options’ on the screen.
- Click Options, then Continue.
- Choose the disk you want to use as a startup disk, then Continue.
- Sign in with your admin account if requested.
- Once your Mac boots into recovery mode, choose Utilities and click Share Disk.
- Select the volume you want to share and click Start Sharing.
- On the other Mac, open a new Finder window and click Network in the sidebar.
- Select the Mac you want to use as the target disk.
- Transfer files, then click Stop Sharing on the target disk when you're done.
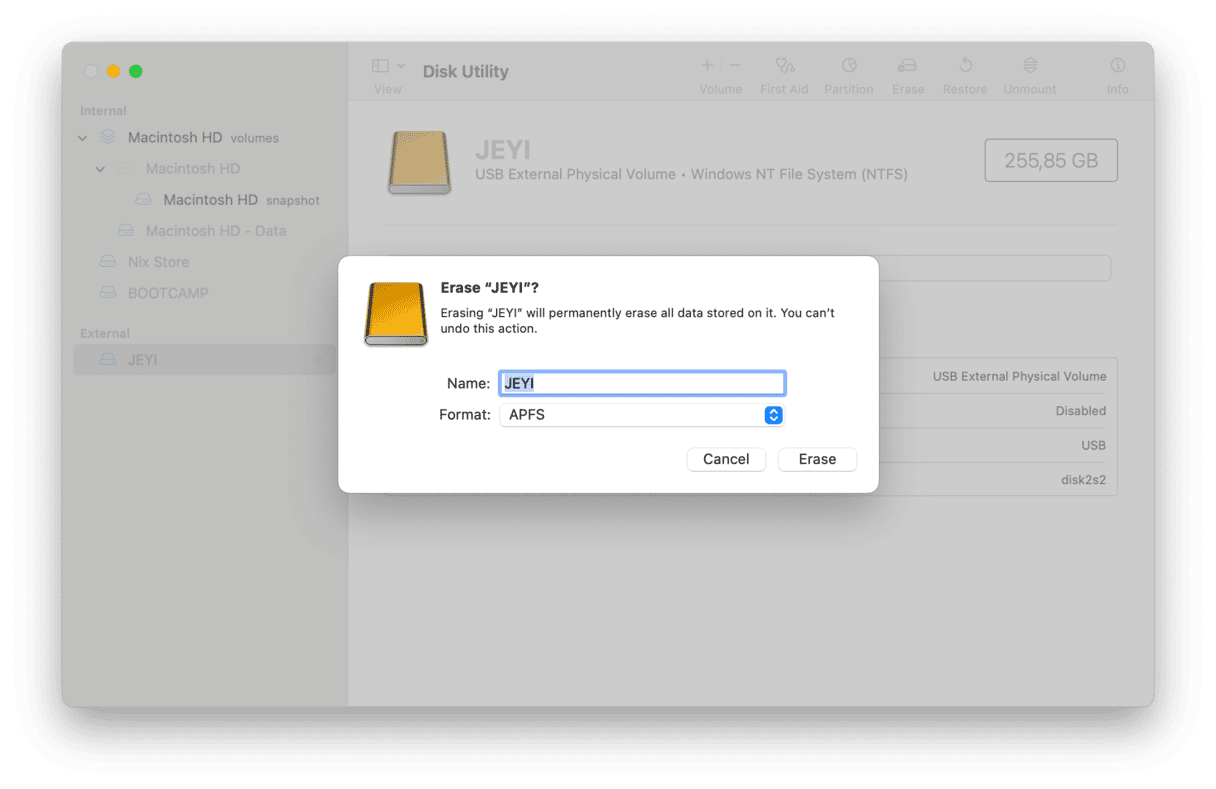
How to use target disk mode to erase or partition your Mac drive
Beyond simple file transfers, Target Disk Mode also lets you erase the target Mac’s internal drive from another Mac. This is especially useful if you can’t boot up your old Mac but still need to wipe its data securely. You can also use Disk Utility to partition the target Mac’s drive, which can let you reorganize storage and install Windows if you need to.
How to erase or partition the target Mac’s disk:
- Follow the steps above to start up in the target disk mode.
- Once you’re in the target disk mode, open Disk Utility.
- Select the target Mac’s drive from the sidebar.
- Choose Erase or Partition and follow the on-screen instructions.
- Once you’ve finished, properly eject the target disk from the host Mac and restart the target Mac.

Alternatives to target disk mode
If you can’t, or don’t want to, use target disk mode but still need to transfer data from one Mac to another, there are lots of options.
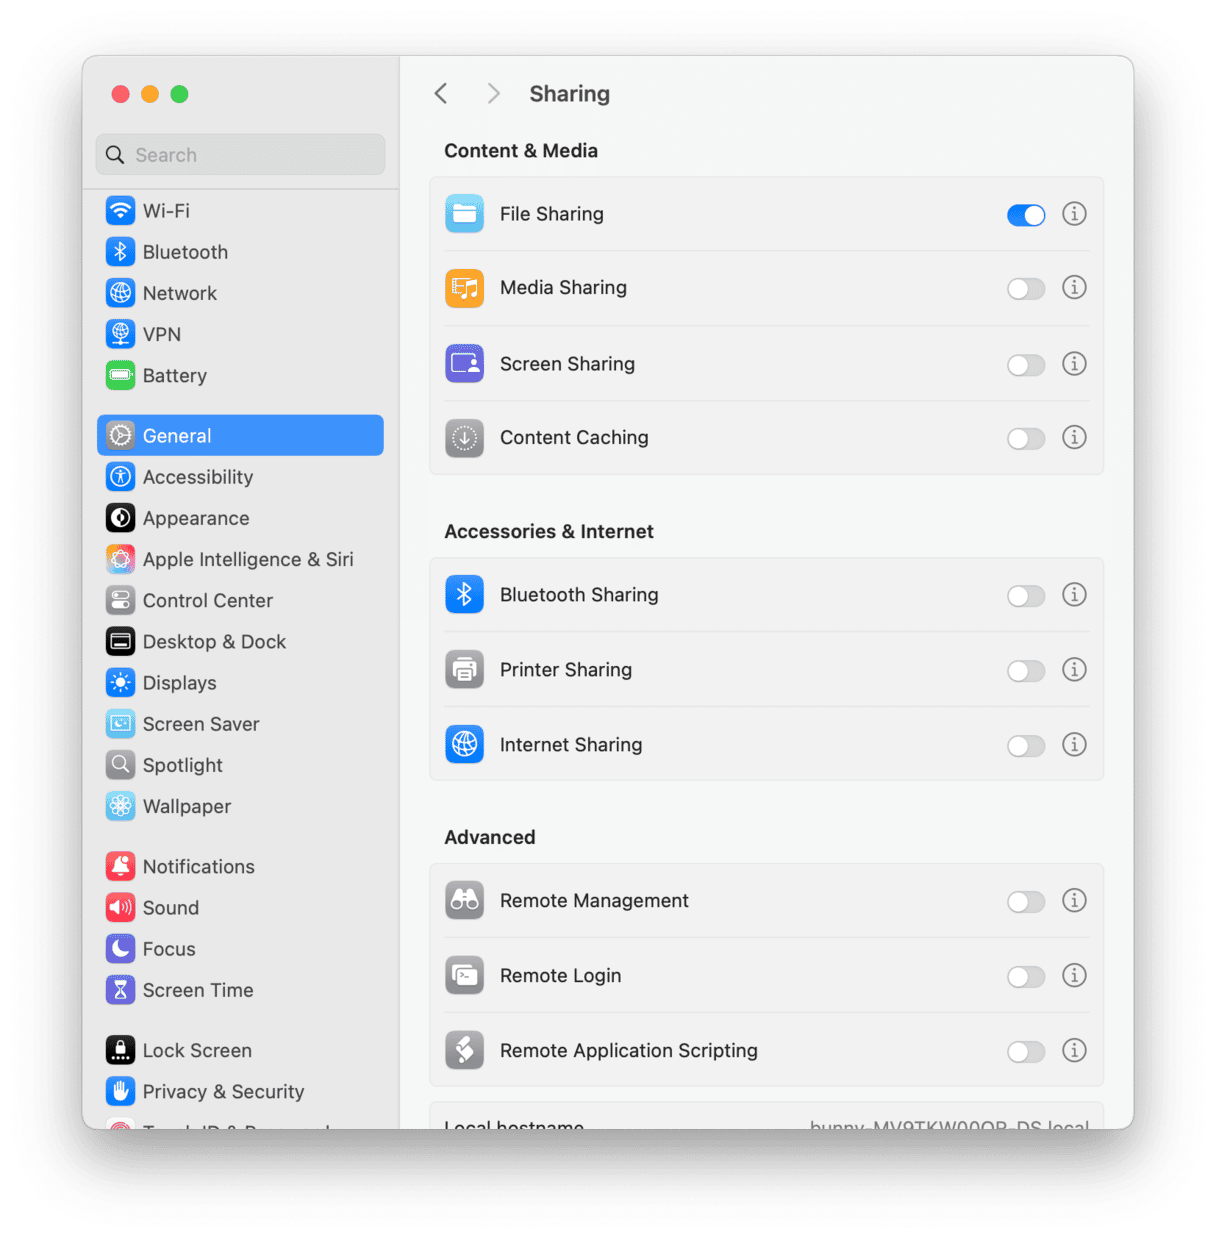
- File sharing. Go to System Settings > General > Sharing and turn on File Sharing on the Mac you want to connect to. Click the "i" icon. If you want to share your entire Mac, allow full disk access. Add the user of your other Mac to the Users group from your Contacts. On your other Mac, go to Finder > Network and double-click the Mac you want to connect > Connect As. Choose how you want to connect and follow the on-screen instructions.
- An intermediate disk. If you have a spare external hard drive or SSD, this is probably the easiest method. Connect it to one Mac, copy the data you need, then connect it to the other Mac and copy the data off.
- Cloud storage. If you have an iCloud or Google Drive account, you can copy the files you need from one Mac to iCloud or Google Drive and then copy them to the other Mac when they're finished syncing.

MacBook target disk mode — or Mac sharing mode as it’s called on Macs with Apple silicon — is a feature that allows you to connect two Macs together with a USB, USB-C, or Thunderbolt cable and transfer data between them. Follow the steps above to use it on your Mac.


