Terminal is a great way to run processes and carry out tasks if you're familiar with Unix commands. Mostly, it just works as long as you use correct commands. But occasionally, you may see an error message, such as 'permission denied.' In this article, we'll show you how to fix it.
What is Terminal?
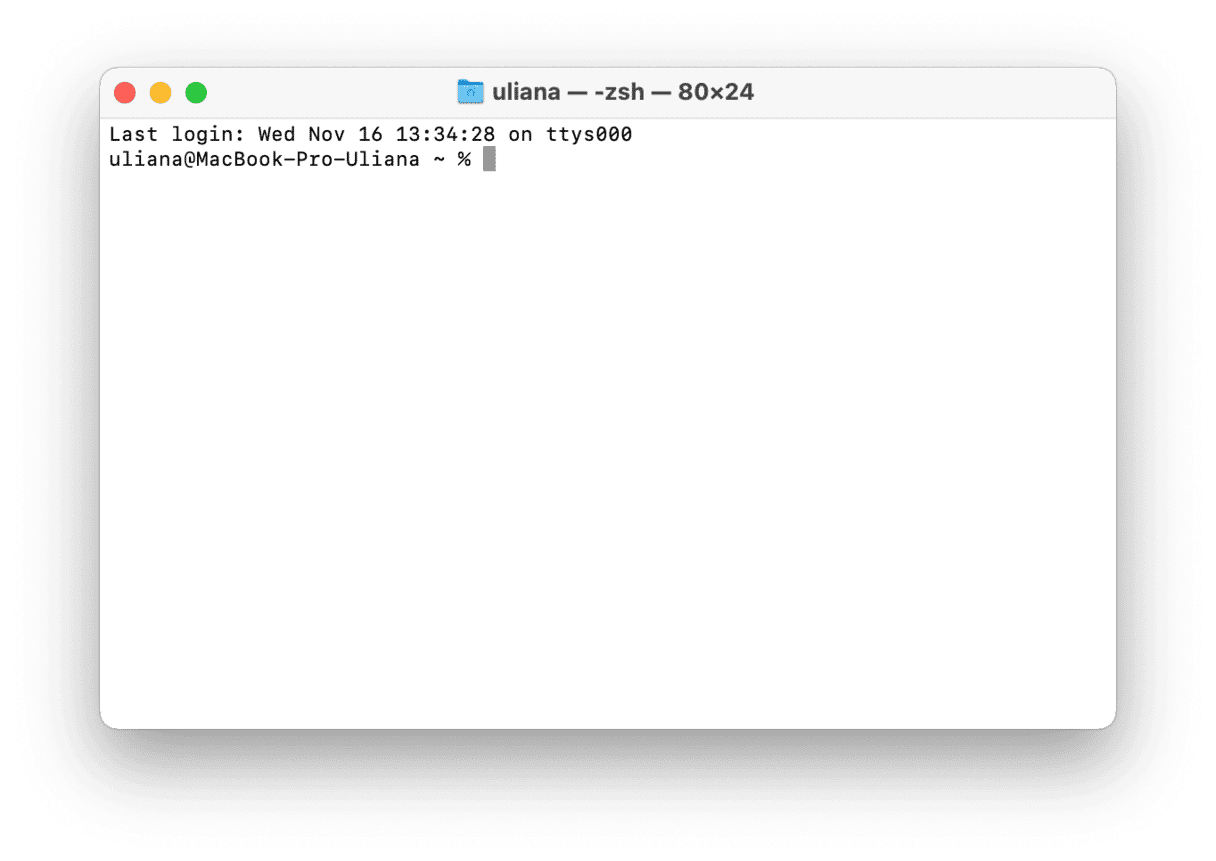
Terminal is an app that allows you to control your Mac, running processes and tasks from a command-line interface. Thanks to macOS' Unix kernel, it can interpret and execute regular Unix commands. Until macOS Catalina, Terminal's default shell was bash. Now, it is zsh. It's easier to use for some tasks and doesn't require strict user permissions in the way that bash does. You can tell which shell Terminal is running by looking at the top of any Terminal window.

Why do people use Terminal?
There are lots of reasons why Mac users love Terminal. If you are familiar with Unix commands, Terminal provides a very quick way to run processes and tasks. The other main reason for using Terminal is that it allows you to access parts of macOS that are hidden and don't appear in System Settings. That way, you can change settings that would otherwise need a third-party app to change. For example, if you want to change the default file type for screenshots from png to jpg, you'll need to use Terminal.
What does 'permission denied' mean?
If you see the error message, it means that Terminal can't complete the command you're trying to run because it is unable to access the file you want to work on. And as the name of the error suggests, it can't access the file because it doesn't have permission. This could be caused by several things, but it is usually because:
- You don't have permission to edit the file.
- The file is locked.
- The command you are trying to run is incorrectly formatted.
How to fix 'permission denied' in Terminal
Now, let's proceed with the fixes. We'll start with a simpler one and then provide manual solutions.
An easier way to fix problems with Terminal
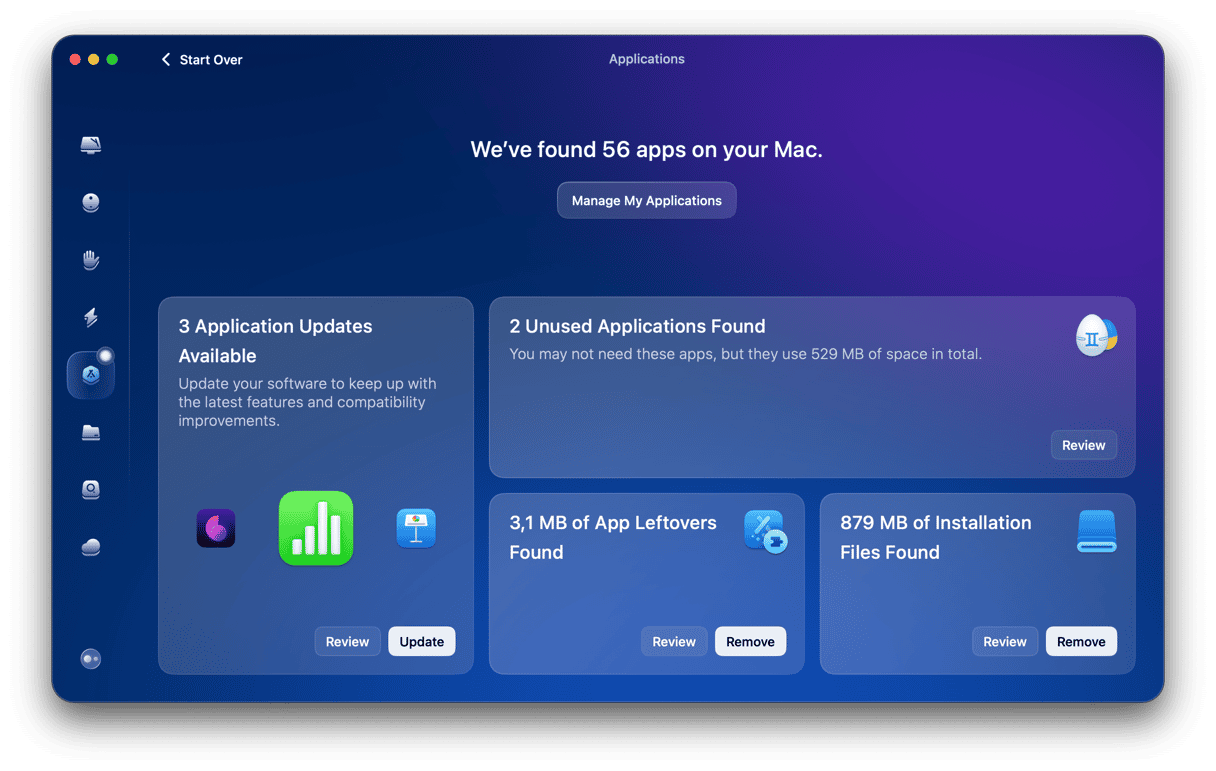
It may be that you are seeing a 'permission denied' error because of a problem with Terminal itself. One way to fix that is to reset the app. And the easiest way to do that is to use a helpful app called CleanMyMac. CleanMyMac has several tools that can free up space, optimize your Mac, keep it safe from malware, and, importantly in this case, fix problems. The app is notarized by Apple — get your free trial here.

- Open CleanMyMac and choose Applications in the left sidebar.
- Click Scan > Manage My Applications > Uninstaller.
- Use the search bar to search for Terminal.
- Click an arrow (>) next to the file size and select everything except Binaries.
- Click Remove.
Check the file permissions
There are a couple of different ways to check file permissions. You can do it in the Finder or Terminal. We'll show you both ways below.

Terminal
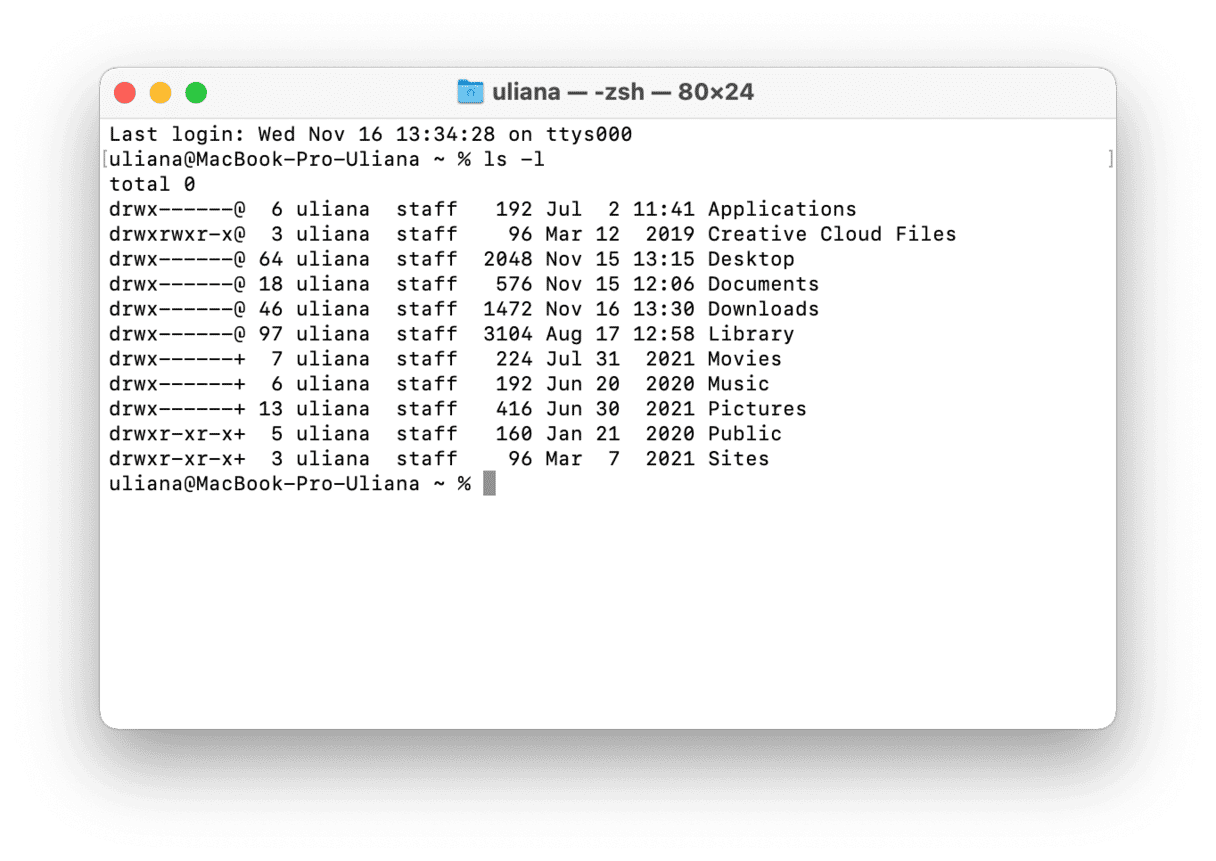
- Open Terminal and type the following command followed by a space:
ls -l - Locate the file or folder you were trying to work on when you got the error message and drag it onto the Terminal window.
- Press Return.
- If you see the letters
rwxrin the string of characters before your username in the result, it means you can read, write, and execute the file. If you only see, for example,rmeans the file is read-only to you.
Finder
- Locate the file or folder in the Finder.
- Press Command-I to open the Get Info window.
- Look at the bottom of the window where it says Sharing & Permissions. If there's nothing beneath it, click the arrow next to it.
- Look at the permissions next to your username. They should say 'Read & Write.'
Change file permissions
If the permissions you just checked don't allow you to write to a file, that's probably what's causing the 'permission denied' error. To fix it in Finder, click the Privilege column next to your username in Get Info and choose Read & Write.
To change permissions in Terminal, do the following:
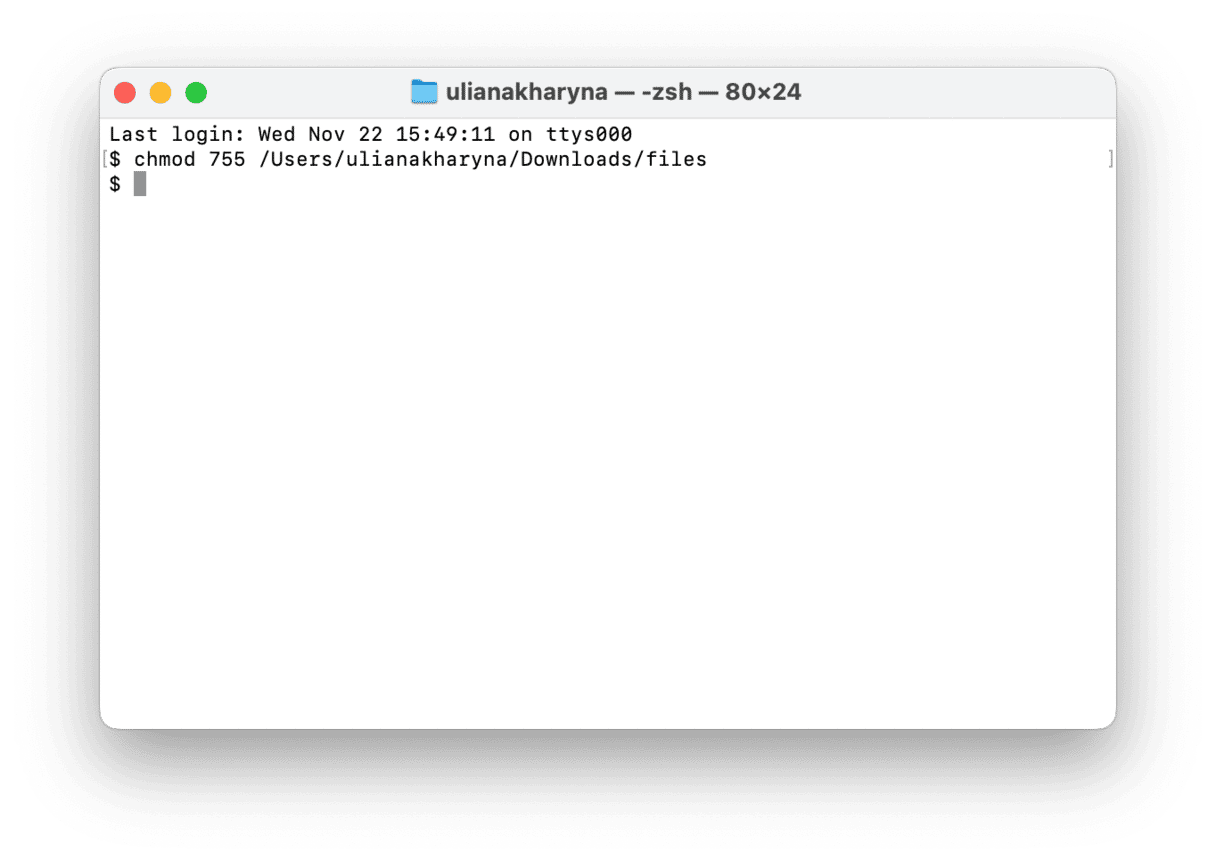
- Type this command followed by a space:
chmod 755 - Drag the file or folder onto the Terminal window.
- Press Return.
- Permissions for the file or folder will be changed to read, write, and execute.

Change directory ownership
If changing permissions didn't fix the problem, try changing the ownership of the directory to your username. In the steps below, change [username] to your username and [directorypath] to the path to the directory whose ownership you want to change — you can just drag the folder onto the Terminal window, as we did before.
- Type
chown -R $[username]:[username] [directorypath] - Press Return.
The 'Permission denied' error in Terminal is usually caused by permission problems with the file or directory that you want to work on. You can usually fix it by changing permissions or re-assigning ownership. If that doesn't work, use CleanMyMac to reset the Terminal app and make sure you have formatted commands correctly.


