Is your massive photo library overwhelming you and your iPhone? Do you take so many videos that you quickly max out your iPhone’s storage capacity? When you gobble up your iPhone storage, you’re faced with challenges and a few solutions. You can invest in a new iPhone with more storage, pay extra for a massive amount of iCloud storage, clean out the clutter from your iPhone, or save your files to an external hard drive.
Start transferring photos to an external hard drive with quick clean up
To transfer photos from iPhone to an external hard drive, you can use a computer (Mac or PC), or you can buy a small flash drive that connects directly to your iPhone using a Lightning or USB-C connector. There are pros and cons to each of these solutions. But before you start transferring, make sure you have enough storage.
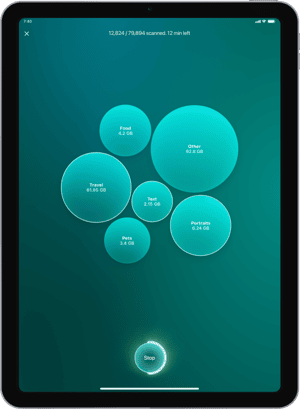
Cleaning up your photo and video clutter should always be a part of the solution. You can try to do it manually by checking your photos and videos, but there is an easier way — iPhone cleaner app. I recommend CleanMy®Phone as a way to quickly get rid of duplicate, similar, and blurry shots from your iPhone. The Declutter module scans your iPhone for photos and videos that you don’t need and suggests ways to quickly get rid of them.

How to transfer photos from an iPhone directly to an external hard drive
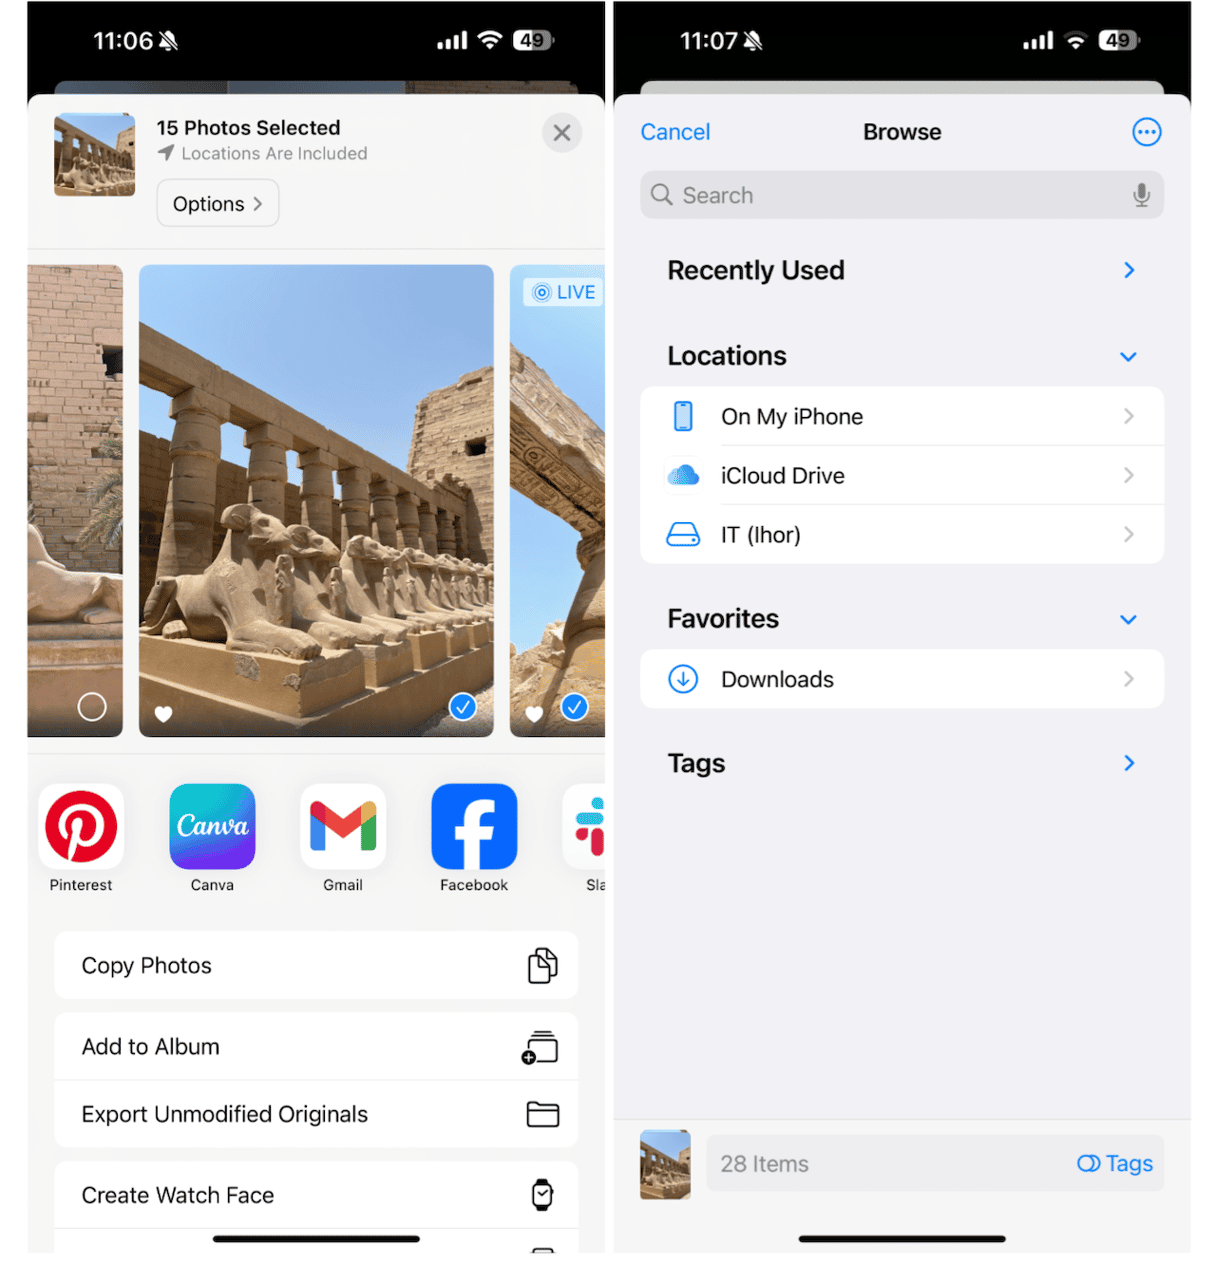
Finally, you can purchase a small USB drive to connect to your iPhone directly. Be sure it has the right connection — either a Lightning cable or a USB-C, depending on your iPhone model. This is the easiest way to save space on your iPhone when you don’t have a computer, and the process is very simple.
Follow these steps to download your photos:
- Connect the USB drive to your iPhone.
- Open the Photos app.
- Select all the photos and videos that you want to transfer.
- Tap the share icon.
- Choose ‘Export Unmodified originals’ — you’ll see the Files app.
- Tap Browse and choose your external drive under Locations. Tap Save.
- Delete the photos from your iPhone and disconnect your USB drive. Don’t forget to empty the Recently Deleted album in your Photos app.
While using an external hard drive requires an initial investment, it’s a great way to offload your files to save space on your iPhone. Of course, without a method for cleaning and decluttering your extra photos and videos, you’ll eventually run out of space. Before you transfer your files, be sure they are worth saving and get rid of any that you don’t want. Then, choose one of the methods for moving iPhone photos that works best for you and get ready to take new shots and fill up all that free space you now have.
How to transfer iPhone photos to external hard drive using iCloud
You can transfer photos to an external hard drive using iCloud on a PC or a Mac. This is a nice way to transfer a small number of photos, but because there is no ‘select all’ option, it is not convenient for large photo libraries, as you would have to select every individual photo before exporting them to your drive.
Here’s how to do it:
First, make sure iCloud Photos is enabled on your iPhone:
- Go to Settings on your iPhone.
- Tap your name to go to your Apple account.
- Tap ‘iCloud’.
- Tap ‘Photos’.
- Toggle on ‘Sync this iPhone’ to store your photos in iCloud.

Next, go to iCloud on your computer:
- Go to iCloud.com and sign in using your Apple ID.
- Open Photos in iCloud.
- Plug your external hard drive into your computer.
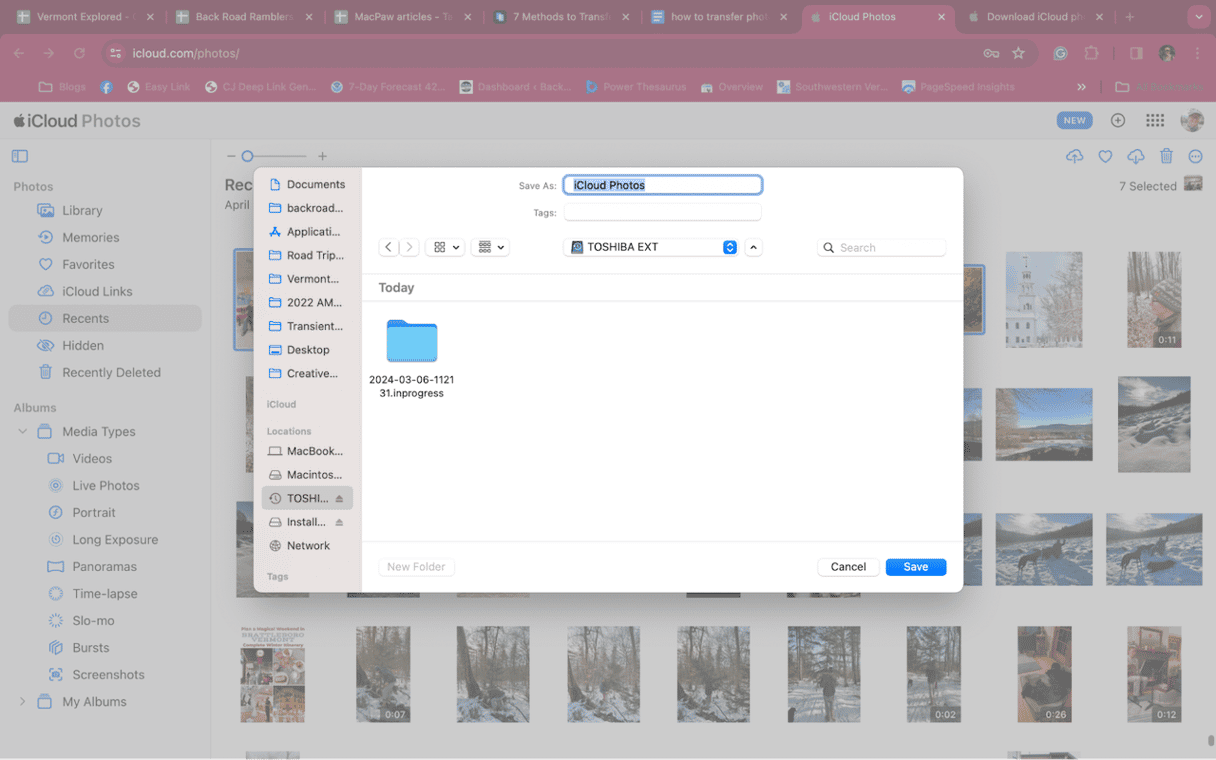
- Use Command + click to select all the photos that you want to download.
- Click on the download icon in the upper right corner.
- Choose your external hard drive from the menu.
- Click ‘Save’.
Transfer photos from iPhone to external hard drive on Mac
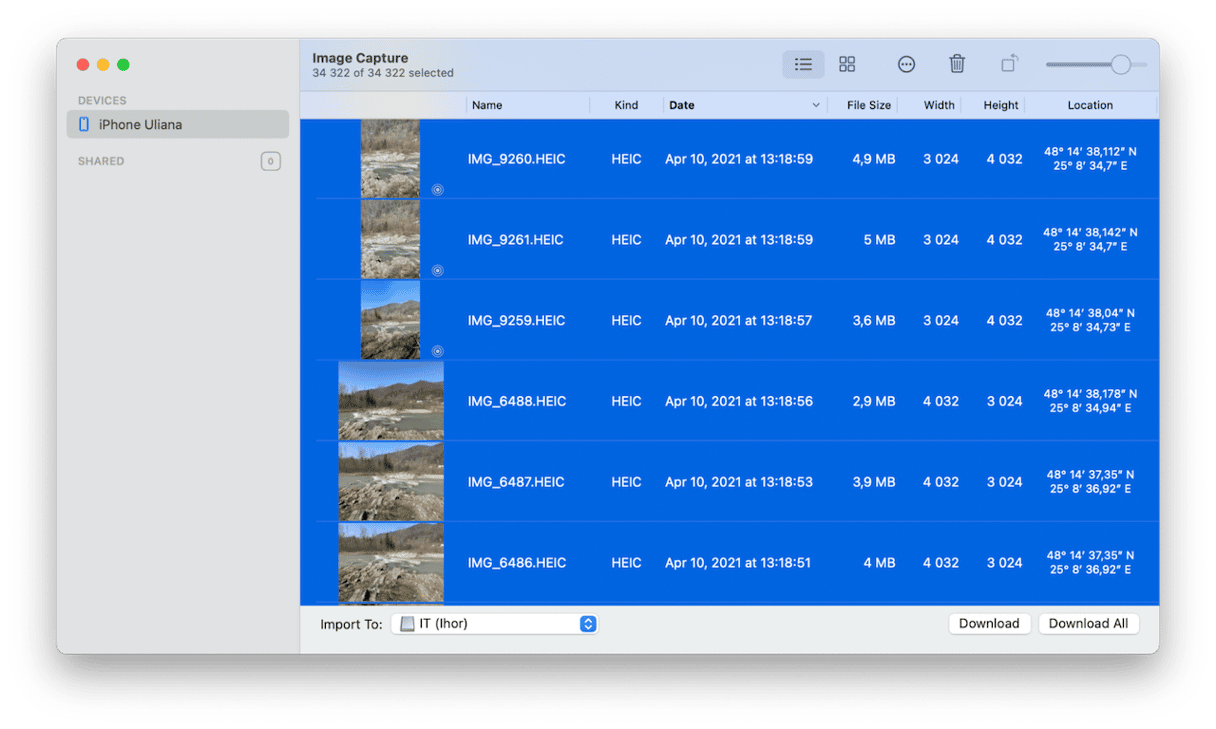
While you can certainly download your photos from iCloud on your Mac to an external hard drive, it’s far easier to use the Image Capture app on your Mac, and the process is much more intuitive. Here’s how to use it to transfer your photos to an external hard drive:
- First, connect your iPhone to your Mac using the appropriate cable.
- Allow the connection by agreeing that you trust the computer you’re using.
- Open the Image Capture app on your Mac. You can search for it in Finder if you’ve never used it before.
- Select your iPhone from the menu. Your photos will open on the screen.
- Select your external hard drive from the ‘Import to’ menu at the bottom of the screen.
- Click ‘Download All’ — your photos will be transferred to your external hard drive.
How to move iPhone photos to external hard drive on a Windows PC
The best way to transfer photos from your iPhone to a PC is to use the native Photos app on your Windows computer. Here’s how to use it to transfer photos to an external hard drive:
- Connect your iPhone and the external hard drive to your PC using the appropriate cable.
- Open the Photos app, which can be accessed from the Start Menu.
- Click ‘Import’ in the top right corner.
- Select the images that you want to import to your external hard drive.
- Choose your external hard drive from the menu to start the process.
You can also transfer files to an external hard drive using File Explorer on your Windows computer following this method:
- Connect your iPhone and your external hard drive to your computer.
- Give the appropriate permissions to approve the iPhone.
- Click the Start menu and open Windows Explorer.
- Click PC, then Apple iPhone’s internal storage.
- Go to DCIM to see all of the images on your iPhone.
- Select them all, choose Copy, go to the external hard drive, and paste them. Optionally, you can create a folder to store your photos on your hard drive.
If you curious about other way of transferring your photos, you can consider moving files to iCloud. If you curious, read this article about iCloud backup.


