If you’ve installed Bitdefender on your Mac, you may have become frustrated with its notifications or decided that you no longer need it on your Mac. If that’s the case, it’s a good idea to uninstall it to free up space and prevent possible future conflicts with files on your Mac. If you’ve tried to uninstall it previously, you may have discovered that it’s not easy to get rid of it completely and that it keeps reappearing. In this article, we’ll show you how to uninstall Bitdefender on your Mac completely.
What is Bitdefender?
Bitdefender is an antimalware tool that scans your Mac, checking for viruses and other forms of malware. Its AutoPilot tool runs in the background and checks as you download new files or open attachments. While keeping your Mac safe from malware is a good thing, constant warnings and attempts to promote the paid-for version of Bitdefender mean that many people quickly become frustrated with it.

Why uninstall Bitdefender?
The main reason why most people want to uninstall Bitdefender is that it gets in the way of using their Mac, with lots of alerts and notifications. If you no longer want to use it, uninstalling will free up space and avoid any compatibility problems in the future. Unfortunately, Bitdefender puts so many different files in different places on your Mac that removing them all is not easy.
How to uninstall Bitdefender with its own uninstaller
Bitdefender actually has its own uninstaller that is installed when you install the application. However, it’s hidden away, so you probably don’t even realize it’s there. Here’s how to use it:
- Click on the Bitdefender AutoPilot in the menu bar and choose ‘Turn OFF Auto Pilot.’
- Quit Bitdefender if it’s running.
- Click the Finder icon in the Dock and then the Go menu.
- Choose Go to Folder.
- Paste this path into the text box:
/Library/Bitdefender/Central/Agent/ - Double-click Bitdefender Uninstaller.
- Follow the instructions on the screen and type in your admin name and password when requested.
- Click Close when you see a message telling you Bitdefender has been successfully uninstalled.
Unfortunately, the Bitdefender uninstaller doesn’t remove all the files associated with Bitdefender from your Mac. So, you’ll need to remove the rest manually.
- Click the Go menu in the Finder and choose Go to Folder.
- Type ‘/Library’ in the text box, locate any files and folders with Bitdefender in their name, and drag them to the Trash.
- Type ‘~/Library’ into the text box and do the same.
- Go to the Application Support folder in ~/Library and drag ‘Antivirus for Mac’ to the Trash.
- Empty the Trash.
How to uninstall Bitdefender the easy way
As you can see, even though the Bitdefender uninstaller is supposed to make it easy to uninstall Bitdefender, it still needs quite a bit of work to remove all files associated with it. Fortunately, there is an easier way — CleanMyMac’s Uninstaller removes all files associated with any app you choose to uninstall, including Bitdefender. All it takes is a couple of clicks, and they are all removed. CleanMyMac is free to download here. Once you’ve done that, follow the steps below to uninstall Bitdefender:
- Open CleanMyMac and click Applications > Scan > Manage My Applications.
- In the Uninstaller tab, search for Bitdefender or scroll through the list of apps until you find it.
- Select Bitdefender and click Uninstall.

How to uninstall Bitdefender manually
- Quit Bitdefender if it’s running.
- Click the Bitdefender AutoPilot menu bar item and choose ‘Turn OFF Auto Pilot.’
- Drag the Bitdefender application in your Applications folder to the Trash.
- In the Finder, click the Go menu and choose Go to Folder.
- Type ‘/Library/Application Support’ into the text box and press Return.
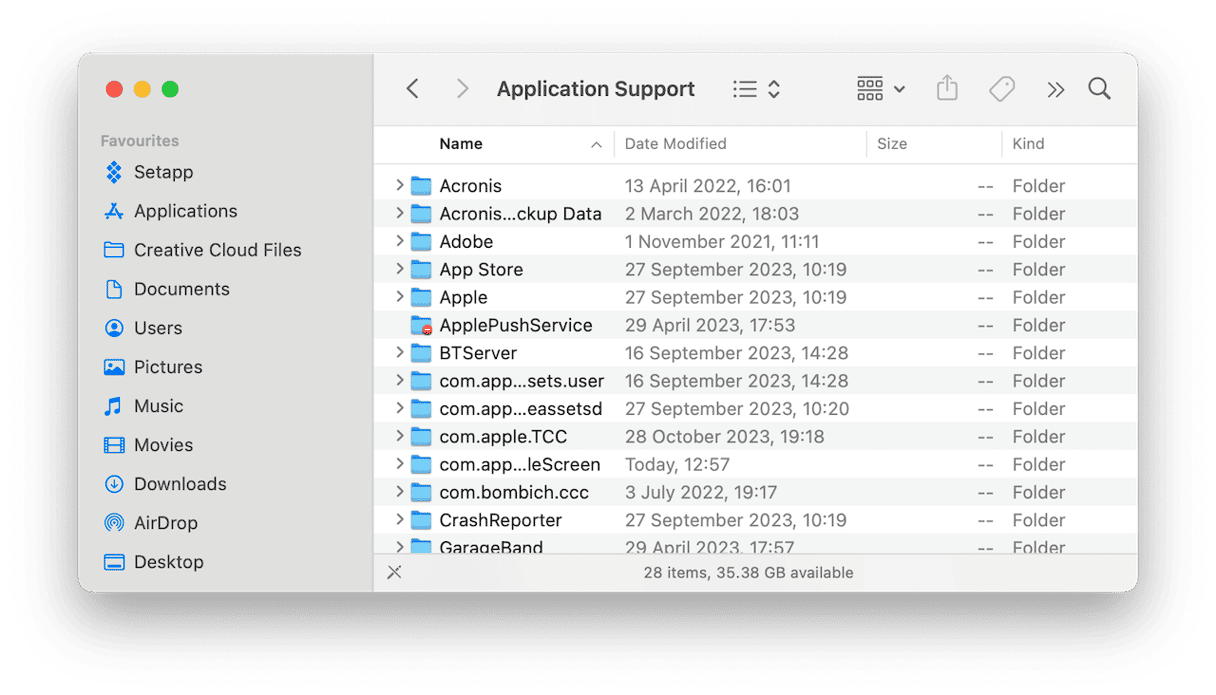
- Drag the ‘Antivirus for Mac’ and ‘Bitdefender’ folders to the Trash.
- Go to ‘/Library/‘ and drag the Bitdefender folder to the Trash.
- Also, in /Library, click the Extensions folder.
- Drag FileProtect.kext, SelfProtect.kext, and TMProtection.kext to the Trash.
- Empty the Trash.
Bitdefender is an antimalware tool that scans your Mac and alerts you when it finds anything suspicious. It runs in the background, scanning for files while you work. However, if you’ve installed it, you may feel that its notifications and alerts are annoying and unnecessary, or you may grow frustrated by interruptions to your work. If that’s the case, and you no longer want to use it, you should uninstall Bitdefender on your Mac to free up space and prevent potential future conflicts. Follow the steps above to do that.


