Imagine this: you’re trying to research something online, but none of the links you’re clicking take you to the websites they’re describing. Do it a couple of times, and it’s enough to make you go crazy. The internet is pretty much useless if you can’t navigate to the sites you’re trying to get to.
For some, you might not have to imagine. This could be happening on your Mac, thanks to nefarious software that might infect your computer. Keep reading to find out if you have the QSearch Mac virus, and learn how to get rid of QSearch.
| Name | QSearch |
| Category | Adware |
| Symptoms | Browsers keep redirecting, displaying wrong websites |
| Infection method | Software bundling or user installation |
| System damage | Excessive pop-ups and slow performance |
| Removal |
What is QSearch?
QSearch is a type of adware commonly known as a browser hijacker. And it lives up to that term in every sense. QSearch can take over your browser to redirect every link you click and I’m sure you can imagine how frustrating that could be.
How can a Mac get infected with QSearch adware?
The two most common ways for adware like QSearch to infect a Mac are through software bundling or fake software updates.
Software bundling is a way of distributing malicious apps by bundling them with completely legitimate software. When you install a free app from the internet, you may get adware as a part of the package. So, you might be thinking you're downloading a great, new app, but you're also infecting your Mac with a browser hijacker at the same time.
The best way to try and prevent software bundling is to select the "Custom Install" or "Installation Options" when installing a new app on your Mac.
Fake software updates are also another common way adware installs itself. It's an internet pop-up designed to look like a software update notification. Its goal is to trick you into downloading this "update," but you're actually installing the adware instead.
How can QSearch harm a Mac?
The good news is that QSearch is not malicious in nature. It is invasive, but its primary goal is to use your computer to help adware creators make money. And it does that by redirecting you to websites filled with ads.
So, the most harmful thing QSearch does to your Mac is make browsing the internet impossible. Nevertheless, it’s not something you want to go unchecked.
Remove QSearch from different browsers
QSearch does install itself as a browser extension, which means it’s relatively easy to remove. But, it can take a bit of time because you’ll have to go through each of the browsers installed on your Mac individually.
How to get rid of QSearch in Safari
With Safari open, follow these steps to remove an extension:
- Click Safari > Settings.
- Open the Extensions tab.
- In the sidebar, find the QSearch extension and select it.
- Then, hit the Uninstall button.

Remove QSearch from Chrome
Make sure you have Chrome open and then follow these instructions to delete an extension:
- Click Chrome menu > Settings.
- In the sidebar, click Extensions.
- Find the QSearch extension and click Remove.
QSearch removal in Firefox
Once you have Firefox open, this is how you get rid of an extension:
- Click the button with three lines > Add-ons and Themes > Extensions.
- Look for the QSearch extension.
- Then, click the ellipsis on the extension and select Remove.
How to reset your browser settings
After you’ve gotten rid of any suspicious extensions you might have installed, it’s a good idea to check and reset your browser settings to eliminate any signs of malicious software.
From time to time, malware can adjust things like your homepage or your default search engine. And if you don’t revert those back, it might leave your computer more susceptible to malware.
The downside is just like the extensions, you’ll have to go into each browser individually to check these settings. But, I promise, the process is straightforward, and anyone can do it.
Safari
Once you have Safari open, here’s how to check and reset your settings.
- Click Safari > Settings.
- Open the General tab.
- Check the Homepage field and change it, if it’s set to something suspicious.
- Then, click on the Search tab.
- From the Search engine drop down, set it to whichever you prefer.
Google Chrome
This is how you would check and reset the settings in Google Chrome.
- Open Chrome.
- Click Chrome > Settings.
- Select “On startup.”
- If you see a suspicious website listed there, click the three dots > Remove.
- Then, click “Search engine.”
- From the search engine drop down, you can select the one you like using.
Firefox
When you’re ready to reset your settings in Firefox, you’ll follow these steps:
- Open Firefox.
- Click Firefox > Settings.
- In the sidebar, click Home.
- For both of the drop-down menus, make sure they’re not set to anything strange.
- Now, click Search.
- Adjust the drop-down menu under the Default Search Engine section.
How to clear browser cache files
Malware can also save cached files in your browser. On their own, those files won’t do too much harm. But if you accidentally navigate back to one of the compromised sites, those cached files will start to run again, making it easier for the malware to take control of your privacy.
So, after you’ve done everything to reset your browser, you should go ahead and clear the cache files. It never hurts to get a fresh start, especially after your computer has been infected and compromised by malicious software like QSearch.
Here’s how simple it is to do for each of the browsers:
Safari
Make sure to open Safari and then you can follow these steps to reset the cache files:

- Click Safari > Settings.
- Open the Privacy tab.
- Then, click Manage Website Data.
- Finally, click Remove All.
Google Chrome
Once you have Chrome open, this is how easy it is for you to clear the cache files:

- Click the Chrome menu > Clear Browsing Data.
- From the drop down, select “All time.”
- Then, click “Clear data.”
Firefox
Open Firefox on your Mac and then follow these instructions to remove any saved cache files:

- Click Firefox > Settings.
- Then, select Privacy & Security.
- Scroll down to “Cookies and Site Data.”
- Click Clear Data.
- Finally, click Clear.
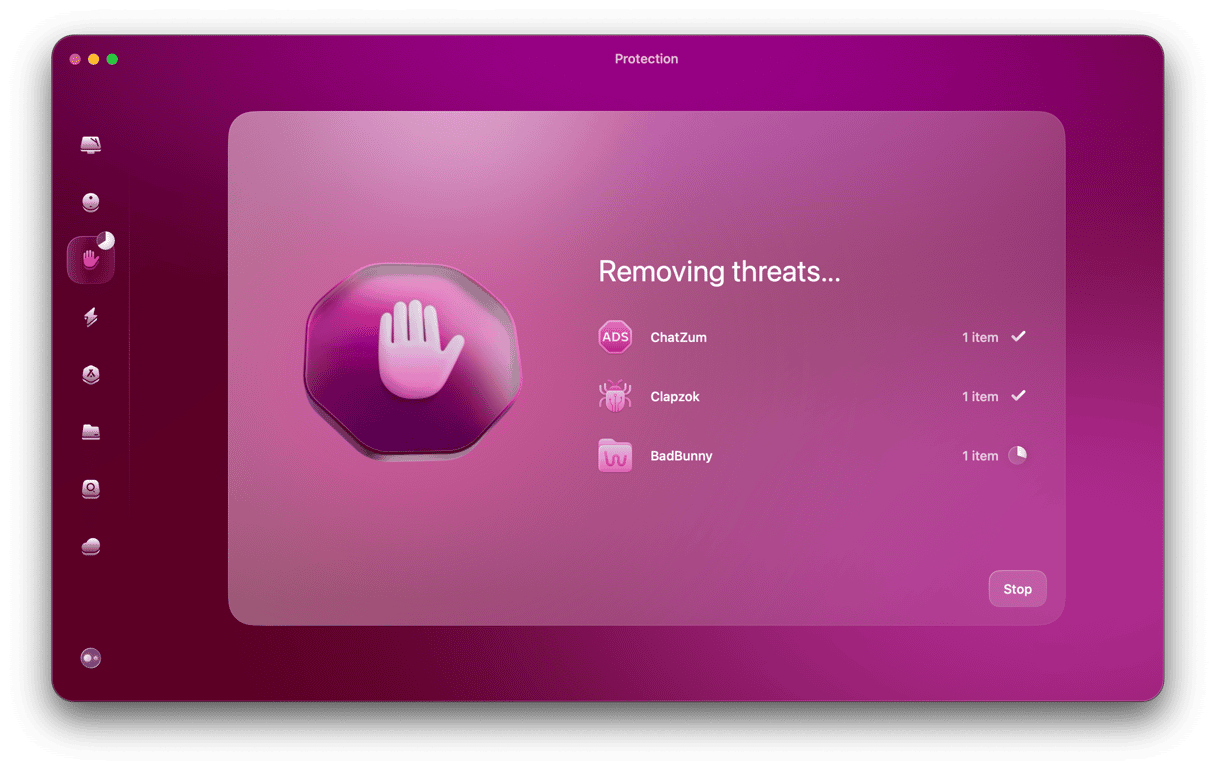
How to remove QSearch from Mac automatically with CleanMyMac
If you don’t want to go through the hassle of removing QSearch from each of your browsers, well, then you are in luck. You can download CleanMyMac to help you scan and remove malware, like QSearch. It’s incredibly user-friendly and has been notarized by Apple to help optimize your Mac’s performance. Once you download the app, all you have to do is:
- Open CleanMyMac.
- Go to Protection in the sidebar and click Scan.
- When the scan is complete, click Remove to get rid of QSearch.

The app also has a real-time monitoring tool that will notify you the moment something suspicious is installed.
Here’s how you can make sure that tool is enabled:
- From your Mac’s menu bar, click the CleanMyMac icon.
- Then, in the Protection section, make sure the “Real-time malware monitor” is turned on.
- If for some reason it’s off, just click Turn On in the bottom-right corner.

How to prevent infecting a Mac with adware
One way to help ensure your Mac stays safe from other malware or adware is to scan it regularly. Getting in the habit of using CleanMyMac once a week, or even more, can help detect any attacks that might have slipped through.
Even the most security-conscious people can end up with adware or a potentially unwanted app from time to time. But, if you get into a routine of scanning your Mac, then it doesn’t matter what sneaks through. Because you’ll catch the malicious software the next time, you scan your computer.
While adware like the QSearch virus might be more frustrating or annoying than they are malicious, it can still make your Mac feel unusable. If you can’t even go to the websites you’re trying to get to, it might as well be a paperweight. But, thankfully, there’s a way to fix that. Hope your Mac is safe and sound now.


