Have you ever developed Java virtual machine (JVM) software on your Mac? Or experimented with developing JVM apps and tools? Then you probably have installed a development environment for writing your code. If you want to quit developing JVM software or switch from one IDE to another, this article is for you.
Today, I’ll show you how to uninstall the IntelliJ IDE.
What is IntelliJ?
IntelliJ is a programming or integrated development environment (IDE) designed for Java and developed programs. Like most modern IDEs, it offers several tools like clever code completion, static code analysis, and refactoring to make your life a bit easier. As well as using it to write code for JVMs, you can install plug-ins to add support for other languages like Python, Ruby, and PHP.
How to delete a project in IntelliJ
Looking for ways to remove a project in IntelliJ instead of uninstalling the whole app? Follow these steps:
- Launch IntelliJ.
- Control-click the project you want to delete.
- Choose Reveal in Finder.
- In IntelliJ, click on the File menu and choose Close Project.
- Drag the project folder to the Trash and empty it.
How to uninstall IntelliJ on your Mac automatically
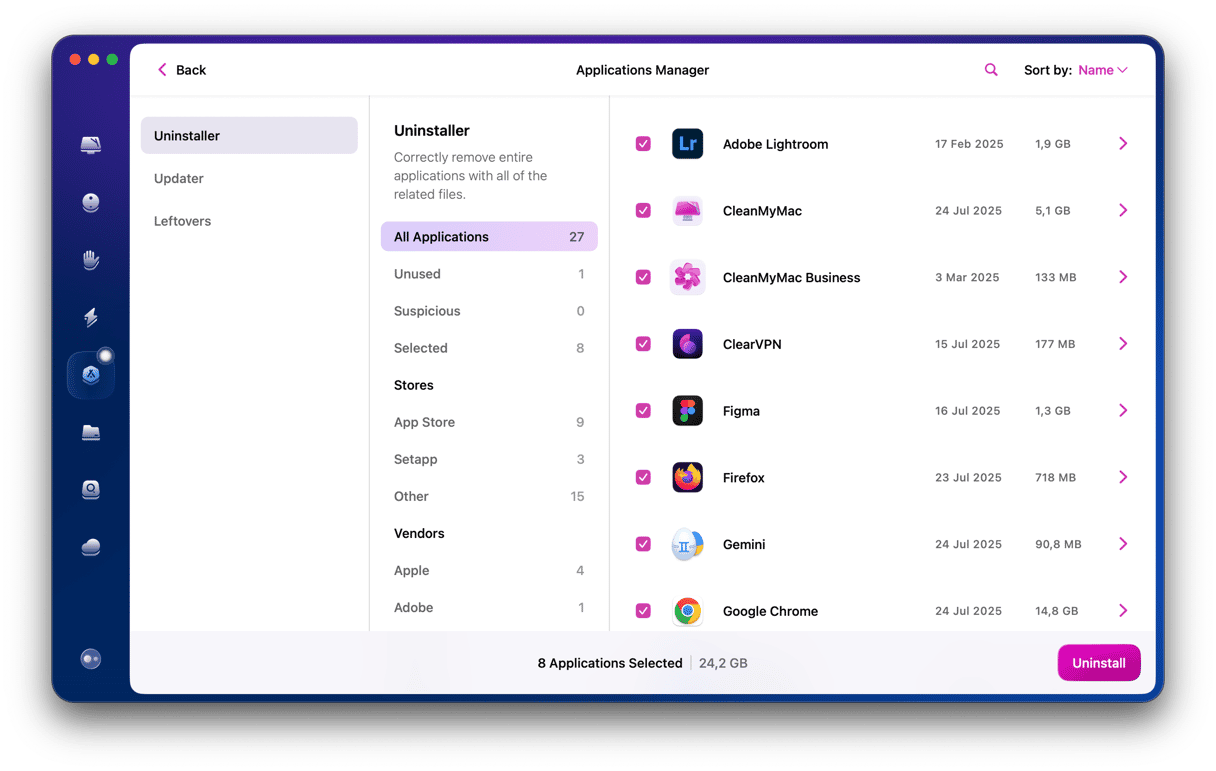
One of the methods to uninstall IntelliJ, or any other app, on your Mac is to use an uninstaller. Some apps come with an uninstaller of their own, and you could use that. For those apps that don’t, like IntelliJ, you should use a third-party uninstaller to remove applications and all associated files.
I use CleanMyMac to uninstall apps I no longer need. Its functionality also allows you to free up disk storage, optimize your Mac, and protect it from malware. Here’s how to use it to uninstall IntelliJ:

- Get your free CleanMyMac trial.
- In CleanMyMac, go to Applications and run a scan.
- Click Manage My Applications and locate IntelliJ.
- Check the box next to it, then click Uninstall.
How to uninstall IntelliJ on your Mac manually
To uninstall IntelliJ manually, remember to remove the app itself and all associated files. Meaning you’ll have to do some digging to track down those files. But if you’ve got time, here’s what you should do:
- Quit IntelliJ.
- Go to the Applications folder, locate IntelliJ, and drag it to the Trash.
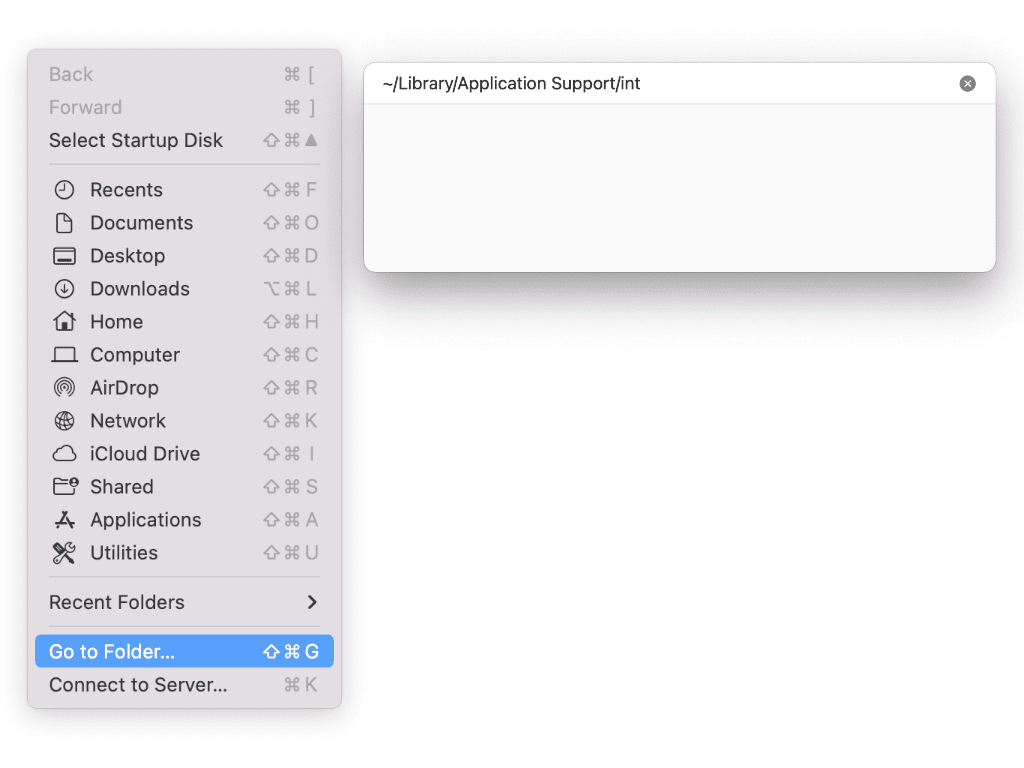
- Click the Finder in the Dock, then click on the Go menu > Go to Folder in the menu bar.
- In the text box, paste each location below, one at a time, followed by Return. Then look for files with ‘jetbrains’ or ‘intellij’ and drag them to the Trash.
~/Library/Application Support/
~/Library/Caches/
~/Library/Preferences/
~/Library/Logs/
~/Library/Saved Application State/

Once you’ve dragged files to the Trash, don’t forget to empty it.
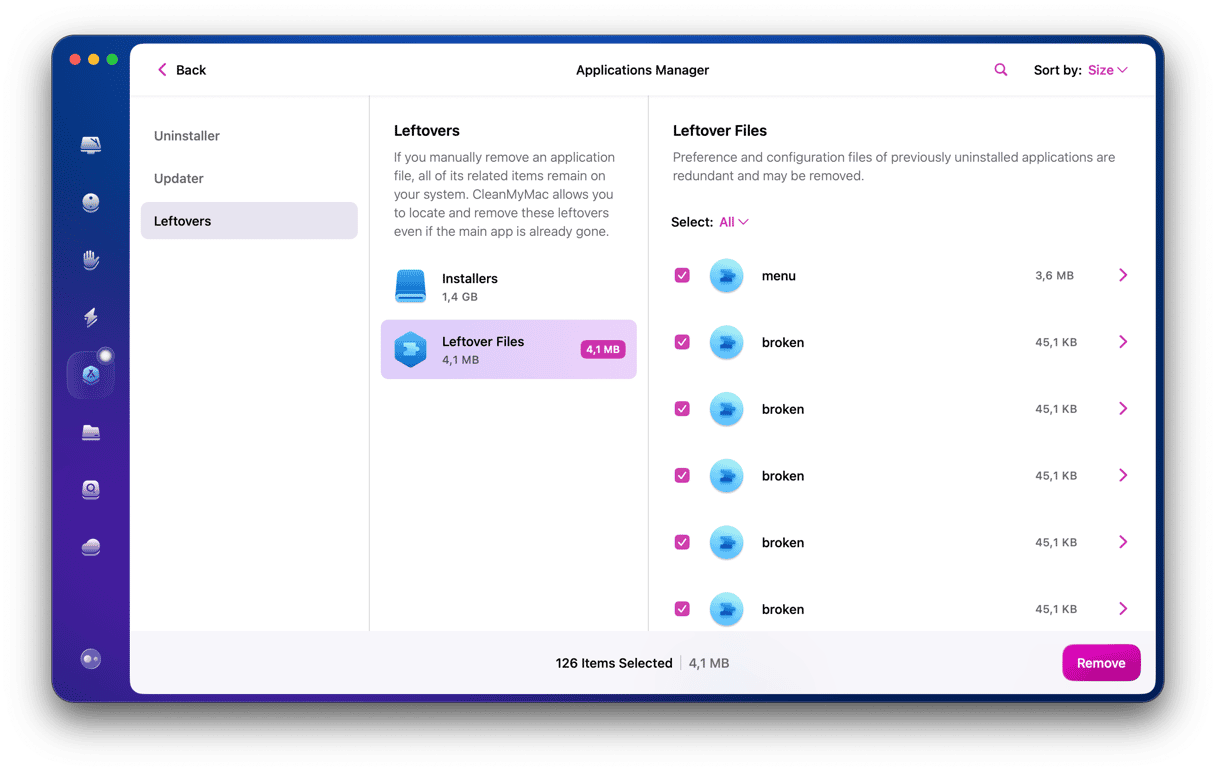
Unfortunately, some associated files can still be left behind even after completing such time-consuming detective work. Lying around on your Mac, these files can cause problems later on. To avoid a situation like this, it is better to double-check your Mac with CleanMyMac.
How to check for leftovers:
- Launch CleanMyMac, go to Applications, and click Scan.
- Click Manage My Applications and then Leftovers.
- You’ll see a list of leftover files from deleted apps.
- Check the box next to each one and click Remove.

IntelliJ is an integrated development environment for Java virtual machine software. If you’ve installed IntelliJ on your Mac and no longer want it, then it’s a good idea to uninstall it to free up valuable space on your Mac. The easiest way to do that is to use CleanMyMac. As an alternative, follow the steps above to do it manually. Stay tuned for more Mac tips!


