Snapchat is a popular instant messaging platform with over 363 million daily users around the globe. It helps users connect with friends without leaving gigabytes of digital baggage online. How? All pics and videos or snaps you send fade away after they’re viewed.
Currently, Snapchat is available for iOS and Android only. That means your snaps and chats with friends are limited to the mobile app.
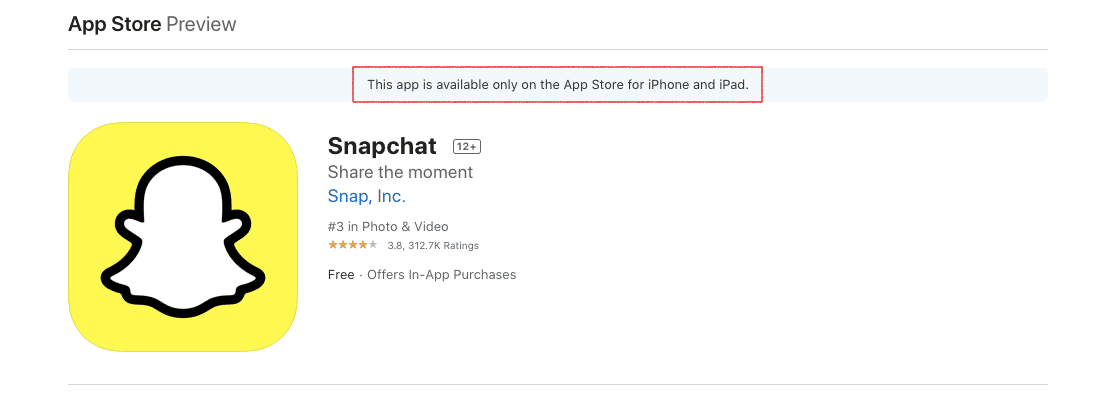
Rumor has it that the macOS version will arrive soon. Still, if you are wondering how to get Snapchat on Mac right now, there are workarounds. Let’s see a detailed guide on how to do that!
How to access Snapchat on Mac
Getting Snapchat on Mac is pretty simple with an Android emulator. This software helps you run any Android app on your Mac without much effort at all. For this purpose, you can use any approved emulator, such as BlueStacks.
To download and run an emulator, you need to tweak your Mac setting a bit. By default, only apps from the App Store or identified developers can flawlessly pass through the installation. Apple calls this ‘notarization’ and made this process even more severe on newer macOS editions. So how to install the emulator and start using Snapchat on Mac in this case? Here are a few steps to follow:
Step 1. Give installation permission
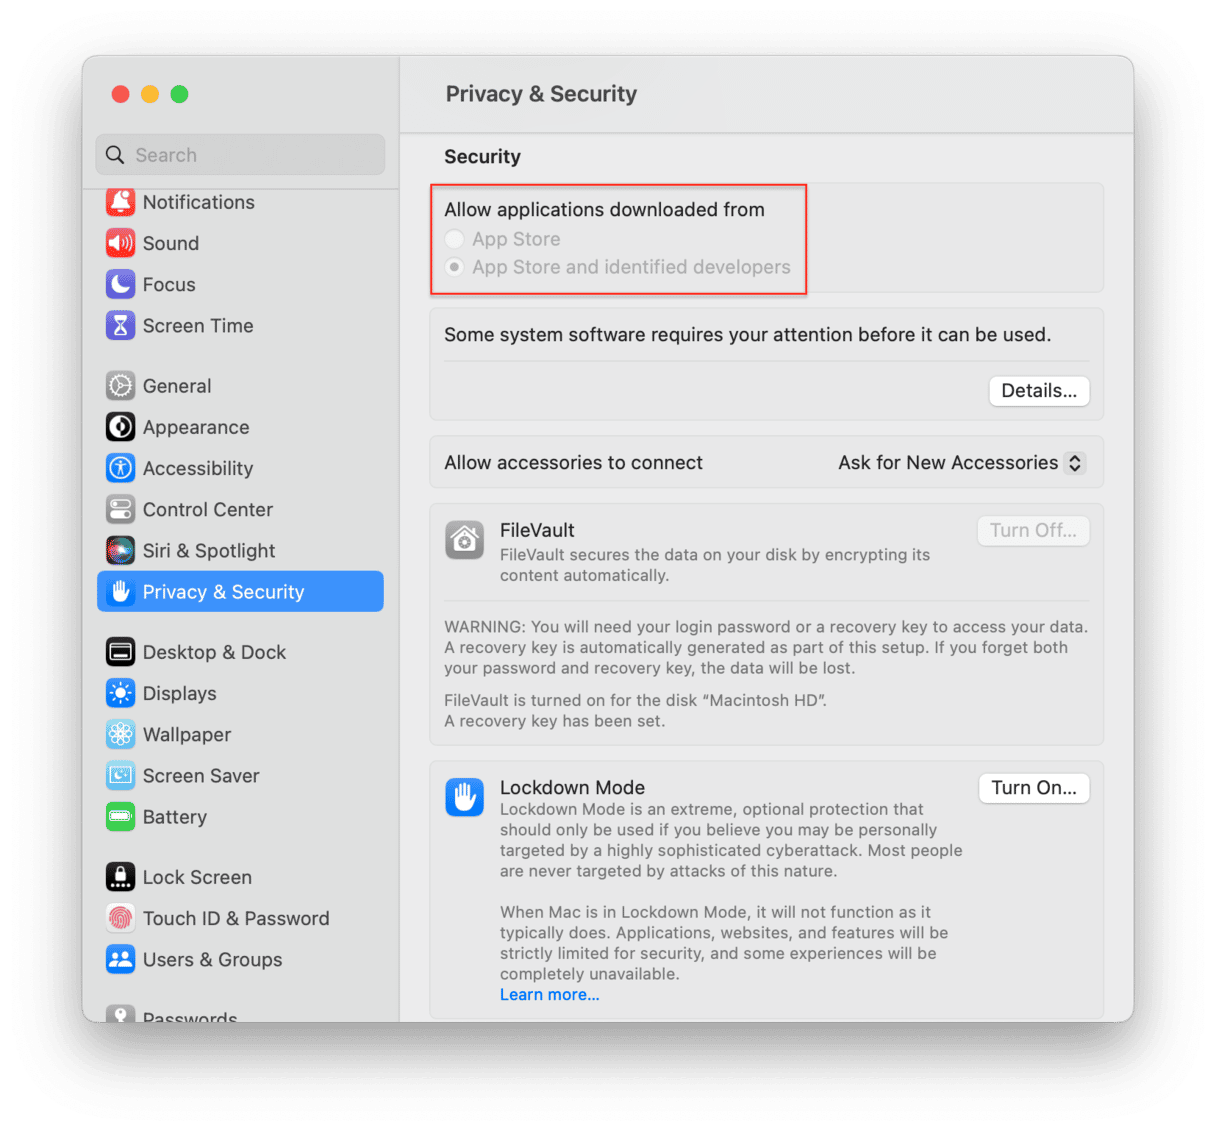
- Choose System Settings from the Apple menu.
- Go to the Privacy & Security.
- Select ‘App Store and identified developers’ under ‘Allow applications downloaded from’ in the Security section.
Step 2. Download and install the emulator
Now that security settings are modified, it’s time to get to the emulator. BlueStacks is a good option to try out.
- Head over to the developer’s website and hit Download BlueStacks to get the installer.
- Open the DMG installer from your Downloads folder to start the installation.
- Follow the on-screen prompts to complete the process.
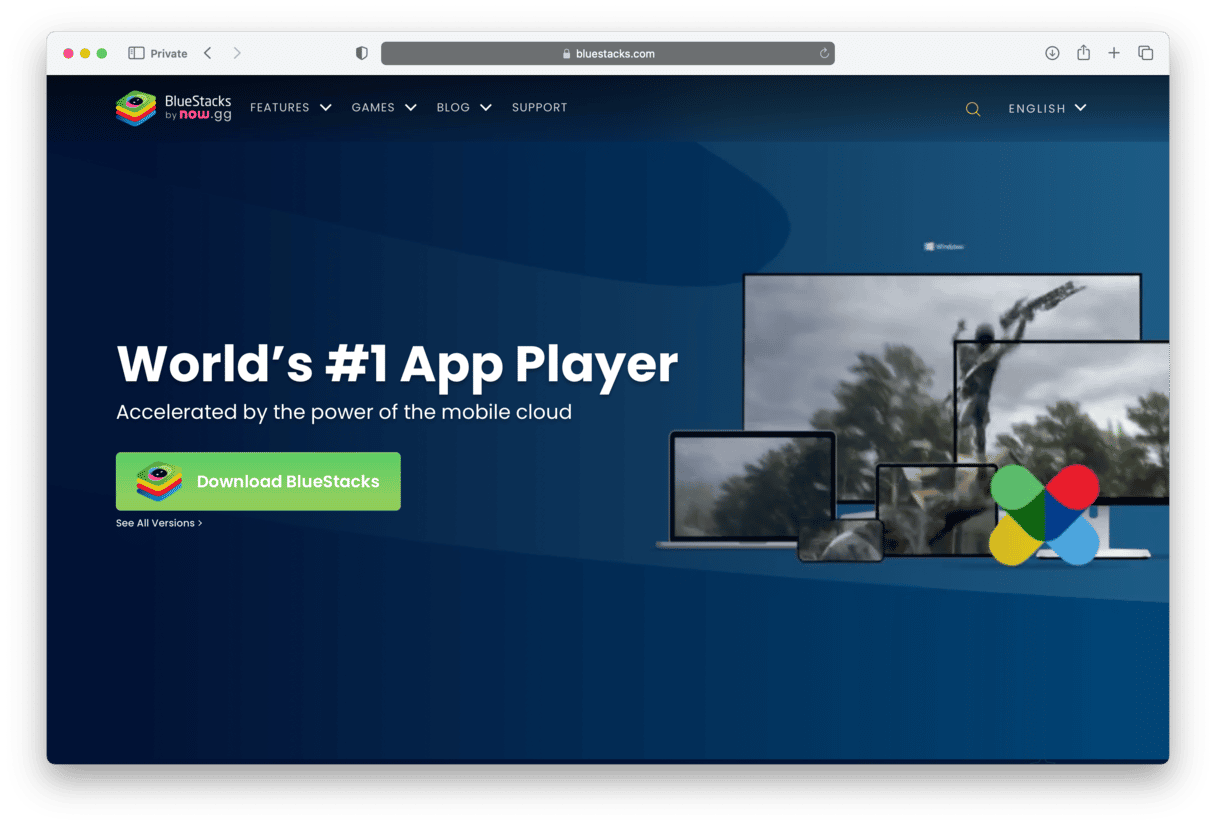
Now you have a virtual Android device on your Mac and can download Snapchat from the Google Play Store. It’s like the App Store for Android devices, with lots of apps to explore.
Step 3. Sign in to your Google account
Once you open the emulator, you’ll be asked to sign in with your Google account. If you still don’t have one, click Create account.
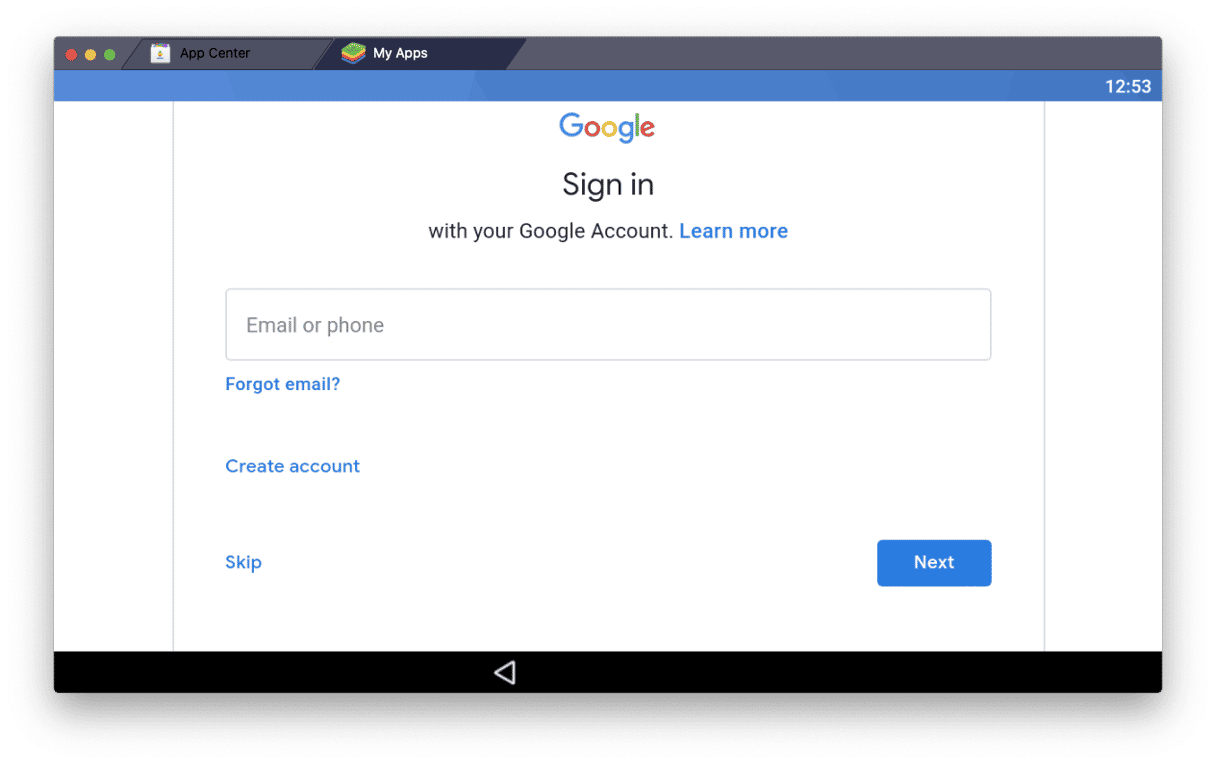
Step 4. Install Snapchat on your Mac
Now that you linked your Google account with the emulator, go to the Google Play Store on the My Apps page. Type Snapchat in the search bar and hit Enter to find the app. Choose it from the list of results and click Install. That’s all!
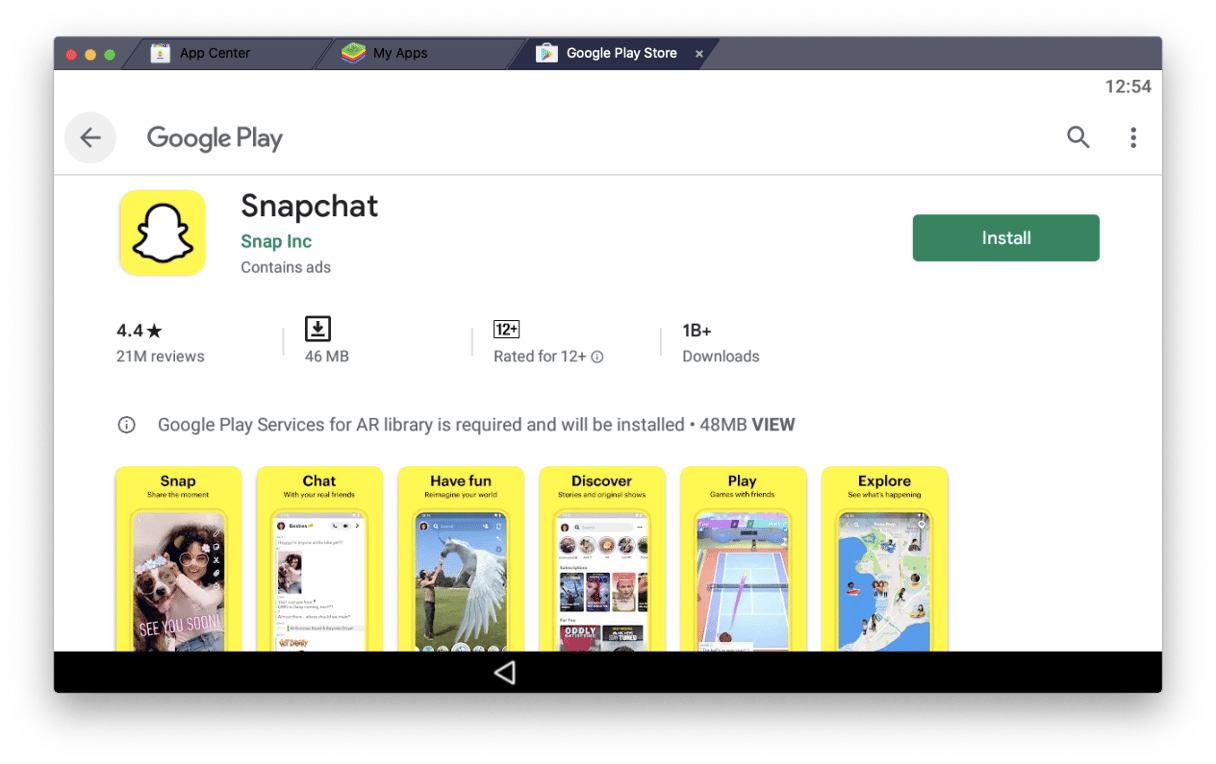
Once done, you’ll find the Snapchat icon on the My Apps page. Open the app, enter your login details, and enjoy using Snapchat on Mac. As simple as that! Best of all, the app is fully functional and works the same as it does on your mobile device.
Is it possible to use Snapchat on Mac without an emulator? Unfortunately, there aren’t any other ways to do that. Apple does plan to bring Snapchat to the App Store, but there isn’t a set release date yet.
Bonus tip: How to correctly uninstall the emulator & Snapchat
Using an emulator is a bit cumbersome way of getting software. Some undocumented apps, like adware, may have sneaked onto your Mac during the installation.
After you’ve run Snapchat successfully, it’s worth checking your Mac for infected .dmg files and potential ad plugins. It’s easy to do with a free version of CleanMyMac — a popular Mac tune-up app that is notarized by Apple. It checks DMG files for malware before you even unpack them and monitor your Mac for threat in the background.
- Grab your copy of CleanMyMac for free.
- Open the app and navigate to the Malware Removal tab.
- Click Scan.
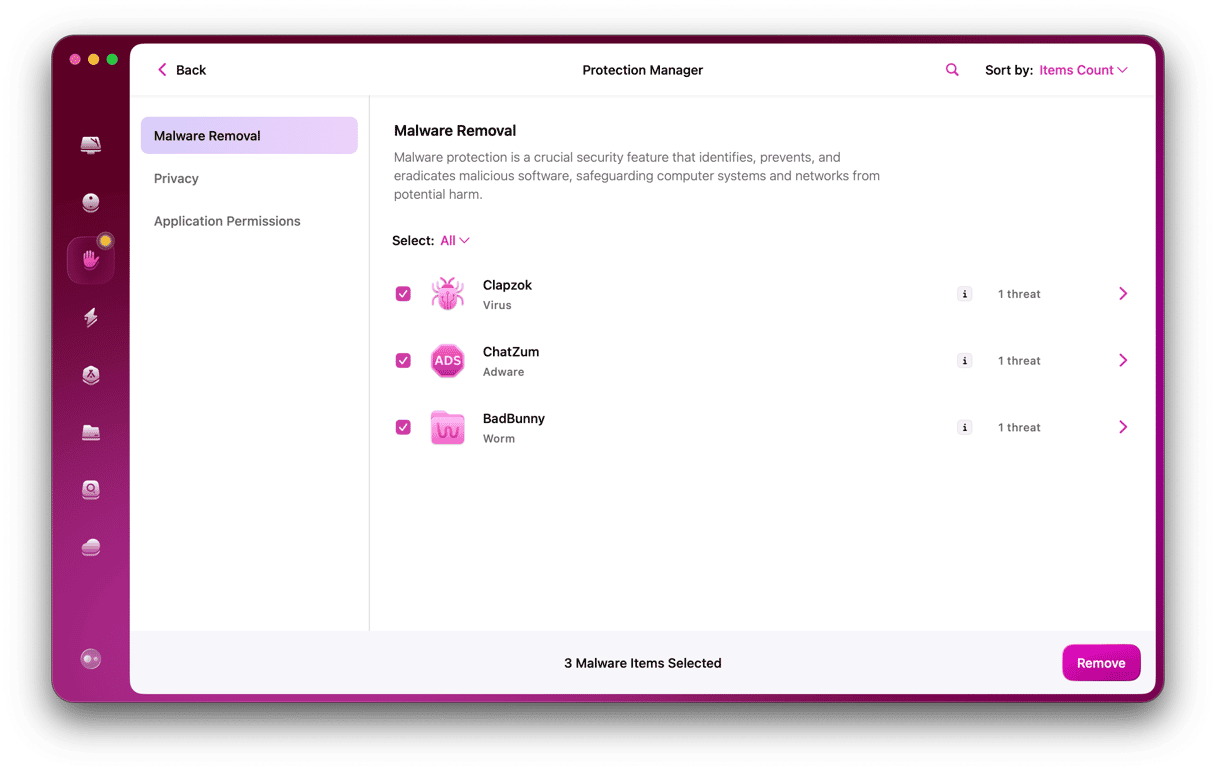
If you don’t need Snapchat on your Mac anymore, you’ll likely drag the emulator to the Trash, right? Although this method is simple, it leaves tons of leftovers behind. Over time, they turn into junk clusters that may cause system breakdowns.
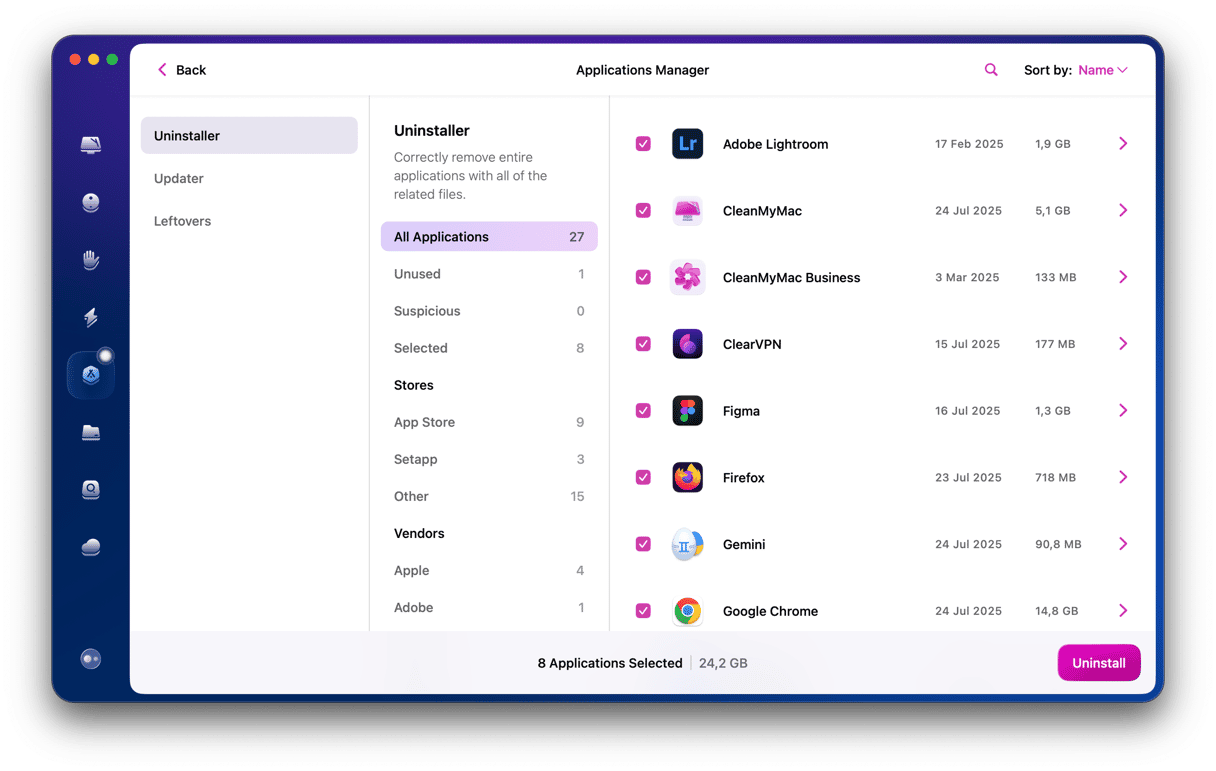
To get rid of unneeded software, I prefer using a dedicated Uninstaller tool. The one that comes with CleanMyMac does the job in just seconds, leaving no trace of the app’s components, even hidden ones. Here’s how it works:
- Find the Uninstaller in the sidebar on the left.
- See the results for found apps.
- Select apps you want to get rid of and click Uninstall. You can choose several at a time.
- It is also a good idea to check the Leftovers pane to remove files left on your Mac after an incomplete removal of apps you deleted manually some time ago.
Using Snapchat on Mac is a piece of cake if you know how to install the right emulator. Hope this article will help you cope with this task as well as keep your computer clean and protected with CleanMyMac.


