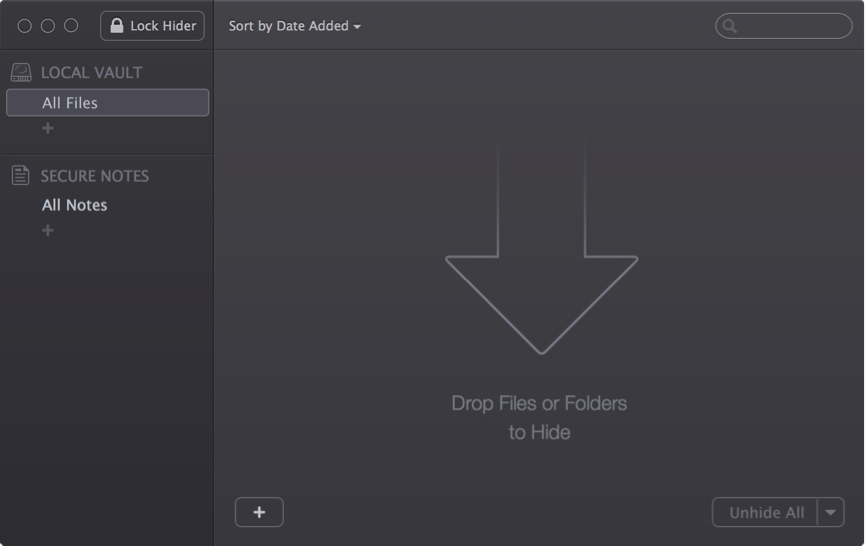
As soon as you get to the main Hider 2 window, you are ready to add your first files into Hider.

Please take the following steps to add a file to Hider 2:
1. Click the ‘+’ button the the main screen area.
2. Select the item you would like to hide in the dialog that appears.
3. Click the Open button to add the item.
Alternatively, you may just drag files or folders right into the main Hider 2 window.
Hider 2 will automatically list all the added items in its interface, encrypt them using
AES-256 algorithm and store them in your local vault.
All of the items you’ve added into Hider 2 may have one of these two states:
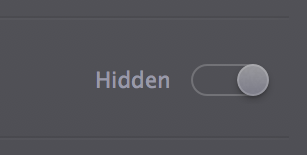
Hidden — the item is currently encrypted and stored in your local vault.
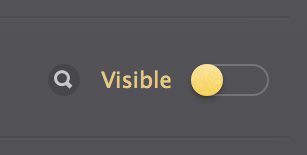
Visible — the item is in its original location in Finder.


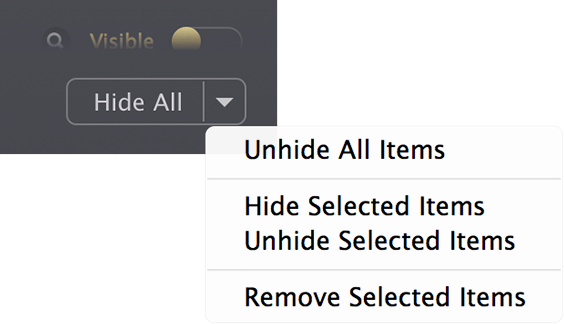
You may operate the Hide/Unhide switch of any particular file or use the common Hide All button in the right bottom corner of the app:

Please note that hiding and unhiding process involves encryption and decryption respectfully. This means that the times to complete these operations depends on file sizes. On average, the process is almost equal to the time it would take to simply copy these items.
