Finding and accessing /opt isn't as simple as finding other hidden folders. macOS intentionally hides the system-related items to protect your Mac from accidental changes. However, if you use third-party tools like Homebrew, you'll often need to access this folder to configure files or troubleshoot issues. In this article, we'll show how to locate and access the /opt folder on Mac.
How to find the opt folder?
This isn’t as easy to find as a Library or even Net or var because macOS does not even have an opt (or /opt) folder. Instead, macOS has a /usr/local/opt folder — something you can make visible in the Finder.
Ordinarily, you aren’t going to need to find and access the /usr/local/opt folder unless you need to download new software applications from third-party providers, such as Intel or Homebrew.

Whatever the format you find opt within your macOS directory, the purpose of this folder is to serve as “a directory for installing unbundled packages (i.e., packages not part of the Operating System distribution, but provided by an independent source), each one in its own subdirectory.”
Navigating to this opt folder can be done one of two ways: either go through Terminal or search for it using the Finder.
How to find opt folder using Terminal
- Open Terminal from the Applications Utilities folder.
- Type in the following command followed by Return:
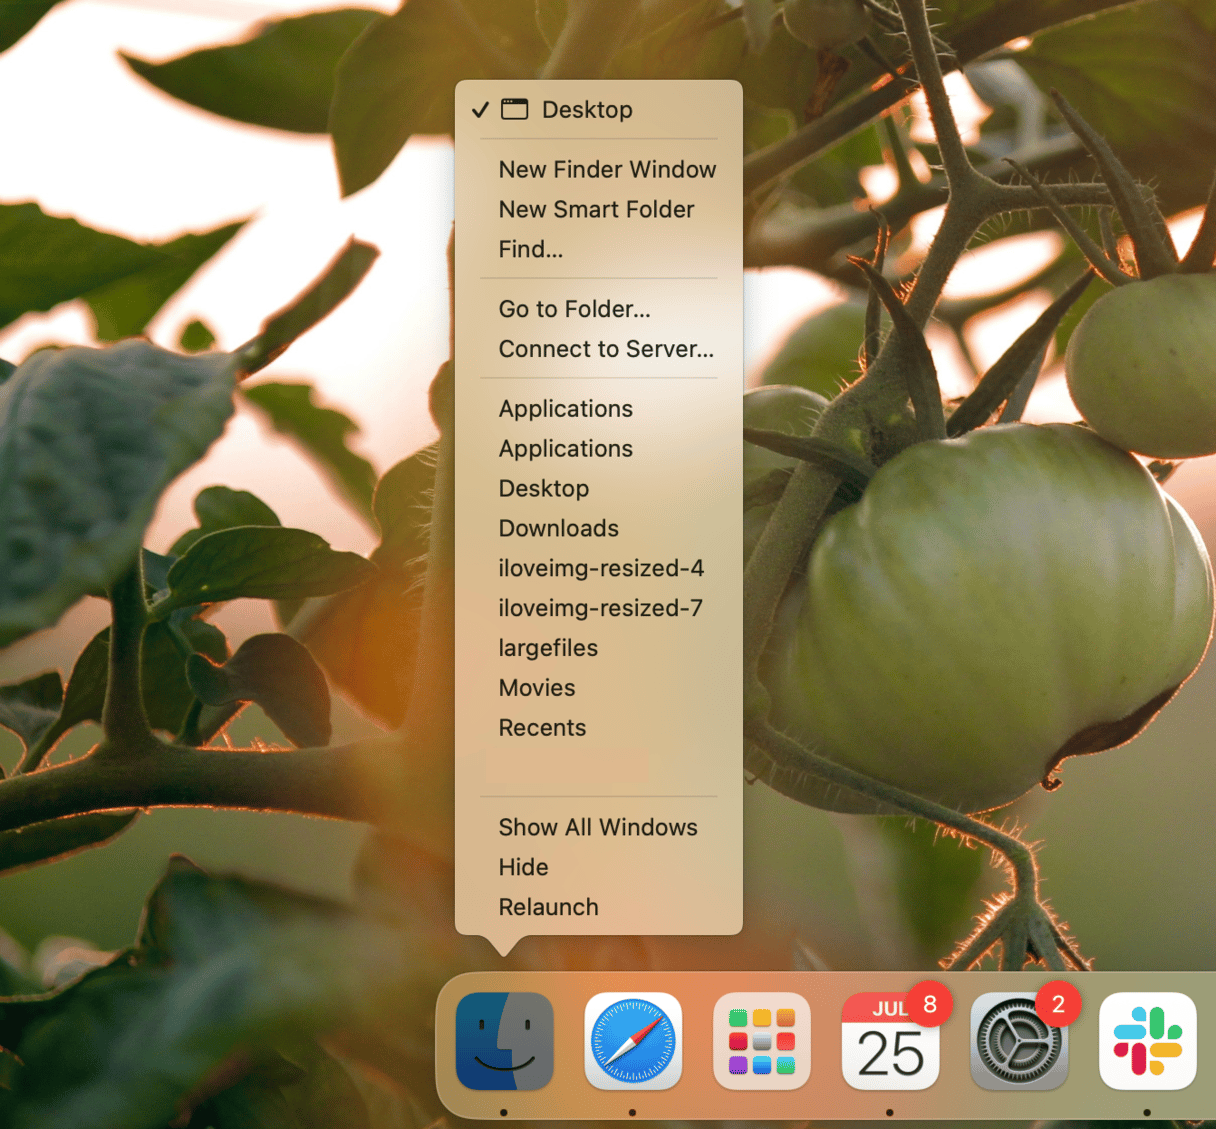
defaults write com.apple.Finder AppleShowAllFiles YES - Now, Reinitialize the Finder, either by rebooting or right-clicking the Finder while holding down the Option key, then choosing “Relaunch.”
- This should show every hidden folder, including the /usr/local/opt folder.
- Once you are ready to hide them again, go to Terminal and input the following command:
defaults write com.apple.Finder AppleShowAllFiles NO


How to access the opt folder using the Finder
- Open the Finder.
- Press Command+Shift+G to open the dialogue box.
- Input the following path and press Return:
/usr/local/opt - Now, you should have temporary access, so you should be able to drag it into the Finder favorites if you want to access it again.

How to visualize hidden files and folders
While accessing the opt folder is safe, other hidden folders are hidden for a reason, especially if you want to access them to delete any files. But if you are still looking for a way to dig deep into your system folders that would be more convenient than browsing the library or using Terminal, there is one — Space Lens.
It is one of the powerful tools in CleanMyMac. With its help, you can scan your hard drive and build a detailed map of your storage. You’ll get a list of all the files and folders on your Mac — including the opt folder — and how much space they take. You can then remove space hoggers with a few clicks.
- Start your free CleanMyMac trial.
- Open the app and choose Space Lens.
- Click Scan.
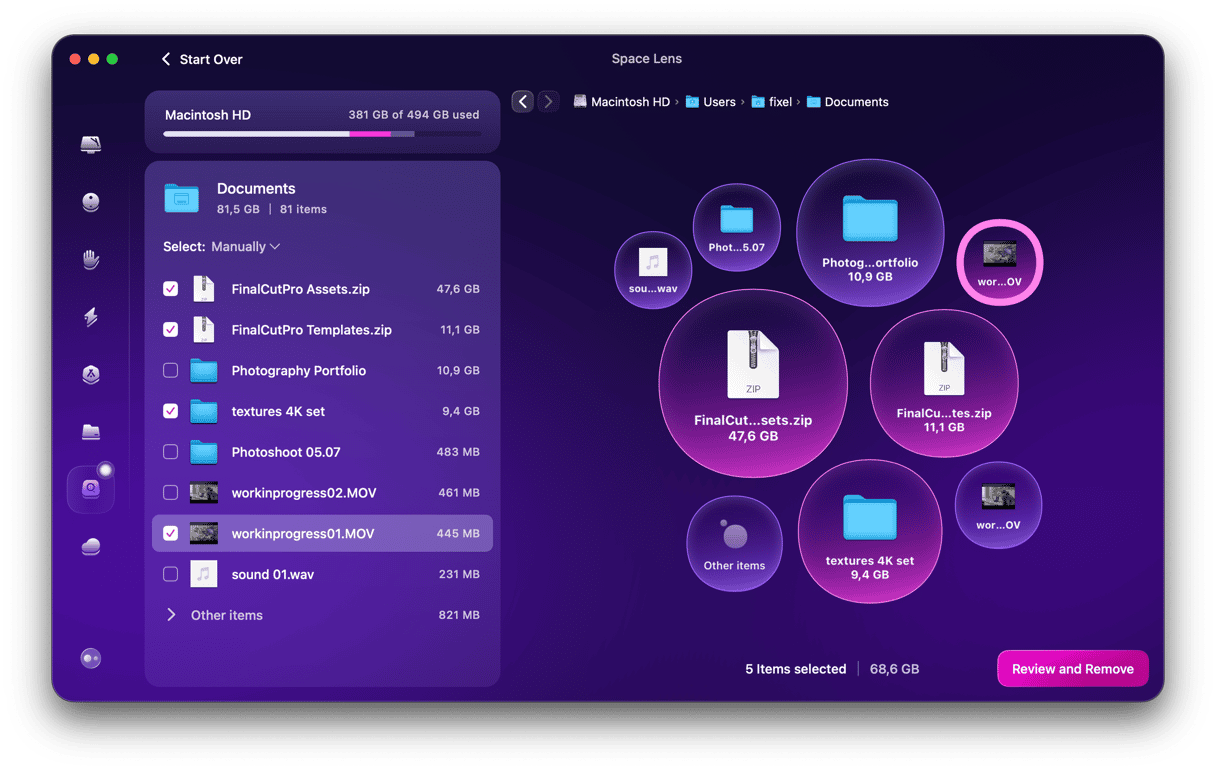
- Make your way through the files and folders and see if you want to delete anything. If yes, simply select the files and click Review and Remove.
- Once happy with the selection, click Remove.