Creative professionals almost always favor Apple computers, tablets, and devices over other brands. One of the many benefits that designers and creatives love about macOS is that it comes with numerous attractive and already built-in fonts.
But if the already built-in fonts aren’t enough, you can always add fonts to Mac. In this article, we cover how to install fonts on a Mac. And don’t worry, you don’t need to be a tech guru to do that.
How to install fonts on a Mac?
Adding fonts to a Mac is fairly simple and something anyone can do in a few short steps. With a few extra fonts, you can make presentations and reports stand out. When designing and building everything from websites to apps, you’ve got the extra advantage of a beautiful font that will stand out and make an impact.
Tip: A lot of fonts may make it difficult to work with text. The same is with cache: a huge amount of cache may slow down your Mac. It’s worth removing cache once in a while to optimize your Mac and help it run faster. The tool that is exceptionally good at examining your Mac’s storage is CleanMyMac.

Its Cleanup feature scans your Mac for user cache, system log files, and other data that generates clutter on your computer. Then, the app clears it off, saving a lot of space and giving your Mac a necessary speedup. You can test the app for 7 days for free — get your free CleanMyMac trial.
When it comes to finding a font or two you can use, there are numerous sources online. Below are a few of the most popular for design teams:
- Google Fonts — you can find hundreds of fonts for Mac in this rich library, and many of them are free.
- MyFonts — another fantastic source of royalty-free fonts, plus some that come with a small fee.
- 1001 Free Fonts — here, you can get free fonts, although some of them are paid if they’re for a commercial project.
- FontSquirrel — an invaluable resource for both free and cheap fonts.
Once you’ve searched through the libraries listed above — and there are other sources for fonts online; these are simply some of the most popular — download fonts as you would any other file. Normally, they come in a compressed .zip folder format. Double-click to decompress and open.
Now that you’ve downloaded a new font, you need to know how to install and use it. Follow these steps to start using your new font.
Another key thing to be aware of before downloading is to check that the font you’re about to use is compatible with macOS. Check the file name. Providing the file name ends with “.ttf” or “.otf” or “.ttc,” it won’t have any compatibility issues with Mac.
How to add fonts to Mac
Thankfully, the process of installing and running a new font is made easy on a Mac.
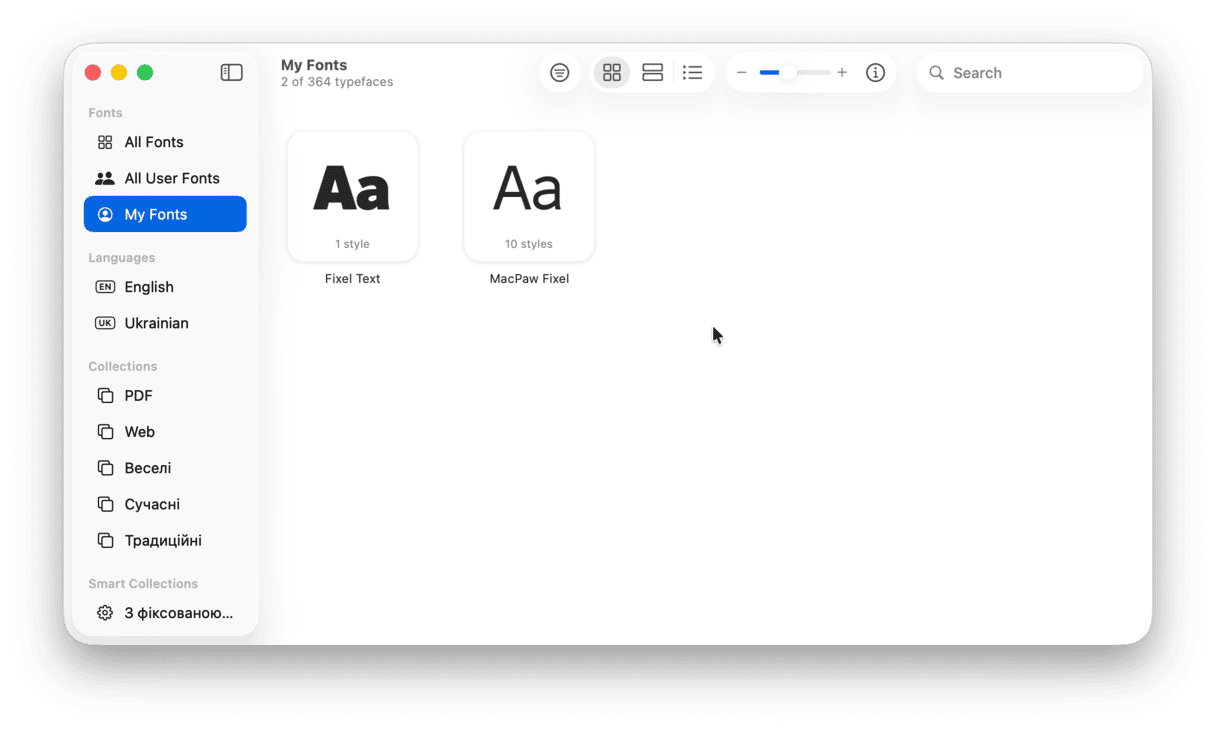
Built into macOS is an application known as Font Book. Using Font Book, a font management app, you can install and run any new font that you’ve downloaded within minutes.
Here is how to do that:
- Open the newly downloaded Mac font folder and unzip it.
- Double-click the extracted folder and open the file ending in “.ttf” or “.otf” or “.ttc.”
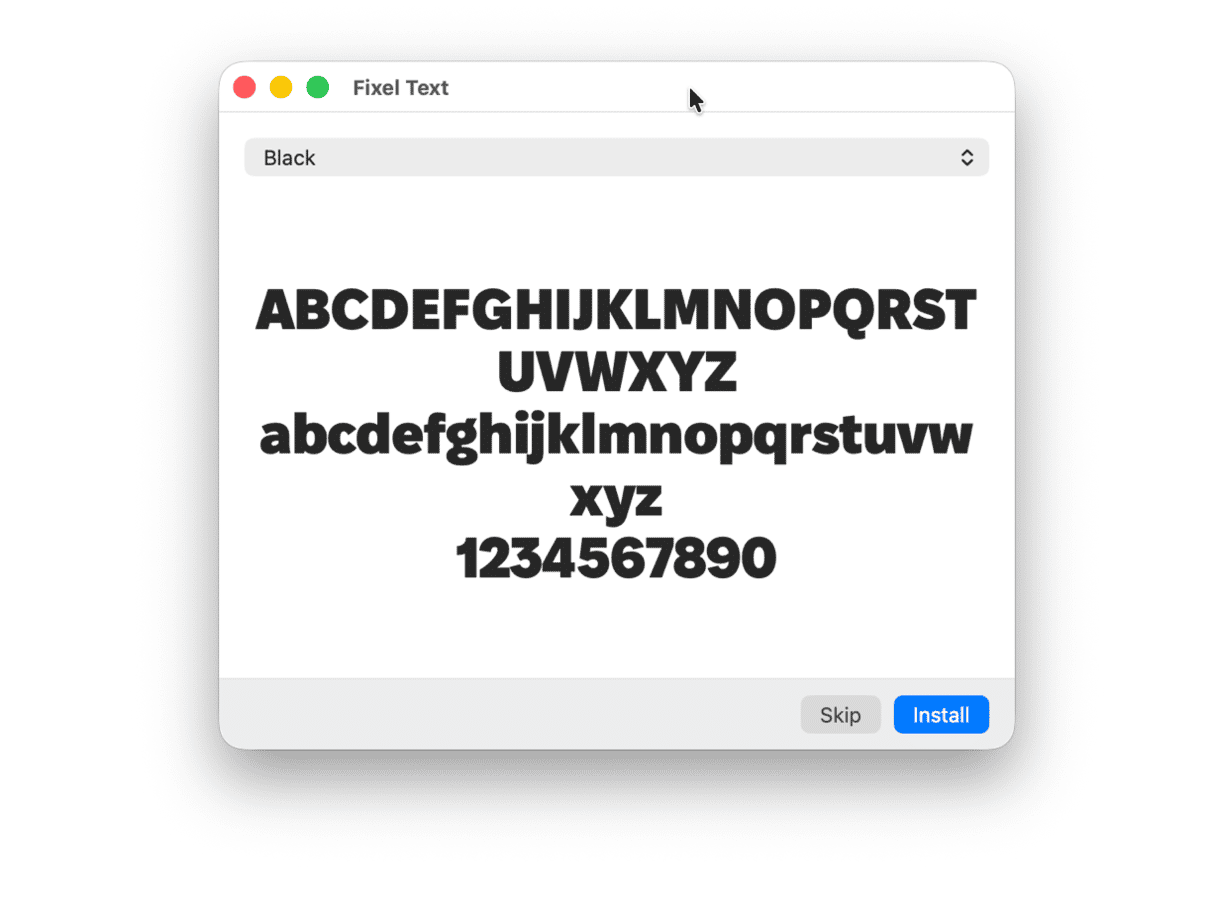
- Click Install Font and accept the Terms of Service (you might need to enter your Mac password, too), and the font you’ve downloaded can be used.


If you’ve got more than one account on your Mac and you want to install this new font for every user account, you need to visit Font Book within the Applications folder before clicking on the newly downloaded font folder. This way, you can go to Settings > Installation within Font Book and change the default location from User to All Users.

Now that you’ve made that change, follow the steps above to install the font for every user account.
It can be useful and fun to have a wide range of choices on your Mac when a new or more creative font is needed. However, it can make it difficult to pick one, and in some cases, having too many fonts and other applications can absorb too much memory and reduce the performance of your Mac. That’s why sometimes you may consider decluttering your Mac and deleting old fonts you no longer use.
Here are a few simple steps for removing unnecessary fonts.
How to remove fonts on a Mac
It isn’t possible to remove system fonts, but you can easily delete any free font that you’ve downloaded yourself.
- Go to Applications > Font Book.
- Right-click on the font you want to delete.
- Click Remove.
- Confirm and then delete your font from Trash.

If you decided to remove fonts because your Mac is running out of memory, there is a better way to save up some space on your Mac. CleanMyMac, the app I’ve mentioned before, can prove useful. It scans your Mac for junk, unneeded files, and lagging processes to clean it off clutter and optimize the system.
Here’s how to clean your Mac with CleanMyMac and help it work times faster:
- Open CleanMyMac — get your free trial here.
- Run a Smart Care scan.
- Click Run to let the app clean and optimize your Mac.

Alternatively, you can use the Cleanup feature, and it will detect and remove junk files — just like Smart Care, but Cleanup will not determine speedup tasks, duplicate downloads, and vital app updates and will not hunt down malware.
If you want to spice up your project or anything else you’re working on, adding a new font may change things a little bit. Make sure you credit the author or pay a small fee when you use a font for commercial needs. Fonts for personal use are often distributed freely. Just double-click the font folder to add it to the Font Book and install it on your Mac. You can remove the fonts from the Font Book as well.