Your Apple ID is an essential element of using your Mac. You need it to log in to iCloud and to use services like Find My, as well as to stream music in Apple Music, listen to podcasts in Podcasts, and synchronize files in iCloud. So, if you see a message that says, ‘Verification failed this Apple ID is not active,’ it’s a problem you need to solve quickly. In this article, you’ll learn what it means if you see the message and what you should do about it.
Why is my Apple ID not active?
There are a few things the message could mean:
- Your Apple ID has been disabled for security reasons.
- Your account is locked because you typed in the wrong password too many times.
- The Mac has been used by someone else with their Apple ID — they have since deleted their ID, but the Mac is still linked to their ID.
- There has been a violation of Apple’s terms and conditions associated with the Apple ID.
- Apple’s servers are down, and your Mac can’t verify the password.
How to fix it when you see the message ‘This Apple ID is not active’
As always, it’s best to start with the easiest fixes.
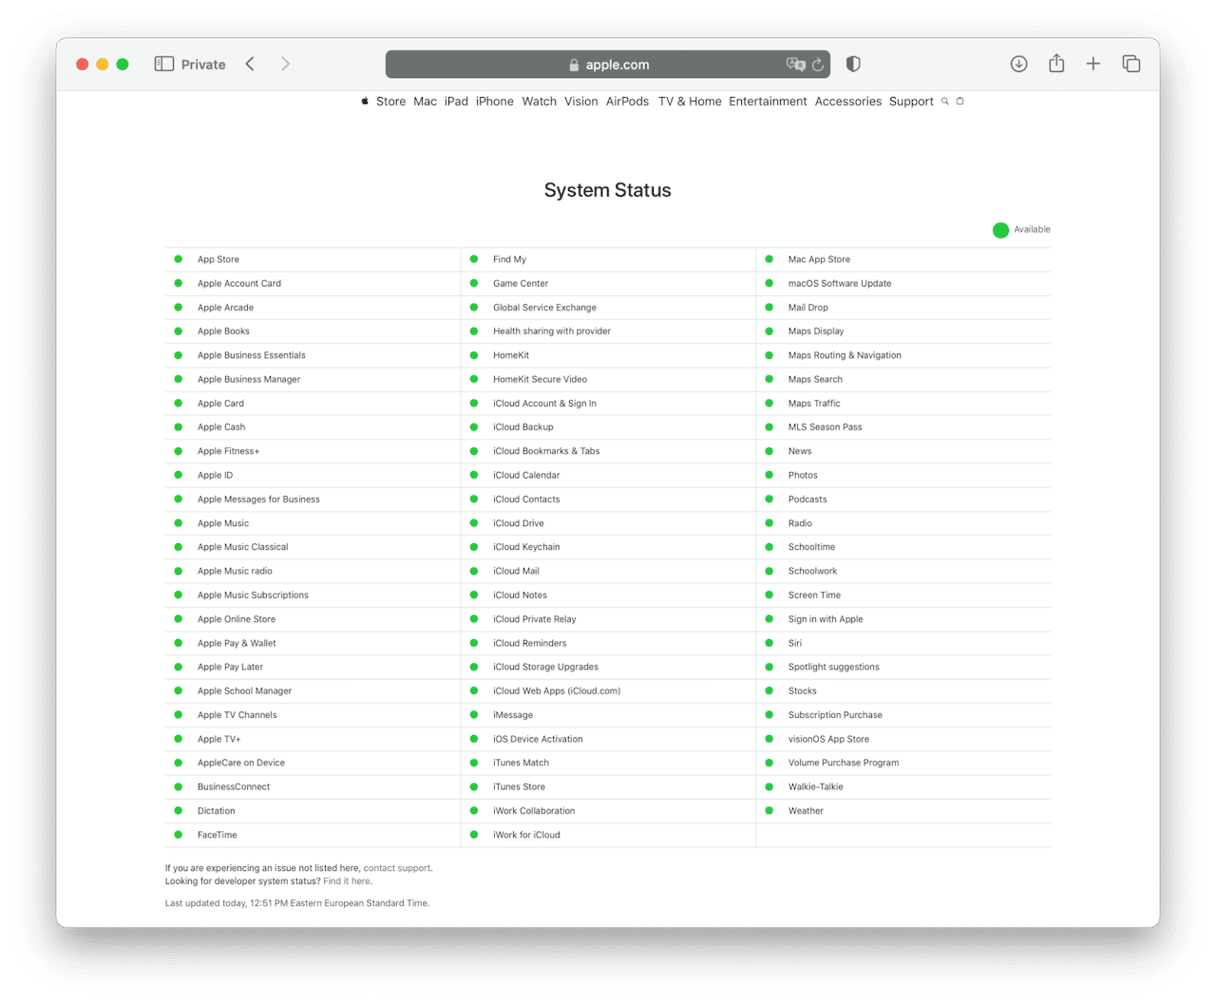
1. Check Apple’s status page
If the issue is with Apple’s servers, you will quickly see a red dot next to Apple ID on this page on Apple’s website here.
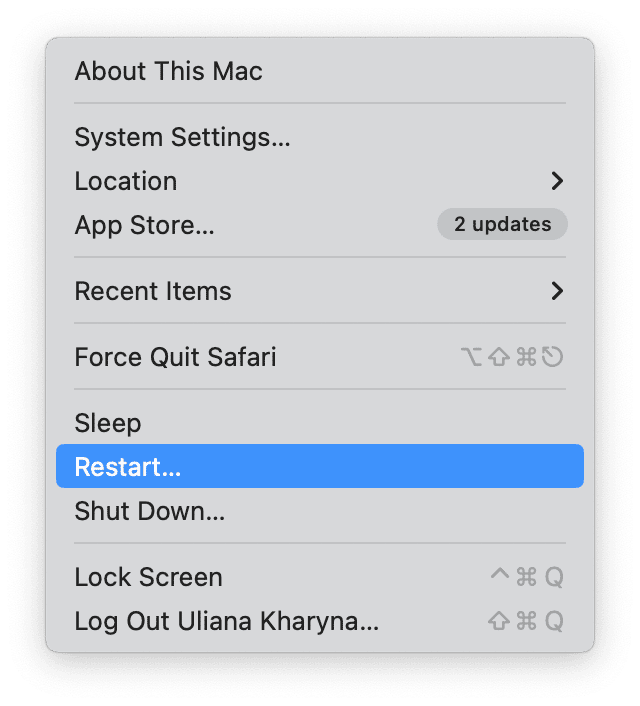
2. Restart your Mac
Restarting your Mac clears out temporary files and performs checks on the boot disk. It’s unlikely this will fix the problem, but it’s easy and will only take a few seconds, so it is worth doing.
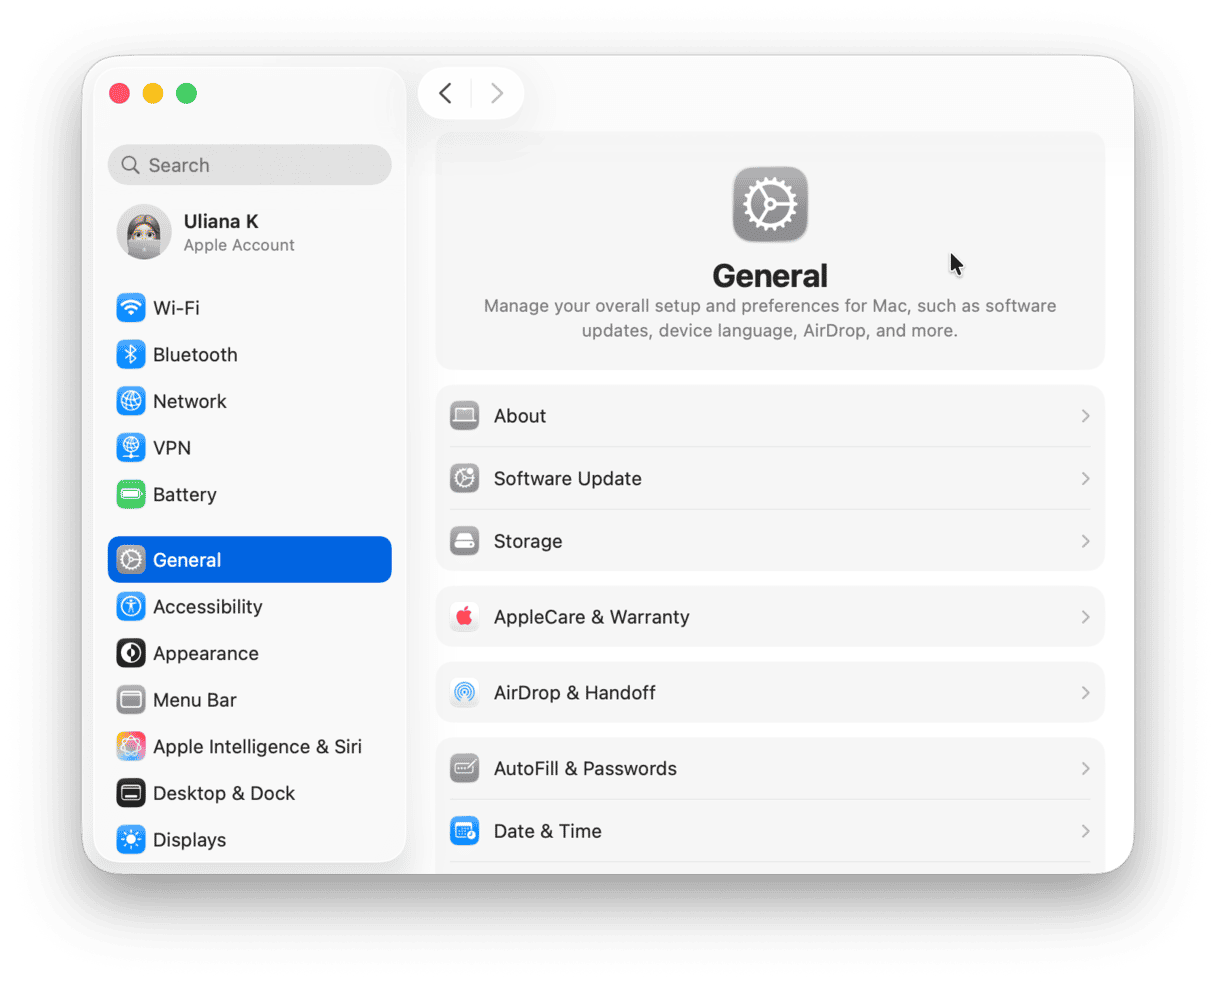
3. Check the Apple ID is correct
Click the Apple menu and choose System Settings. Look at the Apple ID at the top of the window. Is it your Apple ID? Is the email address correct? If it’s the Apple ID of the person who owned your Mac previously or someone else, try changing it to your Apple ID and logging in.
4. Reset your Apple ID password
If you have been locked out of your Apple ID because an incorrect password has been entered too many times, you need to reset it. If your Mac is designated as a trusted device (a special category of device that you assign so it can access your Apple ID account without two-factor authentication and which can receive security code notifications), you can reset your password from it. If not, you will either have to use another trusted device, such as an iPhone, or use a web browser.
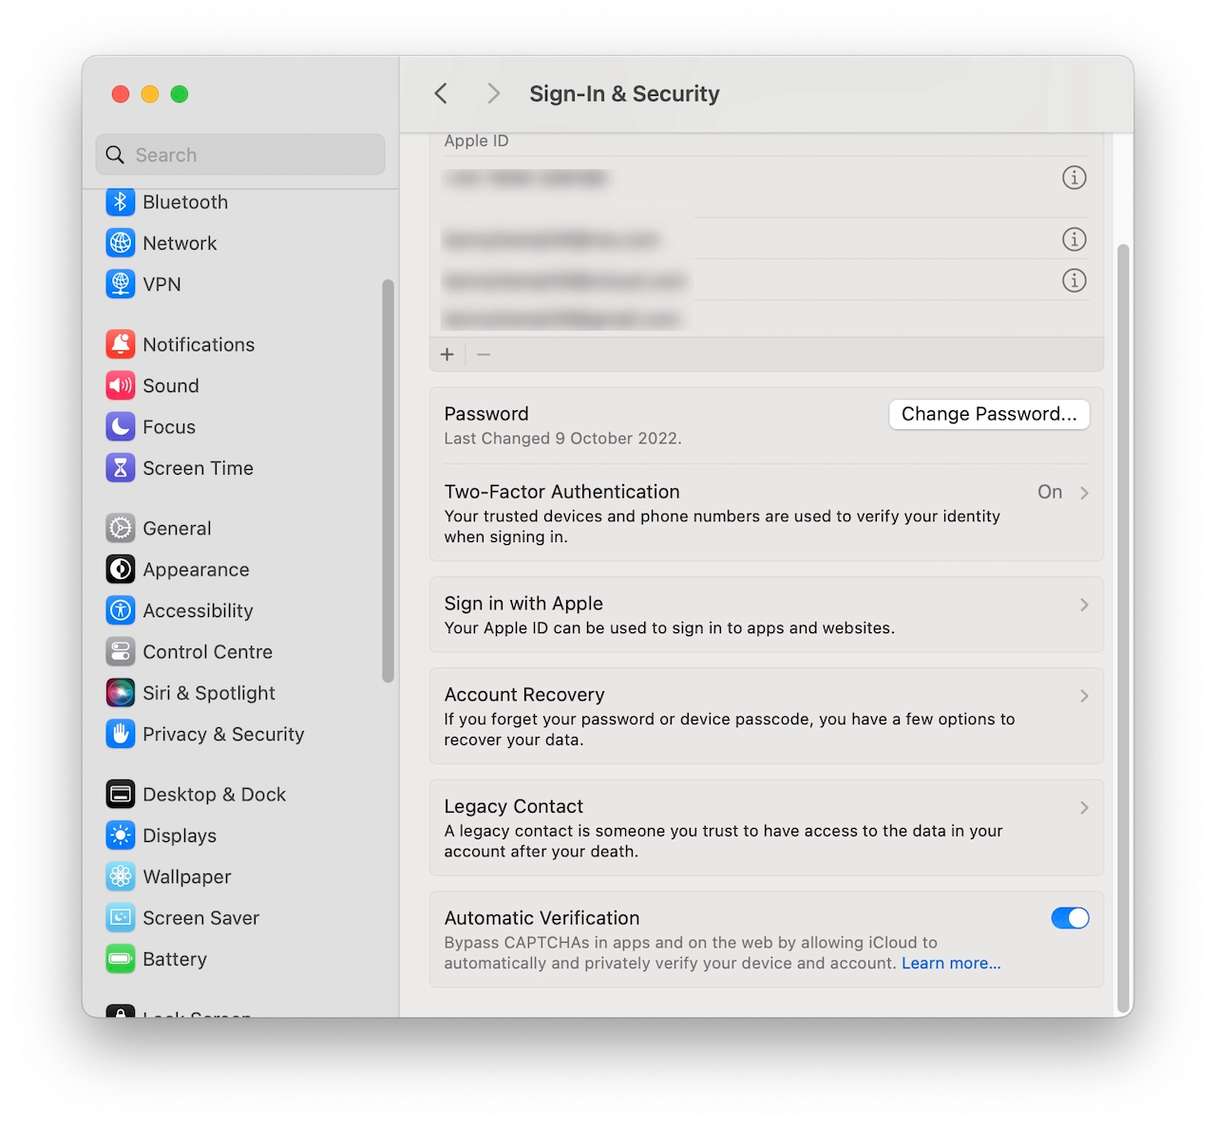
How to reset your password on your Mac
- Click the Apple menu and choose System Settings.
- Click your name and choose Sign-In & Security.
- Choose Change Password.
- Follow the instructions on the screen to change your password.
How to reset your password on an iPhone, iPad, or Apple Watch
- Open the Settings app.
- Tap your name.
- Choose Sign in & Security.
- Tap Change Password.
- Follow the instructions on the screen to change your password.
If you haven’t yet signed into the Apple ID whose password you want to change, choose ‘Sign in with your Apple ID’ or ‘Sign in to your iPhone’ after you click or tap your name. Then choose ‘Forgot Apple ID or password?’
How to reset your password using the Apple Support app
To use the Apple Support app, you need to have a trusted phone number and access to an iPhone or iPad.
- Download the Apple Support app from the App Store.
- Scroll down to Support Tools, then choose Reset Password.
- Tap ‘A different Apple ID’
- Type in your Apple ID.
- Tap Next.
- Follow the instructions on the screen to reset your password.
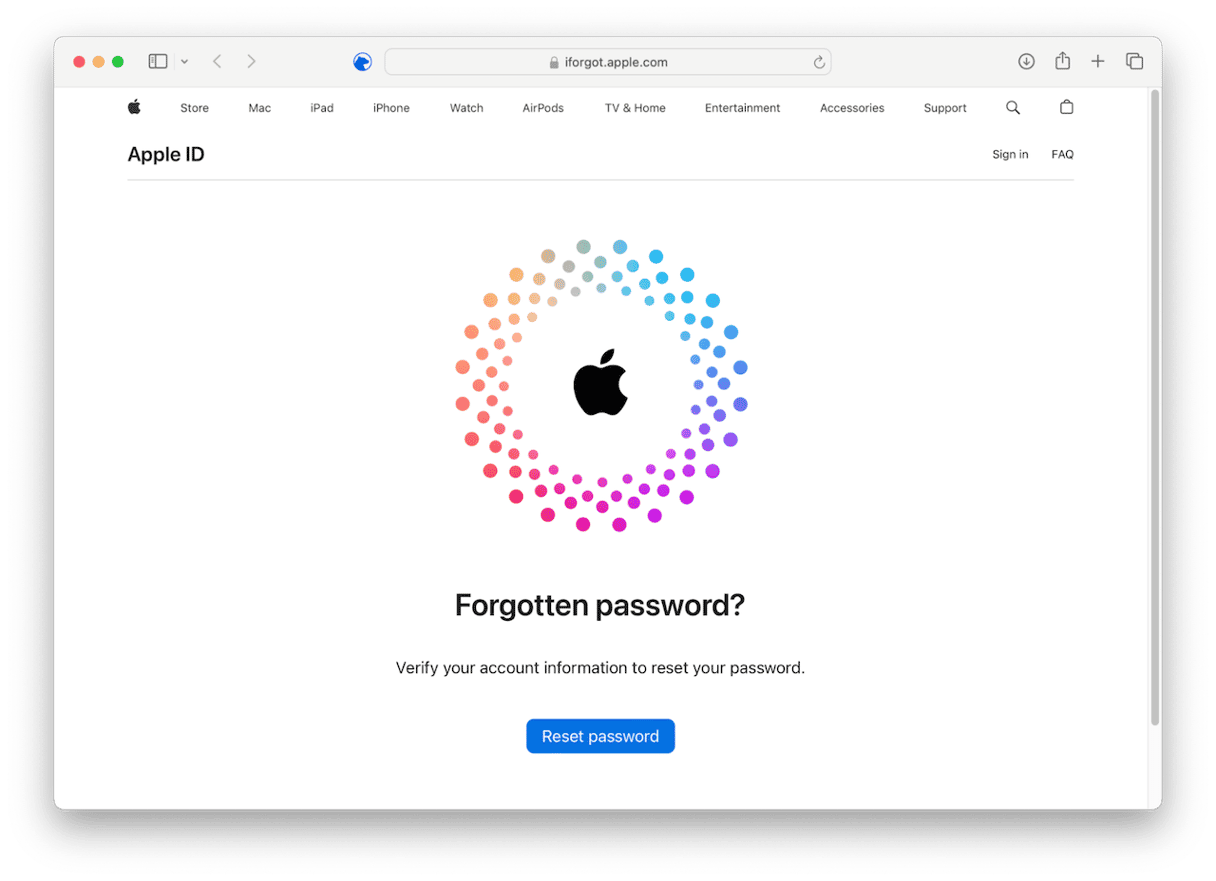
How to reset your password from a web browser
- On your Mac, go to iforgot.apple.com
- Click Reset password.
- Follow the instructions on the screen to verify your account information and reset your password.
5. Contact Apple support
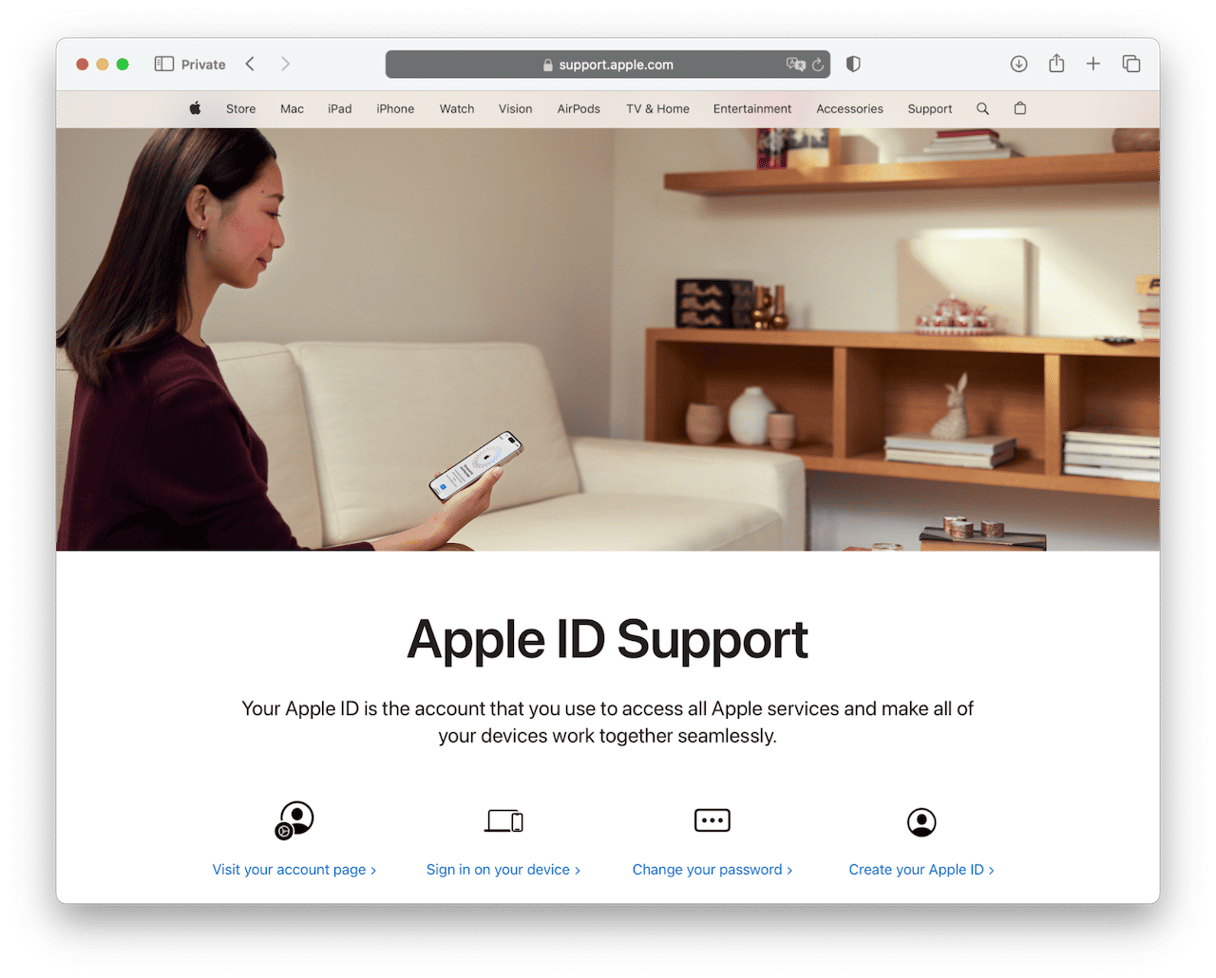
If nothing so far has worked and your Apple ID is still not active, the final step is to contact Apple support and ask for help. You can do that at a page on Apple’s support site dedicated to Apple ID issues. Click here to go to that page.
Your Apple ID is the key to accessing all of Apple’s online services, including iCloud, so if you can’t log in, it’s a serious problem. Fortunately, it’s also a problem that is not too difficult to fix. If you see the message ‘Apple ID not active’ when you try to log in, follow the steps above to fix the problem and, if necessary, reset your password.


