Your Mac ships with a very capable video player — QuickTime Player. However, it has several limitations. While it’s great at playing supported video formats like MP4, HEVC, and H.265, it won’t play Windows Media or MKV files. And while it can record video using your Mac’s camera or record your screen, it can’t playback videos from a network stream and doesn’t allow you to create bookmarks. So, there are lots of reasons to use other video players. And if you do that, you may want to make one of them the default. In this article, we’ll show you how to change the default video player on your Mac.
What do we mean by default video player?
The default means that when you double-click a video file in the Finder, it opens in that application. Compatible video files will also display the default application’s icon as their file icon in Finder.
How to change the default video player on your Mac
There are a few steps to changing the default video player. If you’ll later wonder how to make QuickTime player default, you’ll use the same process:
- Open a new Finder window and locate a video file.
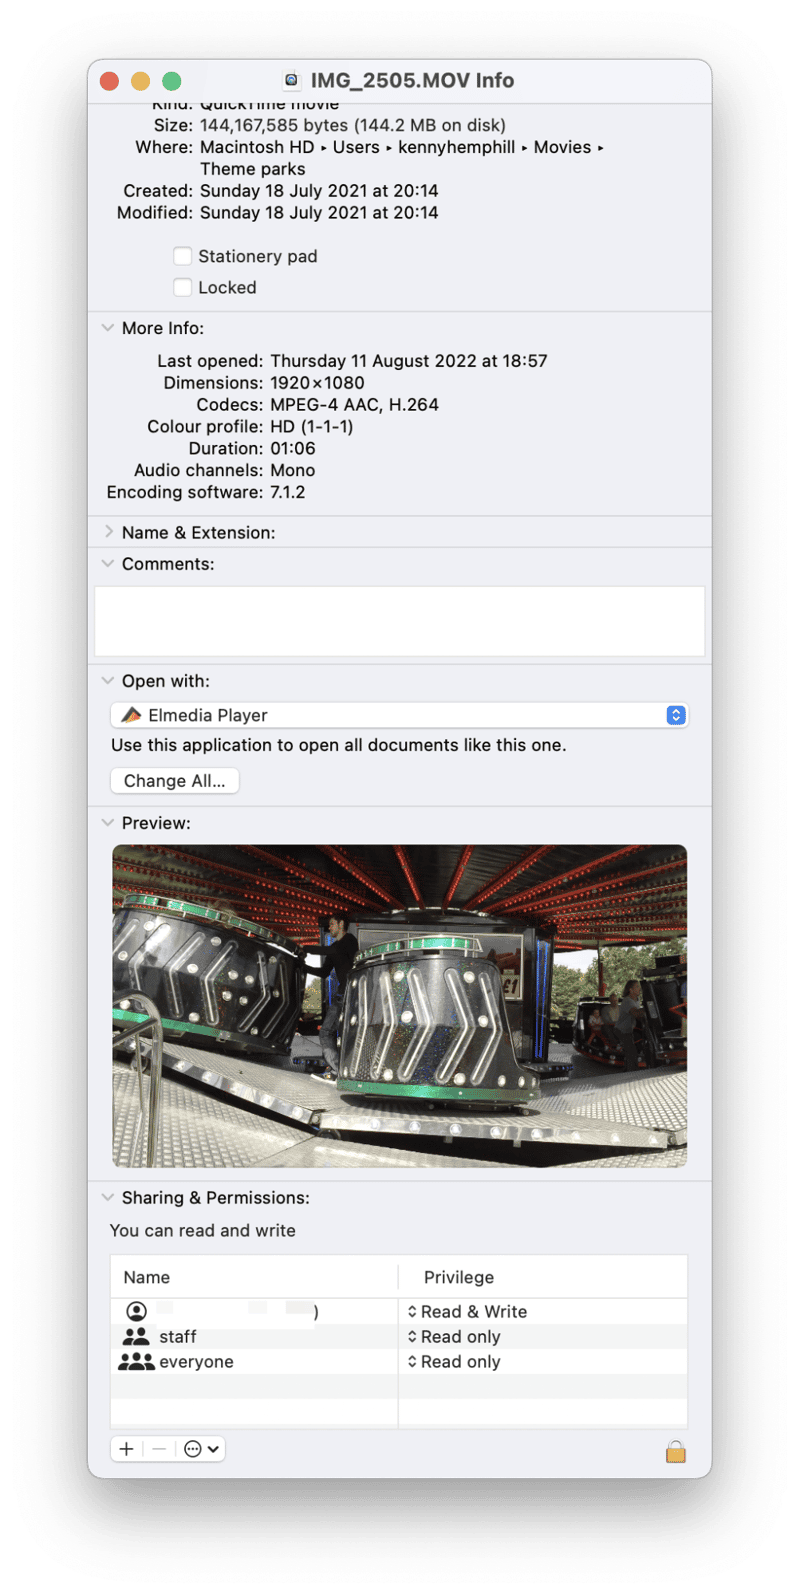
- Select the file and then click Command-I to see the Get Info window.
- Under Open with, click the menu and choose an app.
- If you can’t see the app you want to set as the default, click Other.
- In the Enable menu, choose All Applications, select the application you want to set as the default, and click Add.
- In the Get Info window, the app you just added will be selected. Click Change All and close the Get Info window.

The app you chose will now be the default for opening all video files. Test it by double-clicking any video file.
Which app should you choose as the default video player?
There are lots of video-playing apps available for Mac, and most of them support a wider range of formats than QuickTime does. Many also have features like the ability to fine-tune audio and video settings, bookmarking, and playing video from a network stream. VLC is a popular choice and is particularly well suited to playing network streams. However, the likes of Movist, Elmedia Player, and IINA are also worth checking out. Any of those could be set as the default video player on your Mac using the steps above once you’ve downloaded and installed them.

How to free up space on your Mac for video
If you have lots of videos stored on your Mac’s startup disk, you will know how much space they can take up. And there’s a good chance you only watch a few of them regularly. If that’s the case, it makes sense to delete the ones that you haven’t watched for the longest time or those that are taking up the most space or at least move them to another disk, such as an external hard drive or a network-attached storage device.
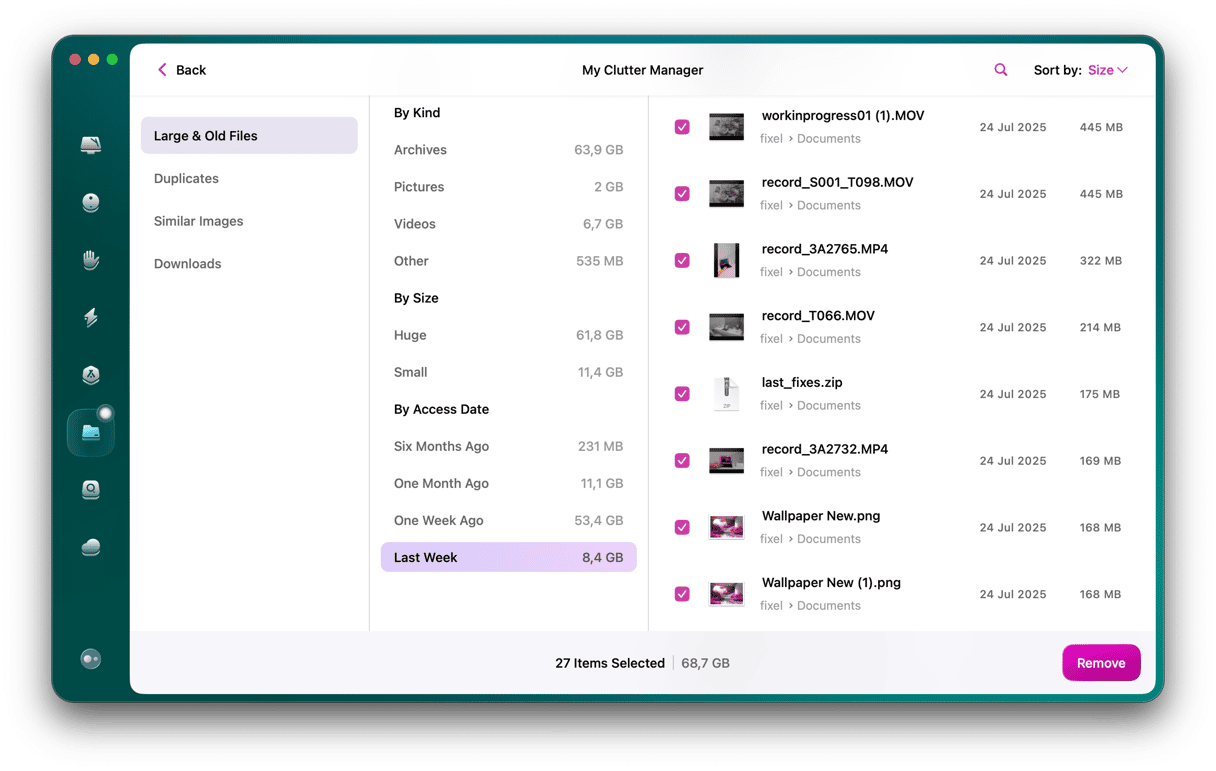
How do you go about identifying the oldest and largest videos, though? You could go through each one, checking its ‘Last opened’ date and file size. But that would take a long time, and who has the patience for that? The easiest way to do it is to use CleanMyMac’s Large & Old Files module. It does exactly what we just described, but it does that with one click and only takes a few seconds. You can download CleanMyMac for free here. Then, follow these steps:
- Open CleanMyMac.
- Click Large & Old Files > Scan.
- When the scan is complete, you can filter files by type or by when they were last opened and sort them however you want.
- All you have to do then is to select the ones you want to move or delete from the menu next to a large button and click the Move or Remove button.

If you have lots of video files in formats that QuickTime Player won’t play, it’s a good idea to change the default video on your Mac so that you only have to double-click any video to open it. Once you’ve decided which video player you want to use as the default and have installed it, follow the steps above to set it as the default.


