iPhone cameras have come a long way since their introduction, offering unsurpassed quality, different settings, and features that allow you to take DSLR-quality photos with the tap of a button. Adjusting the shutter speed on your iPhone allows you to capture different effects and creative shots that wouldn’t normally be possible with an iPhone camera.
How to change the shutter speed on an iPhone?
The shutter speed controls how long your camera’s sensor is exposed to light. Unlike traditional cameras, the camera app on your iPhone doesn’t have a direct shutter speed function. You can, however, use a third-party camera app to emulate the effects of different shutter speeds. In this guide, we’ll cover the basics of shutter speed — what it is and how to change it on your iPhone.
What is shutter speed?
When using a traditional camera, the shutter speed refers to the amount of time your camera’s shutter remains open so that light can reach the sensor. The longer the shutter speed, the more light is available for creating a photo. A fast shutter speed stops motion and is best for action shots or photography where you want to capture the details of moving objects. A slow shutter speed tends to blur the movement, so it’s great for making moving water look smooth or turning moving lights into light trails.
How to use shutter speed on iPhone
iPhone’s native camera app doesn’t have the option to change the shutter speed. Instead, it uses an automatic shutter speed based on the subject you photograph and the lighting conditions. However, you can indirectly control the shutter speed by using third-party apps or techniques designed to simulate longer or shorter exposures.
Using Third-Party Apps to change shutter speed on your iPhone
Several third-party camera apps can be used to add manual capabilities to your camera, giving you more control. In addition to the shutter speed, you can use these apps to change the ISO, focus, and exposure levels to have more control over how your photos come out.
I recommend experimenting with a few different apps until you find one you like. Most apps, like Halide, ProCam, or Camera+, offer a free trial to get a feel for how it works, but you will need to pay for full functionality.
Once you choose a camera app, the steps are all very similar for changing the shutter speed:
- When you’re ready to take a photo, open the third-party app instead of the native camera app.
- Switch to manual mode within the app.
- Use the slider or input options to choose the appropriate shutter speed. Remember, a slow shutter speed will blur motion, and a fast shutter speed will stop motion.
- Once you’ve set the shutter speed, tap the shutter button.
- If the photo didn’t come out as you wanted, simply adjust the shutter speed and retake it.
Adjusting the shutter speed on your iPhone allows you to capture different effects and creative shots that wouldn’t normally be possible with an iPhone camera. Unlike traditional cameras, the camera app on your iPhone doesn’t have a direct shutter speed function. Still, you can easily download a third-party app to experiment with different shutter speeds.
Experimenting with different shutter speeds? Keep your photos organized!
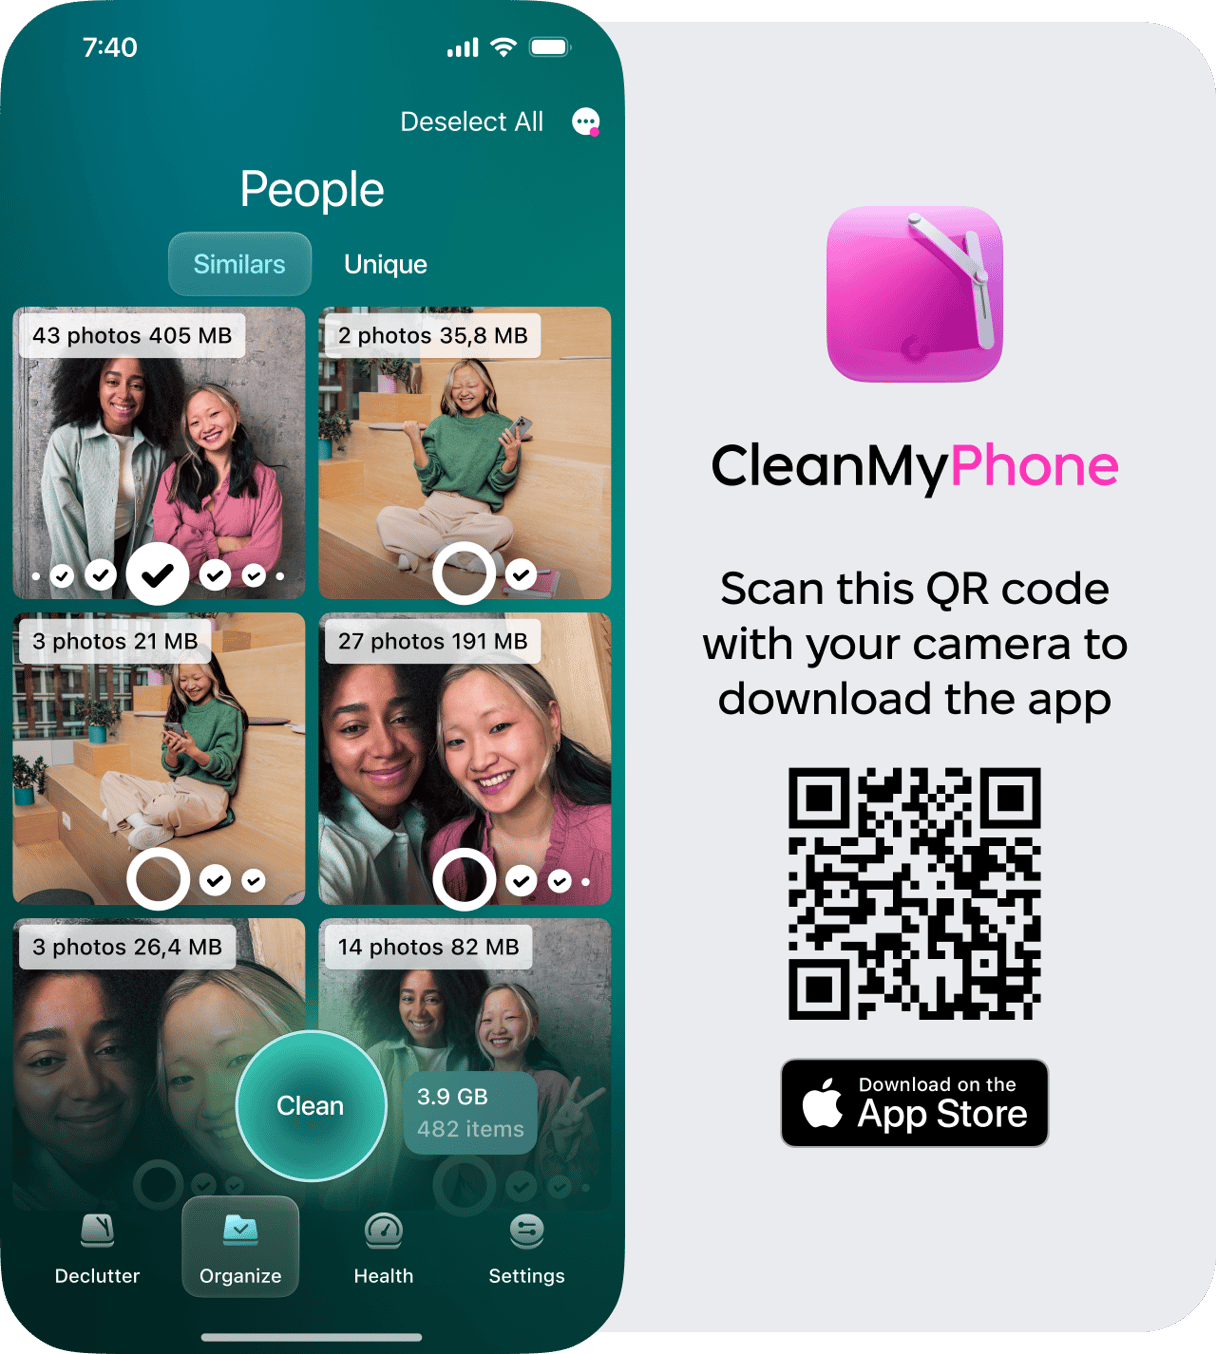
Experimenting with manual controls like shutter speed on your iPhone means you’ll take many photos. Use CleanMy®Phone to keep your photo library organized and well-curated so you can always find what you want.
First, review photos and remove the ones you don’t need:
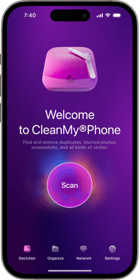
- Open CleanMy®Phone and tap ‘Organize.’
- Tap ‘Scan.’
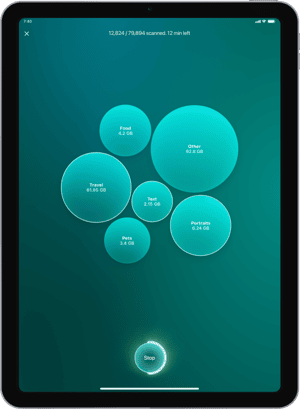
- CleanMy®Phone will sort your photos into categories.
- Tap a category to open it.
- CleanMy®Phone will show you similar photos and use AI to choose the best photo in the group. Deselect any that you want to keep.
- Now, choose the unique photos and deselect any that you want to remove. If you need to take a closer look at a specific photo, tap the photo to open it full-screen.
- Once finished with your review, tap Clean to remove selected images, then tap Delete to confirm your choice.
- Repeat these steps for other categories.
How to use a slow shutter speed for long exposure shots
While direct control over shutter speed is limited in the native Camera app, you can achieve different shutter speed effects using certain techniques and third-party apps. Here’s how:
How to Use a Slow Shutter Speed for Long-Exposure Photos
Try using long-exposure photography to create motion blur, light trails, and smooth running water. You can use the third-party app to increase the shutter speed for long exposures, but you can also use Love Photos in the iPhone’s native camera app. Here’s how to do it.

- Open the Camera app on your iPhone.
- Choose Photo mode.
- In the upper right corner, tap the concentric circles icon to turn on Live Photos. When it is off, there will be a line through the icon.
- Hold your phone steady and snap a photo by pressing the shutter button.
- After taking your photo, tap on the thumbnail in the lower-left corner of your Camera app to open your photo.
- In the upper left corner, tap ‘Live’ and choose long exposure from the drop-down menu.
- You can tap on ‘Live’ if you don’t like the long exposure version of your shot.


