There are several ways to upgrade to macOS Sonoma. You could just use Software Update in System Settings to do it. But that will install Sonoma on top of everything else that’s on your Mac and could cause problems later on with file conflicts, for example. The solution is to do a clean install. We’ll show you how to do that in this article.
What is a clean install?
A clean install of a new version of macOS is where you erase your boot disk completely and then install the new version on the erased disk. This is the safest method to install a new OS because there is no possibility of file conflicts or clutter causing problems. A clean install can also be a good last resort for fixing problems on your Mac. However, a clean install is also the least convenient and most time-consuming method, so you may not want to do it every time you update macOS.
Back up your Mac
It’s essential that you back up your Mac before you start to clean install macOS Sonoma. If you don’t, you will lose all your data and settings. The best way to back up is to use Time Machine. That way, when you come to set up Sonoma, you can restore your data and settings using Migration Assistant during the setup process. If you don’t want to use Time Machine, you can use any backup tool, but it will be less easy to restore data and settings.

Your Mac accumulates junk every time you use it. Cache, temporary files, and unused language files take up space and slow down backups. If you don’t clear it, you’ll back up all that clutter too.
CleanMyMac's Cleanup feature scans your Mac looking for junk files and then allows you to get rid of them with a click. You can start your free CleanMyMac trial here and try it for yourself. Open the app, navigate to Cleanup from the sidebar, click Scan, and click Clean. And just like that, the junk is gone.

How to clean install macOS Sonoma
There are three parts to doing a clean install of macOS Sonoma:
- Download the installer and create a bootable clean install macOS Sonoma USB stick.
- Erase your boot drive.
- Install macOS Sonoma.
Download the installer and create a bootable USB stick
- Open the Mac App Store app and search for ‘macOS Sonoma.’ Click Get to download it.
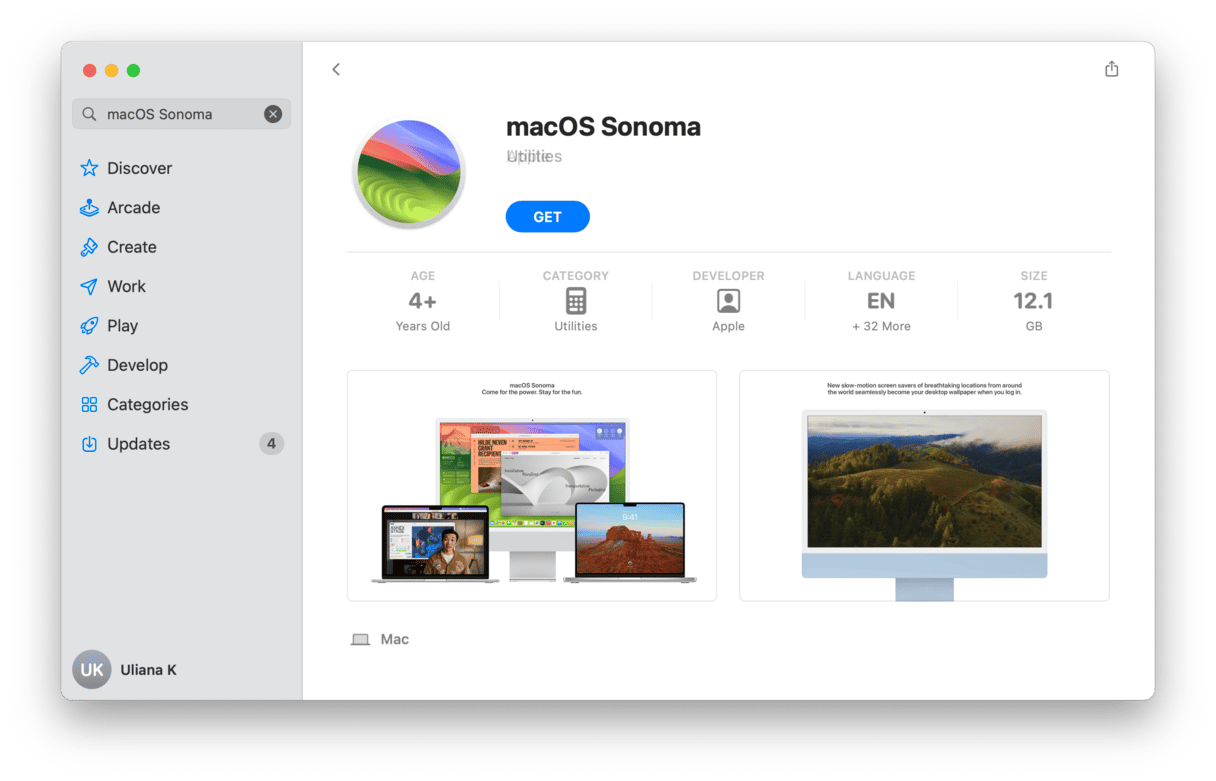
- If the installer launches automatically when it’s downloaded, press Command-Q to quit. The installer will now be in your Applications folder.
- Take a USB stick with a capacity of at least 16GB and plug it into your Mac.
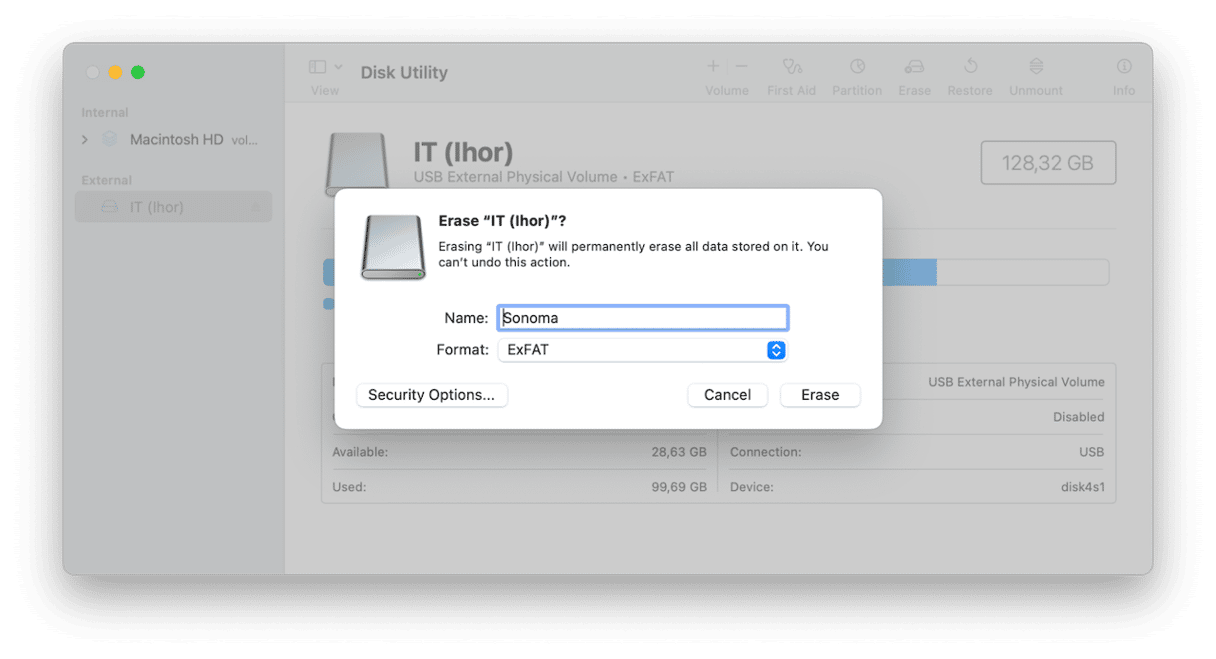
- Open Disk Utility, select the USB stick, and click Erase in the toolbar.
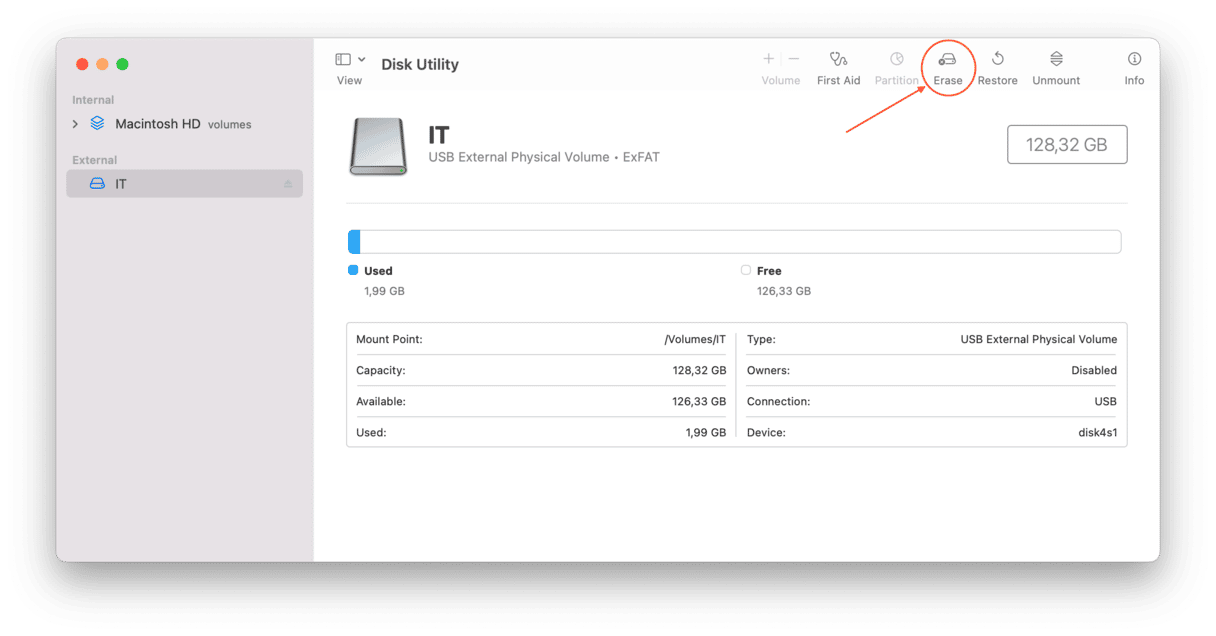
- Choose APFS as the format and call the volume ‘Sonoma.’ Click Erase.
- When Disk Utility has erased the USB stick, open Terminal from Applications > Utilities.
- Type the following command:
sudo /Applications/Install\ macOS\ Sonoma.app/Contents/Resources/createinstallmedia --volume /Volumes/Sonoma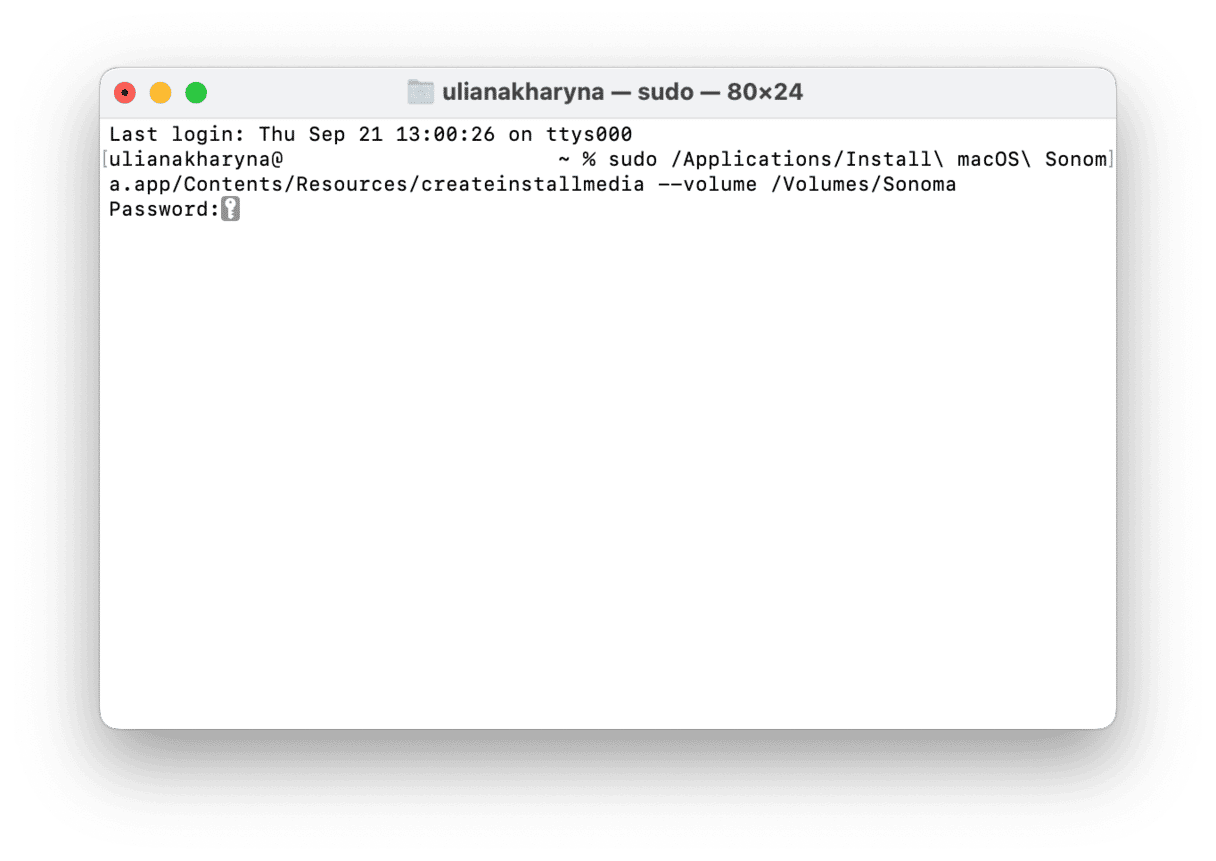
- Press Return and type in your admin password if requested. Press Return once again.
- Wait for Terminal to create the installer.

Erase your boot drive
The process for erasing your startup disk is different depending on which Mac you have.
On a Mac with Apple silicon or an Intel-based Mac with a T2 security chip, click the Apple menu and choose System Settings > General > Transfer or Reset, then Erase all Content and Settings. Follow the instructions on the screen to erase your Mac.

On an Intel-based Mac that doesn’t have a T2 Security chip, do the following:
- Reboot your Mac into recovery mode by holding down Command-R.
- Choose Disk Utility from the macOS Utilities menu.
- Select your startup disk and choose Erase.
- Format it as APFS and give it a name.
- Click Erase.
Install macOS Sonoma
Once you’ve erased your Mac, shut it down or press the power button to turn it off. Plug in the USB stick with the installer on it. To install macOS Sonoma on a Mac with Apple silicon, press and hold the power button until you see the startup options screen and choose the USB stick. Then, follow the instructions on the screen to install Sonoma.
On an Intel-based Mac, press and hold the Option key, then press the power button, and when asked to choose a startup disk, select the USB stick and then follow the instructions on the screen.
How to reinstall macOS Sonoma
If you need to reinstall macOS Sonoma after installing it the first time, you can boot your Mac in Recovery Mode and choose reinstall macOS from macOS Utilities. If you want to do a clean reinstall, use Disk Utility to erase your startup disk, then reinstall macOS Sonoma.
Performing a clean install of macOS Sonoma takes longer and involves much more work than a regular upgrade, but your Mac should run more smoothly as a result.

Frequently Asked Questions
What is a clean install?
A clean install is when you completely erase your startup disk before installing a new version of the OS.
Why do a clean install?
A clean install is a good way of clearing out all the clutter that accumulates as you use your Mac.
Can you install Sonoma without internet?
You will need an internet connection to download the installer from the App Store. Then, once you create a bootable installer, you no longer need internet to proceed with the installation.
What’s the best way to back up before a clean install?
Time Machine is the most convenient method. It’s already installed on your Mac, and you can restore your data and settings from a Time Machine backup after you install the new OS.


