If you use Terminal occasionally to type commands, you may not realize that Terminal keeps a record of all the commands you type, even after you end a session. That history can be useful if you need to check commands you’ve typed or want to repeat something you did previously. However, in some circumstances, it can also compromise your privacy because it allows someone else who may have access to your user account to see the commands you’ve run. In this article, we’ll show you how to clear Terminal history on your Mac.
What is Terminal history on Mac?
Terminal history is a list of commands you have executed in Terminal. By recalling history in a Terminal window, you can navigate commands and use them again without re-typing them. Terminal history is stored in a folder on your Mac, but the name of the folder and its location are dependent on the shell (the UNIX interpreter that supplies the user interface in Terminal and interprets the commands you type) you’re running. In this article, we’ll assume you’re using zsh, the shell that has been the default since macOS Catalina. If you’re using bash, the name of the folder will be different.
Clearing Terminal history is different from clearing the list of commands you’ve used in the current session in a Terminal window. To clear those in zsh, just type clear and press Return. That command will clear all the commands that are currently visible in a Terminal window. However, if your Terminal session has commands that take up more than one screen, if you scroll up, you will see that the earlier commands are still there. To get rid of everything from that session, click on the Edit menu and choose Clear Scrollback, or use the keyboard shortcut Command-Option-K.

How to clear Terminal history on Mac
There are three ways to clear Terminal history on your Mac.
1. Use the history command to view and clear Terminal history
The quickest and easiest way to clear Terminal history is to use the history command in a Terminal window. It allows you to view and delete Terminal history.
- You don’t have to view history in order to delete it, but if you want to, type history in a Terminal window. You’ll see a list of commands you’ve previously typed.
- To delete history, type history -p (In bash and other shells, the command is history -c).

2. Delete the history directory
In zsh, Terminal history is stored in a directory called zsh_sessions, which is stored in the root level of your home directory. It’s a hidden folder, so you can’t see it in the Finder. In Terminal, you can either rename the folder, which keeps it on your Mac but hides its contents when you use the history command, or delete it. If you delete it, a new zsh_sessions folder will be created the next time you use Terminal.
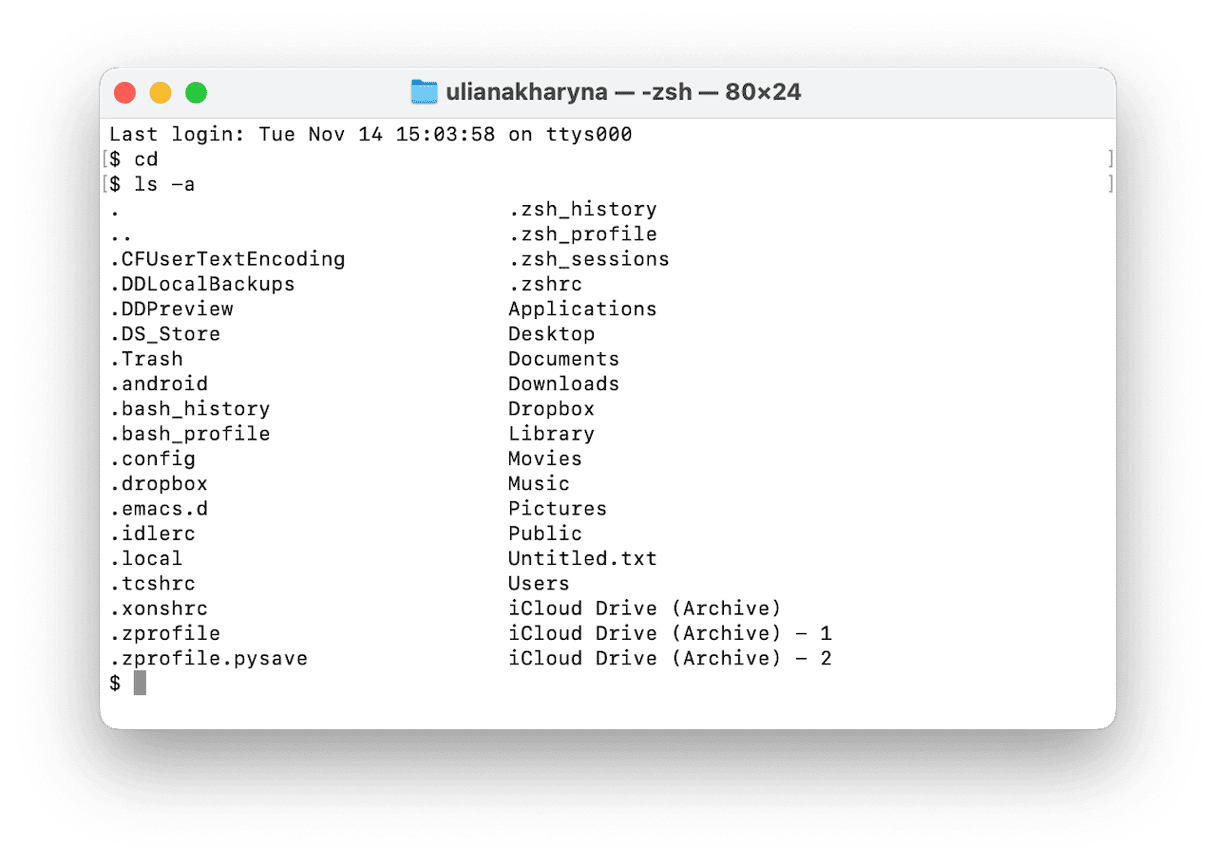
- Open a Terminal window and type cd to make sure you’re at the root level of your home directory.
- Type ls -a to list all the directories in your Home folder. You should see zsh_sessions there.
- To rename the folder ‘zsh_sessions.old’ type this command: mv .zsh_sessions .zsh_sessions.old
- To delete the folder, use this command: rm -rf .zsh_sessions
- To delete history, type rm -rf .zsh history
- To check if they’ve been removed, type ls -a again.
- Type exit to end the Terminal session.
- Quit Terminal.
Once you’ve quit Terminal, you can reopen it and type the history command. You will see that no history is displayed.
3. Set history size to zero
The final method for clearing Terminal history is to set the buffer size to zero. That will remove all the data from it. Before you set it to zero, though, it’s a good idea to check what size it is currently so that you can restore it to its original size.
- In Terminal, check the current buffer size by typing: echo $HISTSIZE
- Make a note of the size.
- Now type: export HISTSIZE=0 to set the size to zero.
- Once you’ve done that, the history will be cleared, and you can set the buffer back to its original size by typing export HISTSIZE= followed by the size you noted in Step 2.
You can use the HISTSIZE command to reduce or increase the size of the buffer whenever you need to, not just to delete history.
How to clear other sensitive data on your Mac
Terminal history isn’t the only data on your Mac that can compromise your privacy. Your browser history, downloads history, searches, cache, and even the Recents list on the Finder can reveal all information you might want to remain private. In addition, did you know your Mac keeps a list of all the Wi-Fi networks you’ve ever connected to? Public and private, secure and unsecure, they are all saved. And they are synced with iCloud, so a network you connect to on your iPhone is visible on your Mac. In addition to compromising privacy, this can also be a security risk if your Mac attempts to connect to a network in that list that is not secure.
Fortunately, there is an easy way to remove all that data and restore your privacy. CleanMyMac’s Privacy module has tools that can clear data in browsers, your Recent Items Lists, and the list of Wi-Fi networks. You can also use it to manage permissions granted to apps to access things like your camera, microphone, and Desktop folder. You can download CleanMyMac for free here. Then install the app and follow these steps:
- Open CleanMyMac.
- From the sidebar, click Privacy > Scan.
- Check what CleanMyMac has found, select items for removal, and click Remove.

There are a number of reasons why you might want to clear Terminal history on your Mac, but the most likely is that you are concerned about someone else accessing it and compromising your privacy. The good news is that clearing Terminal history is very easy, and there are several options for doing it. Choose the one that best suits you.


