If you regularly connect external hard disks, SSDs, or even USB sticks to your Mac, you may be familiar with the error message saying ‘disk not ejected properly.’ It’s frustrating and annoying, at least, because these days, very little harm can come to a disk if you unplug it without ejecting it properly. Unfortunately, you can’t just turn off the error message. So, if you keep seeing it, you need to work out why it pops up and do something about that. We’ll show you how in this article.

Why does my Mac say ‘disk not ejected properly’
Simply, it’s because a disk that was mounted in the Finder is no longer mounted, and you didn’t follow the correct steps to eject it before it disappeared. That makes your Mac unhappy because it’s possible, though unlikely, that the disk could be damaged if you don’t eject it properly. And so, it reminds you not to do it again.
What causes macOS to say the disk was not ejected properly?
There are a number of possibilities:
- You unplugged a disk without ejecting it first.
- You disconnected your MacBook from a dock or hub to which the disk was connected, and you didn’t eject the disk first.
- There’s a problem with the cable connecting the disk that caused it to disconnect without your knowledge.
- There’s a problem with the power supply to the disk that caused it to switch off.
- There’s a problem with the disk itself that caused it to unmount.
It’s unlikely that the ‘disk not ejected properly’ is caused by a software issue with macOS, though not impossible. And besides, there are lots of other errors that are caused by software problems, either with macOS or applications you’ve installed. It’s a good idea to run regular maintenance on your Mac to avoid problems and to keep a tool able to solve problems when they occur by doing things like repairing disk permissions or reindexing Spotlight. We recommend CleanMyMac and its Performance feature. It has lots of handy tools to keep your Mac running smoothly and free from junk files that might cause errors. Get started with a free CleanMyMac trial and try it at zero cost for 7 days.

What to do if you see the error message saying ‘disk not ejected properly’
Firstly, don’t panic. It’s very unlikely that any harm has come to the disk or the data on it. Secondly, the only thing you can do is close the error message and remember to eject the disk properly next time — assuming you forgot to this time.
If you didn’t just forget to eject the disk, you should also troubleshoot the reason for the error message. Here’s how:
- Check the cable. Connect the disk using a different cable and continue using it. If you don’t see the error anymore, you know it was the cable at fault.
- If the disk has an external power supply and you have access to another power supply, try swapping them to check if the power supply is at fault.
- Try connecting to a different USB port on your Mac. It could be the port that’s at fault.
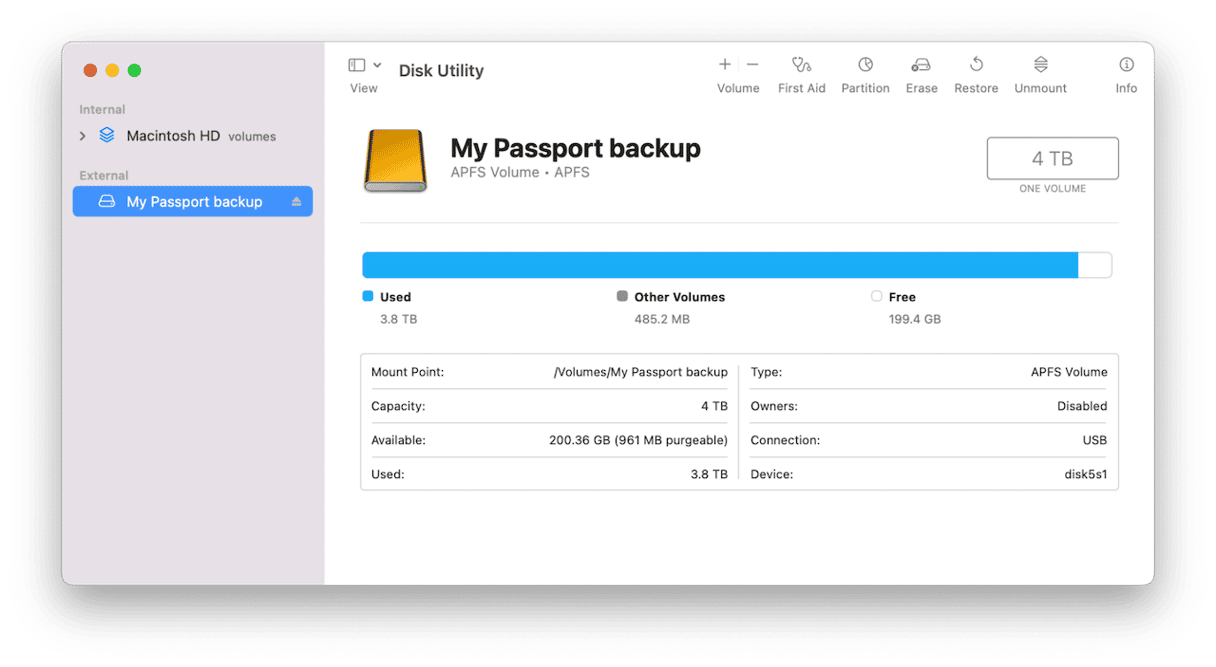
- Use Disk Utility (Applications > Utilities > Disk Utility) to perform First Aid on the disk and fix any problems.
- Reset your Mac’s NVRAM. The process for doing that differs depending on the Mac you have, so check Apple’s website to find out how.
If none of that works, you should adjust your Mac computer’s energy settings and prevent disks from sleeping. This will only work if the disk disconnects while your Mac is asleep.
- Click the Apple menu and choose System Settings.
- Choose the Battery section.
- Click Power Adapter.
- Enable the option that says ‘Prevent your Mac from automatically sleeping when the display is off.’

How to eject a disk from Mac
Assuming the disk, cable, and connection are working properly, you can ensure that you don’t see the error message if you eject the disk properly each time you stop using it. It’s fine to shut down your Mac without ejecting the disk because it will mount again when you start up. But if you close the lid on a MacBook Air or MacBook Pro and then unplug the disk, you will see the error when you next use your Mac.
So, how to eject USB from Mac safely? Just do one of the following:
- Look for the disk in the Finder sidebar, click the eject icon next to it, and wait for it to disappear.
- Control-click or right-click the disk on your Desktop and choose ‘Eject…’ from the menu.
If you eject one volume of a disk that has multiple volumes mounted on your Mac, you will see a message asking you to confirm that you want to eject all volumes.
The ‘disk not ejected properly’ Mac error message can be very frustrating, especially if you don’t know why it has appeared. However, if you follow the steps in this article, you should understand why it appeared and what to do about it.
Frequently asked questions
What does ‘disk not ejected properly’ mean?
It means that an external disk has been disconnected without being ejected.
Why does it appear?
Usually, it pops up because you have unplugged a disk without ejecting it. But it may also happen because a disk has failed or lost power.
How should I fix it?
If you didn’t disconnect it deliberately, you would need to troubleshoot using the steps in this article to find out why it was disconnected.


