Downgrade macOS if you've recently updated it and feel like you've stepped into a less stable, more frustrating operating system. If you've upgraded your Mac right after the release of a new, major macOS version and ran into enough system hiccups and app misbehavior, you might consider stepping back to the previous macOS version.
In this article, I'll walk you through exactly how to downgrade, step-by-step, with a few bonus tips that can save you time.
Reasons to downgrade macOS
Let me start by saying that downgrading is a bit of a hassle for a couple of reasons, and I generally and usually prefer to stay current, especially for security updates, but here are a few reasons to go back to a previous macOS version:
| Mac is slow | If your Mac is slower or less stable on a new macOS version than on your previous one, new features and improvements don’t make that worthwhile. |
| App instability | One or more apps you use regularly don’t run in a new macOS or aren’t stable, so the only way to use them properly is to downgrade. |
| Personal preference | If you don’t like the new macOS version when you use it, and it doesn’t work the way you want it to, then you may want to downgrade. |
OK, now that we've looked at the reasons for downgrading, let's get to the safest ways to do it.
How to downgrade macOS: three ways
Before we start, here's the disclaimer: downgrading erases your drive, so backups are non-negotiable. Make sure you don't skip step one in this guide.
Use Time Machine
If you made a backup of your Mac just before installing your new macOS version, you’re in luck. You can use that to reinstall your previous macOS. Here's how:
- Connect the disk with the Time Machine backup on it to your Mac.
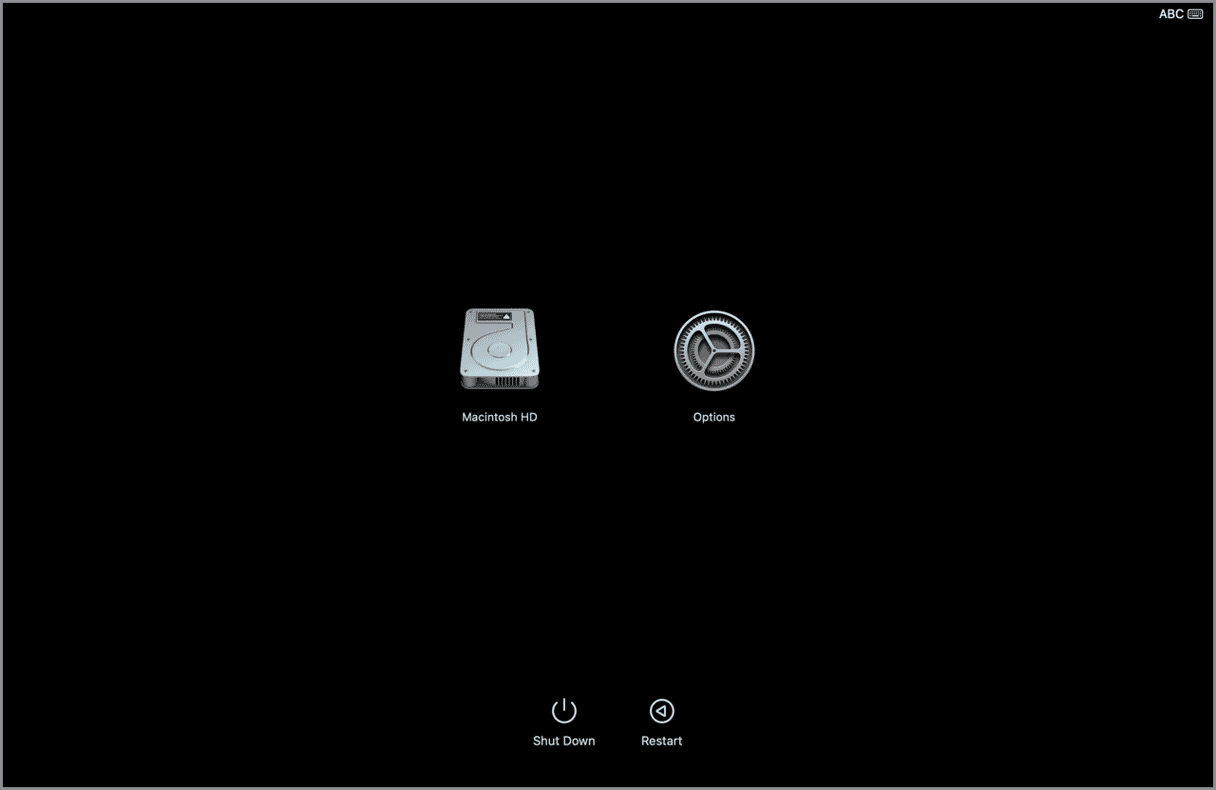
- Restart your Mac in recovery mode by holding down Command-R on an Intel-based Mac until you see the Apple logo, or holding down the power button on a Mac with Apple silicon until you see the startup options screen. Click Options, then Continue.
- In macOS Utilities, select Restore from Time Machine Backup and click Continue.
- Choose Continue again.
- Select the Time Machine disk as the Restore Source.
- Navigate the list of backups and select the one you made immediately before upgrading your MacBook. It should say it was made with your previous macOS version.
- Click Restore.
Downgrade in recovery mode
If you have an Intel-based Mac, you can boot into Internet Recovery and reinstall the version of macOS that was installed when your Mac shipped. You can then upgrade to your previous macOS version if your Mac shipped with an earlier one:
- Shut down your Mac.
- Hold down Shift + Option + Command + R and press the power button.
- Release the keys when you see the Apple logo.
- Select Reinstall macOS.
- Wait for it to reinstall.
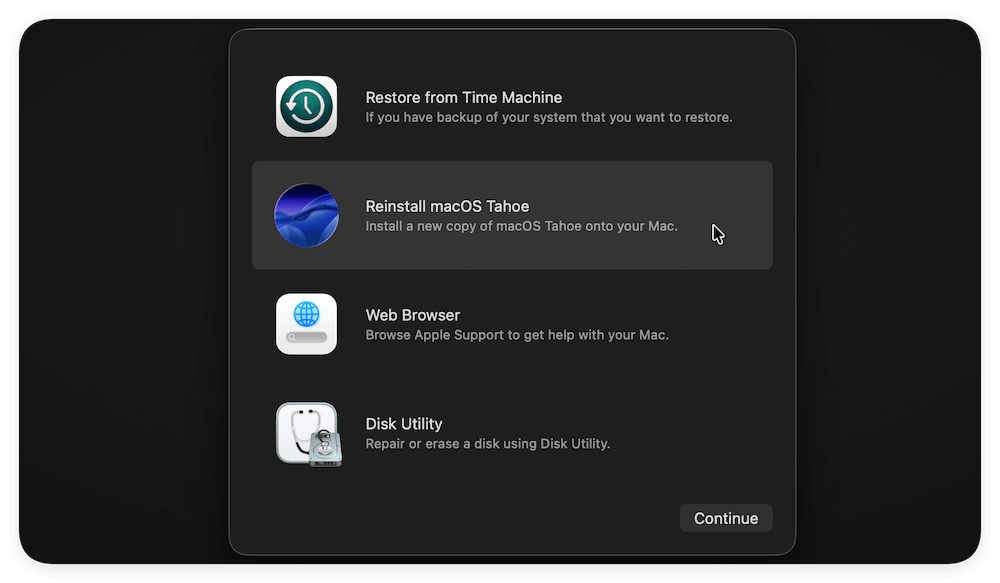
If neither of the above works for you, follow the steps below one by one.
Use a bootable installer
1. Back up your files now
You can use a combination of Time Machine and your iCloud to back up your important files.
Time Machine is so easy to set up; you just need an external hard drive, then head to System Settings > General > Time Machine to set it all up.
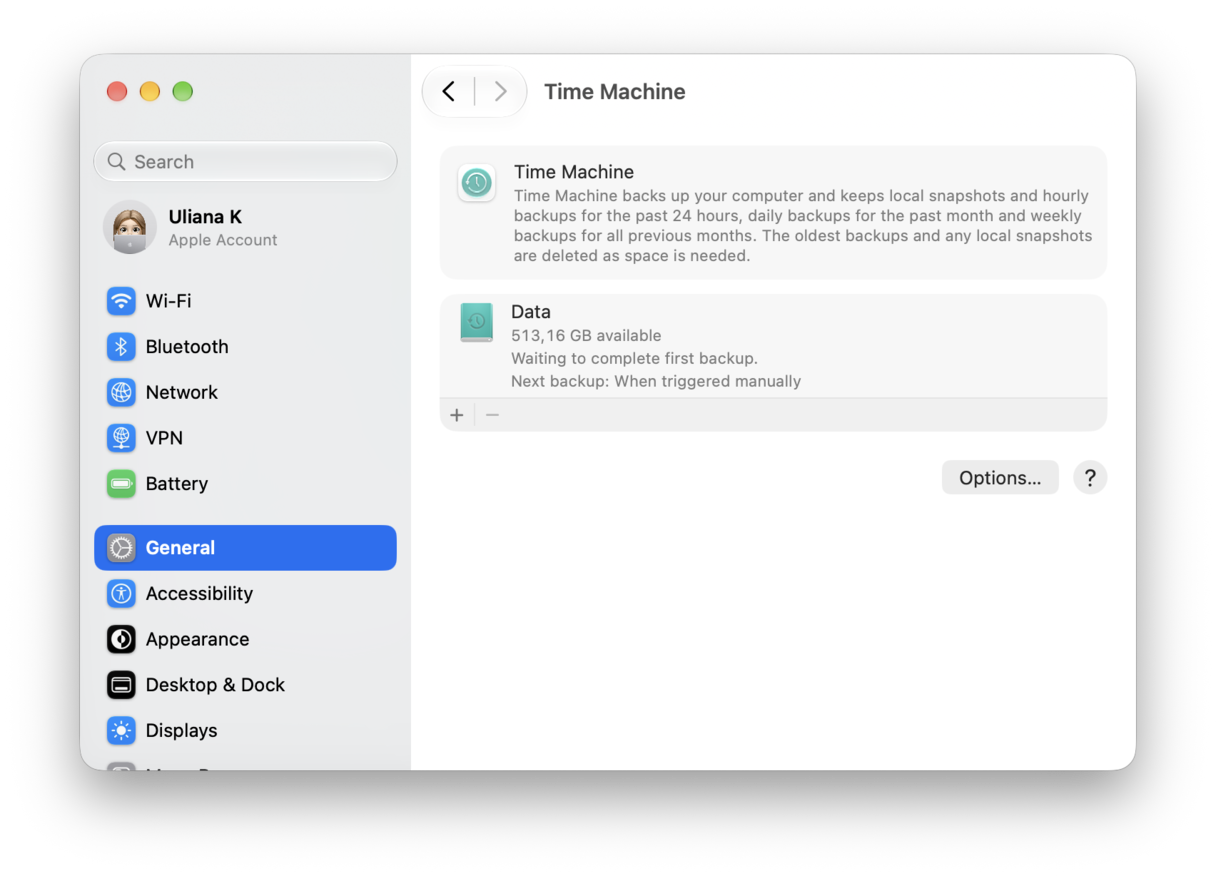
If you do not back up your Mac, copy all the files you might need to an external drive or cloud storage.
Also, save your passwords. If you use a password manager that syncs with other devices and allows you to store license codes and encrypted notes, you could use that. If not, any app that allows you to sync encrypted notes will do. Or you can use Apple’s Notes app.
It’s also a good idea to take screen grabs of settings to make it easier to restore them later. Remember to copy the grabs to a cloud storage service or an external disk.
2. Download macOS installer
- Go to Apple's official support page.
- Scroll down to the "Download macOS" section and grab the needed macOS link.
- Once downloaded, the installer lands in your Applications folder.
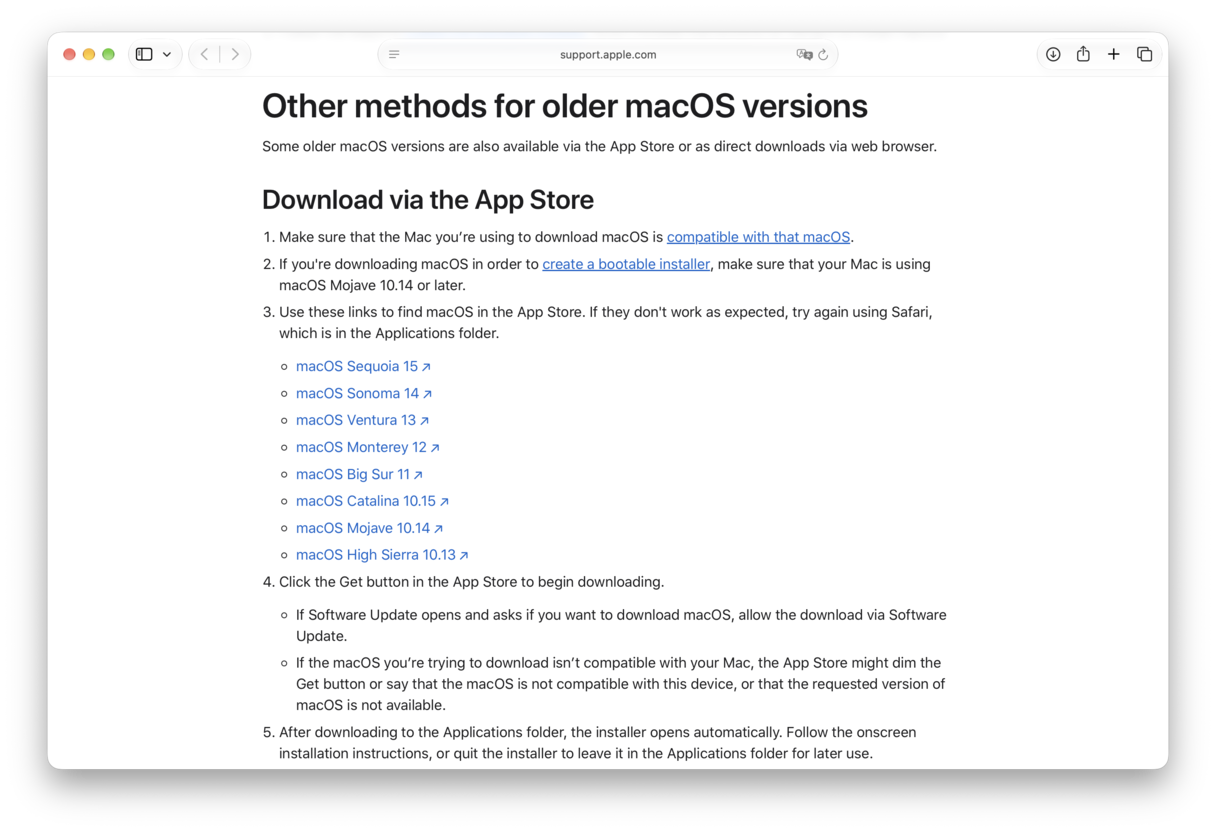
Note: You cannot download installers for macOS Tahoe and Golden Gate on the webpage above. Instead, you will need to run Terminal to fetch the installer.
Here's the command you need to run: softwareupdate --fetch-full-installer --full-installer-version [number]
Replace number with the macOS version you want to download.
With its help, you can get any macOS version, not only Tahoe or Golden Gate. For instance, to download the latest version of macOS Tahoe, run this command: softwareupdate --fetch-full-installer --full-installer-version 26.6.2
And to get Sonoma, run softwareupdate --fetch-full-installer --full-installer-version 14.8.9
3. Create a bootable USB installer
I'm not going to sugarcoat this. If you haven't done this before, this part takes a little bit of patience. I've broken this down into parts to make it easier. So, first up, what you need:
- At least a 16 GB USB stick (mine was a 32 GB SanDisk Ultra)
- The downloaded macOS installer
Part one
- Plug in your USB stick and open Disk Utility from Finder > Applications > Utilities.
- Locate your USB in the sidebar, click Erase at the top, and use these settings:
- Name: TahoeUSB (or anything short and easy, no spaces)
- Format: Mac OS Extended (Journaled)
- Scheme: GUID Partition Map
- Click Erase, then Done.
If you skip formatting this way, the installer won't create the bootable drive properly.
Part two
Here, we'll show you the process of downgrading from macOS Golden Gate to macOS Tahoe:
- Open Terminal from Utilities again.
- Now copy and paste this exact command into Terminal, replacing TahoeUSB if you gave your USB stick a different name:
sudo /Applications/Install\ macOS\ Tahoe.app/Contents/Resources/createinstallmedia --volume /Volumes/MyVolume - Press Return.
- It'll ask for your admin password. Type it (you won't see anything while typing), then press Return again.
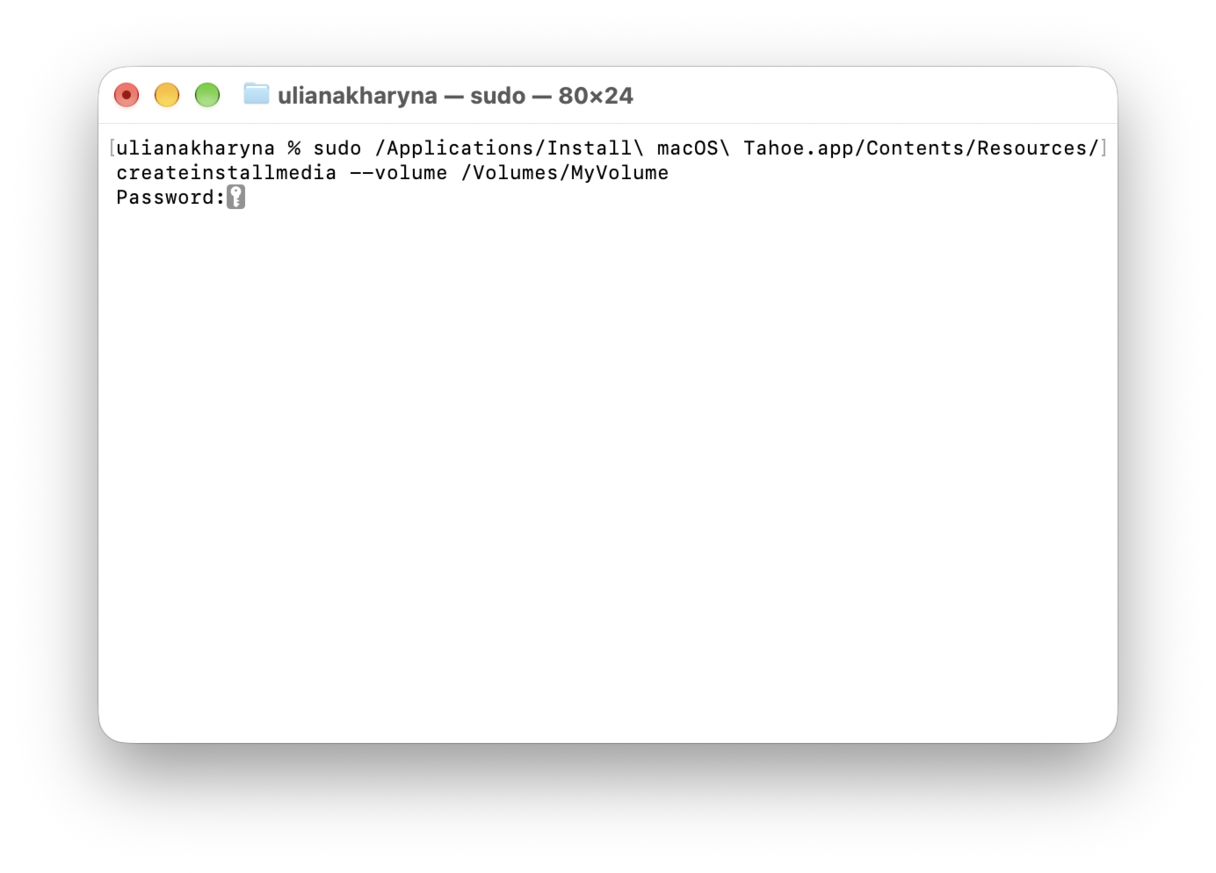
This can take 10–20 minutes, depending on your USB speed. You'll see something like: Install media now available at "/Volumes/Install macOS Tahoe" — once that message appears, your bootable installer is ready to go.
To find commands for other macOS versions, jump to this article from Apple on how to create a bootable installer.
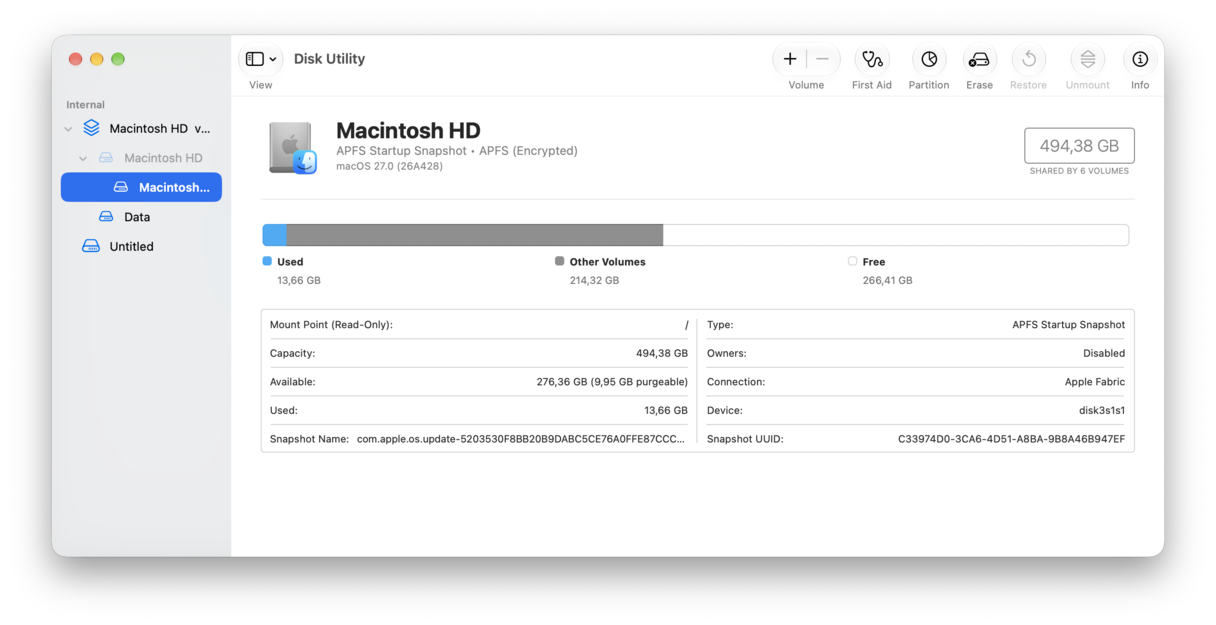
4. Erase your Mac
This is probably the scariest step to downgrade macOS, but it's not bad if you're prepared.
- Restart your Mac and hold the Power button (Apple Silicon) or the Option key (Intel) to enter recovery mode.
- Choose "Disk Utility."
- Select your main drive and click "Erase."
- Format: APFS
- Name: You can call it anything (I stuck with "Macintosh HD).
Now your MacBook is clean and ready for your previous macOS version.
5. Reinstall macOS
After you erase your internal drive, your Mac doesn't have an operating system anymore. So now you'll use that bootable USB you created to install Sequoia from outside the OS while you're still inside recovery mode; here's how:
- Back in the Utilities screen, plug in your bootable USB and select Install macOS [your macOS version].
- Click Continue and accept the license agreement.
- Choose the empty drive you erased earlier (Macintosh HD).
- Click Install.
In about 30-40 minutes, you'll be back at the macOS Setup screen.
6. Restore your data
Now, press Transfer from a Mac, Time Machine backup, or startup disk. Select your pre-downgrade backup, then follow the prompts to restore your apps, files, and settings.
If you’re setting up fresh, sign back into your Apple Account, turn on iCloud Drive, and re-download your apps from the App Store or developer websites. Then copy back any files you saved to external storage.
Post-downgrade tips
After you downgrade, things will feel smoother right away, but not perfect. The system might have a few leftover quirks, so spend a bit of time getting everything truly stable. Here's what can make the biggest difference.
1. Run maintenance tasks to finish the cleanup
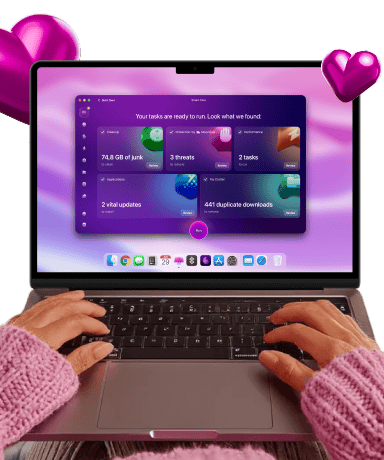
One more way to fully reset your system is to run a few targeted maintenance routines. I use CleanMyMac for this part. Inside its Performance feature, I usually run a couple of maintenance tasks, like Flushing DNS cache, repairing disk permissions, and checking my background items; here's how:
- Try CleanMyMac for free (seven-day trial).
- Click Performance > Scan.
- Click View All Tasks.
- Select Items and click Run.
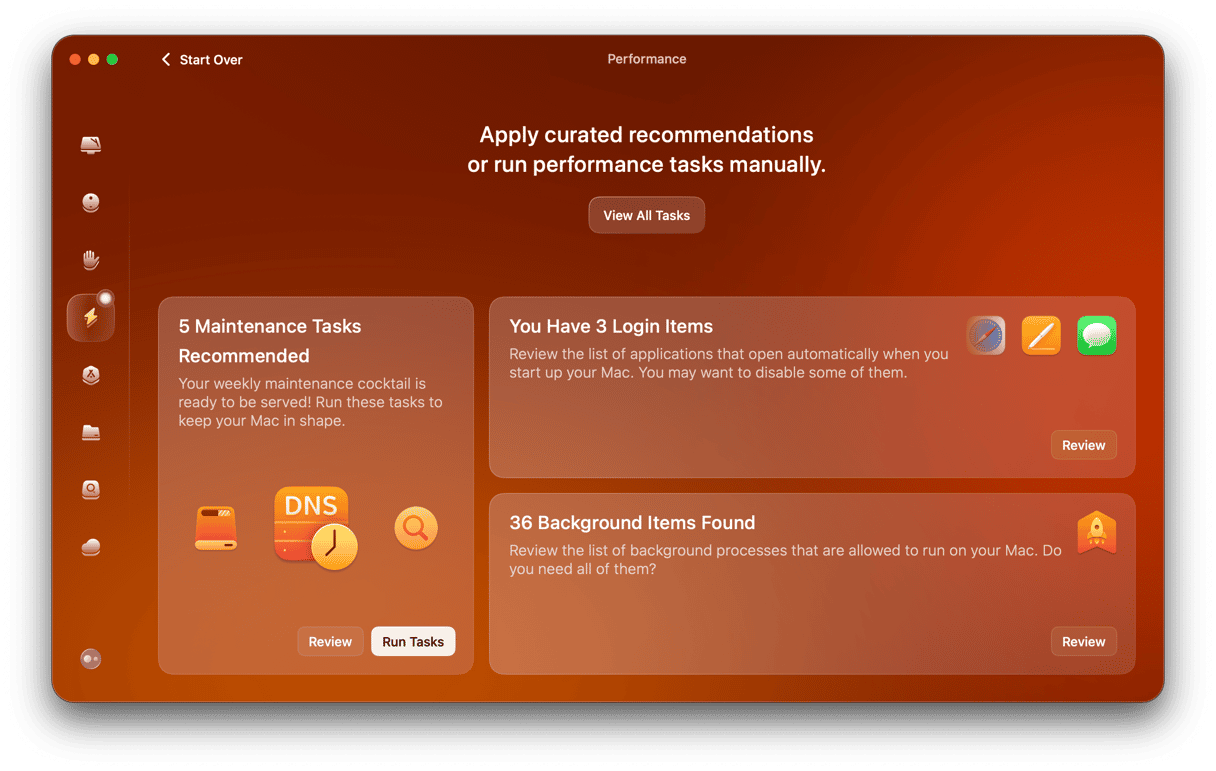
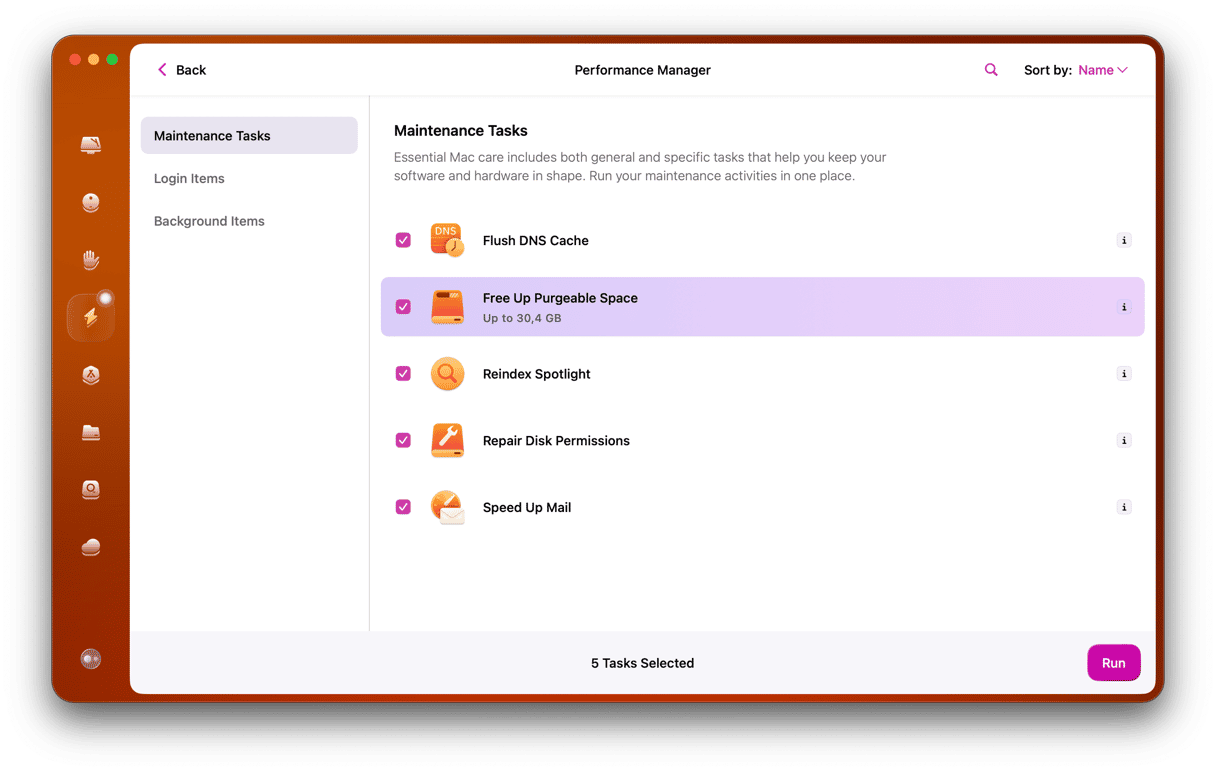
This part made a real difference.
2. Recheck your iCloud and Apple Account settings
After restoring from Time Machine, you might notice some of your iCloud services aren't syncing properly (Notes and Safari tabs might be stuck for hours).
Logging out and back into your Apple Account usually helps, but you might also have to manually re-enable a few toggles in System Settings > Apple Account.
So if things feel out of sync after the downgrade, take 5 minutes to:
- Log out of iCloud and sign back in.
- Re-enable iCloud Drive and app-specific sync.
- Recheck Messages in iCloud, Keychain, and Photos.
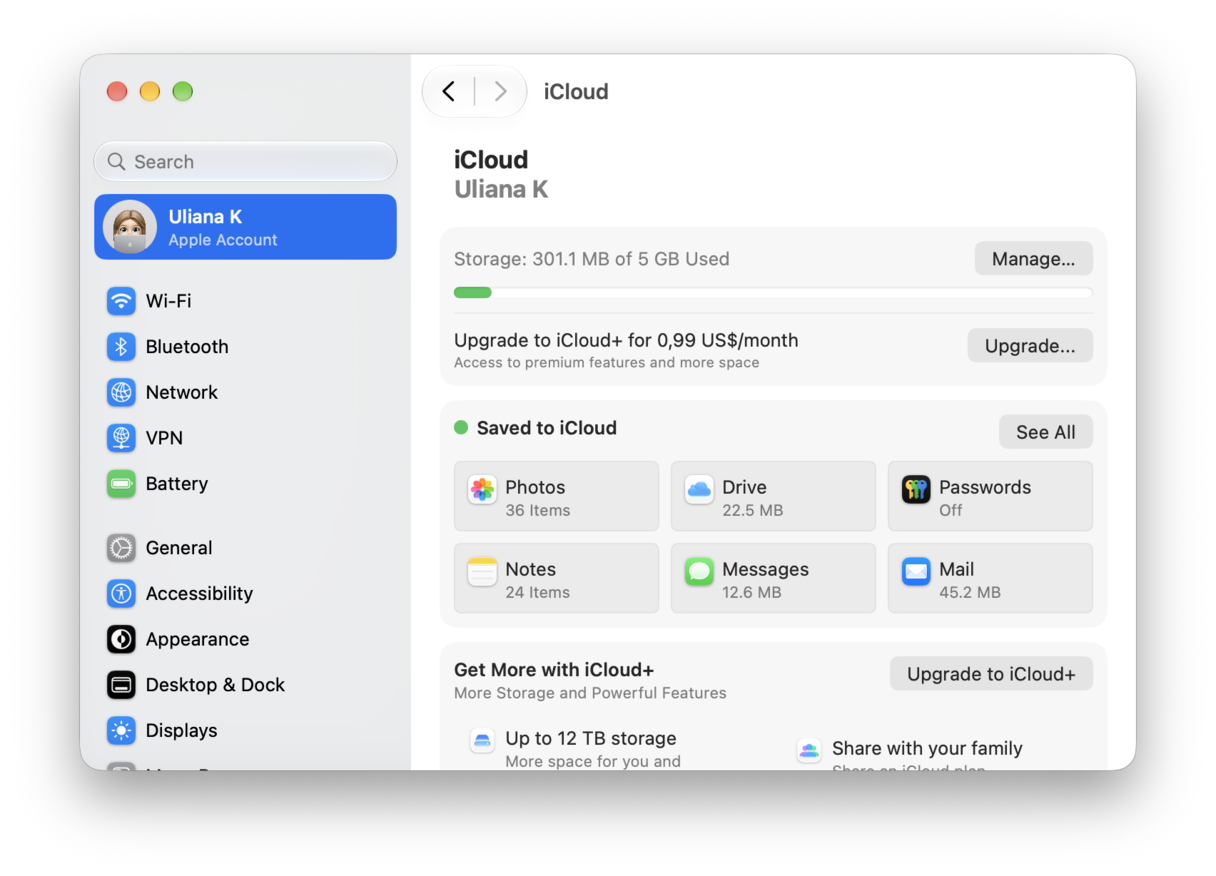
It's a small step, but it can fix a bunch of invisible sync issues that would've driven you nuts if you hadn't caught them early.
Downgrading macOS isn't a quick decision, but sometimes, it is absolutely the right call. After weeks of crashes, sluggishness, and app instability, going back to your previous macOS version may give you a system you could actually rely on again.