Most of the time, running the latest macOS compatible with your computer is a good idea. It ensures that your Mac is likely to be protected from malware and free from known bugs. However, there may be some instances where you don’t want to run the most up-to-date OS version. Or you may want to uninstall software updates on your Mac after an upgrade. We’ll show you how to do that.
What do we mean by ‘uninstall software updates on Mac’?
There are three things you may need to do that fall under this heading:
- Remove installer files that should have been deleted but weren’t.
- Switch from, say, macOS 13.1 to macOS 13.0.
- Uninstall a whole generation of macOS — say, revert Sequoia to a previous generation, Sonoma, or downgrade from Sonoma to Ventura.
We’ll cover each of those.
If you need to uninstall an app rather than the operating system, the best way to do it is to use an application designed for the purpose. Simply dragging the app to the Trash leaves lots of files scattered around your Mac — and CleanMyMac’s Uninstaller tool ensures complete app removal. It’s quick and easy to use. Start your free CleanMyMac trial and use the app at zero cost for 7 days.

How to prepare Mac before uninstalling old Mac software updates
Before uninstalling software updates, make sure that you back up your Mac. In case something goes wrong, you can always use a backup to restore your files. In fact, it is recommended to have automatic backups turned on, or at least, do it before any major upgrades.
The easiest way to back up your Mac is to use Time Machine. Connect an external drive. Then, just go to System Settings > General > Time Machine, click the "+" button to add a backup destination.

To learn more about all backup options available, check out this article.
How to delete software update files
Normally, when your Mac updates, whether you do it manually or it does automatically, your computer stores the update files in a folder in the Library directory and then deletes them as soon as the installation is complete.
However, occasionally, if the installation fails, for example, the files may be left behind. You can check whether update files have been left by following the steps below.
- In the Finder, click on the Go menu.
- Choose Go to Folder.
- Type:
/Library/Updates - Check that folder for installer packages or other files that are not text files.

If there are no files there other than the plist text files, you don’t need to do anything else. If there are other files, you can remove them to free up space. Deleting these software update files is absolutely safe. However, they are likely to be protected by System Integrity Protection (SIP), so you can’t just drag them into the Trash. You will first need to turn off SIP.
This is something you should only do if you’re comfortable using Terminal, as it can cause problems for your Mac if not done properly.
First, boot your Mac into recovery mode.
Disabling system integrity protection
For an Intel-based Mac:
- Go to Apple menu > Restart.
- Immediately press and hold Command+R.
- Don’t release the keys until you hear Mac’s startup sound or until the Apple logo appears.

For a Mac with Apple silicon:
- When turning on your Mac, press and hold the Power button.
- Keep it pressed until you see startup options.
- Click the Gears icon (Options) and hit Continue.
- You may be asked to select a user and enter their administrator password. Follow on-screen instructions and press Next after any action you take.
Now, follow these steps:
- When your Mac restarts, click the menu at the top of the screen and choose Terminal.
- Paste the following command and press Return:
csrutil disable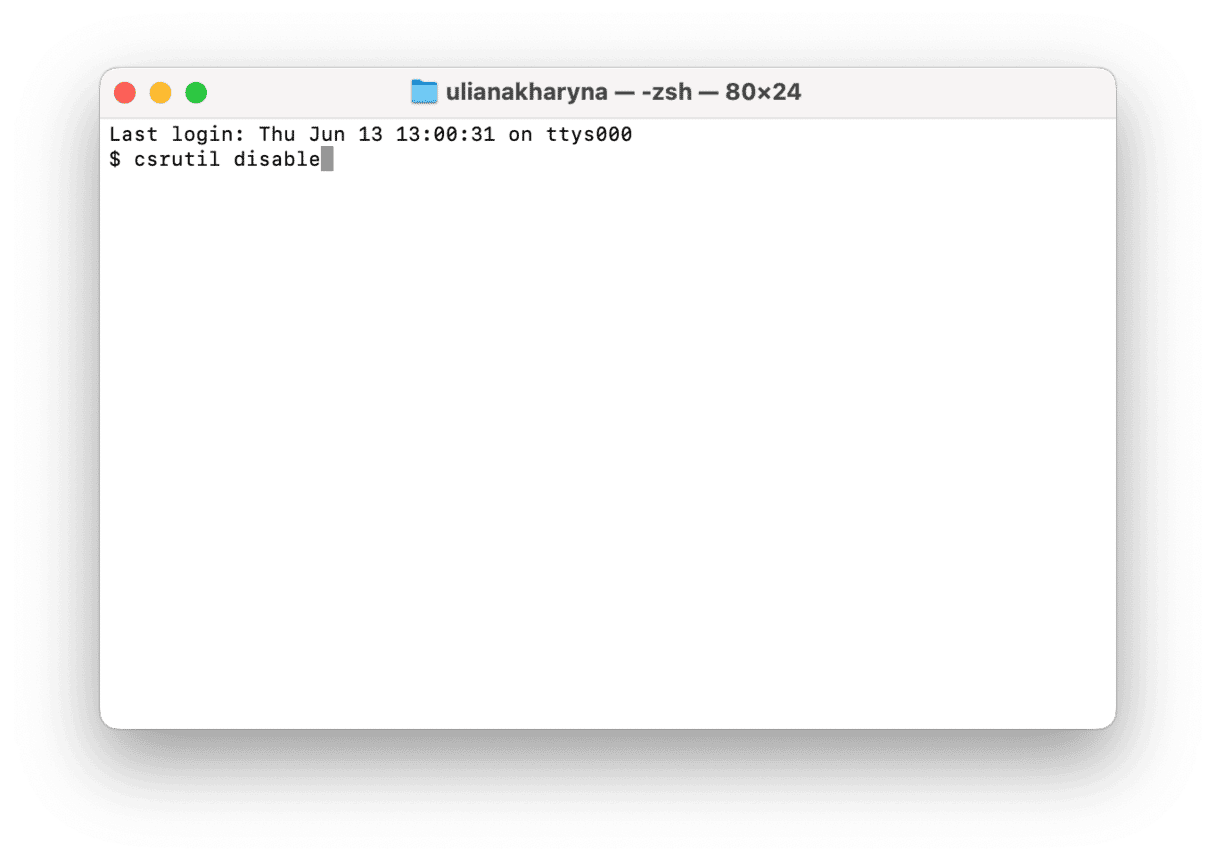
- Restart your Mac normally.

Now, we can return to our /Library/Updates folder and delete old software updates ending with a .pkg extension. We'll use Terminal and its sudo rm command, which basically means "remove this."
Remove software updates using Terminal
- Open Terminal from Applications > Utilities.
- Type:
sudo rmand drag the software update package you want to delete onto the Terminal window. - Press Return and enter your admin password.
- Repeat steps 2 and 3 for other installer files.

When you’ve removed all the installer files, restart your Mac in recovery mode, open Terminal, and type csrutil enable followed by Return.
How to revert to a previous update
There’s no way to restore your Mac to a previous version of the OS before you install an update. However, if your Mac has an Intel CPU and is still running the same generation of OS as it was when you bought it, there is something you can do. For example, if your Mac came with Monterey installed, and you want to restore it to a previous version of Monterey.
- Go to Apple menu > Restart.
- Press and hold Command+R until you see the Apple logo.
- Choose Reinstall macOS from macOS Utilities.
- The version of macOS that came with your Mac will be installed, and you can then download updates from Apple to update it to the version you want.

Removing leftover files from previous software updates is necessary to free up storage space on your Mac and prevent future conflicts. Follow the steps above to do that or to roll back to a previous version of macOS.
How to customize your update settings
It's generally recommended to update your macOS whenever Apple prompts you to do so. But some of us may want to delay that moment until we're back on our home Wi-Fi, or for some other reason.
Stop Mac from downloading updates automatically:
- Open System Settings > General > Software Updates.
- Click Advanced and disable "Download new updates when available."
Now do the same for the App Store settings:
- Click on the App Store icon.
- Find Settings in the top menu.
- Uncheck Automatic Updates.

Now you're controlling your updates manually.
Update your software the right way
When you've finally installed a correct version of macOS, you may need to update all your apps in accordance. For example, Photoshop requires an update before you can use it. We're talking of dozens of apps, all of which will eventually need updating.
To update all your software collection in one go, try this:
- Get started with a free CleanMyMac trial.
- Run the scan with its Applications tool.

You'll instantly see all the apps you can update by clicking one button.

Frequently asked questions
How to downgrade to a previous generation of macOS?
Reverting back a whole generation of macOS, say from Ventura to Monterey, is time-consuming and complicated. You need to back up your Mac and then wipe the disk completely. You can read how to do it here. And if you want to downgrade from Sequoia to Sonoma, learn more in this guide, and for the steps for downgrading from Sonoma to Ventura, check this article.
How to make sure you’ve deleted all the update files?
Even if you manually remove all the files in /Library/Updates, it’s possible there may be other files in your Library folder left behind by previous updates. The best way to make sure you get rid of all the software update files and all the rest of the unneeded files on your Mac is to use a specialist Mac cleaner app like CleanMyMac and its Cleanup tool.
Should I set my Mac to automatically update?
Yes, in most cases, it’s a very good idea to keep your Mac up to date. The only case in which you would not want to do it is if you rely on some specific app and are not sure that the developers will release an update right away.
Where are update files stored?
They are temporarily stored in /Library/Updates but should be deleted automatically when the update completes.


