Want to know how to downgrade macOS Golden Gate? I’m guessing you might have been an early adopter like me. I was really looking forward to this release, but I did run into my fair share of bugs and app issues, and I quickly decided I wanted to go back to Tahoe.
That’s when I discovered that wasn’t as simple as it sounds. In fact, downgrading on Golden Gate works differently from previous versions. There’s no nice little undo button or simple rollback; the previous Erase All Content and Settings no longer downgrades either; that only wipes personal data while keeping Golden Gate installed.
If you really want to downgrade, you actually need to erase the entire startup drive. I’ll walk you through everything I figured out.
Reasons you might want to revert from macOS 27
Golden Gate isn’t going to be for everyone, and that’s okay. Here’s what I’ve seen users reporting the most across Reddit and other Apple forums.
- App compatibility: Some third-party tools aren’t even optimized for it yet, and older Intel apps running through Rosetta 2 don’t work or act strangely.
- Early versions instability: Early releases can bring kernel panics, even VPN crashes, Handoff delays, and other random glitches.
- Performance issues: Liquid Glass consumes a lot more resources on M1 and M2 Macs.
- Personal preference: Sometimes, you just want to go back to the stable, familiar version and wait for the final release.
Before you downgrade macOS Golden Gate to Tahoe
If you’re really sure about this, then you need to make sure you have a verified Time Machine backup made before you installed Golden Gate, plus a 16GB+ USB drive, access to power so your Mac can be plugged in (takes up to 60 mins), and of course a good internet connection for Recovery Mode.
If you don’t have a pre-Golden Gate backup, you can still downgrade, with a bit of patience, but you’ll need to set up your Mac from scratch afterward, so make sure you’ve thought this through.
How to downgrade macOS Golden Gate to Tahoe
1. Back up everything right now
Even if you have a pre-Golden Gate backup, don’t take any risks; back up your machine now.
- Head to System Settings > General > Time Machine.
- Right-click your disk and click Back Up to [disk name] Now.
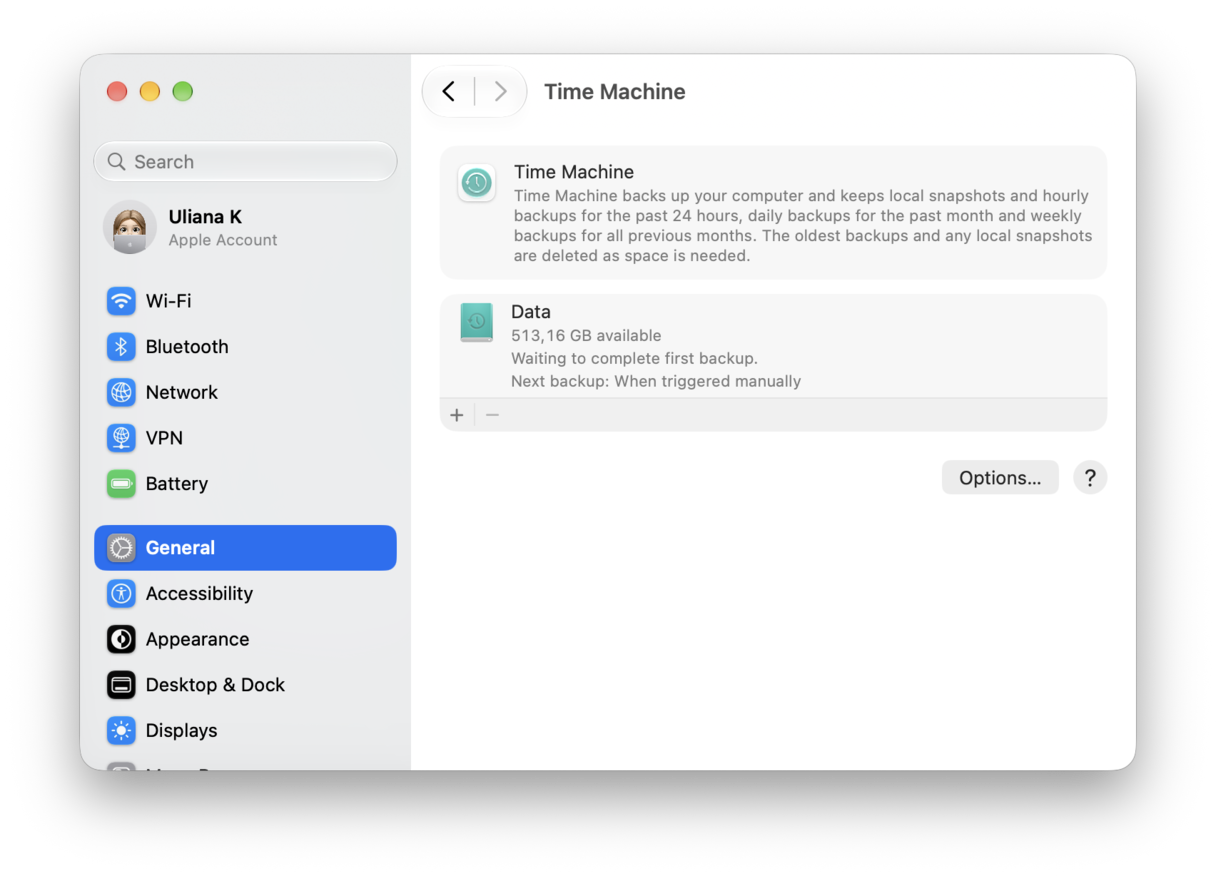
I’d also take some time to manually copy any critical files to your iCloud or an external drive as an extra safety net.
2. Download the macOS Tahoe installer
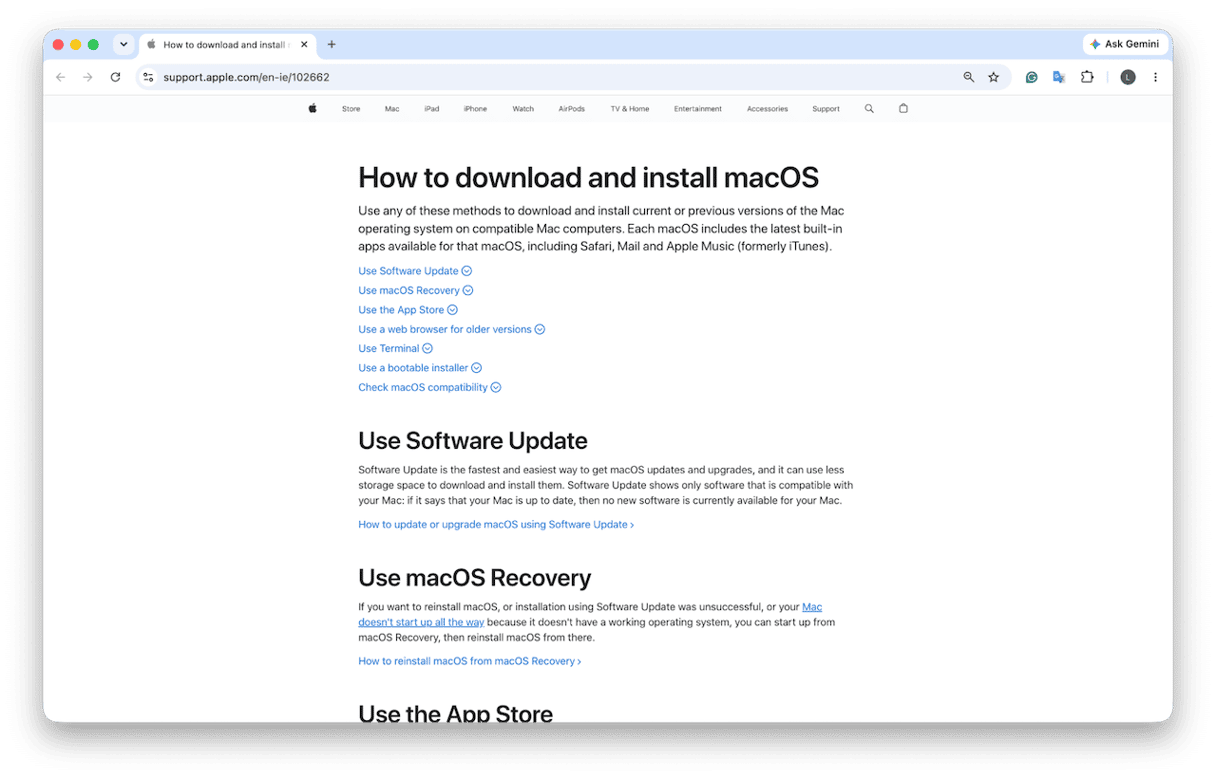
Next up, it’s time to go to Apple's official support page and download Tahoe. But this can also be downloaded through Software Update or Terminal, and the installer lands in your Applications folder when complete.
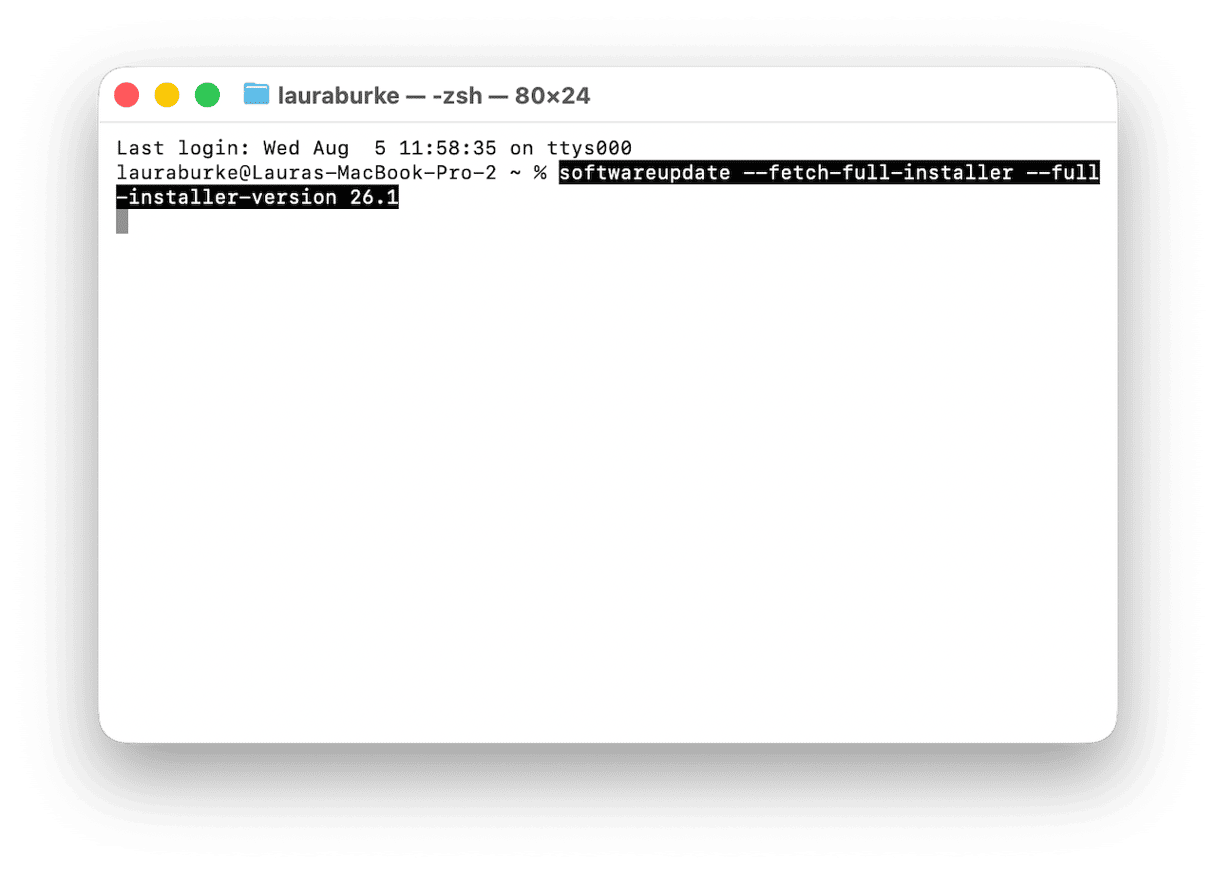
If you’re opting for Terminal, this is the command you need: softwareupdate --fetch-full-installer --full-installer-version 26.1
When the installer opens automatically, choose File > Quit. But don’t install it yet.
3. Create a bootable USB installer
Now create the Tahoe installer you’ll use after erasing Golden Gate.
- Plug in your USB drive, then open Disk Utility and make sure it’s formatted as Mac OS Extended (Journaled). Name it something simple, like MyVolume.
- Next, open up Terminal from Applications > Utilities and run this command:
sudo /Applications/Install\ macOS\ Tahoe.app/Contents/Resources/createinstallmedia --volume /Volumes/MyVolume - You’ll need to enter your admin password, press Y when Terminal asks to erase the volume, then wait.
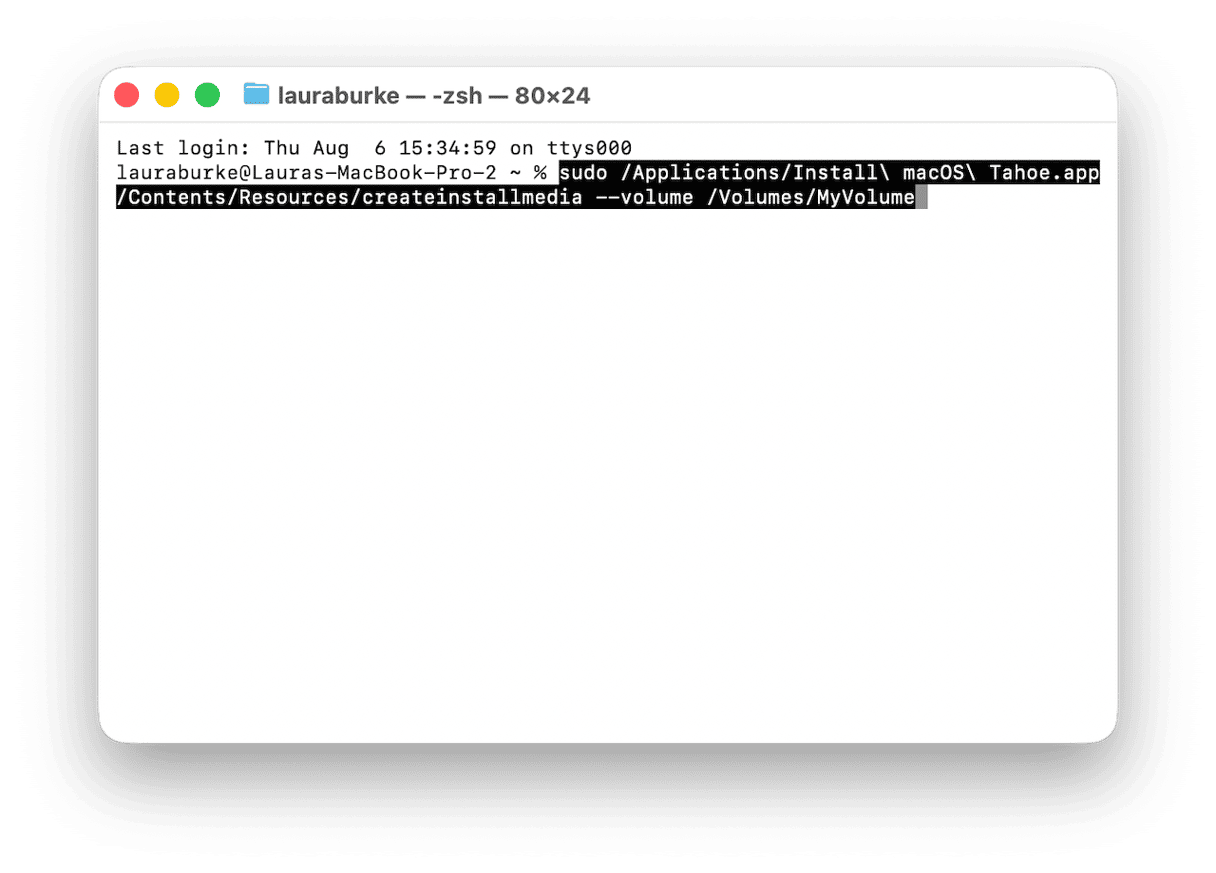
This can take 10–20 minutes.
4. Erase your Mac
Time for the scary bit, but it’s also the step that actually removes Golden Gate.
- Shut down your Mac and then press and hold the Power button until you see startup options.
- Press Options > Continue to enter recovery mode.
- Open Disk Utility and select your Macintosh HD.
- Click Erase and choose APFS as the format.
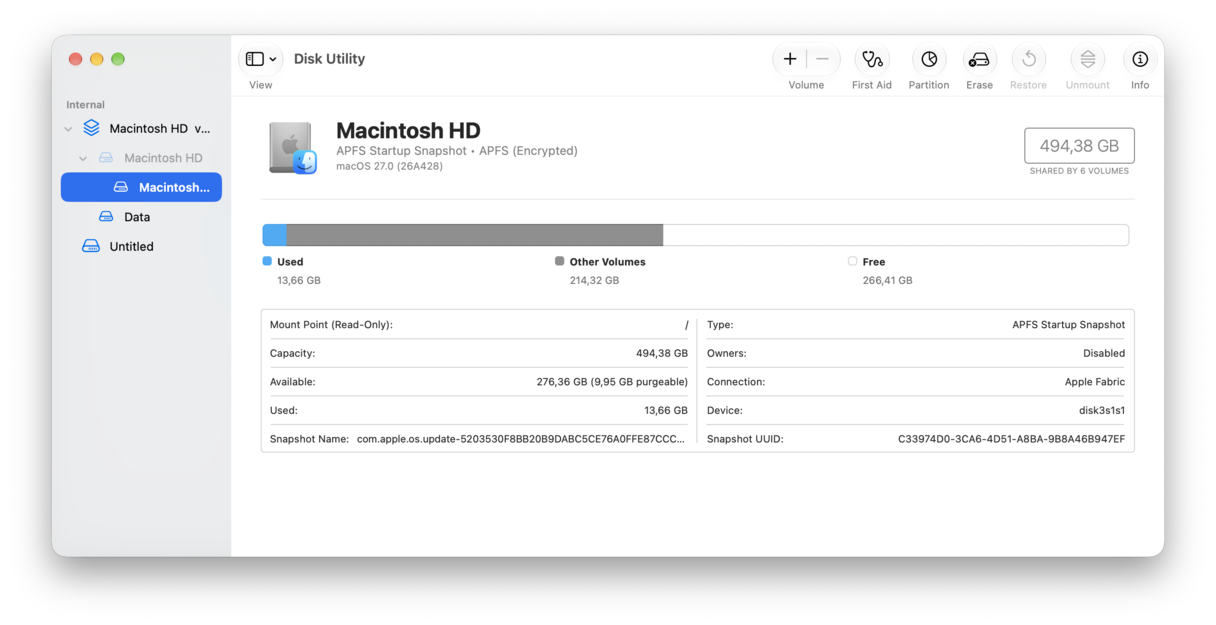
Once the drive is erased, you’re ready to reinstall Tahoe from the bootable USB.
5. Reinstall macOS Tahoe from the bootable USB
Now plug in your bootable USB installer.
- Stay in recovery mode and press Install macOS Tahoe from the startup options.
- Click Continue, then press the freshly erased Macintosh HD drive.
- Click Install.
This can take anywhere from 30–40 minutes; try not to interrupt the process. Once Tahoe is installed, your Mac will open the macOS setup assistant, just like a new Mac.
6. Restore your data
Now press Transfer from a Mac, Time Machine backup, or startup disk. Select your pre-Golden Gate Time Machine backup, then follow the prompts to restore your apps, files, and settings.
If you’re setting up fresh, sign back into your Apple Account, turn on iCloud Drive, and re-download your apps from the App Store or developer websites. Then copy back any files you saved to external storage.
One thing I’d check straight away is to make sure iCloud Drive is syncing properly before you assume anything is missing. Because that's an easy trap to fall into.
If you want to go one further, this is a good article on how to downgrade from Tahoe.
After macOS downgrade and stabilize your Mac
After reinstalling Tahoe, I’d run a quick maintenance sweep using CleanMyMac before judging performance too quickly.
Start your free CleanMyMac trial. Then, open CleanMyMac > Performance > Scan > View All Tasks. Select maintenance tasks like Flush DNS Cache, Reindex Spotlight, and Speed Up Mail, then click Run. This will really help to tidy things up and give your machine a bit of a boost.
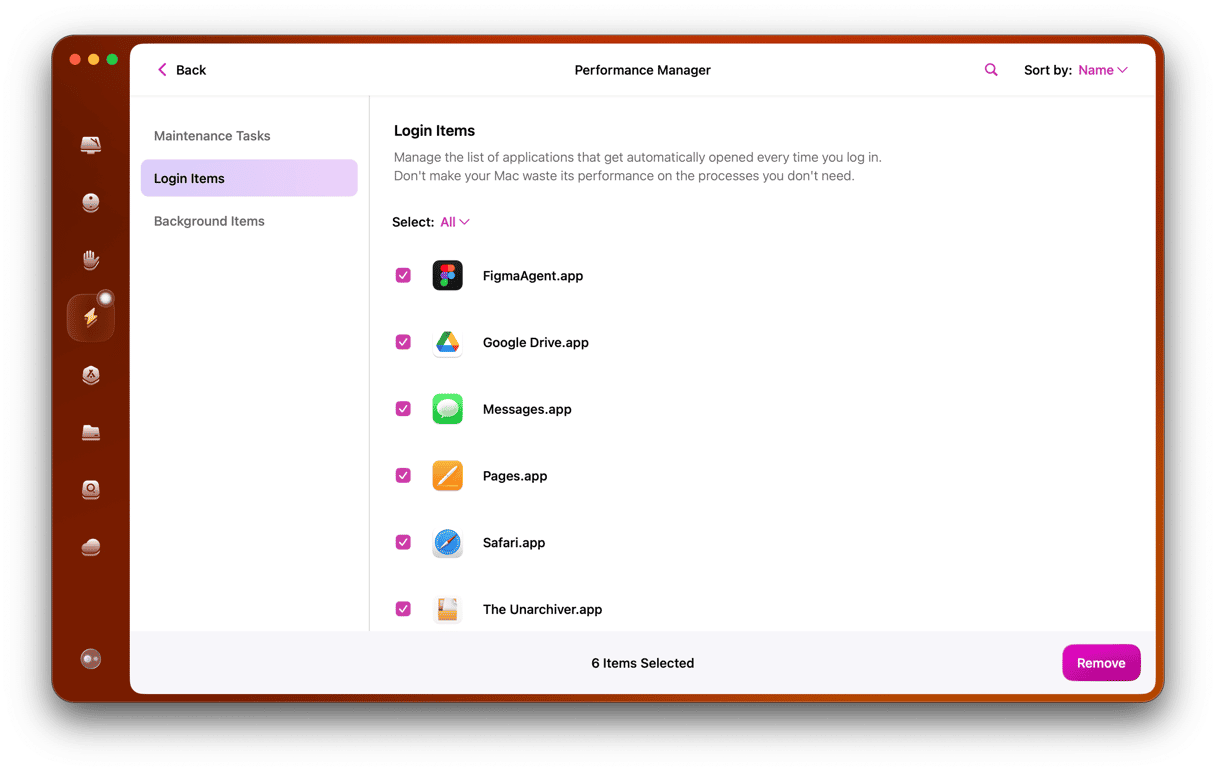
Once that’s done, I’d then check your login items too because after a downgrade, apps can reinstall themselves, and this is going to cause immediate strain on boot-up. You can do that manually in System Settings or quicker with CleanMyMac: Performance > Scan > View All Tasks > Login Items and remove anything you don’t need starting at boot.
Downgrading macOS Golden Gate might feel scary, but it’s possible. Tahoe should feel stable and familiar, and you can always wait for Golden Gate's later releases (like macOS 27.1) before trying again.