When you use your Mac to do just about anything, there are dozens, sometimes hundreds, of processes running in the background. These processes control everything from the clock on your Mac to playing games and editing video. Most of the time, you don’t need to think about them at all, but occasionally, when your Mac slows down, behaves erratically, or hangs, you may need to investigate the reason why it’s happening and identify which processes are causing the problem. One of the most important processes on your Mac is Core Audio, which manages all aspects of audio in macOS, including playing music and podcasts, watching video, and making calls on FaceTime, Zoom, or any other app. Central to Core Audio is coreaudiod, which is short for core audio daemon, the process that allows Core Audio to work. In this article, we’ll show you what to do if coreaudiod has high CPU usage on your Mac.
What is coreaudiod on Mac?
coreaudiod, or Core Audio daemon, is the critical process for everything that uses audio on your Mac. Core Audio is the macOS API (application program interface) that allows third-party developers to hook into the Mac’s audio systems and use the microphone and speakers. But it’s not just third-party applications that use Core Audio. Built-in apps like Music, Apple TV, and Podcasts use it, too, as do Garageband and iMovie. And whenever Core Audio is used, coreaudiod runs in the background.
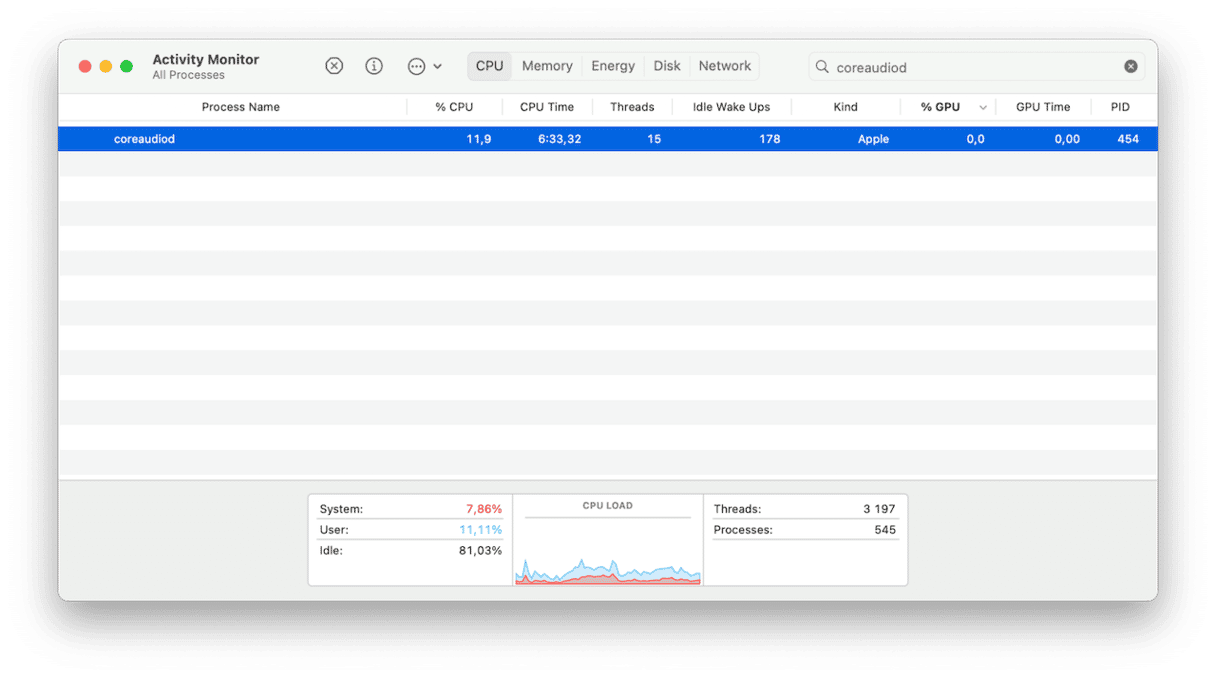
Why does coreaudiod have high CPU usage?
Normally, it doesn’t. Most of the time, coreaudiod should make barely any demands of your Mac’s system resources. However, occasionally, things can go wrong, and when they do, coreaudiod may get into a bit of trouble and start chewing up CPU cycles. Some of the things that may go wrong include:
- Core Audio can’t find the /Library/Preferences/Audio/ directory where audio settings are stored.
- A conflict with third-party applications that causes Core Audio to run into trouble.
- Your Mac is at risk of overheating. Normally when macOS detects a risk of overheating, the kernel_task process grabs CPU cycles to stop them from being used by other processes and reduce the risk of overheating. But there have been reports that other processes like WindowServer and coreaudiod do the same.
How to fix it if coreaudiod has high CPU usage
1. Confirm that coreaudiod is the culprit
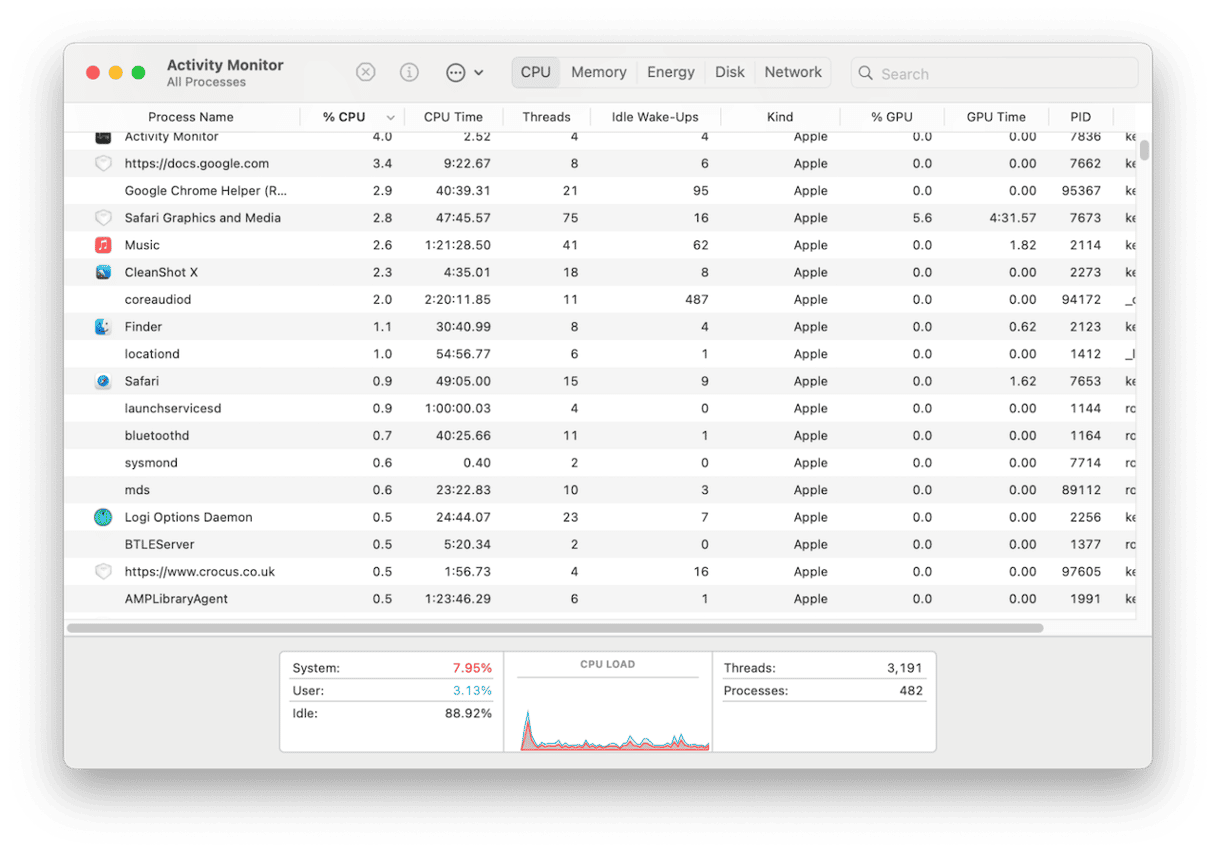
Go to Applications > Utilities and open Activity Monitor. Click the CPU tab. You should see a list of processes ordered by the % of CPU cycles they’re using. If coreaudiod has high CPU usage, you will see it at or near the top of the list.
2. Check that the audio preferences directory is there
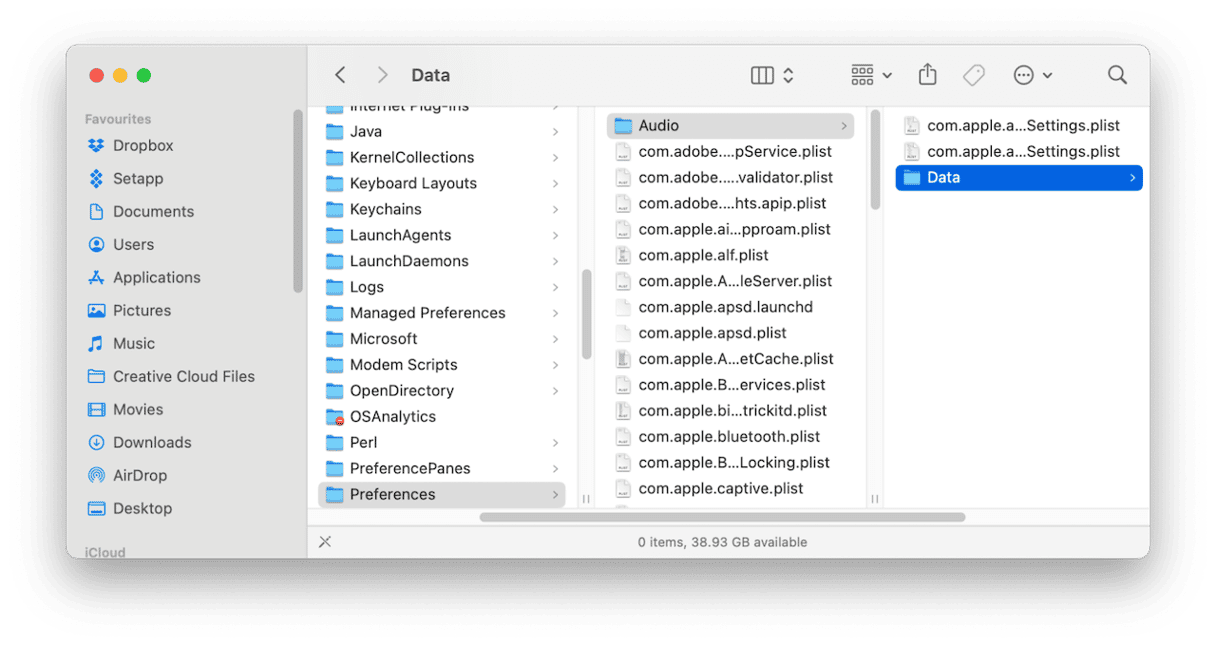
Click the Finder icon in the Dock, then choose the Go menu, followed by Go to Folder. In the text box, paste this path followed by Return: /Library/Preferences/Audio/ — if that takes you to a folder called Audio, it’s working as it should.
3. Restart coreaudiod
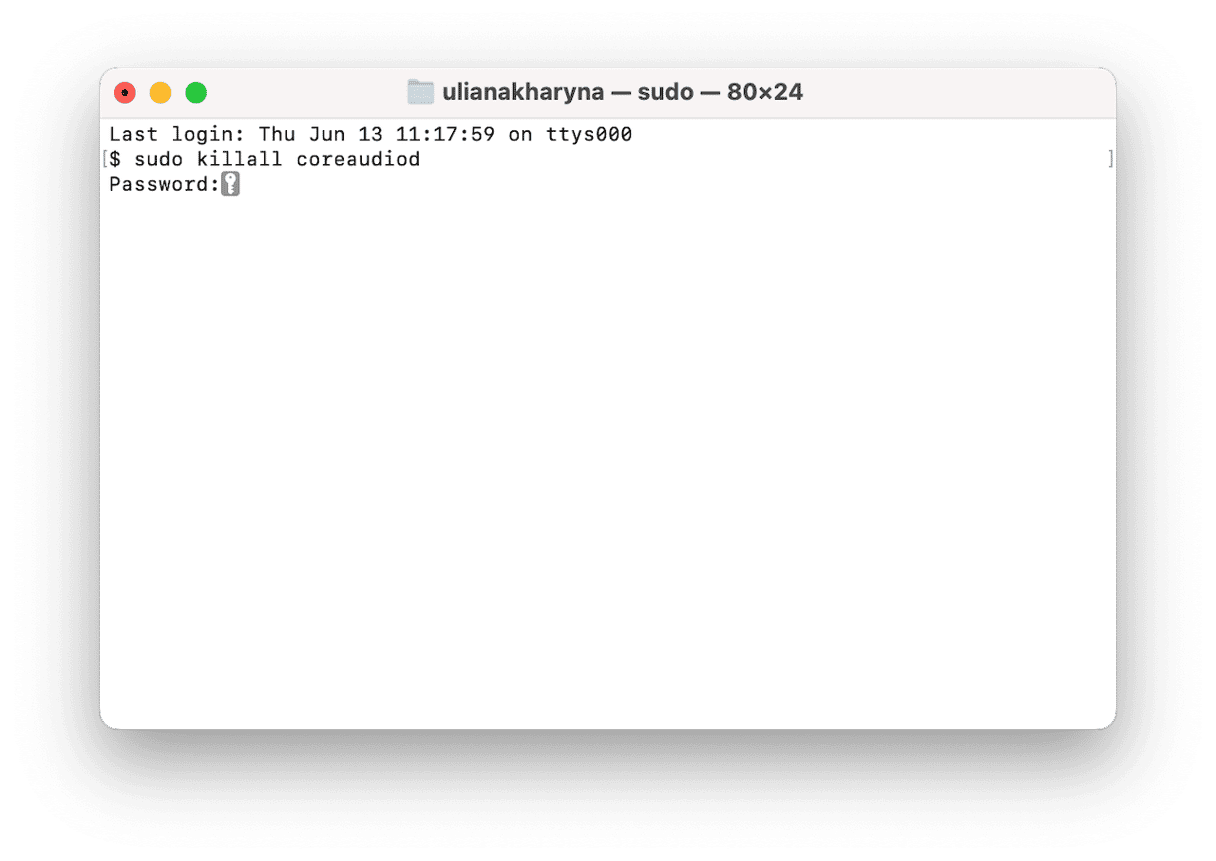
You can restart the coreaudiod in Terminal, which may fix the issue:
- Go to Applications > Utilities and open Terminal.
- Paste the following command followed by Return and your password:
sudo killall coreaudiod - Then, when it has run, quit Terminal.
4. Clear out the junk
Another thing you should always do when your Mac starts behaving strangely is clear out junk files. These are files that include caches, temporary files that were never removed, old settings files for apps that are no longer on your Mac, and language files for languages you don’t use. Getting rid of all those files manually would be time-consuming and difficult — you’d have to track them all down individually.
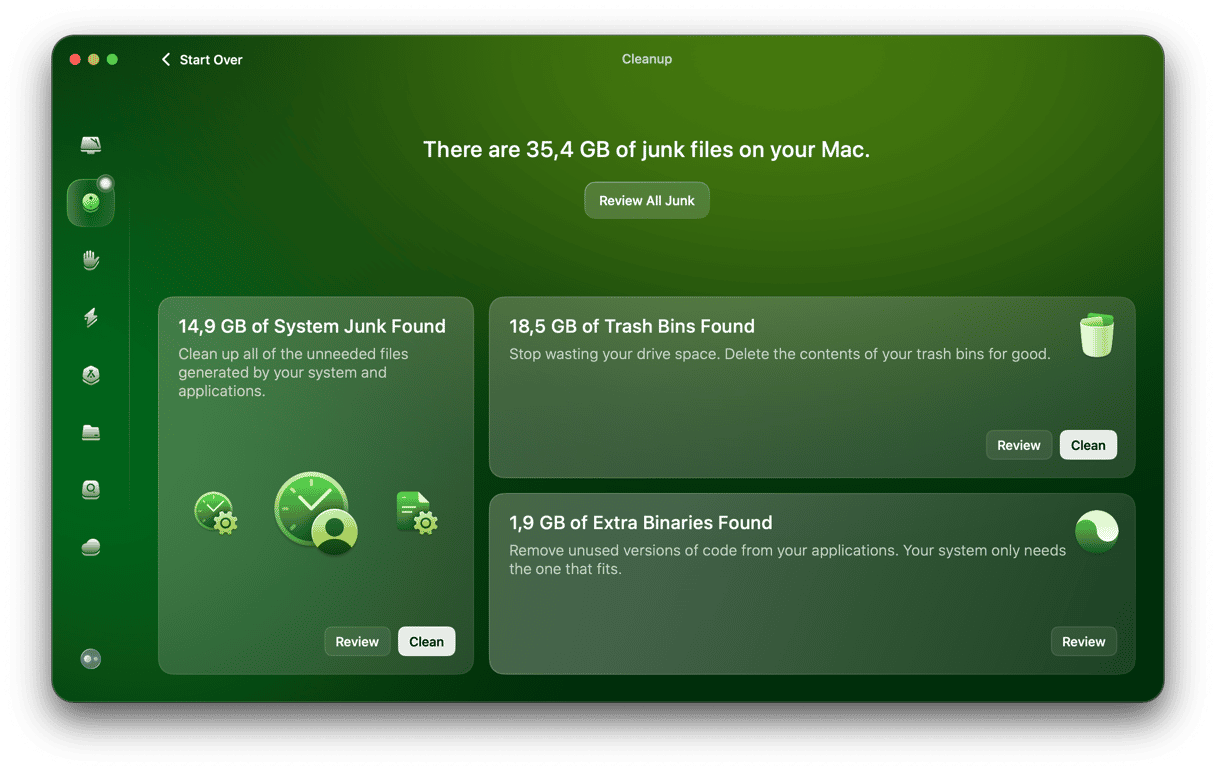
However, you don’t have to do it manually. CleanMyMac’s Cleanup tool can do it for you with just a couple of clicks. It scans your Mac, looking for junk files. When it’s done, you can either remove everything it has found with a click or review its findings and decide for yourself what to remove and what to keep. Start your free CleanMyMac trial. Then, follow these steps:
- Open CleanMyMac.
- Click Cleanup > Scan > Clean. Easy!
5. Update macOS
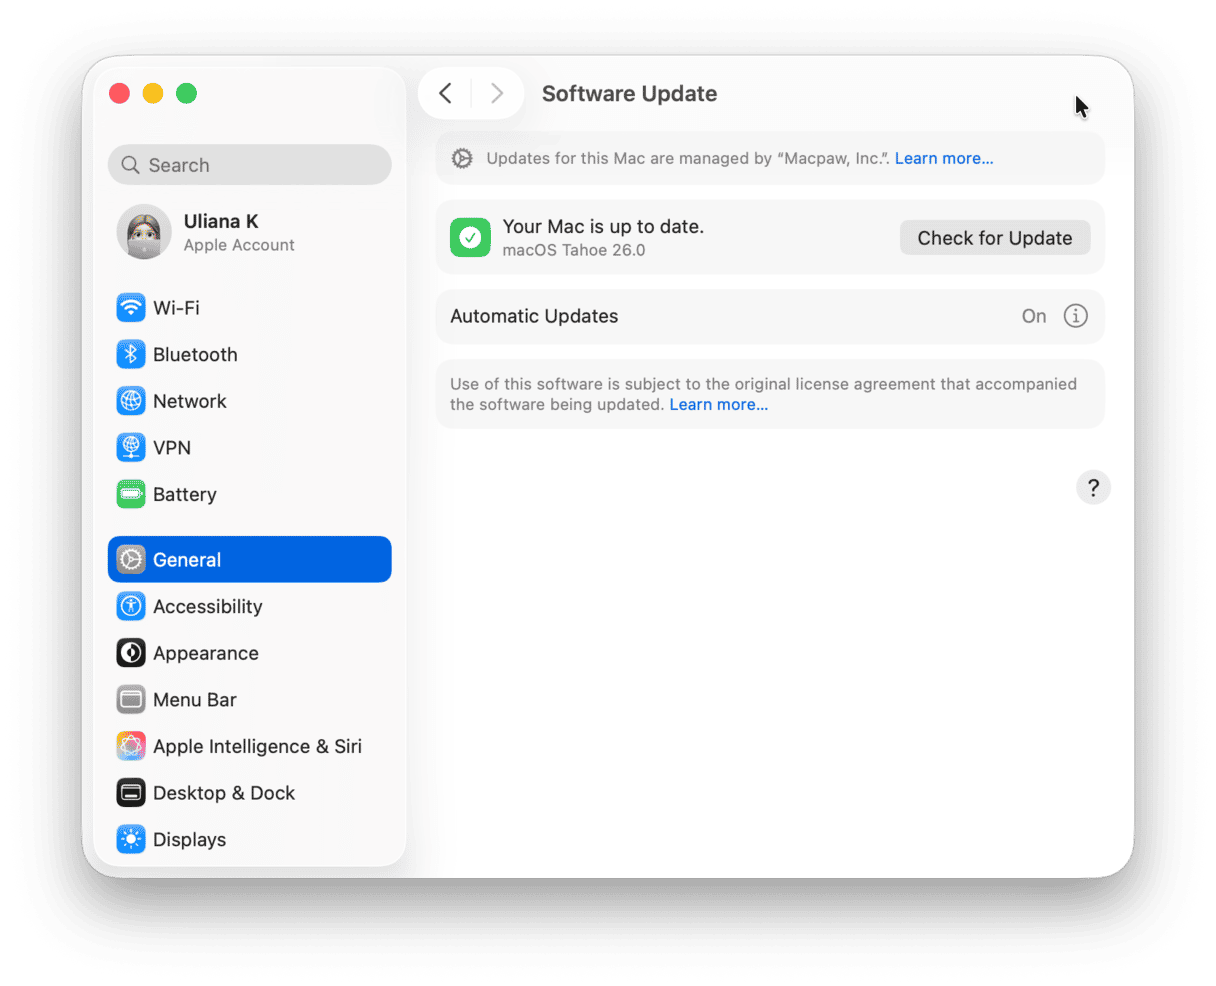
Whenever you run into a problem on your Mac, or it starts behaving strangely, it’s worth checking for an update to macOS:
- Go to System Settings, then choose General > Software Update.
- Wait for it to check for an update, and if there is one available, follow the instructions on the screen to install it.
6. Monitor audio apps
If nothing so far has worked, the next step is to check the audio apps you use one by one — open them in turn and check if coreaudiod CPU usage increases via Activity Monitor. Find out if the problem is caused by one app in particular, or more than one. If it’s just one app, check to see if there is an update available for it. That may solve the problem.
7. Check your Mac for malware
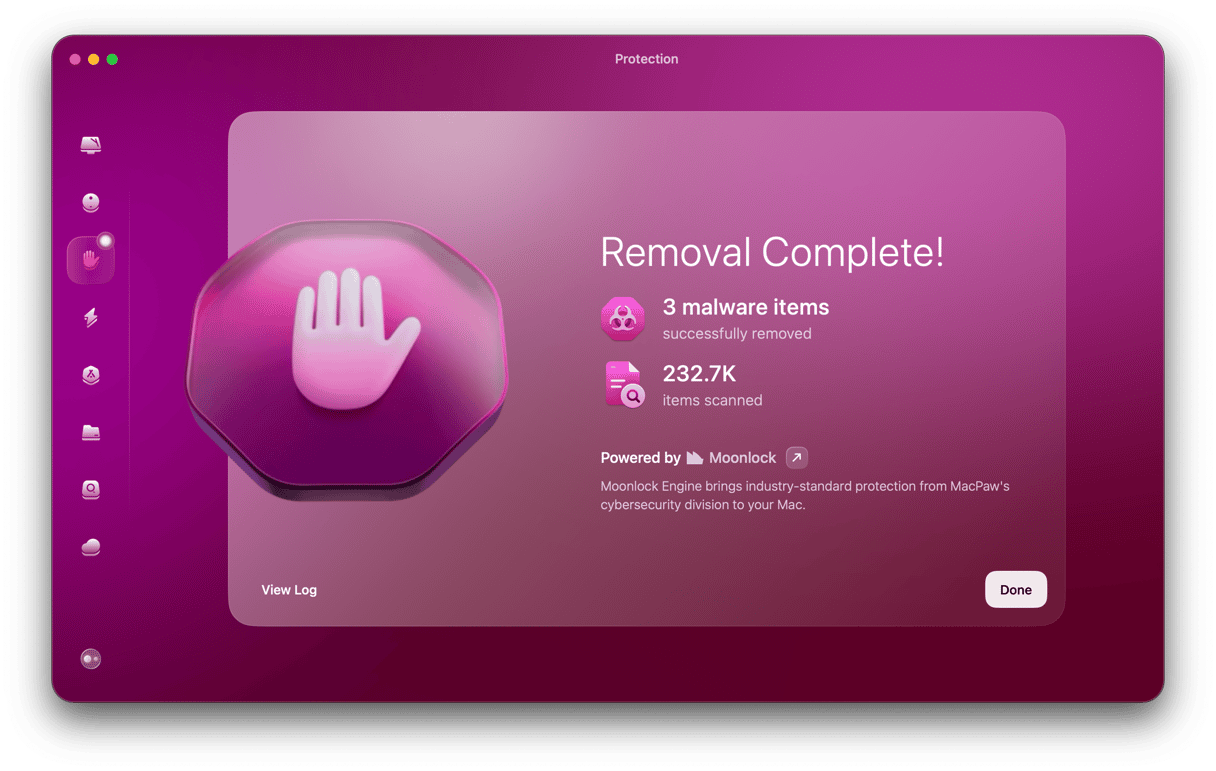
One of the most common symptoms of a malware infection is that your Mac uses far more resources for tasks that normally wouldn’t trouble it, like playing audio. So, if none of the above steps have worked, it’s worth checking for malware. To do that, you need a specialist tool. We recommend CleanMyMac’s Malware Removal feature within the Protection tool. It scans your Mac, looking for adware, ransomware, browser hijackers, and other forms of malware. If it finds anything, it will alert you and allow you to remove it quickly. You can choose whether to run a deep, quick, or balanced scan, and it’s up to you whether you let it check for malware automatically or only when you initiate a scan. To run a Mac virus scan:
- Open CleanMyMac.
- Click Protection > Scan > Remove (if malware has been detected).
coreaudiod is the background process that is used by Core Audio to play and record audio on your Mac. Normally, it works perfectly, and you don’t even have to think about it. However, occasionally, something might go wrong, and coreaudiod will have high CPU usage. If that happens, follow the steps above to fix it and get your Mac running smoothly again.


