There are many hundreds of background processes that run on your Mac to carry out tasks and keep everything running smoothly. Some of those tasks are controlled and managed by macOS; others are run by third-party applications. Most of the time, you never need to think about them. They just run, do what they need to do, and, on the surface, your Mac runs smoothly, and you do what you need to do. However, occasionally, background processes can run into trouble and start to consume many more resources than they should. When they do that, there are fewer resources available for other applications and processes, and so your Mac runs more slowly and may become unstable. In this article, we’ll show you what to do when one of those processes, fseventsd, has high CPU and high memory usage on your Mac.
What is fseventsd on Mac?
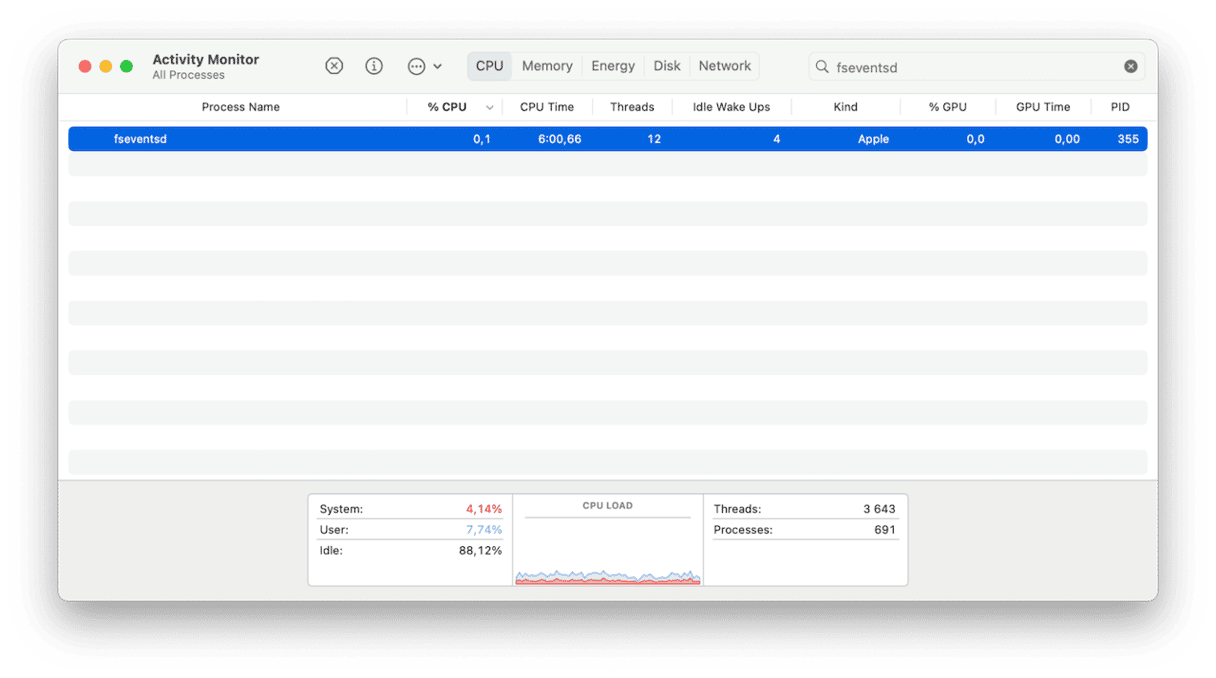
fseventsd is an abbreviation of File System Events Daemon. Daemon is another word for a background process, and file system events daemon includes anything that happens in macOS that is related to the creation, deletion, copying, or moving of files, whether they are on your startup disk, an external disk, a network server, or a cloud service. fseventsd is used by Finder, Time Machine, Spotlight, and iCloud, among other parts of macOS. When you make changes to a file in macOS — for example, by moving it to a different folder — fseventsd monitors that and notifies other processes that have an interest in the location of that file.
What causes fseventsd high CPU and high memory usage
Under normal circumstances, fseventsd places hardly any demands on your Mac’s resources. However, there are some things that can cause it to use high levels of memory and CPU. These include:
- You copy or move lots of files from one place to another.
- Spotlight has trouble indexing a volume.
- The file system on a disk is corrupted.
- There is a hardware fault with a disk.
- Your Mac is infected with malware.
How to check if fseventsd has high memory and CPU usage
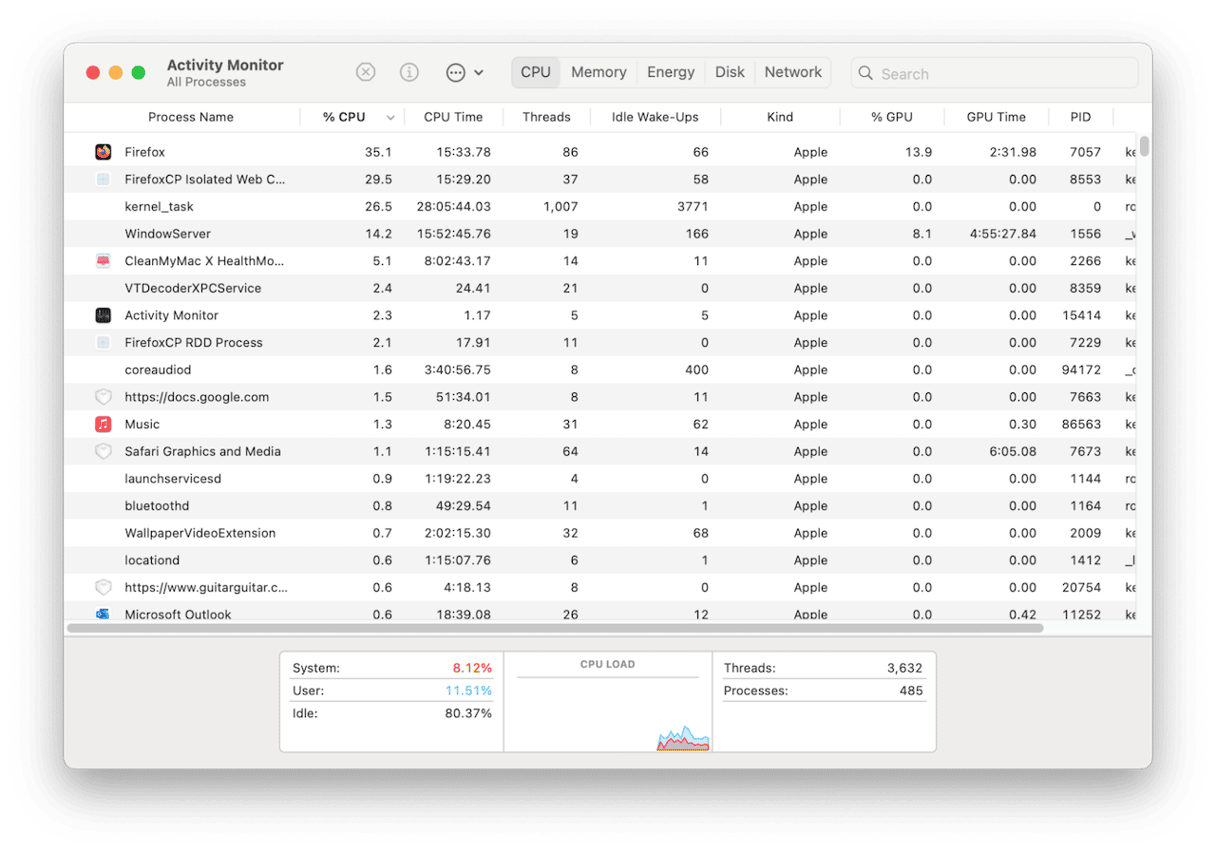
If you suspect that fseventsd is using lots more resources than it should be, there is an easy way to check. Here’s how to do it:
- Go to Applications > Utilities and open Activity Monitor.
- Click the CPU or Memory tab.
- The processes in the main window should be listed from highest usage to lowest. If not, click the arrow next to the column header.
- Look for fseventsd. If it’s near the top of the list, check its % CPU cycles or RAM use. It should be very low, fractions of a % for CPU usage. If it’s higher than that, it likely has a problem.
How to fix fseventsd high memory and CPU usage on Mac
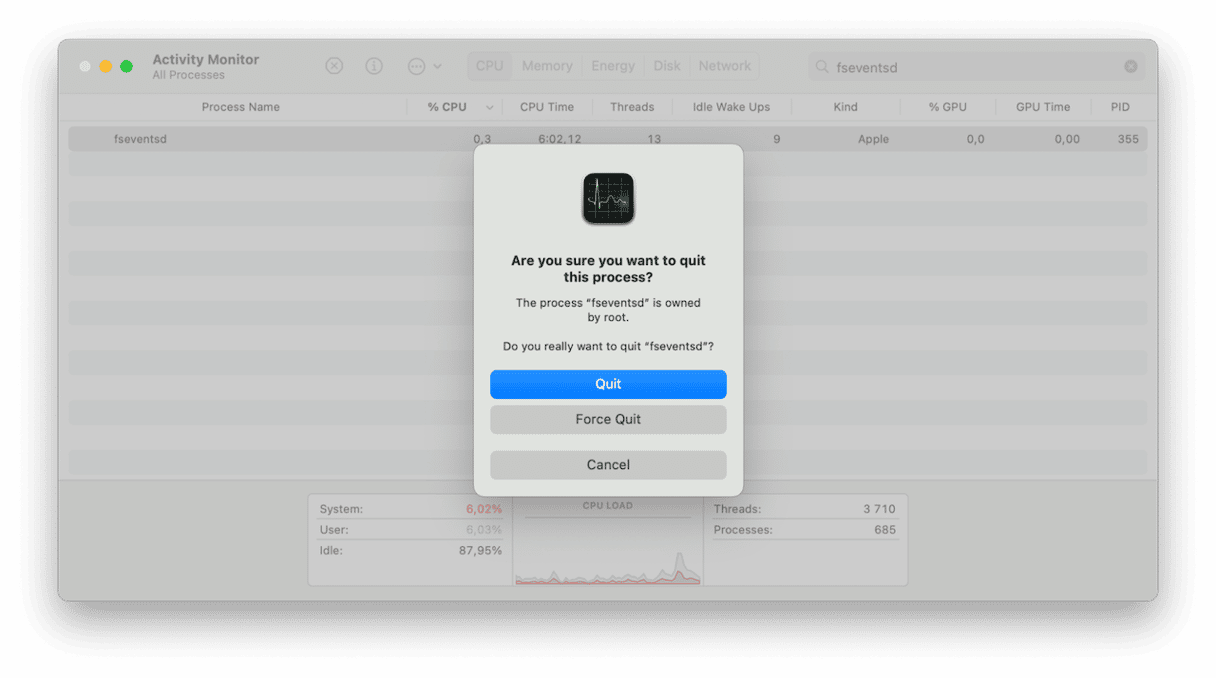
The first thing to do is to quit the process.
- In Activity Monitor, locate fseventsd and select it.
- Click the x in the toolbar to quit it.
- fseventsd will restart itself and, hopefully, that will be all you need to to fix the issue. If not, follow the steps below.
If quitting the process in Activity Monitor doesn’t solve the problem, the next step is to restart your Mac. If fseventsd still uses more than its fair share of resources after you have restarted, follow the steps below in order.
1. Check for an update to macOS
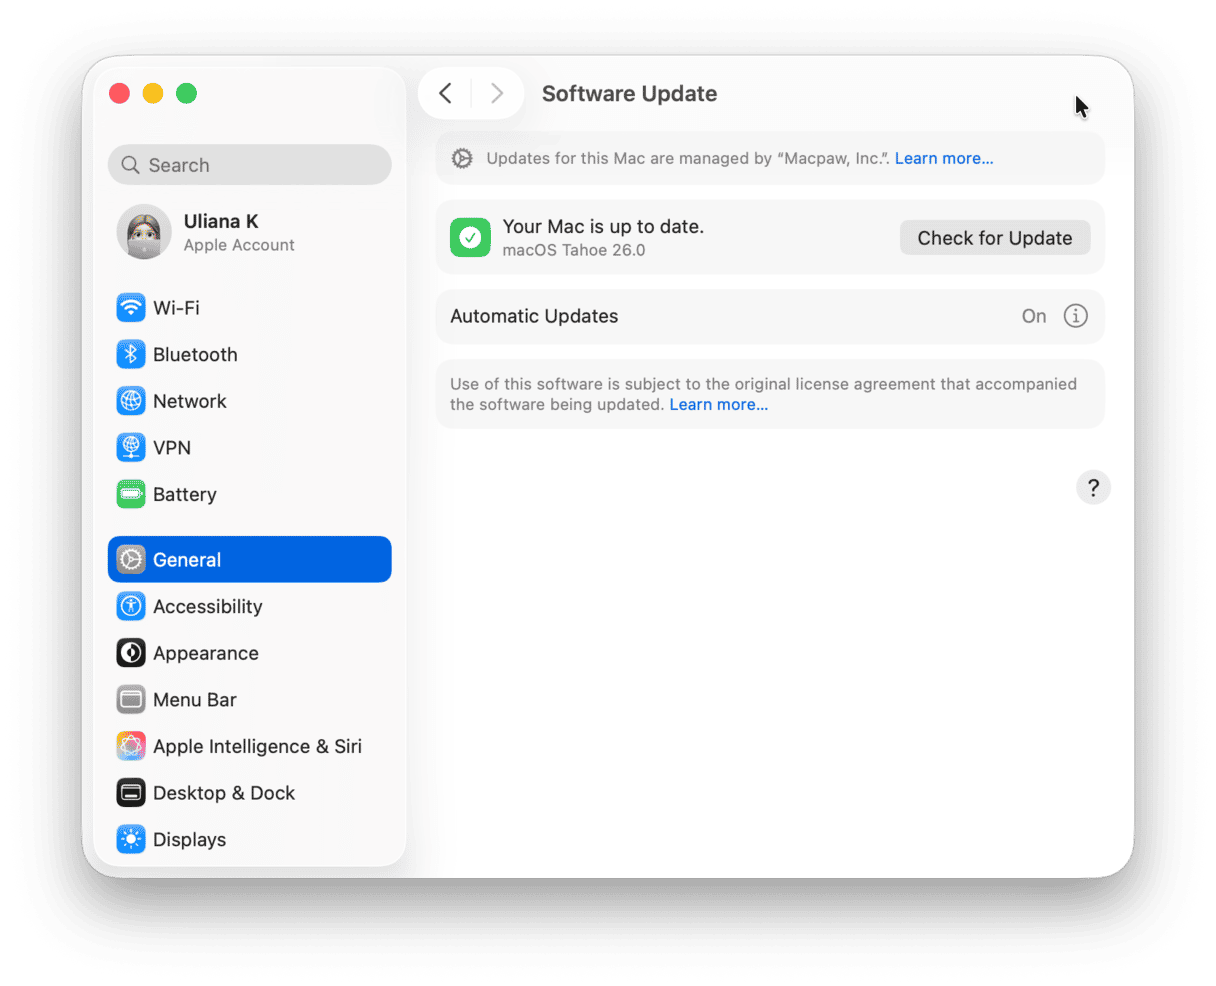
It could be that the reason fseventsd is using so many resources is a bug in macOS, so the first step is to check for an update:
- Go to System Settings > General > Software Update.
- If there is an update available, follow the instructions on the screen to install it.
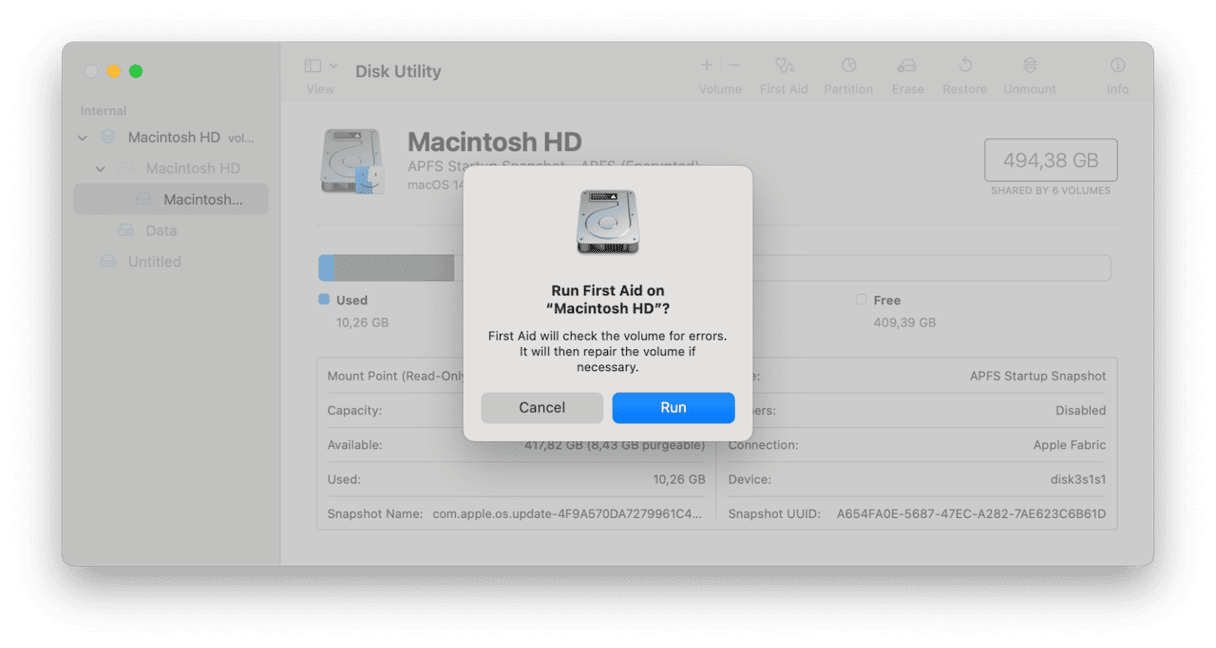
2. Run Disk First Aid
If the problem always happens with the same disk, like your startup disk, or when you are copying files to or from an external disk, you can try and repair the disk using Disk Utility:
- Go to Applications > Utilities and open Disk First Aid.
- Choose the disk you want to repair in the sidebar and click First Aid in the toolbar. Wait until it’s finished and then quit Disk Utility.
3. Reindex Spotlight
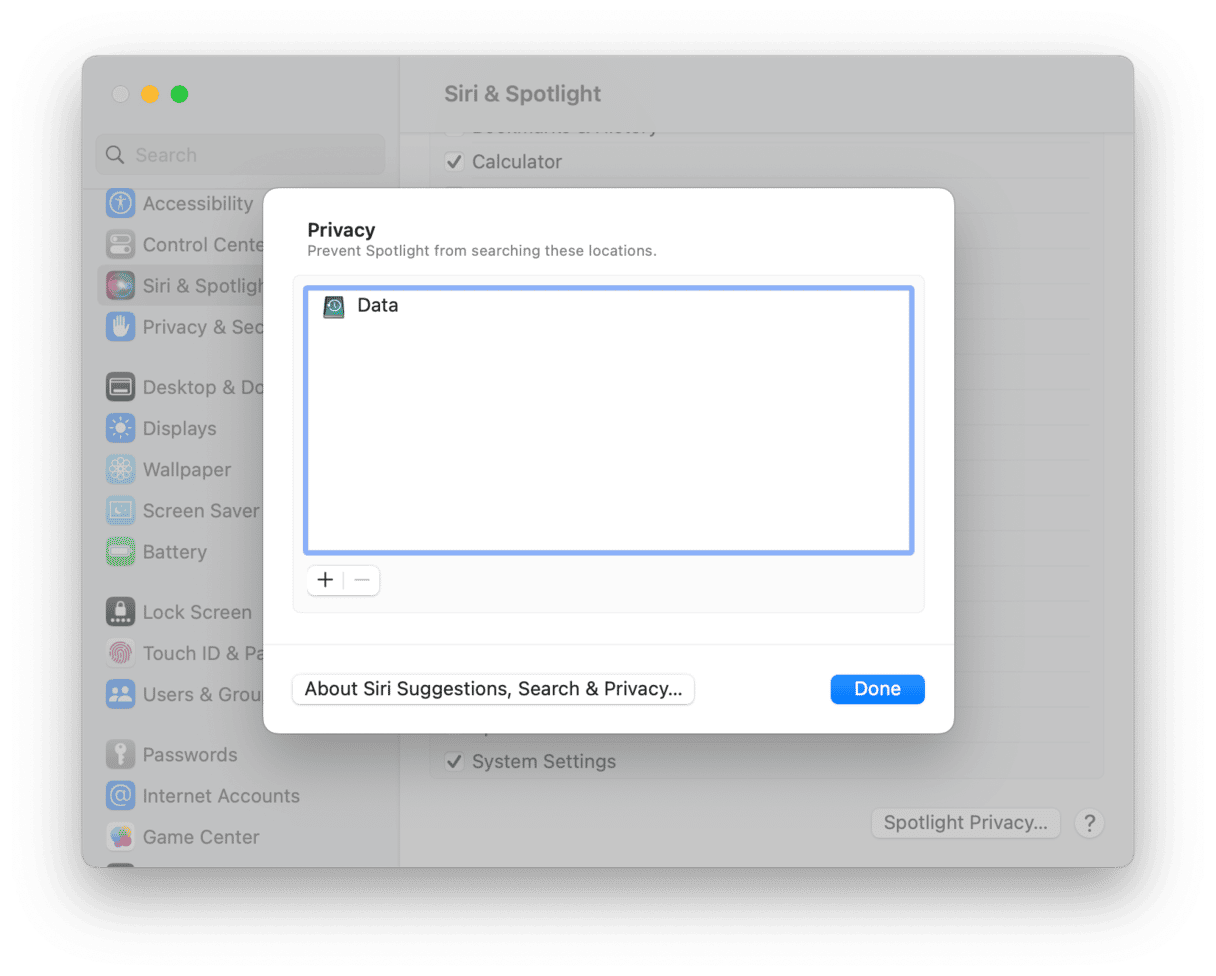
The next fix is to reindex Spotlight:
- Go to System Settings and choose Siri & Spotlight.
- At the bottom of the window, click Spotlight Privacy. Drag the disk that’s causing the problem onto the window, then choose Done and quit System Settings.
- Relaunch System Settings, go back to Spotlight Privacy, select the disk, and click the ‘-’ button.
- Finally, click Done and quit System Settings. Spotlight will reindex.
4. Clear out the junk
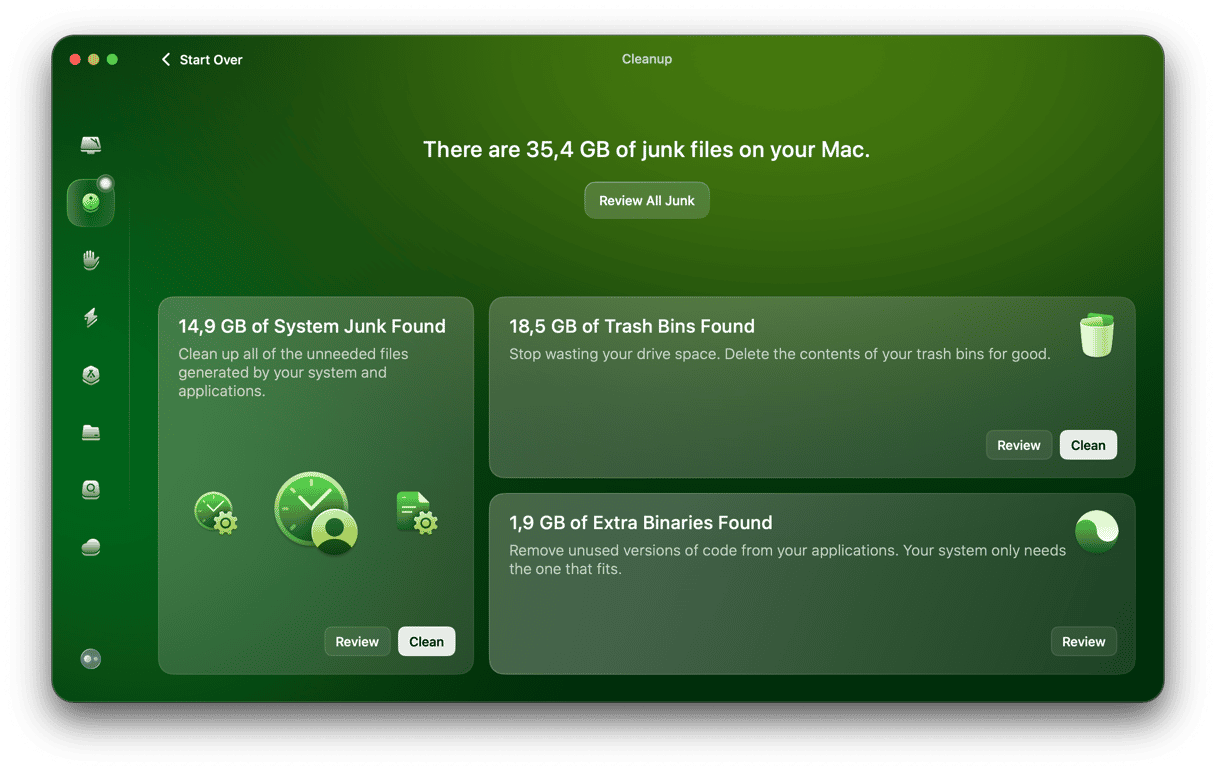
It’s possible that the problem with fseventsd could be caused by junk files that have become corrupt or are conflicting with other files on your Mac. The solution is to clear out all junk files. These include temporary files that should have been deleted but weren’t, old cache files, settings files for apps that are no longer on your Mac, and language files for languages you don’t use.
Getting rid of these files manually would take a long time because you’d have to track them down individually. But you don’t have to do it manually — CleanMyMac’s System Junk module can do it for you with just a few clicks. It scans your Mac, looking for junk, and then when it’s finished, you can remove it with a click or review what it has found and decide for yourself what to keep and what to remove.
You can download CleanMyMac for free here. Then, follow these steps:
- Open CleanMyMac.
- Click System Junk > Scan > Clean.
5. Restart Time Machine
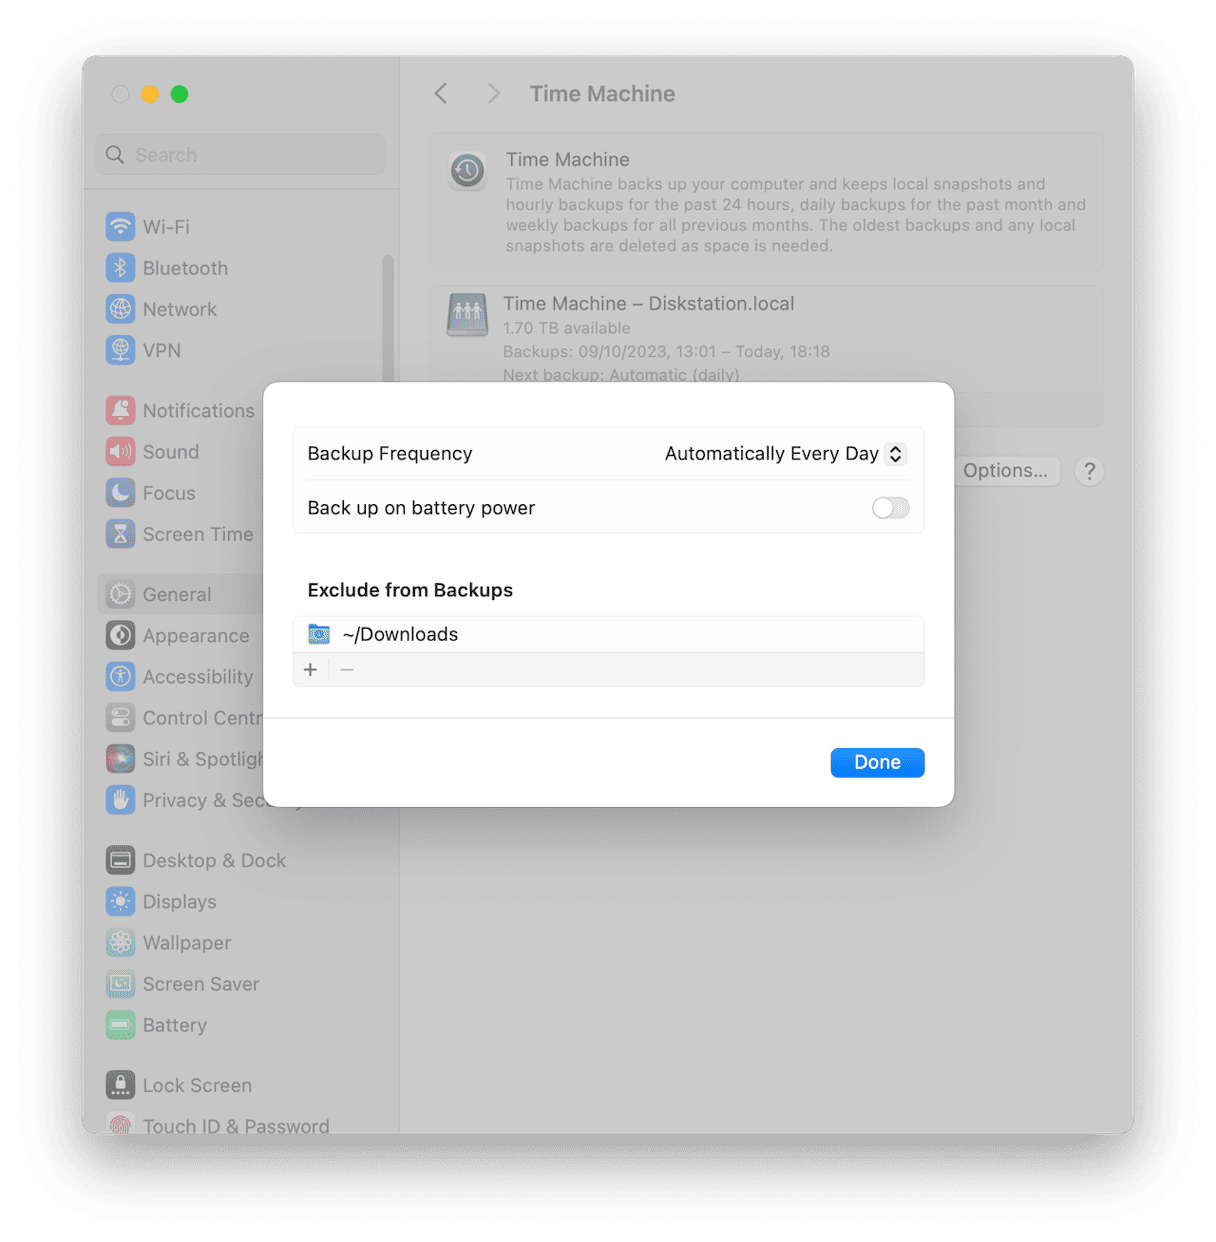
Problems with fseventsd are often associated with Time Machine. If you have noticed it using lots of CPU cycles and RAM when Time Machine is running, you can restart Time Machine:
- Open System Settings and go to General > Time Machine (you also click Time Machine in the menu bar and choose Open Time Machine Settings…).
- Click Options and select Manually next to Backup Frequency.
- Quit System Settings. Then, launch it again and change Time Machine frequency to one of the automatic options.
6. Check for malware
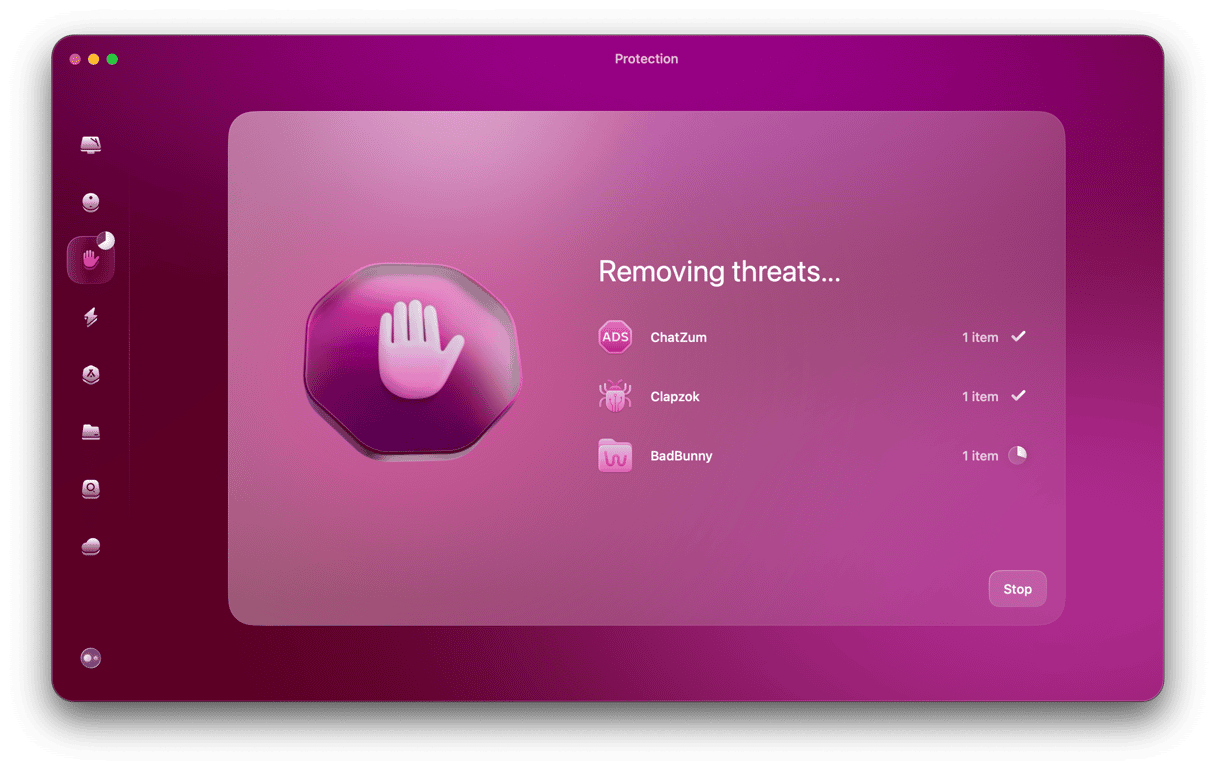
One of the less likely, but still possible, reasons for fseventsd high CPU and high memory usage on your Mac is the presence of malware. If nothing you’ve tried so far has worked, it’s worth using a specialist cleaning tool to scan your Mac and check for viruses and malware. We recommend CleanMyMac’s Malware Removal module. It scans your Mac, looking for suspicious files, and compares them with a database of known threats. You can choose to run a deep, quick, or balanced scan and can select whether to activate the scan manually or have CleanMyMac check your Mac for malware in the background.
Here’s how to use it:
- Open CleanMyMac.
- Click Malware Removal > Scan.
- If malware has been detected, click Remove.
fseventsd is one of several hundred processes that run in the background when you use your Mac. It monitors changes to the file system on the disks connected to your Mac so that if a file is copied, moved, created, or deleted, it’s fseventsd’s job to tell the other parts of the system that need to know. Most of the time, it does that and uses very few resources. However, occasionally fseventsd might have high CPU and high memory usage. If that happens on your Mac, follow the steps above to fix it.


