

Looking to carry out a bit of a Docker system prune? It’s a great tool, but it can, somewhat unexpectedly, eat up half your Mac’s storage. From Images, to stopped containers, unused volumes, and even build cache, it all adds up and sits in that vague “other” section in your System Storage breakdown.
I’ve seen a lot of threads online about users being worried if it’s safe to prune, but most Docker cleanup is pretty safe and reversible, and yes, images can be repulled. I’ll show you all the native Docker commands first, then the CleanMyMac CLI route for clearing Docker and other dev-tool caches in one shot.
What is Docker layer cache?
Docker cache comes pretty consistently from four main places. Images, stopped containers, unused volumes, and build cache.
Images are pretty much always the biggest culprit, especially if you’re testing different versions or rebuilding often. Stopped containers can also hang around, and I’ve found that volumes can keep data even after the container is gone.
Start by checking Docker’s current disk usage with: docker system df
And for a more detailed breakdown per object, run: docker system df -v
This is a good place to start, because once you know which bucket is actually taking up space, the cleanup becomes, in my opinion, much less risky.
I don’t just run the biggest prune command first, I start with the object type I no longer need, review what Docker is holding onto, and only go more aggressive if the space still doesn’t come back.
How to free up space used by Docker
Method one: Remove unused Docker images
Images are usually the first place I look because they grow fast, and this should be expected if you're testing versions or rebuilding the same project often.
So, first take a minute to actually review what’s stored first, using:
docker images
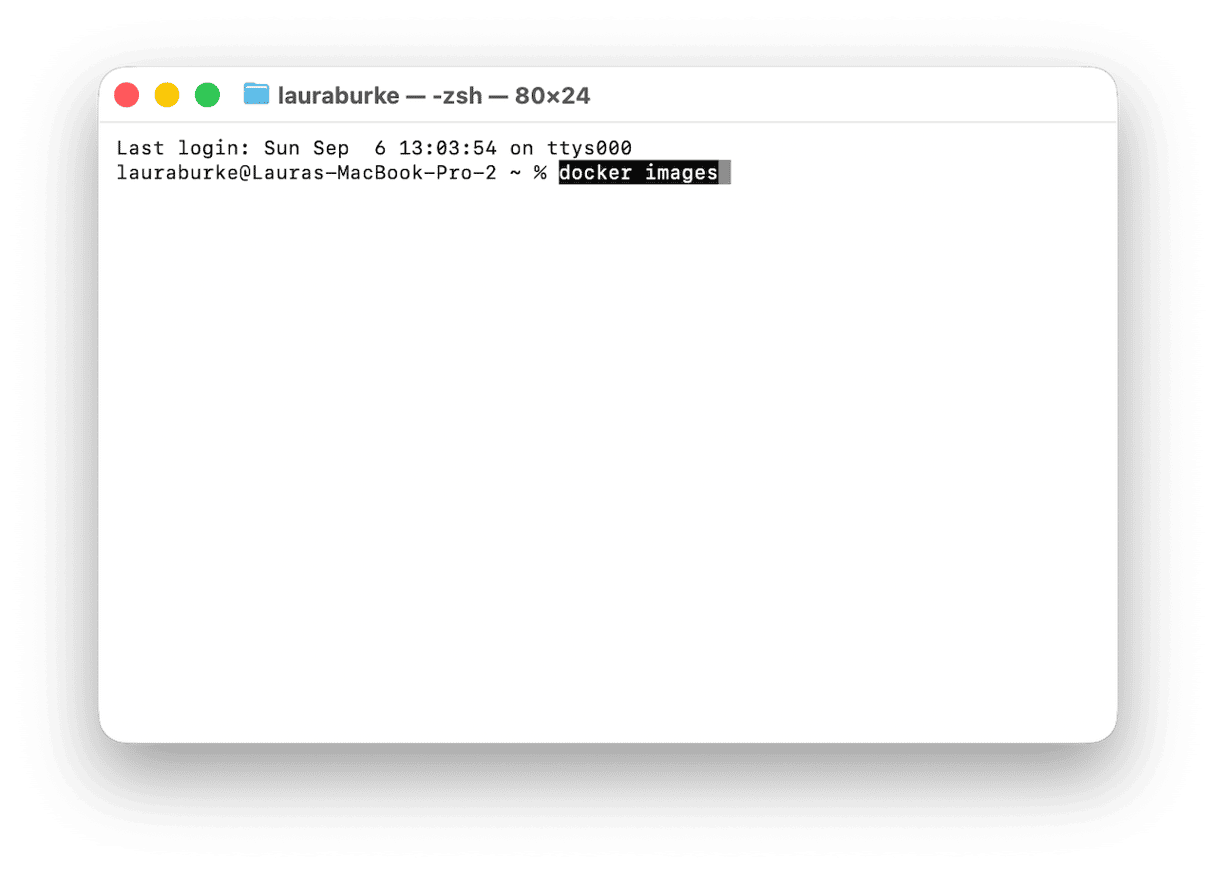
Then remove dangling images only, with:
docker image prune
That’s the safer default because it removes untagged image layers Docker no longer needs.
But if you really do want a deeper clean, then you can also try:
docker image prune -a
The -a flag at the end there removes all unused images, not just dangling ones. So I’d say this one is a bit more aggressive, but good to know; it's usually reversible. If you need an image later, Docker can pull it again from the registry.
Method two: Remove stopped containers and unused volumes
Ok, next up, to review all containers, including stopped ones, you can run:
docker container ls -a
Then, to remove any stopped containers, run:
docker container prune
This won’t touch running containers, only ones that have already stopped.
To remove unused volumes, you can run:
docker volume prune
I’d be a bit more careful here. Volumes can store database files, uploads, or even other container data that you might still need. So, I’d really take a bit of extra time here, and check that nothing important is stored in them, especially if you’re using Docker for local databases or long-running dev environments.
Method three: Prune all layer cache at once
If you’re not messing around, you can remove all stopped containers, unused networks, dangling images, and build cache in one go. To do this, run:
docker system prune
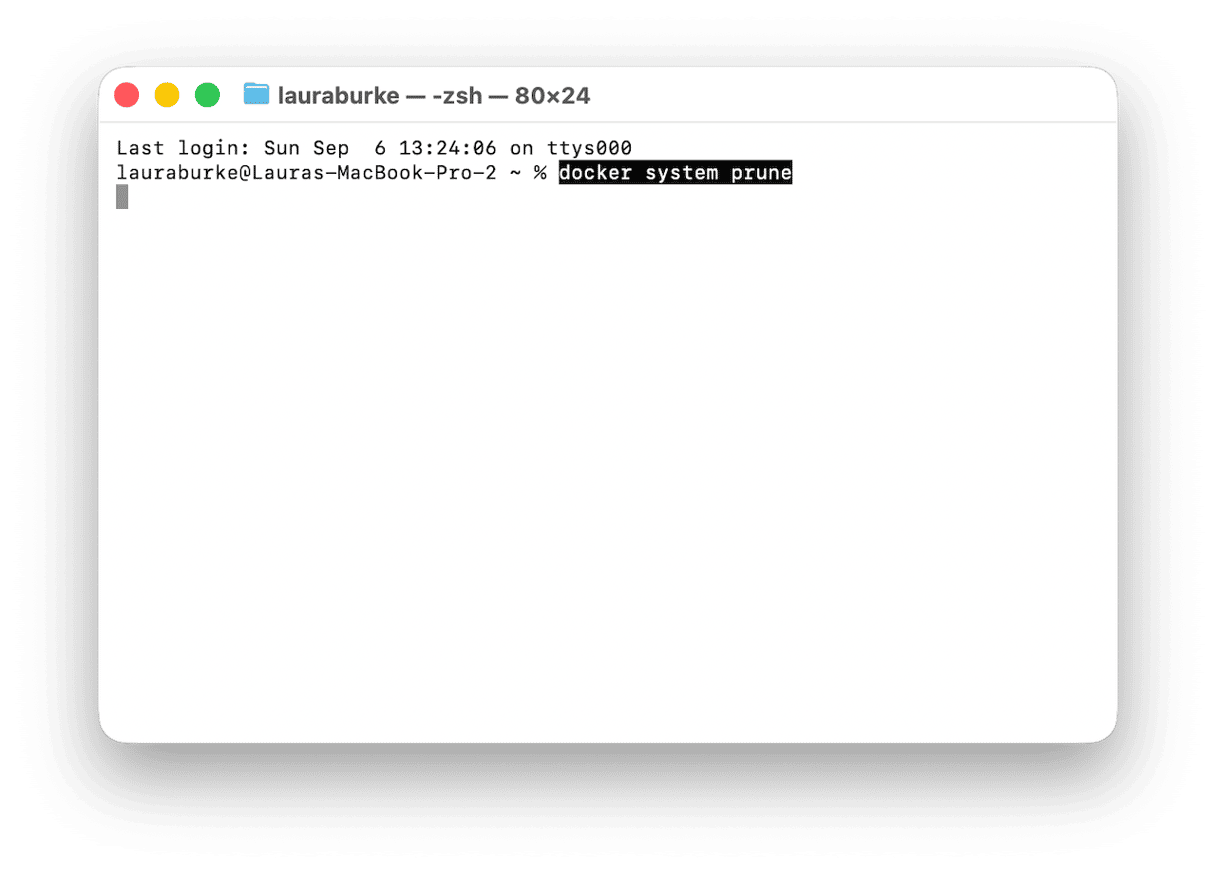
For the deepest clean, include all unused images and volumes:
docker system prune -a --volumes
The -a flag removes unused images, not just dangling ones. While the --volumes flag is going to remove all unused volumes too, which can include stored container data. So, don’t run this until you’ve confirmed there’s nothing critical in those volumes.
Method four: Free up Docker space with CleanMyMac CLI
If you want a way to prune everything in one go, like Docker, npm, Yarn, Homebrew, pip, and 15+ other tools, try out CleanMyMac CLI, which just launched in July 2026. Instead of clearing each cache separately, you can review Docker artifacts and other developer caches in one Terminal workflow.
Install it quickly via Homebrew with:
brew install --cask macpaw/taps/cleanmymac-cli
Once it’s all installed, to clear Docker artifacts and other dev-tool caches, run:
cleanmymac clean dev
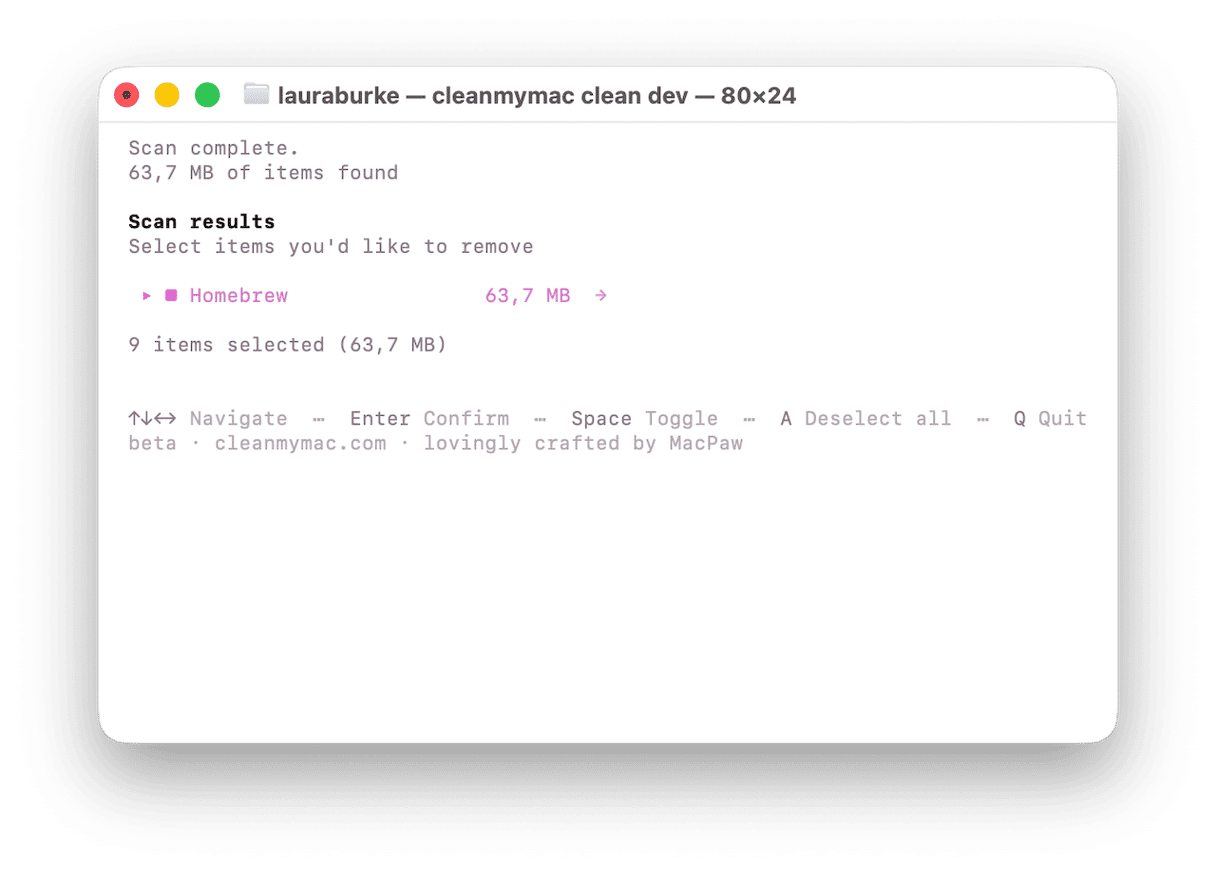
If you want to do a full cleanup including all system junk and Xcode, run:
cleanmymac clean
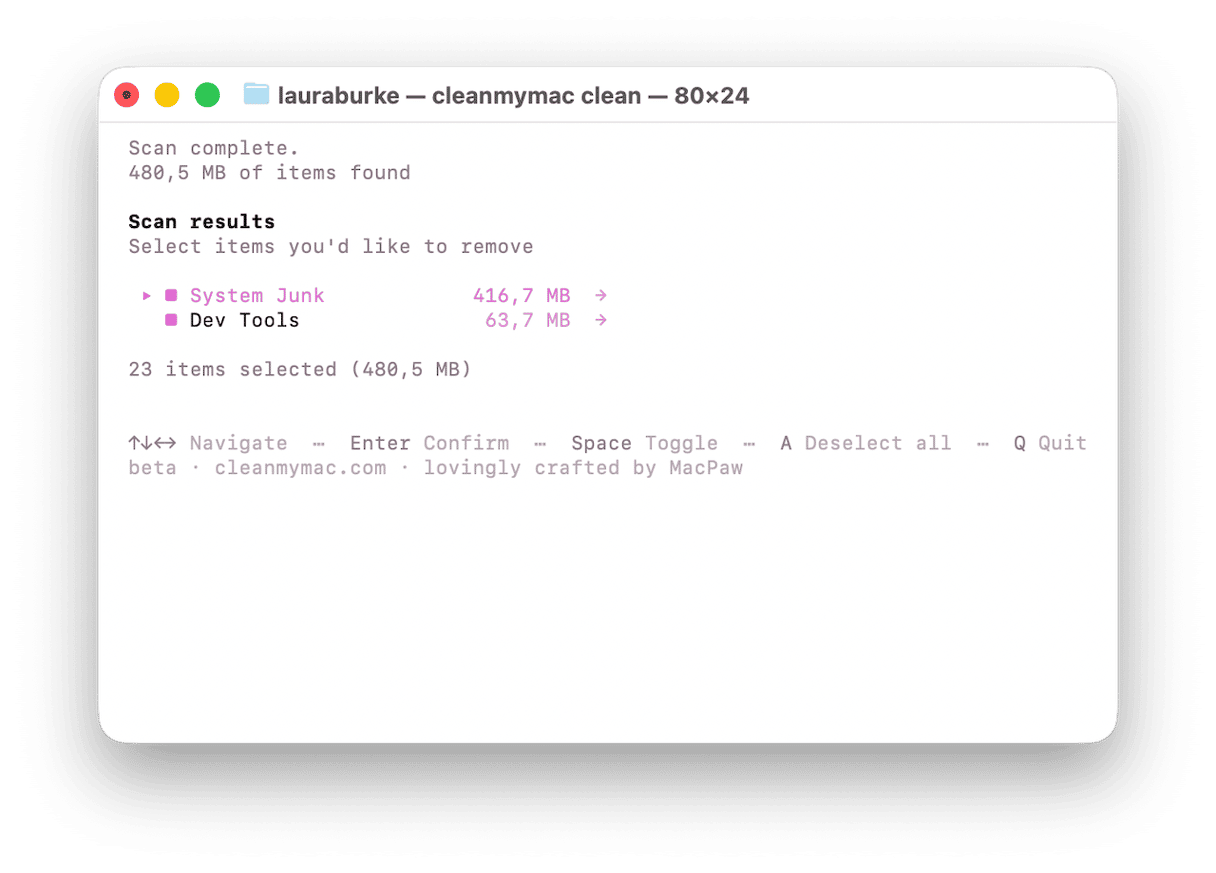
If you’re interested in finding and removing any stale build artifacts across different project folders, use:
cleanmymac purge
Or if you’re just curious about what's consuming space before deleting anything, you can also use:
cleanmymac analyze
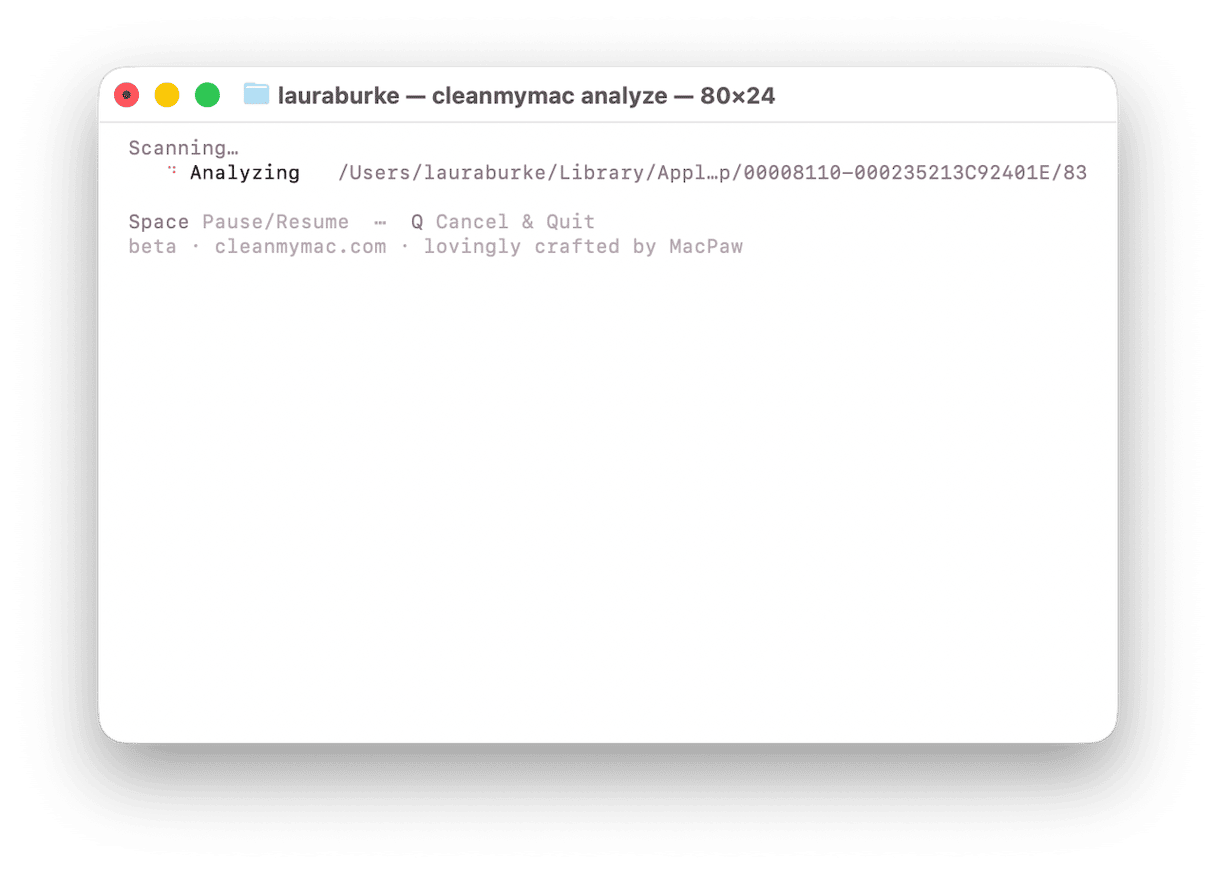
The useful part is that CleanMyMac CLI previews what it plans to remove before deleting, so nothing is removed without confirmation. It requires macOS 11 Big Sur or later. Find out more on GitHub here.
So, that's everything on how to carry out a Docker system prune. If things on your Mac still feel a bit slow, there’s a detailed disk space cleanup article here and our guides on deleting Xcode cache on Mac and clearing npm and Yarn cache.
Frequently asked questions
Is it safe to run docker system prune?
This is a common question, and most of the time it’s not an issue for stopped containers/networks/cache. Just remember to use --volumes with care.
What does docker system prune -a do?
This will remove all unused images (not just dangling ones).
How do I see how much space Docker is using?
You can run docker system df to first analyze what’s going on.
Will pruning delete my running containers?
No. The Docker prune commands target your stopped, unused, or dangling objects, not containers that are currently running. So even if a container is active, the docker container prune or docker system prune command will leave it alone. Still, it’s worth reviewing stopped containers first, because those can include old dev setups you might want to keep.
Can I recover deleted Docker images?
In most cases, yes. If the image came from a registry, you can re-pull it later with docker pull or rebuild it from your Dockerfile. The bigger caution is volumes. If a volume contains unique local data, like a database, uploads, or test records, pruning it may remove data you can’t easily recover.