If you have an Intel Mac, one of the great things is that you can install Windows or Linux and decide when you boot it which operating system you want to use. It’s like having two computers in one. The way it does this is by creating a separate partition on your startup disk on which you can then install Windows or a version of Linux. In this article, we’ll show you how to install Boot Camp on your Mac.
What is Boot Camp?
Boot Camp is the name Apple gave to a feature of Intel-based Macs when it made the transition to Intel in 2006. The idea was that because Macs were now based on the same architecture as Windows PCs, you could install and run Windows or Linux on a Mac and boot into it when you started up your Mac. Apple created a tool called Boot Camp Assistant to allow you to create a Boot Camp partition on which you could install Windows or a version of Linux if you prefer. Running Windows like that is faster than running it in a virtualization tool like Parallels Desktop because it’s not running inside another application. However, it’s not as convenient as virtualization because if you want to use your Mac with macOS, you need to reboot.

How to install Boot Camp on your Mac
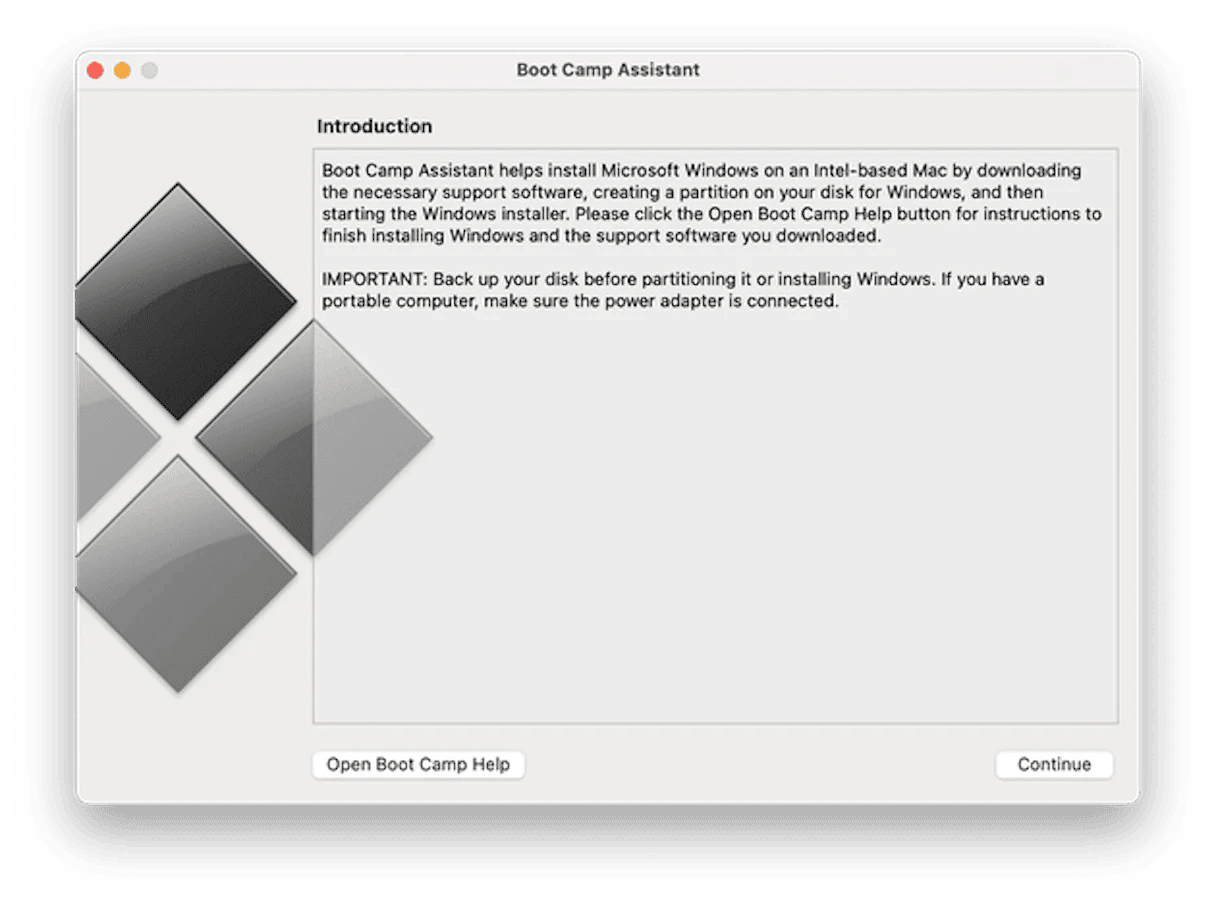
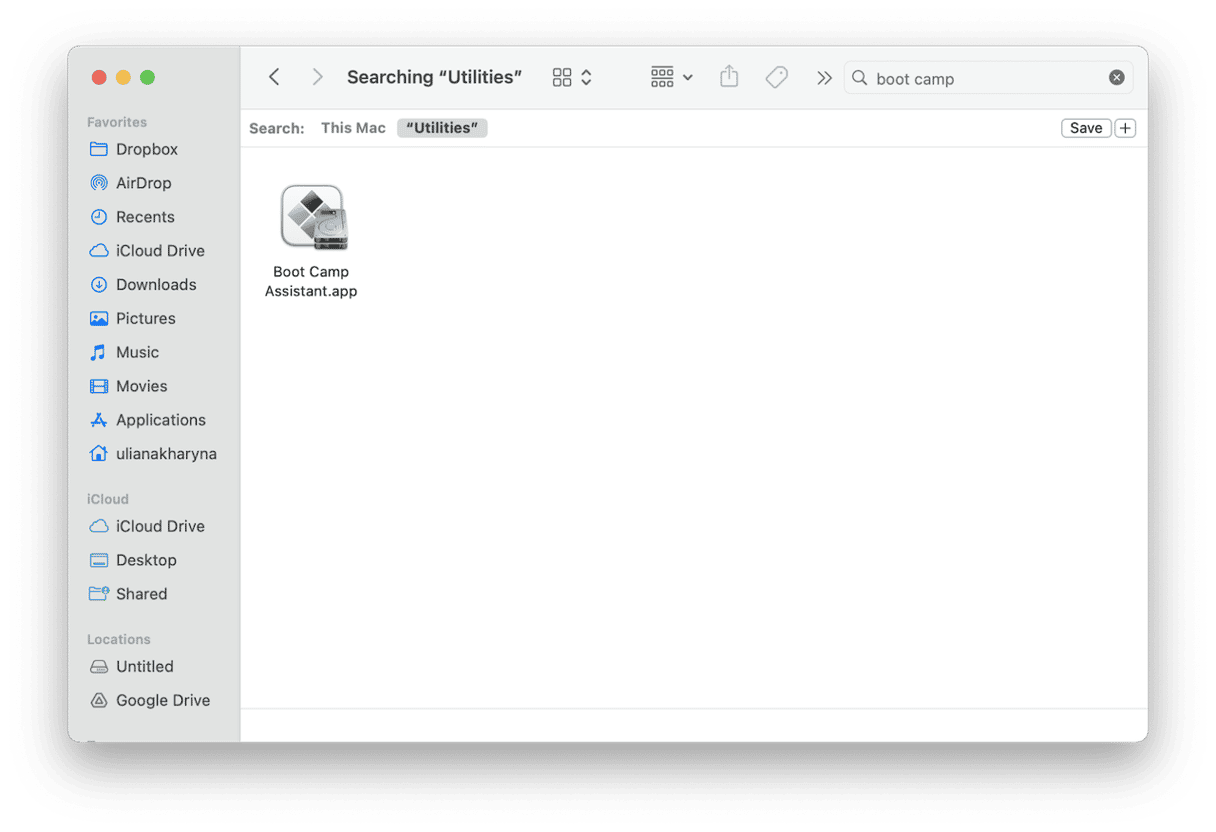
If you have an Intel-based Mac, then Boot Camp is already installed on your Mac in the sense that the Boot Camp Assistant tool is in your Utilities folder in Applications. You just need to use it to create a Boot Camp partition. We’ll show you how to do that below. If you have a Mac with Apple silicon, you won’t be able to install Boot Camp at all because it relies on Intel architecture.

In addition to an Intel Mac, you will also need the following in order to install Windows using Boot Camp.
- A minimum of 64GB of free disk space (128GB is recommended)
- An external USB flash drive with a capacity of at least 16GB (if you’re Mac is running macOS El Capitan or later, you don’t need this)
- Windows 10 or 11 as an ISO disk image
If you have a Mac with a T2 security chip, the first thing you need to do is check your Secure Boot setting. It needs to be set to the default, Full Security, before you use Boot Camp to install Windows. You can find out how to check Secure Boot settings on Apple’s website here. Then, follow these steps:
- Go to Applications > Utilities and open Boot Camp Assistant.
- Follow the instructions on the screen.
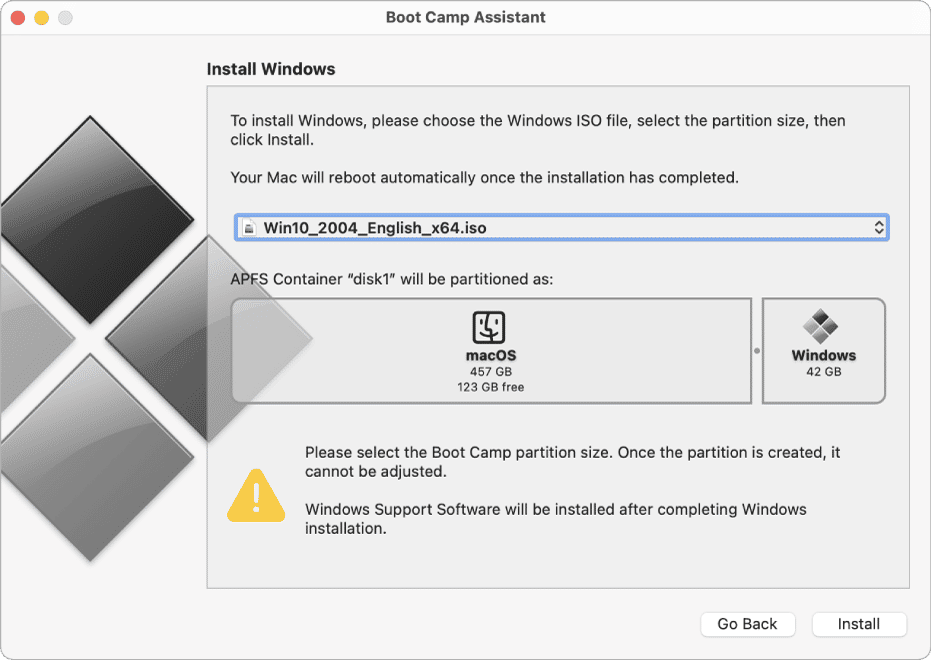
- If Boot Camp Assistant asks you to insert a USB drive, plug a USB stick into your Mac. It will use that to create a bootable drive for installing Windows.
- When you are asked to set the size of the Boot Camp partition, set it to at least 64GB, preferably 128GB or more.
- Wait for Boot Camp Assistant to finish.
- Once Boot Camp has installed, your Mac will restart, and you will be asked where you want to install Windows. Select the Boot Camp partition.
- Unplug any USB devices, except the USB stick with the Windows installer if you’re using one.
- Click Next and follow the on-screen instructions to install Windows.
- When your Mac reboots in Windows, follow the on-screen instructions to complete the installation.

Installing Boot Camp on an Intel Mac is a great way to run Windows or Linux. Follow the steps above to install Boot Camp on your Mac.


