Installing software on your Mac is usually very straightforward. If you download it from the App Store, it takes only one click to download and install. If you download it from somewhere else, it will take a couple more clicks, but it’s usually fast and goes without a hitch. That makes it all the more frustrating and disconcerting when you see a message telling you that an installation is in progress and that message never goes away. In this article, we’ll show you how to quit install in progress on Mac.
How do I know if an install in progress is stuck?
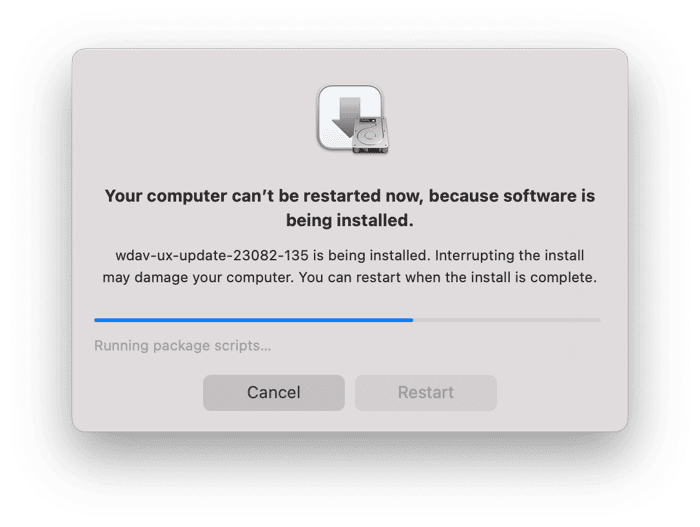
Installations should only take a few minutes, and the progress bar should move pretty rapidly. If it doesn’t, there is a chance it’s stuck. If, after several minutes, you try to shut down your Mac and see a dialog box that says something like the message below, there’s a good chance the install in progress is stuck.
“Your computer can’t be shut down now, because software is being installed. [APP NAME] is being installed. Interrupting the install may damage your computer. You can shut down when the install is complete.”
How to quit install in progress on your Mac
1. Use Force Quit
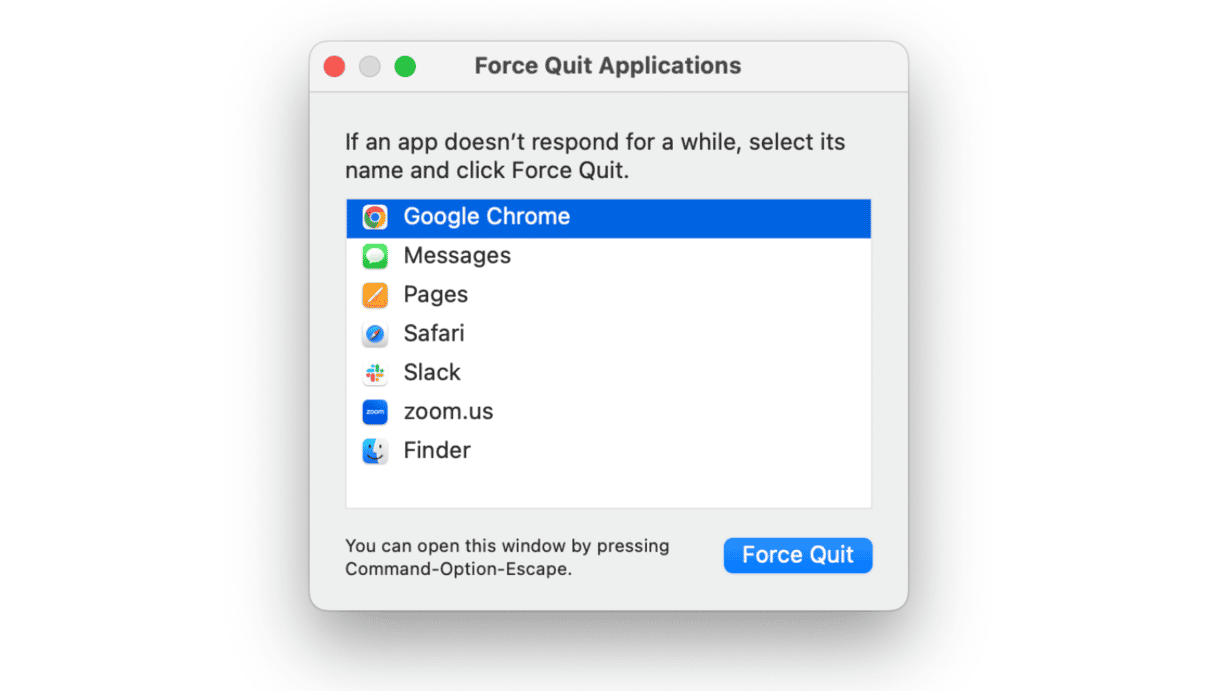
If the regular Command-Q doesn’t quit the installer, the next option is to try to force quit. To do that, either click the Apple menu and choose Force Quit or press Command-Option-Escape. Then, select the app that’s being installed in the Force Quit dialog box and click Force Quit.
2. Use Activity Monitor
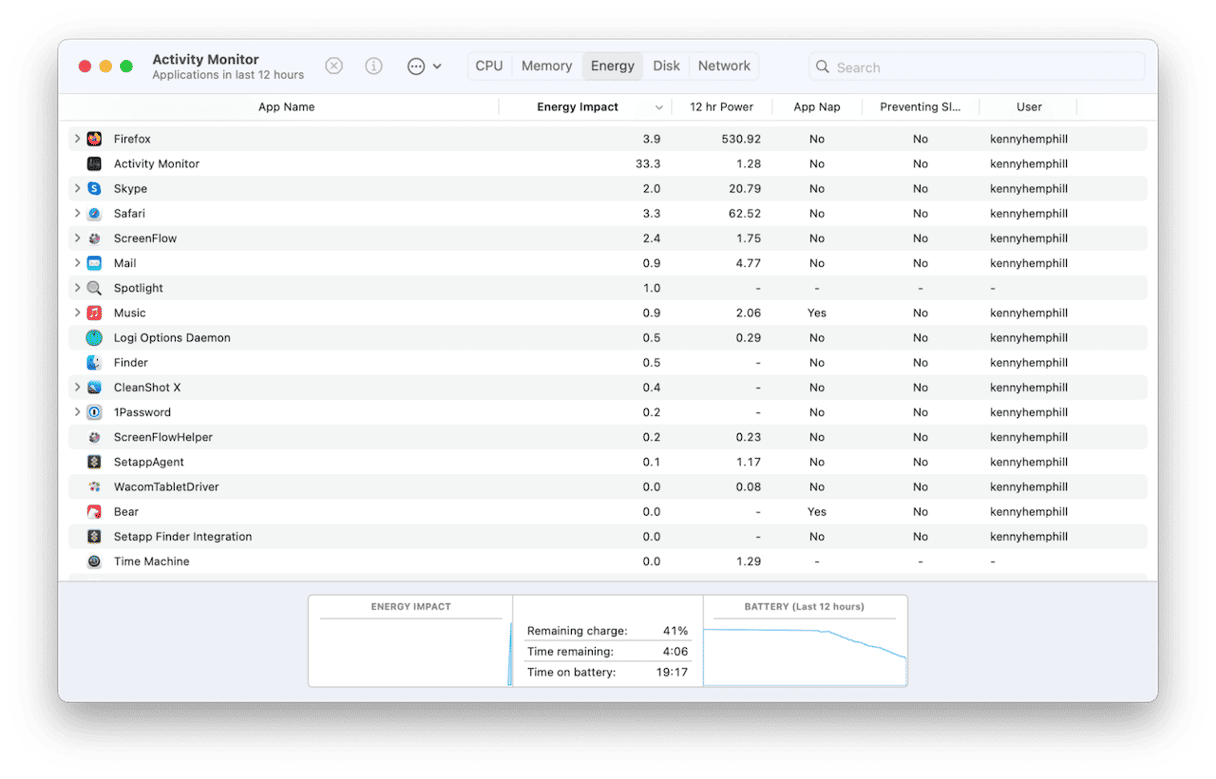
If you can’t see the application in the Force Quit dialog box or if force quitting doesn’t work, go to Applications > Utilities and choose Activity Monitor. Look for the app’s name in the list of processes or search for it. When you find it, select it and click the ‘x’ in the toolbar.
3. Boot into safe mode
If quitting the process in Activity Monitor doesn’t work, or if the same thing happens the next time you try to install the app, boot your Mac into safe mode. It loads only those extensions that are necessary for your Mac to start up. It also performs checks on your Mac’s startup disk and fixes any problems it finds. The process for booting your Mac into safe mode is different for Apple silicon and Intel-based Macs. You can find the instructions for both of them on Apple’s website. Once you’ve booted into safe mode, try to install the app. If it installs successfully, restart your Mac normally.
4. Clear out junk files
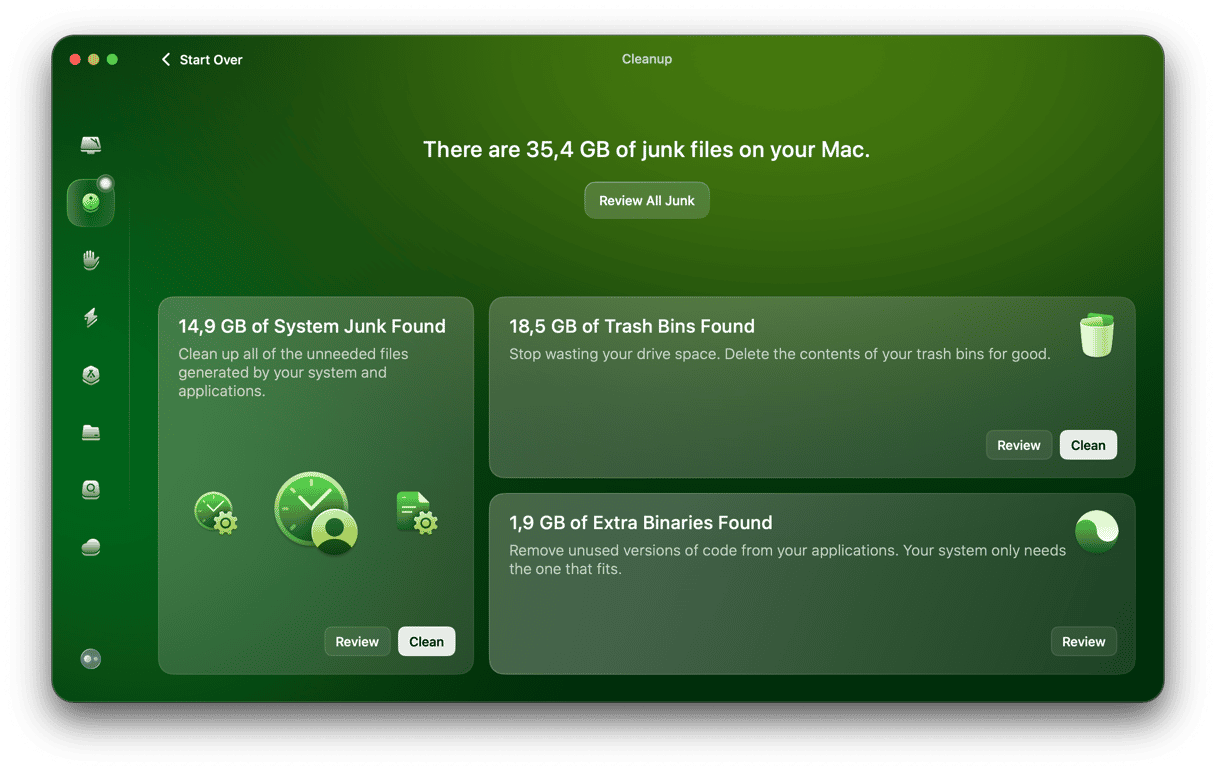
Once you’ve successfully installed the app and are back up and running, clear out the junk. Junk files include temporary files that were never deleted, old cache files, settings files for apps no longer on your Mac, and language files for languages you don’t use.
CleanMyMac’s System Junk module makes it very easy to get rid of them and free up gigabytes of space on your Mac as well as reduce the chances of future file conflicts. Once it has scanned your Mac, you can choose to delete everything it has found in one go or review the results and choose for yourself what to delete and what to keep. Here’s how to use it:
- Open CleanMyMac.
- Click Scan > Clean.
5. Check for updates to macOS
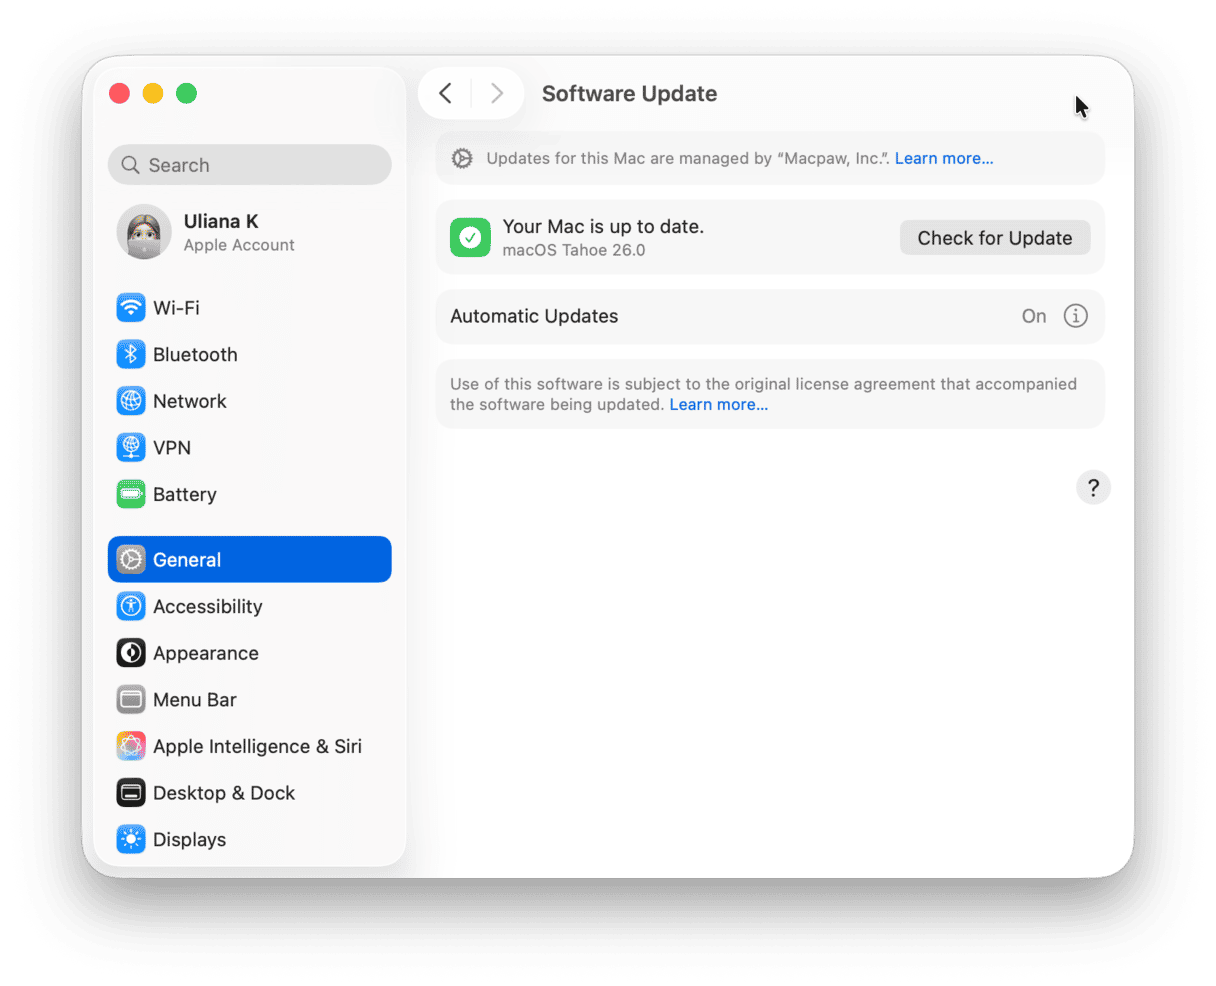
One reason the app installation may have run into trouble is that the app needs the latest update to macOS to run. Go to System Settings > General > Software Update and check if there is an update available. If so, follow the instructions on the screen to install it.
Apps should install quickly and smoothly, but if they don’t, you may see a message when you try to shut down your Mac that says you can’t shut down because software is being installed. If that’s the case, follow the steps above, and you’ll no longer ask yourself, “how do I stop a Mac install in progress?”


