If you’ve heard the buzz around the PC game Valorant, you may be wondering whether you can play it on your Mac. Valorant has grown in popularity hugely since it was released in 2020, partly because it’s free to play, and so lots of Mac users have been wondering how they can join the fun and play Valorant on their Mac. We’ll explain everything, including how you can install Valorant on your Mac.
What is Valorant?
Valorant is a team-based, five vs five, first-person shooter launched in 2020 and inspired by the hugely popular PC game Counter-Strike. Players play as one agent in a team of five, and agent characters come from all around the world, each with their own culture and attributes. There are several game modes, including Unrated, Spik Rush, Swiftplay, and Competitive. In the main game mode, one team plays as the attacking team and the other as the defending team. The match is played as the best of 25 rounds, so the first to 3 wins. Other modes have different numbers of players and different numbers of rounds.
Can you play Valorant on Mac?
Valorant is only available for Windows and doesn’t run on any cloud gaming services. So, you can’t install or play it natively on Mac. If you have an Intel-based Mac, you can create a Boot Camp partition, install Windows, and then install Valorant on that. However, unlike some other games, you can’t install Valorant on virtualization tools like Parallels Desktop or compatibility layers like CrossOver. Valorant has a built-in anti-cheat mechanism that renders it incompatible with virtualization software and compatibility layers. That means that you can’t install Valorant on a Mac with Apple silicon, as those Macs don’t support Boot Camp.
How to download and install Valorant on Mac
If you have an Intel-based Mac, you can create a Boot Camp partition to install Valorant. Here’s how to do that. Before you start, you need to make sure that the Secure Boot setting for your Mac is set to the default: Full Security. If you haven’t changed it, you can skip that step. If you have changed it from the default, you need to change it back to install Boot Camp. To do that, boot into recovery mode (boot your Mac while holding Command-R) and choose Startup Security from the Utilities menu, then select Full Security and reboot normally.

Note that if your Mac is running a version of macOS older than El Capitan, you will need a USB stick with at least 16GB capacity in order to install Windows. Macs running El Capitan or later don’t need a USB stick. All Macs will need at least 64GB, preferably 128GB, of free space to install Windows.
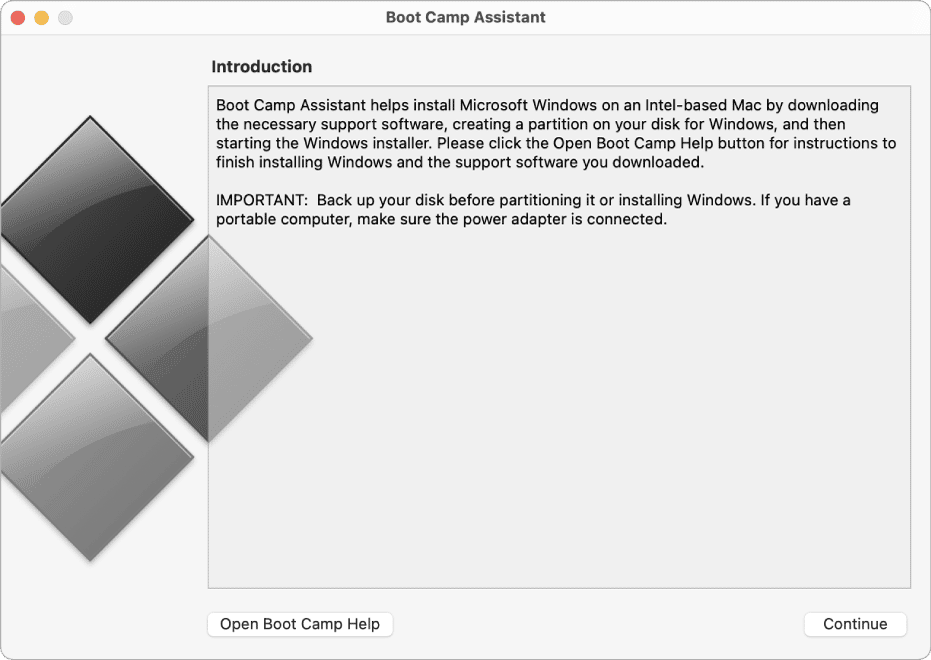
- Go to Applications > Utilities and open Boot Camp Assistant.
- Follow the on-screen instructions and plug in a USB stick if you’re asked.
- When Boot Camp asks you to set the size of the Windows partition, choose a size of 64GB or greater.
- When Boot Camp Assistant has finished creating the partition, your Mac will restart, and you’ll see the Windows installer. If it asks where to install Windows, choose the Boot Camp partition and click Install.
- Unplug any external drives or other devices you don’t need for the installation, click Next, and follow the on-screen instructions.
- Once the Windows installation is complete, your Mac will restart in Windows, and you’ll see a ‘Welcome to Boot Camp’ message on the screen. Follow the on-screen instructions to install Boot Camp and Windows drivers, then restart when you are asked.
Once Windows in Boot Camp is installed, you can restart your Mac in Windows at any time by holding down the Option key when you boot your Mac and then choosing Boot Camp.
To install Valorant, boot your Mac in the Boot Camp partition and follow the steps below.
- Open a web browser in Windows and go https://playvalorant.com
- Click Play for Free.
- Follow the on-screen instructions to create a Riot Games account and download and install Valorant on Windows.

Once Valorant has downloaded and installed on Windows and the Boot Camp partition on your Mac, you can play it. However, because you are running it in a virtualized environment on a computer that doesn’t have a high-performance GPU with dedicated VRAM, it may not be very fast or smooth. The performance tips below should help with that:
- Maintain your Mac. Just like a car or a house, your Mac will perform better if you maintain it regularly. You can do this by running maintenance tasks, getting rid of unnecessary clutter and junk, updating your apps, and removing any malware that may have sneaked onto your computer. Doing all that manually is time-consuming and complicated — you would need to dig deep into your folders and spend hours looking for files and threats. But you don’t have to do it manually. CleanMyMac’s Smart Care tool can run all those tasks and more for you with just a few clicks. Get a free trial of the app.
- Use Windows Graphics Settings to set the option for Valorant to High Performance. This will make sure it has all the graphics power your Mac can provide.
- Reduce the in-game settings in Valorant. By reducing the graphics quality and turning off some effects, you should be able to make Valorant run more smoothly.
- Keep your Mac connected to mains power.
- Make sure Windows is up to date and that you have installed the latest driver updates.

Can you play Valorant on Mac? Yes, but it depends on the Mac you have. You will need to use Boot Camp, so that rules out Macs with Apple silicon. But if you have an Intel Mac, follow the steps above to install Windows on Boot Camp and then download and install Valorant on your Mac.


