Apple has been going big on gaming for a while, but the launch of Apple Arcade signaled that its focus on games is here to stay. It’s perhaps surprising, then, that Apple doesn’t make its own controller. Thankfully, it does support connecting great third-party controllers to your Mac like the PlayStation 4 DualShock and PS5 DualSense. Here’s how to connect the controller to your Mac.

Unpair the controller from your console
Before you connect your controller to your Mac, you’ll need to unpair it from your console.
For PlayStation 4:
- Switch on your PlayStation 4.
- Go to Settings.
- Choose Bluetooth Devices.
- Click on DualShock 4 and choose Disconnect.
For PS5:
- Switch on your PS5.
- Go to Settings.
- Choose Accessories > Bluetooth Accessories.
- Click on DualSense and choose Disconnect.
Your controller is now ready to be used with your Mac.
How to connect your PS controller to your Mac via Bluetooth
The steps below work for both PlayStation 4 DualShock and PS5 DualSense.
- Press and hold the PlayStation button and the Share/Create button on the controller until it starts flashing. It’s now in pairing mode.
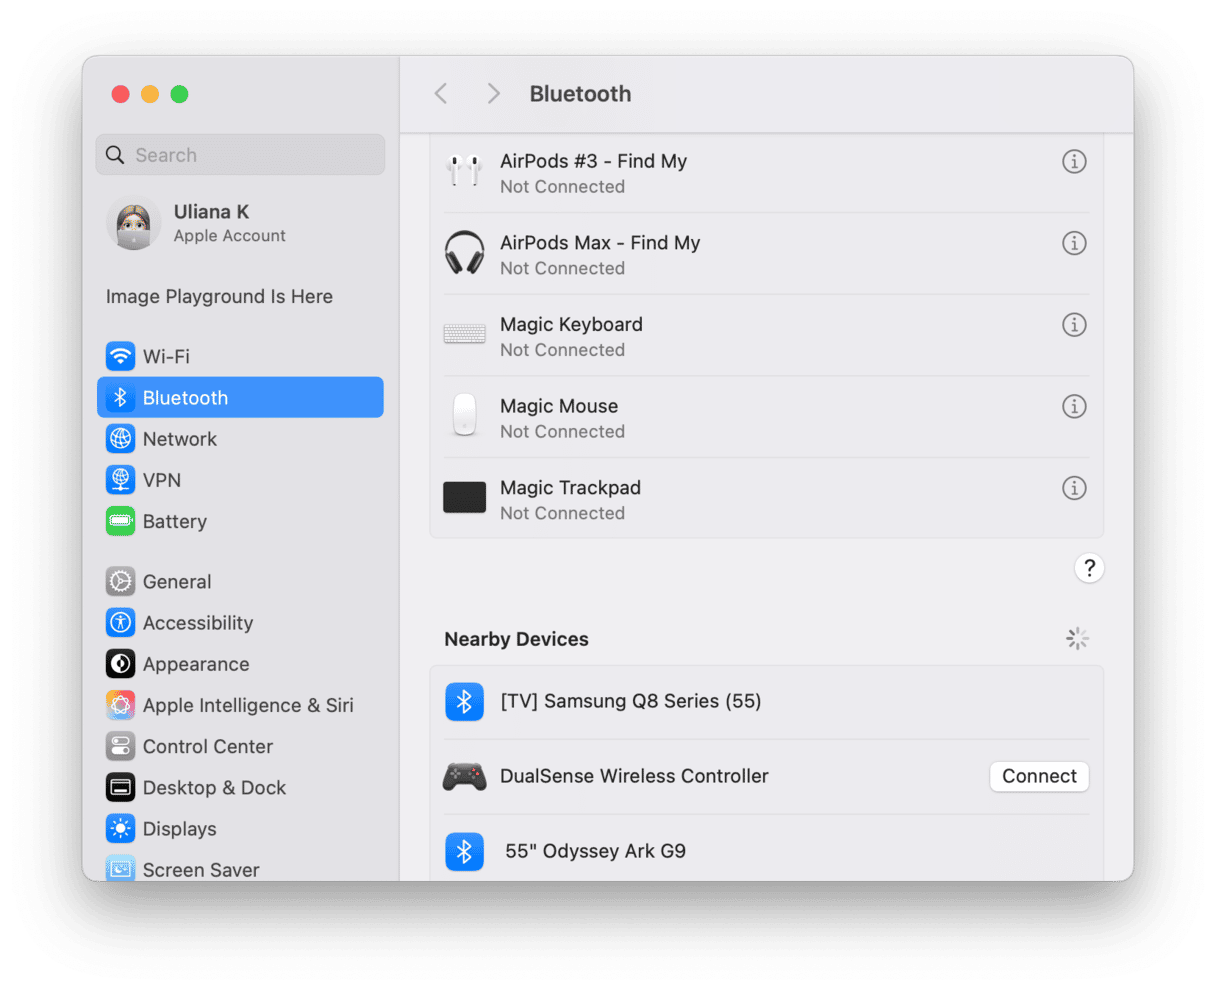
- In the Finder on your Mac, go to the Apple menu and choose System Settings > Bluetooth.
- When you see the name ‘wireless controller’ in the list of devices, click Connect next to it. Sometimes, this step may be omitted, and the controller will connect automatically.
- The PS controller is now connected to your Mac.
How to connect a PS controller to your Mac using USB
You’ll need a micro USB to USB-A cable, as well as a Mac that has a USB-A port, to connect PlayStation 4 DualShock. For a PS5 DualSense, you’ll need a USB-C to USB-C cable and a Mac with a USB-C Port. However, if your Mac doesn’t have these ports, you may as well connect a controller using USB adapters.
- Plug one end of the USB cable into the PS controller.
- Plug the other end into a USB port on your Mac. Click Allow if it asks to connect — it should now connect to your Mac. If not, make sure it is turned on by pressing and holding the PS button in the center of the controller.
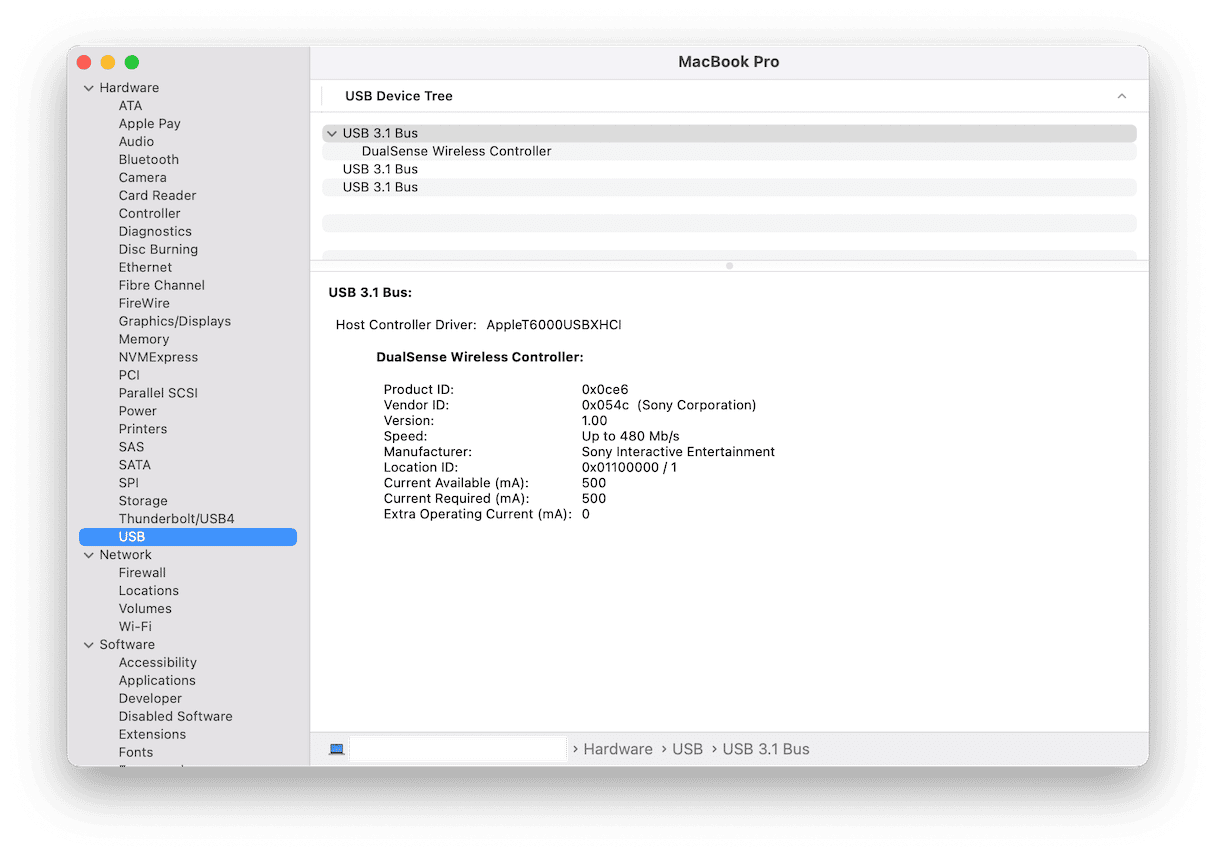
- Click the Apple menu and choose About This Mac > More Info > System Report.
- Select USB under Hardware.
- If you see your controller listed in the main window, it’s successfully connected and ready for use.
Optimize your Mac for gaming
The whole point of connecting a PS controller to your Mac is to allow you to play games. But depending on which ones you play, games can chew up a ton of system resources, which means you’d better make sure your Mac is running as fast as it possibly can.
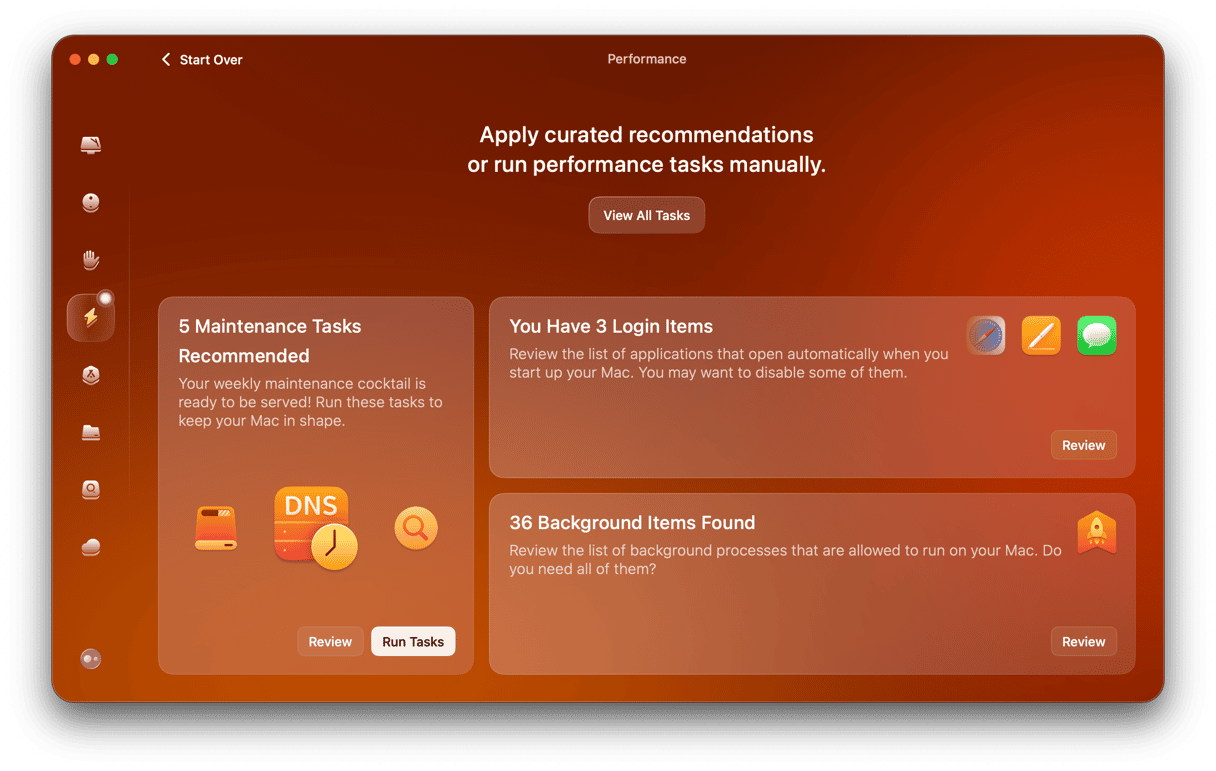
To speed up your Mac with CleanMyMac, follow these steps:
- Get your free CleanMyMac trial.
- Click Performance in the sidebar.
- Hit Scan > Run Tasks.
If you want to free up RAM and quick heavy consumers, click a little iMac menu in the menu bar to open the Menu App. Check the CPU and Memory panes to quit app that consume too much resources. If you cannot see the iMac icon, open CleanMyMac and press Command + , to go to Settings. Now, enable Menu in the Menu tab.
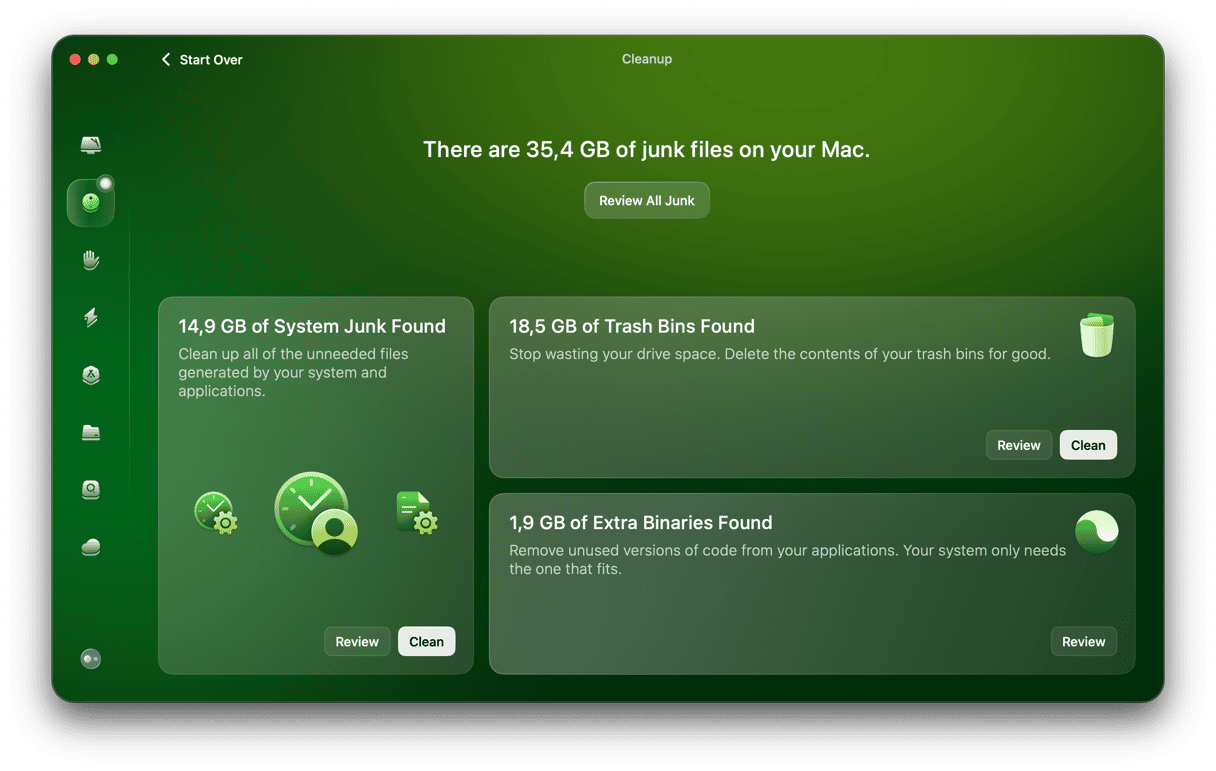
To give your Mac an extra tune-up, check out the Cleanup feature. It optimizes your Mac by getting rid of temporary files that can slow it down, ditching unnecessary application files and resolving problems with broken installations. Just click Cleanup > Scan > Clean, and you’re ready for play!🚀
Mac is becoming a very good option for playing games with the launch of Apple Arcade and the increasing number of great games in the App Store. Support for third-party controllers, such as PlayStation 4 DualShock and PS5 DualSense, makes playing those games even more fun. Before you follow the steps above to connect it, however, it’s worth giving your Mac a tune-up using CleanMyMac to make sure it’s running at its optimum performance.


