Have you ever taken a photo on your iPhone and wished you could tweak it just a little bit? Thanks to some of the built-in camera filters and effects, you can make those adjustments with just a few taps.
In this article, we’ll go over the simple ways to add some extra flavor to your pictures. Let’s take a more in-depth look at not only how you can access these filters, but also what they're doing to your images.
Free photo filters that come with iOS 18
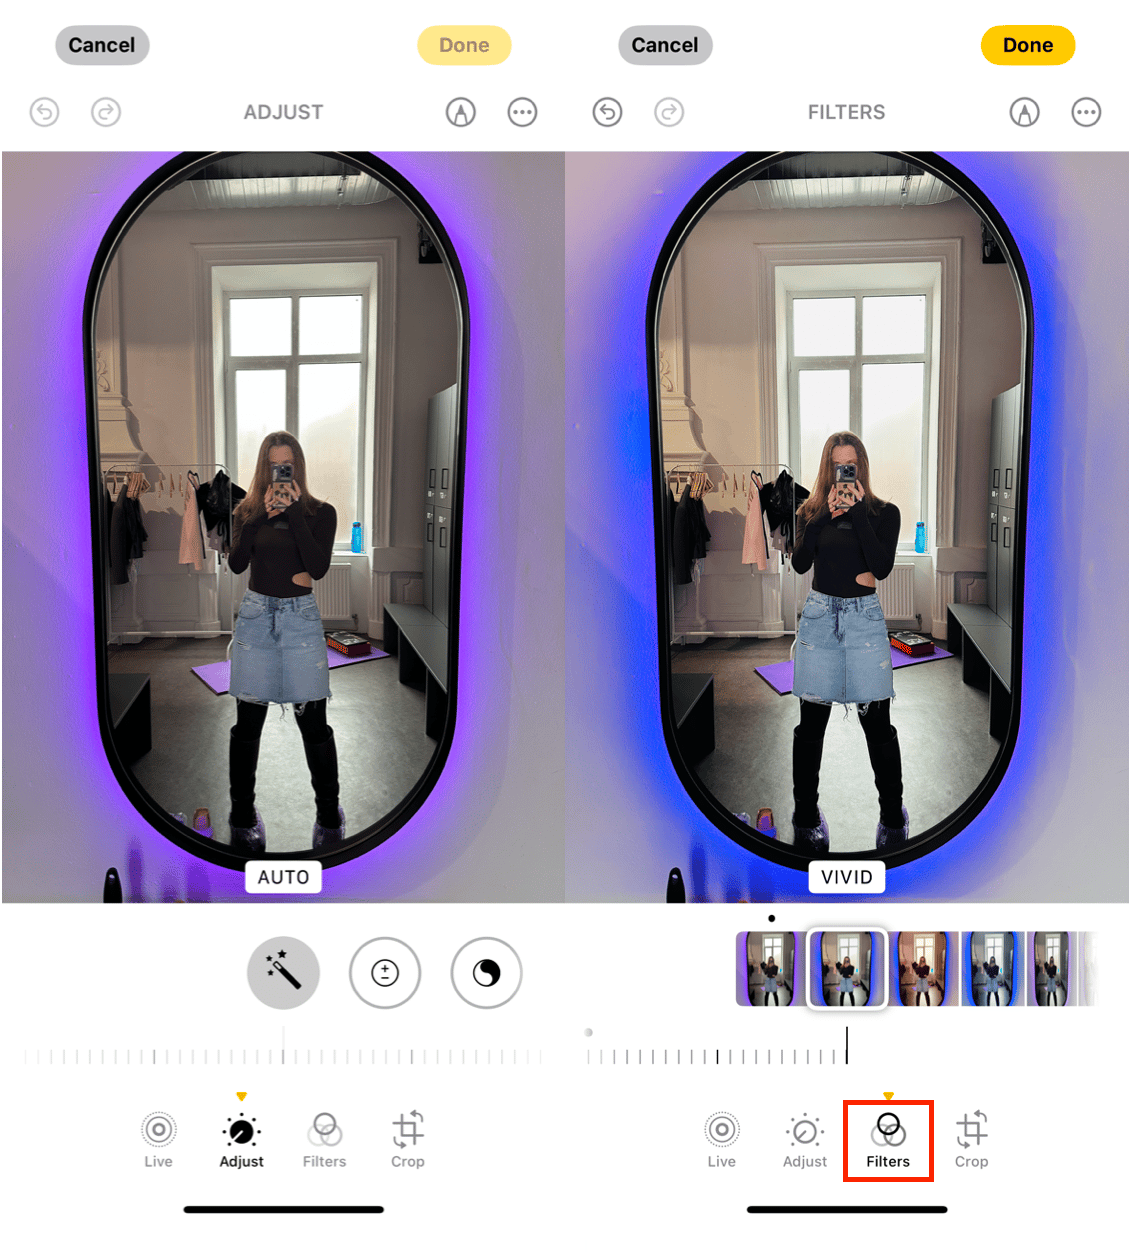
When you open the filters section in the Camera app, you get nine options to alter your picture. Here’s a brief overview of them:
- Vivid pushes the contrast of the photo
- Vivid Warm applies the Vivid filter, but makes the image warmer/more yellow
- Vivid Cool applies the Vivid filter but makes the image cooler/bluer
- Dramatic bumps up the shadows and brings down the highlights
- Dramatic Warm applies the Dramatic filter, but with a warmer tint
- Dramatic Cool applies the Dramatic filter making the image cooler/bluer
- Mono makes the image a simple black and white.
- Silvertone makes the picture black and white, while also bumping up the shadows
- Noir makes the pictures black and white, while dramatically increasing the contrast

Obviously, one iPhone filter is unlikely to work in all situations, so it’s important to experiment every time you snap a photo. Figure out what the picture needs and which of these will get you the best possible result.
How to access filters in your iPhone’s Camera app
The filters setting in Camera is easy to overlook, but it’s right at your fingertips. Here’s how to access it:
- Open the Camera app
- Tap the filters button (three interlocked circles in the top right-hand corner)
- Scroll through your filter options
That’s it! That’s all it takes to start spicing up the photos you take.
Can I get the Fade filter back?
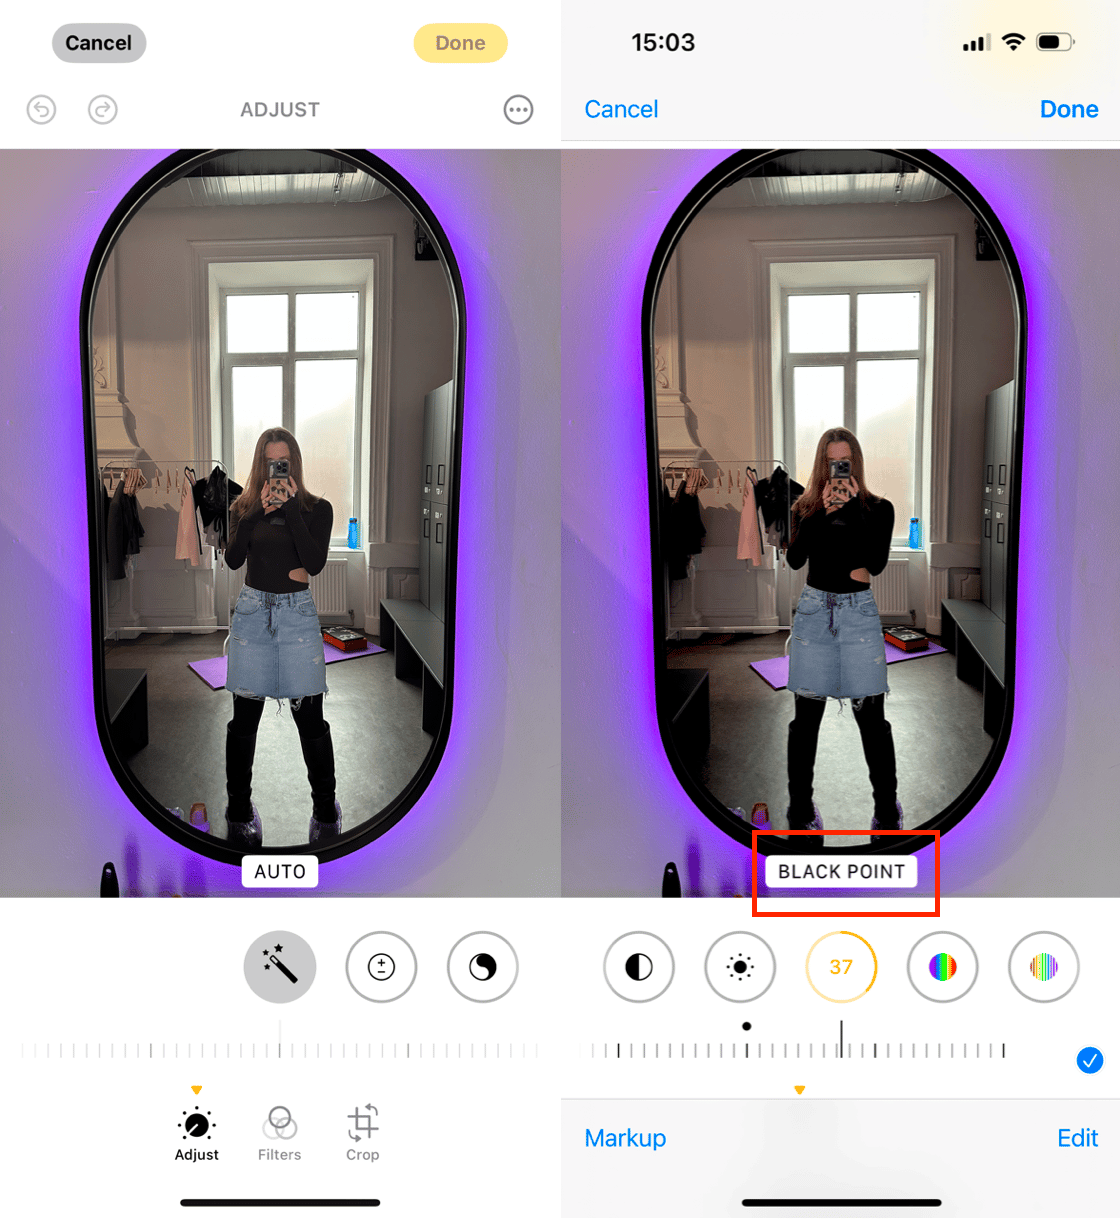
If you used iPhone Camera filters in the past, you might be looking for an effect that’s no longer there— a filter called Fade. In iOS 11 Apple decided to remove it from the Photos app, to the discontent of iPhone users. But don’t worry: although the filter itself is no longer available, you can emulate it using native editing tools.
Here’s how you can try to get the Fade filter back:
- Open Photos and select the image you want to edit
- Click Edit > Adjustments (a round icon in the bottom right-hand corner)
- Tap Light > Black Point and increase it
- Tap Color > Saturation and decrease it

If the adjustments you’re making are still not to your liking, there are third-party apps like VSCO or Obscura that offer free photo filters and can help you achieve a similar effect.
iPhone filters and effects tucked away in Messages
Filters can be added while you’re taking the picture, as one of the Camera app settings, or afterwards in Photos. But did you know they can also be added when you’re sending a text in iOS Messages? In fact, there are even some hidden filters saved exclusively for Messages:
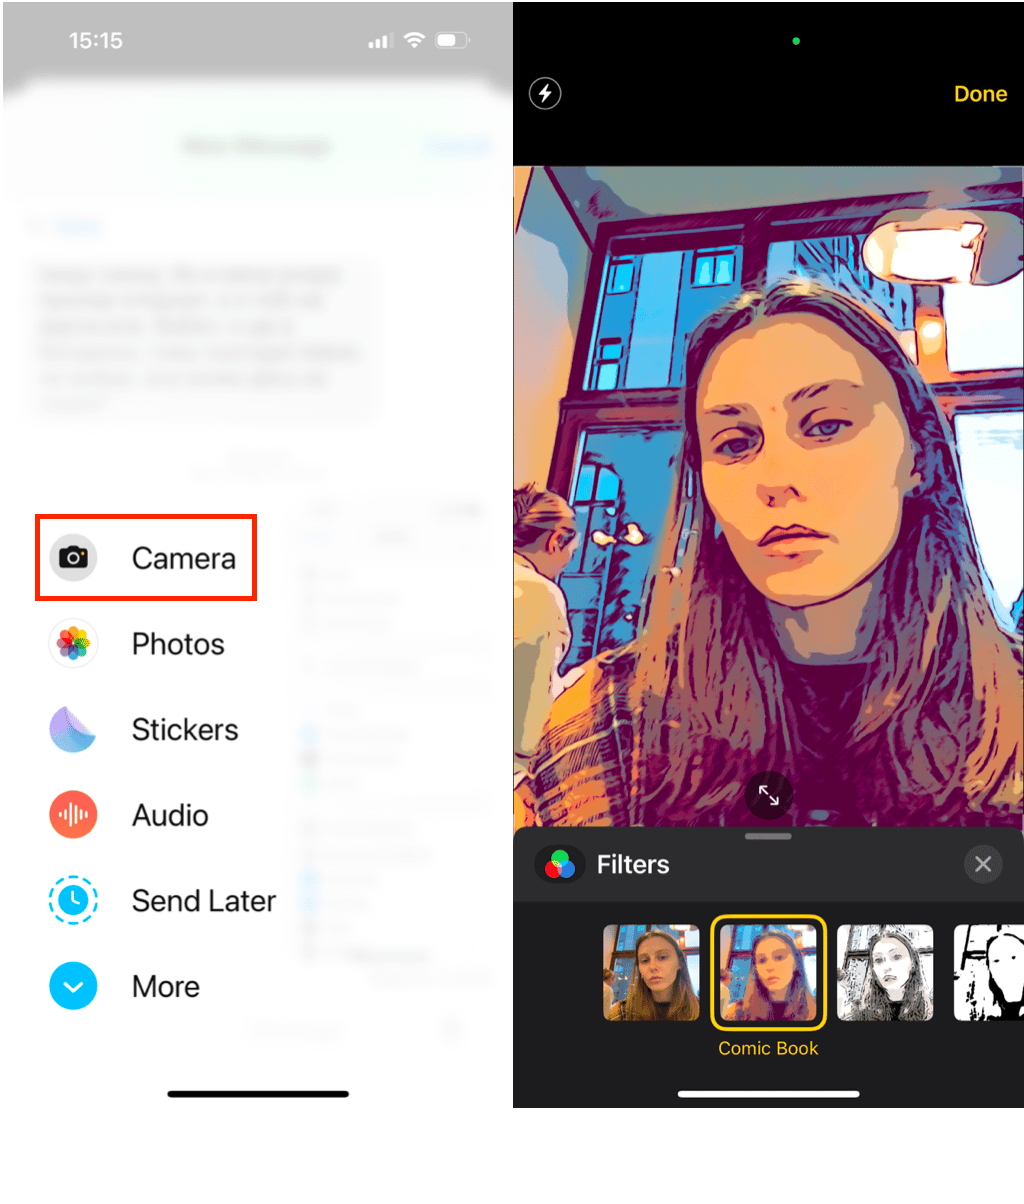
- Comic Book will make your photos look hand-drawn, similar to a comic
- Comic Mono applies the same aesthetic as Comic Book, only in black & white
- Ink gives your photos a hand-drawn feel, like an incredibly detailed doodle
- Watercolor is supposed to make your pictures look like a watercolor painting
- Watercolor Mono applies the same Watercolor filter, but in black & white

How to access iPhone photo effects in Messages
Accessing those effects isn’t as apparent as using the filters in iPhone’s Camera. Here’s how you find these Messages-only filters:
- From an Messages thread, tap on the Camera icon
- Tap the spirograph-star button in the lower-left corner
- Tap the filters icon
And even though the Messages-only filters are by default applied to the front-facing camera, you can still use them with the rear camera:
- Select the filter you want to use
- Tap the camera icon in the bottom right-hand corner
- Switch the camera.

Bam! Now you can make every photo you take look like it's straight out of the pages of a graphic novel. And once you send it, it will automatically be saved to your Camera Roll.
The iPhone Camera filters are a quick and easy way to make your photos more artistic or simply more fun. And now that you know where all of the effects are hiding, you can take pictures like you’ve never taken before.


