One of the areas where macOS excels is security. Whether it’s using Touch ID or an Apple Watch to log in, using Safari to create and store secure passwords, or storing secure notes or credit card details, Mac’s encryption is robust and will protect your data. At the heart of that data security are keychains. macOS creates keychains to store data for users, enabling them to be locked and then unlocked using the user’s password or Touch ID. Most of the time, the whole system works very well. However, occasionally, you may run into problems with keychains. One of the most common issues is the ‘Keychain not found’ error message. In this article, we’ll show you how to fix that.
What does ‘Keychain not found’ mean?
If you see ‘Keychain not found,’ it means that macOS is looking for the keychain that stores the data you need to do whatever you’re trying to do on your Mac. That’s usually the login or iCloud keychain, but it could also be another keychain, such as System or one you yourself have created manually.
To see all the keychains on your Mac, go to Applications > Utilities and open Keychain Access. In macOS Sequoia, use the Spotlight search to find it and choose open Keychain Access in the window that pops up. In the sidebar, you’ll see a list of keychains. If you use iCloud to sync passwords and other secure data, you will have two default keychains: Login and iCloud.

The other possibility, if you see the error message, is that macOS can see the keychain but can’t open it because of incorrectly set permissions.
How to fix ‘Keychain not found’
1. Restart your Mac
The first thing to do is to restart your Mac, then try to do what you were trying to do when you got the error. Head over to the main Apple menu and choose Restart.

2. Reset keychain
If you get the error again, try resetting the keychain. To reset a keychain, you should first make sure iCloud keychain is enabled so that your keychain data is backed up and you don’t lose it when you reset.
- Click the Apple menu and choose System Settings.
- Select your name at the top of the window, then choose iCloud.
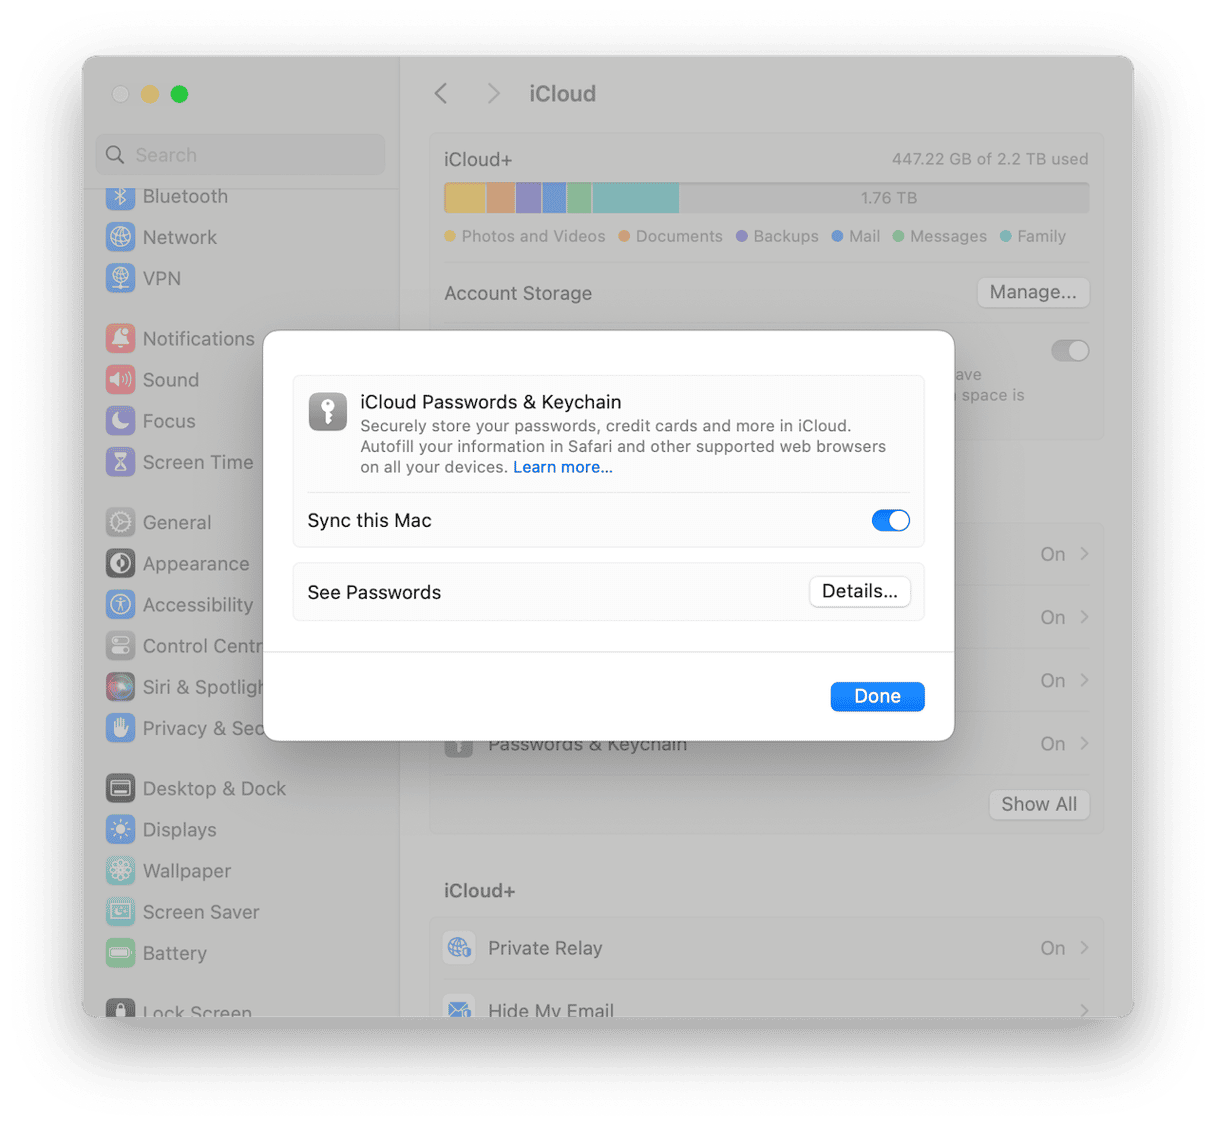
- Click Passwords & Keychain (Passwords in macOS Sequoia).
- Make sure the switch is toggled to the on position. If it’s not, turn it on.
- Wait for 30 minutes or so if iCloud keychain wasn’t already turned on so that it can sync the keychain.
- After 30 minutes, or if iCloud keychain was already switched on, go back to System Settings > iCloud > Passwords & Keychain and turn it off.
- Go to Applications > Utilities and open Keychain Access.
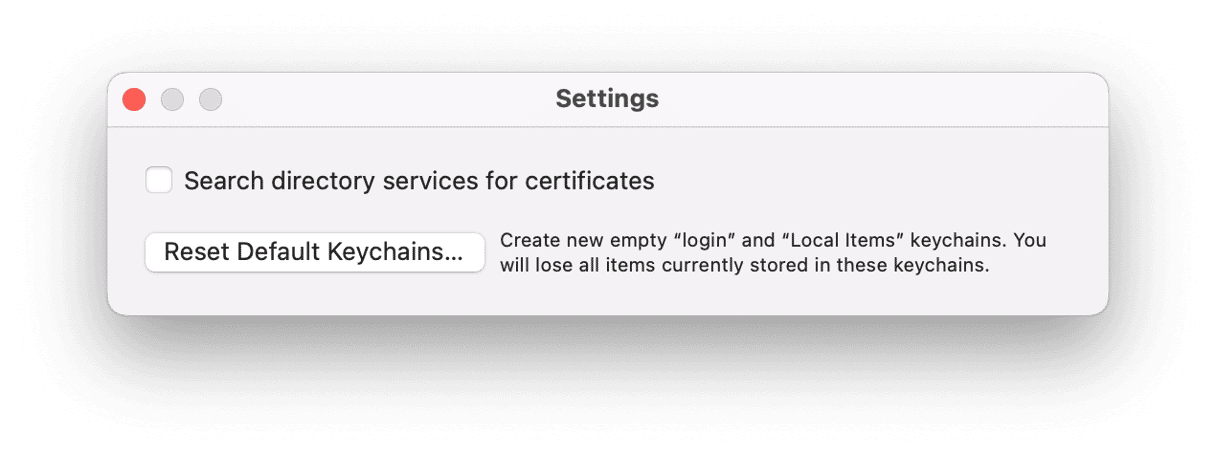
- Click Keychain Access in the menu bar and choose Settings.
- In the window that opens, click Reset Default Keychains.
- Go back to Settings > iCloud > Passwords & Keychain and toggle the switch to on.
- Wait for the new keychain to sync and then try doing what you were doing when you first got the error message.
3. Check permissions
If resetting the default keychains doesn’t work, the next step is to check that permissions are set correctly.
- Click the Finder icon in the Dock.
- Choose the Go menu, then Go to folder.
- Paste the following path in the text box:
~/Library/Keychains
- Select the file named:
login.keychain-db - With the file selected, press Cmd-I to display the Get Info window.
- Scroll to the bottom of the window, where it says ‘Sharing & Permissions.’
- Click the dropdown arrow to view the permissions settings.
- Opposite your username, it should say ‘Read & Write.’ If it doesn’t, click on the menu under ‘Privilege’ and choose ‘Read & Write.’
- Close the Get Info window and try to do what you were doing when you got the error message.

4. Maintain your Mac
Repairing permissions is just one of several things you can do to keep your Mac running smoothly. Others include running maintenance tasks like freeing up RAM and reindexing Spotlight. In addition, clearing purgeable disk space, refreshing DNS cache, and thinning out Time Machine snapshots should improve your Mac’s performance. It can help prevent numerous issues, and ‘Keychain not working’ Mac error is just one of them.
Doing all of those tasks manually is time-consuming and difficult. However, there is a much easier way. CleanMyMac’s Performance feature can run all of those tasks with just a few clicks.

How to keep your Mac in top shape with CleanMyMac:
- Get your free CleanMyMac trial — use all the tools, pay zero.
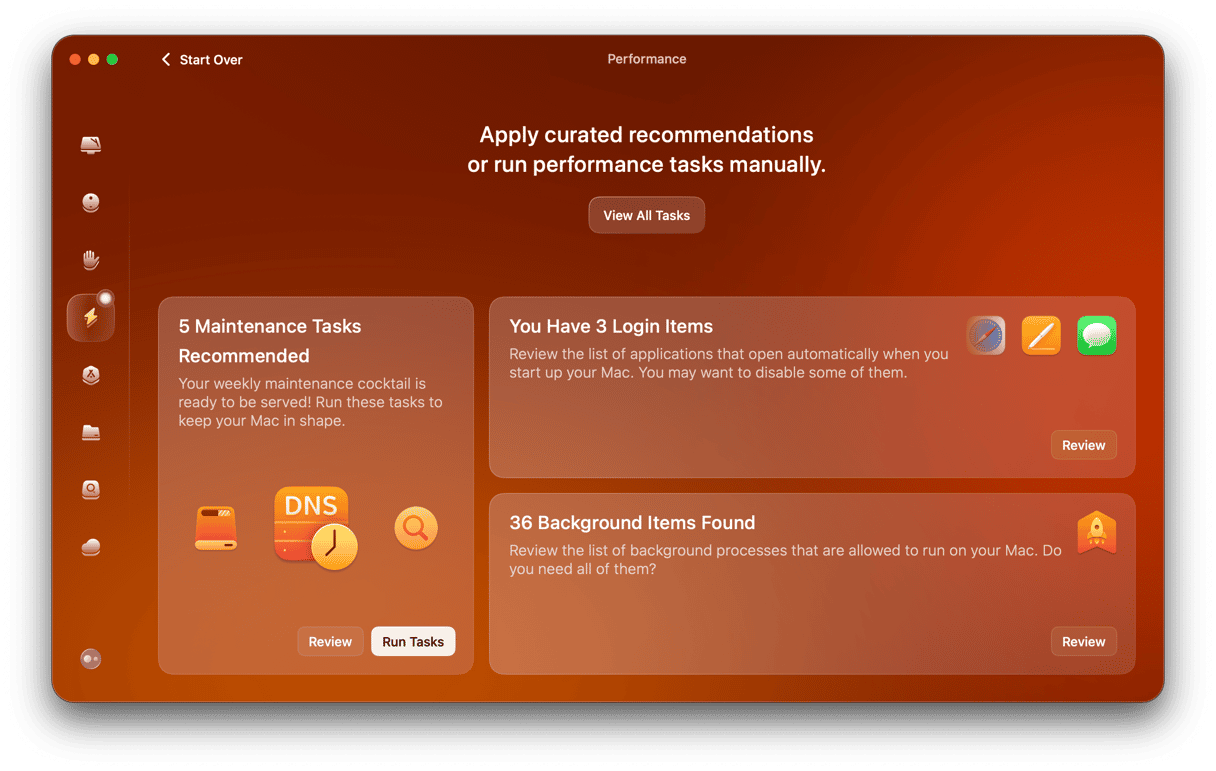
- Open the app and choose Performance in the sidebar.
- Run a quick scan and click View All Tasks.
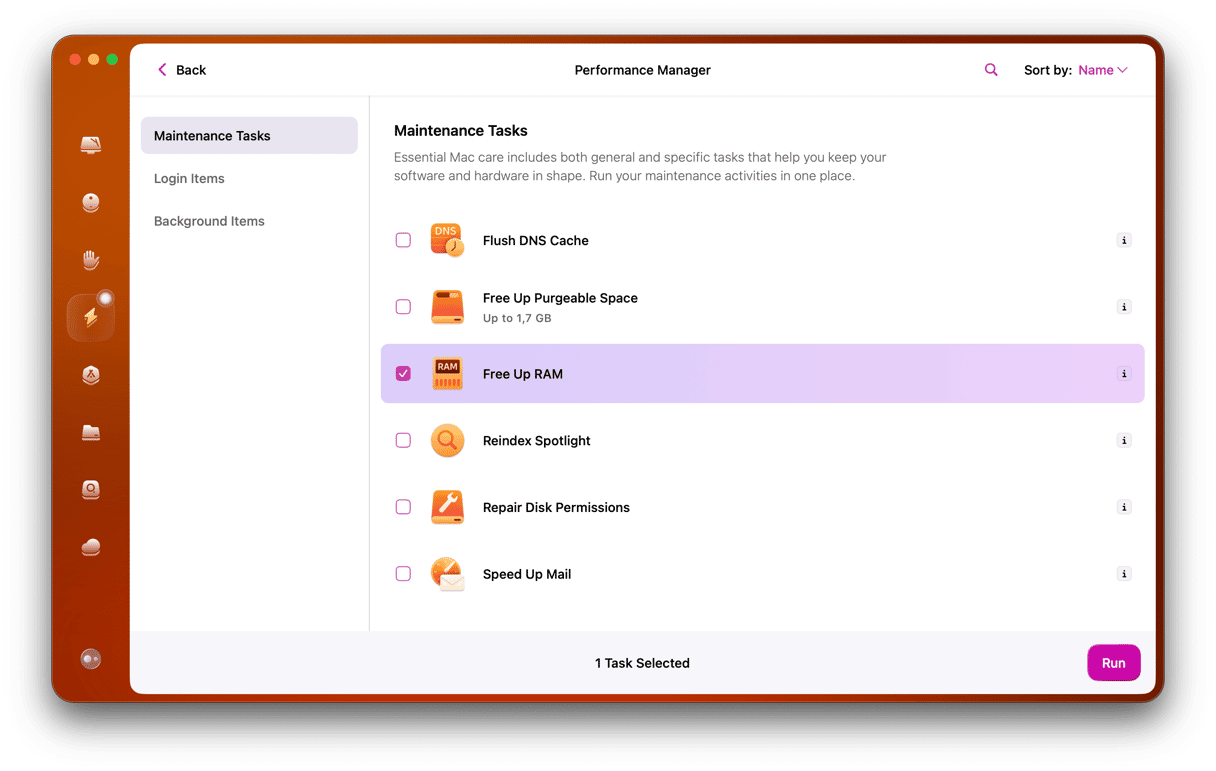
- Select the tasks you want to perform and click Run.


You can use the same tool to manage login items and background extensions.
5. Delete a keychain
There are restrictions on the keychains you can delete in Keychain Access. For example, you can’t delete default or System keychains, which is why the solution above is to reset them. However, you can delete keychains you created yourself, and if it’s one of those that is causing the issue, deleting it may fix it. Before you delete it, if it has data you need, you may want to make a copy of it. The best way to do that is to make a Time Machine backup of your Mac so that you can restore the data you need later. Once you’ve done that, follow the steps below:
- Open Keychain Access.
- Select the keychain you want to delete in the sidebar.
- Click the File menu and choose Delete Keychain. You can also right-click or Control-click the keychain and choose Delete Keychain.
The error message ‘Keychain not found’ is rare and, for many users, confusing. However, you should be able to fix it quite easily by either resetting a default keychain, deleting a keychain you’ve created, or repairing permissions for a keychain. Follow the steps above to do that, and you should get rid of the error message and be able to continue using your Mac without any issues.


