If you’re one of the many Mac users who tried to install macOS Tahoe, the chances are that it went without a hitch, and it’s now installed and in use. Most of the time, that’s how it plays out. Occasionally, however, problems occur. That can happen for a number of reasons, and it’s not always easy to figure out how to fix it and move on with the installation. In this article, we’ll show what to do if it fails and you see the message ‘macOS Tahoe cannot be installed on Macintosh HD’ (if your startup disk is called something else, the error message will use that name in place of Macintosh HD).
Why do I see the error message?
There are several possible reasons for an error happening when you try to install macOS Tahoe. It could be:
- Your Mac is not compatible with macOS Tahoe
- There’s a problem with your internet connection
- There is an issue with Apple’s servers
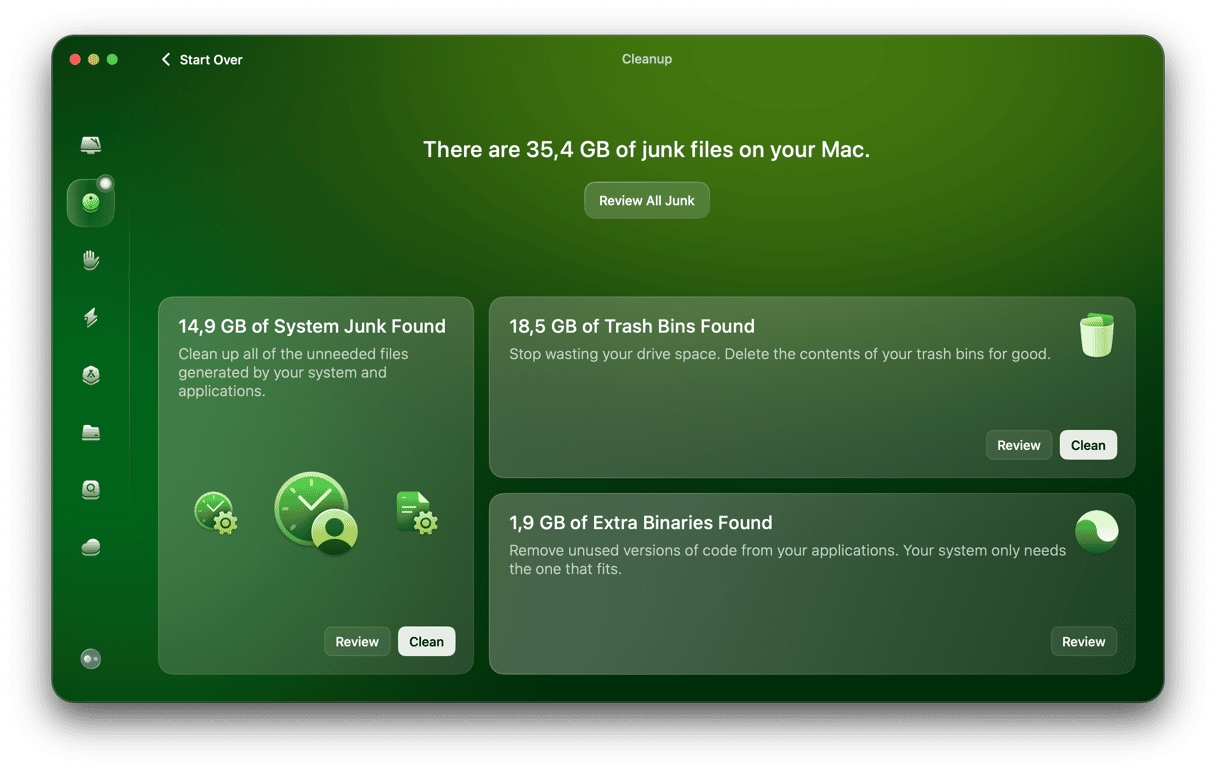
- You don’t have enough free space on your startup disk
The most likely reason is a lack of free space, and usually the error message will say that, but it’s worth checking and ruling out anyway.
How to fix ‘macOS Tahoe cannot be installed on Macintosh HD’
1. Check your Mac is compatible with macOS Tahoe
As with every new version of macOS, some Macs that were supported to install Sequoia won’t allow you to install Tahoe. The full list of Macs compatible with macOS Tahoe, according to Apple, is:
- MacBook Air with Apple silicon (2020 and later)
- MacBook Pro with Apple silicon (2020 and later)
- MacBook Pro (16‑inch, 2019)
- MacBook Pro (13‑inch, 2020, Four Thunderbolt 3 ports)
- iMac (2020 and later)
- Mac mini (2020 and later)
- Mac Studio (2022 and later)
- Mac Pro (2019 and later)
If your Mac is not on that list, you won’t be able to install macOS Tahoe from Software Update or the App Store.
2. Check your internet connection
If your Mac is compatible with macOS Tahoe, the next step is to make sure your internet connection is working as it should. Tahoe installer is a large download, so it’s important that your internet connection is fast and stable.
Open a new browser tab and go to a speed testing site like speedtest.net and run a test. Is the speed roughly what it should be? If not, try turning Wi-Fi on your Mac off and then on again.
If that doesn’t work, restart your Wi-Fi router, in case that’s the issue. If the connection is really slow, check with your service provider whether there are any issues in your area.
3. Check Apple’s servers
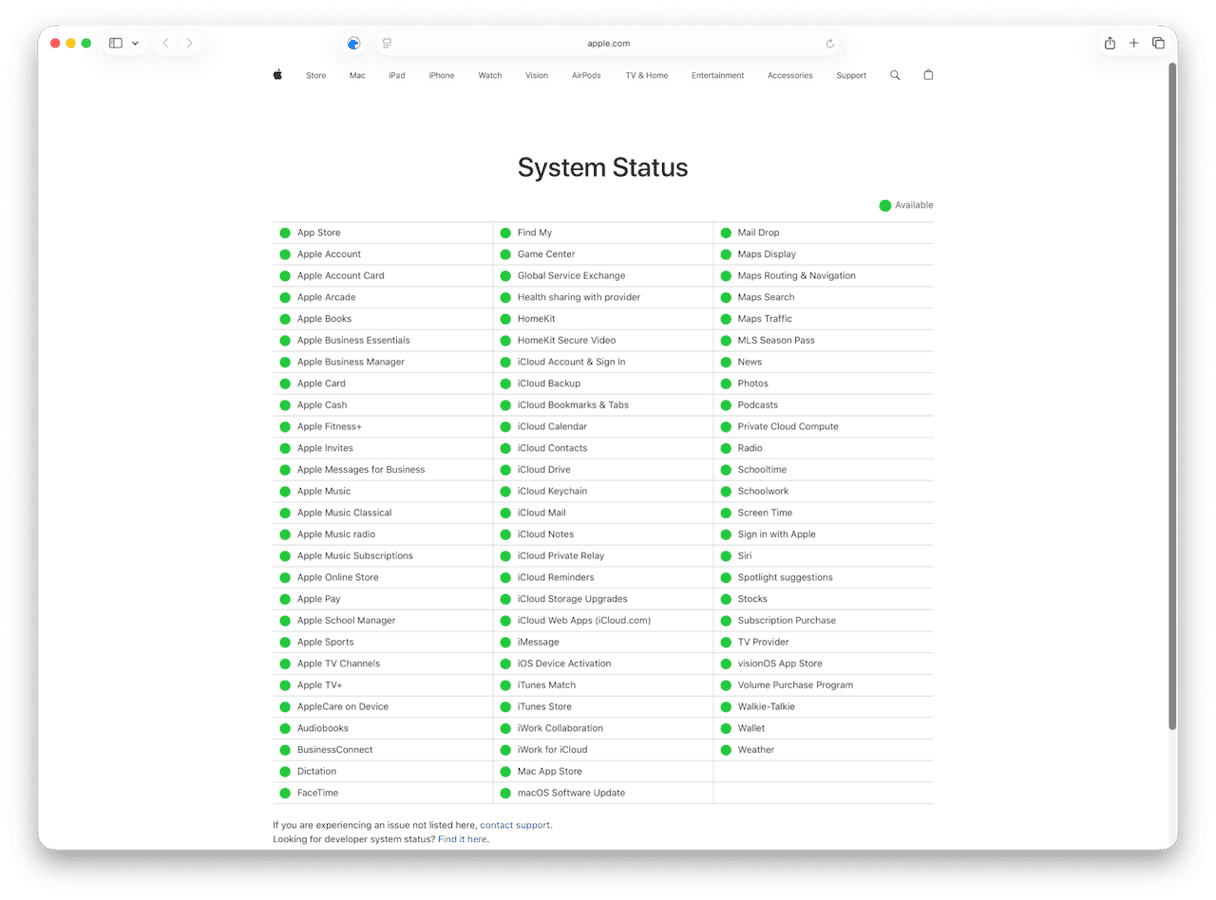
If your internet connection is ok, check Apple’s status page. Look for macOS Software Update. It should be green. If not, there’s no option but to wait until it is.
4. Run maintenance on your Mac
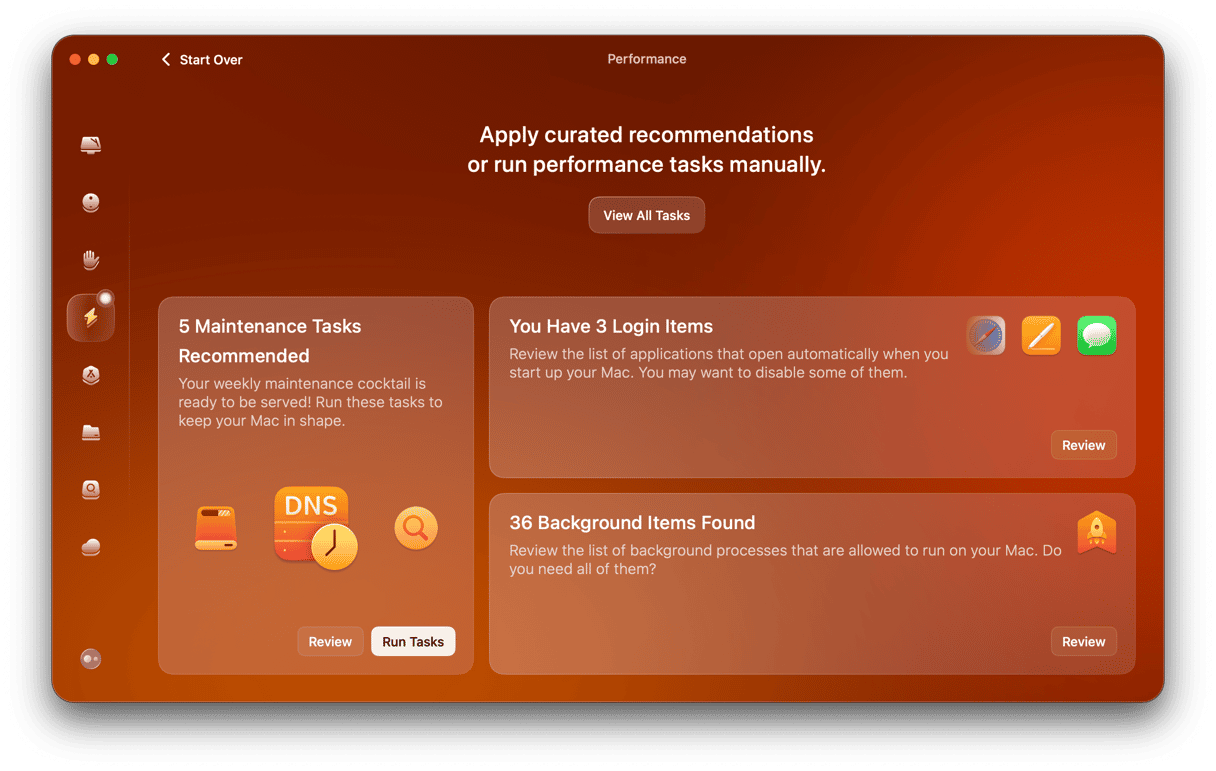
There are several tasks you can run to keep your Mac running smoothly. Performing them regularly will ensure your Mac is optimized. When you run into problems like this one, it’s a good idea to run them before you get deep into trying to fix the problem. These tasks include reindexing Spotlight, flushing DNS cache, repairing disk permissions, and thinning out Time Machine snapshots.
Thankfully, there is an easy way to do them all in one go, using CleanMyMac’s Performance feature. It scans your Mac, looking for what needs to be done, and then recommends what tasks to run. All it takes is a couple of clicks.
- Get your free CleanMyMac trial — you can use it free for seven days.
- Open it and choose Performance in the sidebar.
- Click Scan.
- When it’s finished, you will see the maintenance tasks recommendation on the left of the window. Click Run to run the tasks or Review to see them and choose what to run.
5. Check the storage space on your startup disk
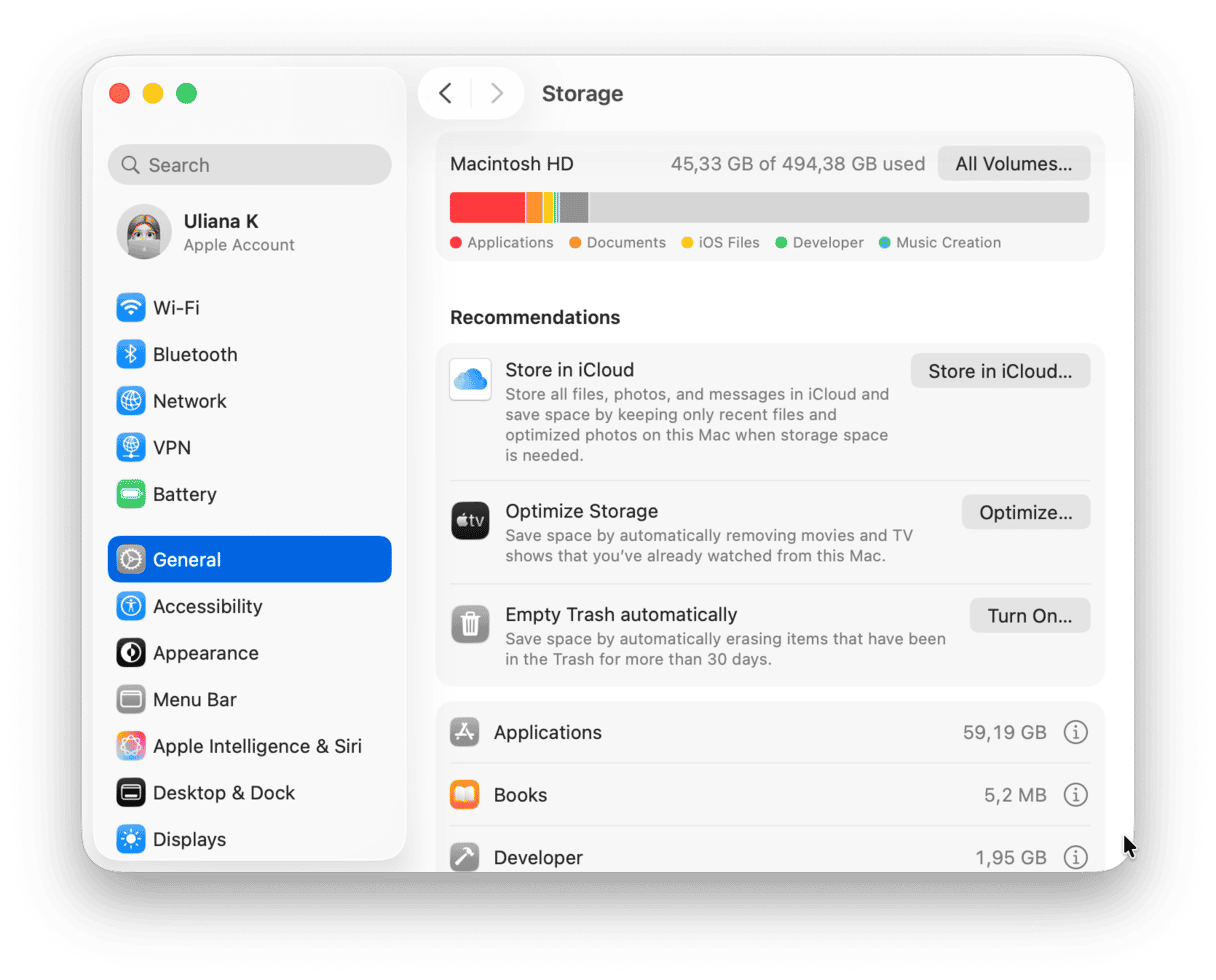
Go to System Settings > General > Storage. At the top of the window you’ll see a colored bar telling you how much storage is in use and what is using it. At the right of the bar you will see a figure telling you how much free space there is. You should have at least 25GB of free space to install Tahoe. If the figure is less than that, follow the recommendations beneath the bar to free up space.
6. Repair your startup disk
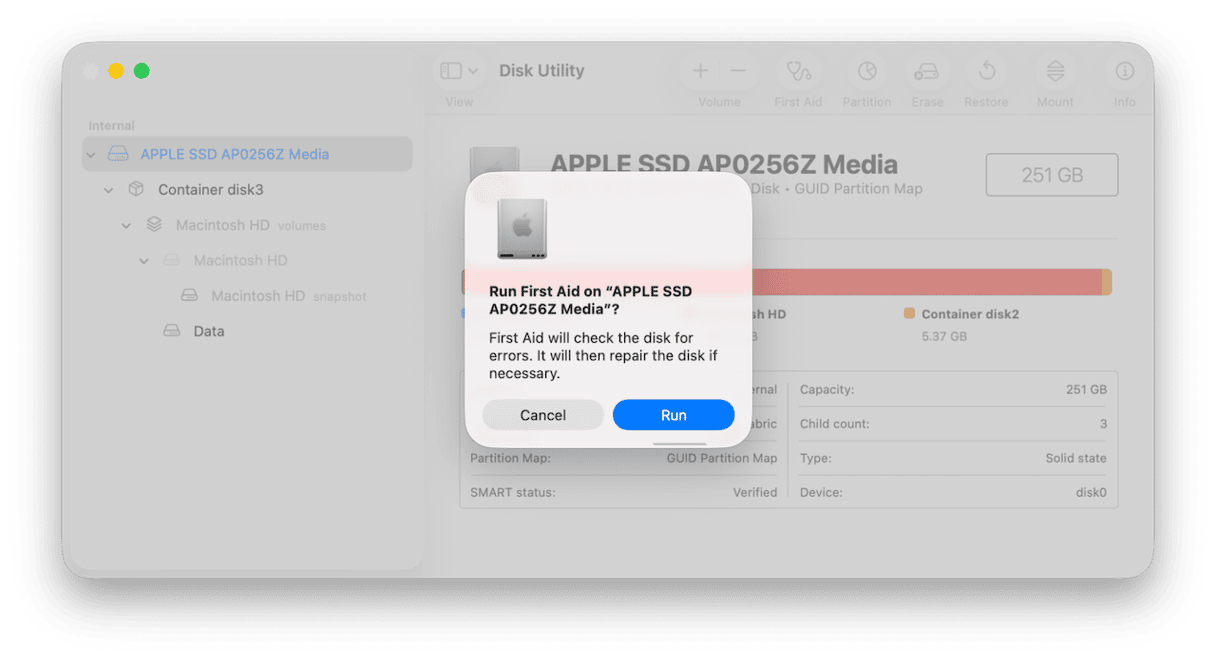
Sometimes problems occur with the startup disk that mean installing an OS update is unsuccessful. The solution is to use Disk Utility to repair the disk.
- Go to Applications > Utilities and open Disk Utility.
- Select your startup disk (usually called Apple SSD) in the list in the sidebar.
- Choose First Aid in the toolbar.
- Click Run.
- Wait for it to finish. Then, quit Disk Utility and try installing macOS Tahoe again.
7. Try downloading macOS Tahoe from the App Store
If downloading macOS Tahoe using Software Update still fails, open the App Store app and search for macOS Tahoe. When you see the OS in the search result, click Get to download it. When it has downloaded, the installer will launch automatically.
8. Try installing macOS Tahoe in safe mode
When you boot your Mac into safe mode, it loads only those extensions it needs to boot. If the problem with installing macOS Tahoe is caused by an extension misbehaving, booting into safe mode will allow you to install it. You can then reboot normally when the installation is complete.
The method for booting into safe mode is different depending on the Mac you have. You can find instructions on Apple’s website here.
9. Clean install macOS Tahoe from a USB stick
If nothing else works, the final option is to do a clean install of macOS Tahoe. A clean install involves wiping your startup disk completely, so you should back up your data using Time Machine before you start. You’ll need a USB stick with a capacity of at least 16GB. You can find the instructions for doing a clean install of macOS Tahoe here.
There are a number of reasons you might see the error message ‘macOS Tahoe cannot be installed on Macintosh HD’ during the installation process. Follow the steps above to identify the cause of the problem and fix it.


