It took Apple many years and several attempts before it finally got its online synchronization and services solution right. A decade after it first launched Mac (which was itself a replacement for iTools), the company launched iCloud as a replacement for MobileMe, the renamed .Mac. Where its previous solutions had been a confused array of tools that were bolted together, iCloud promised to be a single, coherent service that covered everything you needed to do on your Mac, iPhone, or iPad, and so it has mostly proved. In this article, we’ll show you how to use iCloud storage and cover the following areas:
- What is iCloud?
- How to set up iCloud
- How to use iCloud
- How to free up space in iCloud
- Troubleshooting iCloud issues
What is iCloud?
iCloud is the name of Apple’s online services that include synchronizing apps between devices, cloud storage, an email service, and lots of extras, including Hide My Mail and Private Relay. It’s also the backbone that allows Find My and many other Apple tools to work. And it incorporates a browser-based hub that you can log in to and access much of your data in apps like Contacts and Calendar, as well as a webmail client for Apple mail addresses.
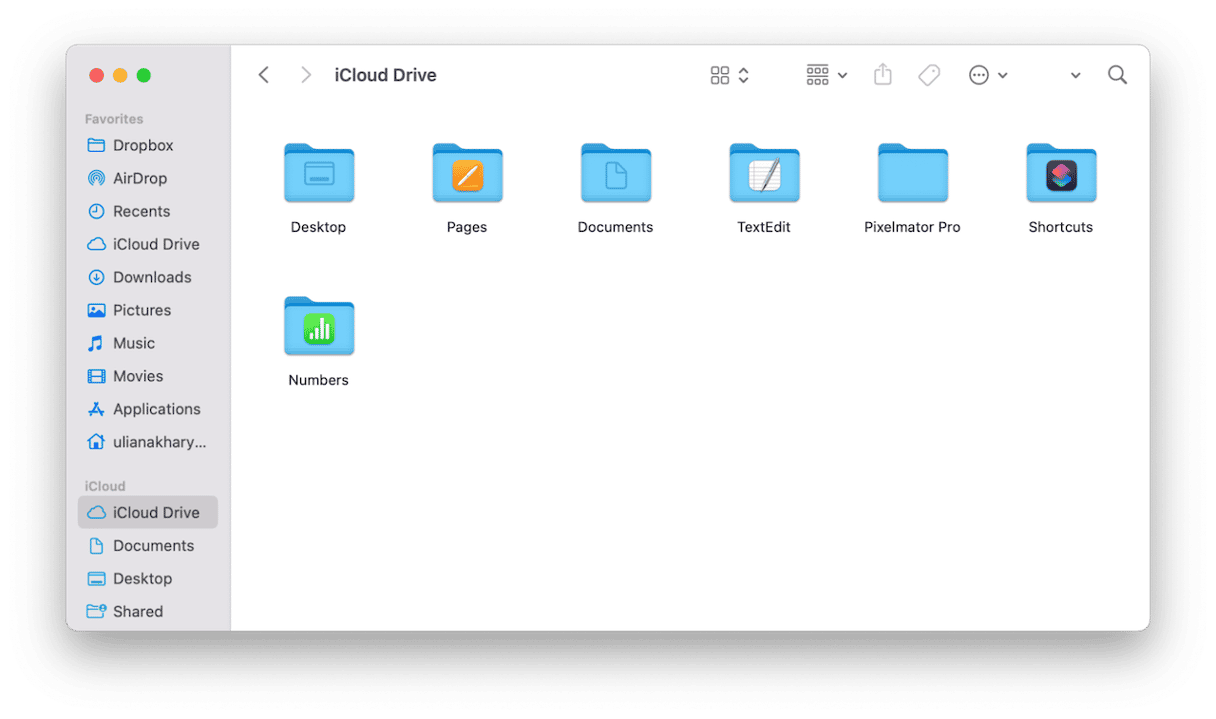
One key element of iCloud is iCloud Drive. As well as being a cloud storage service that mounts in the Finder and can be accessed via the Files app on iPhone or iPad, it’s where third-party apps that use iCloud to sync data store that data.
Another key element is iCloud Photo Library, where you can store high-resolution versions of images in the Photos app so that you can keep only the low-resolution versions on your Mac. And iCloud does much of the behind-the-scenes work for HandOff, allowing you to move from Mac to iPhone or iPad in the same app and pick up where you left off.
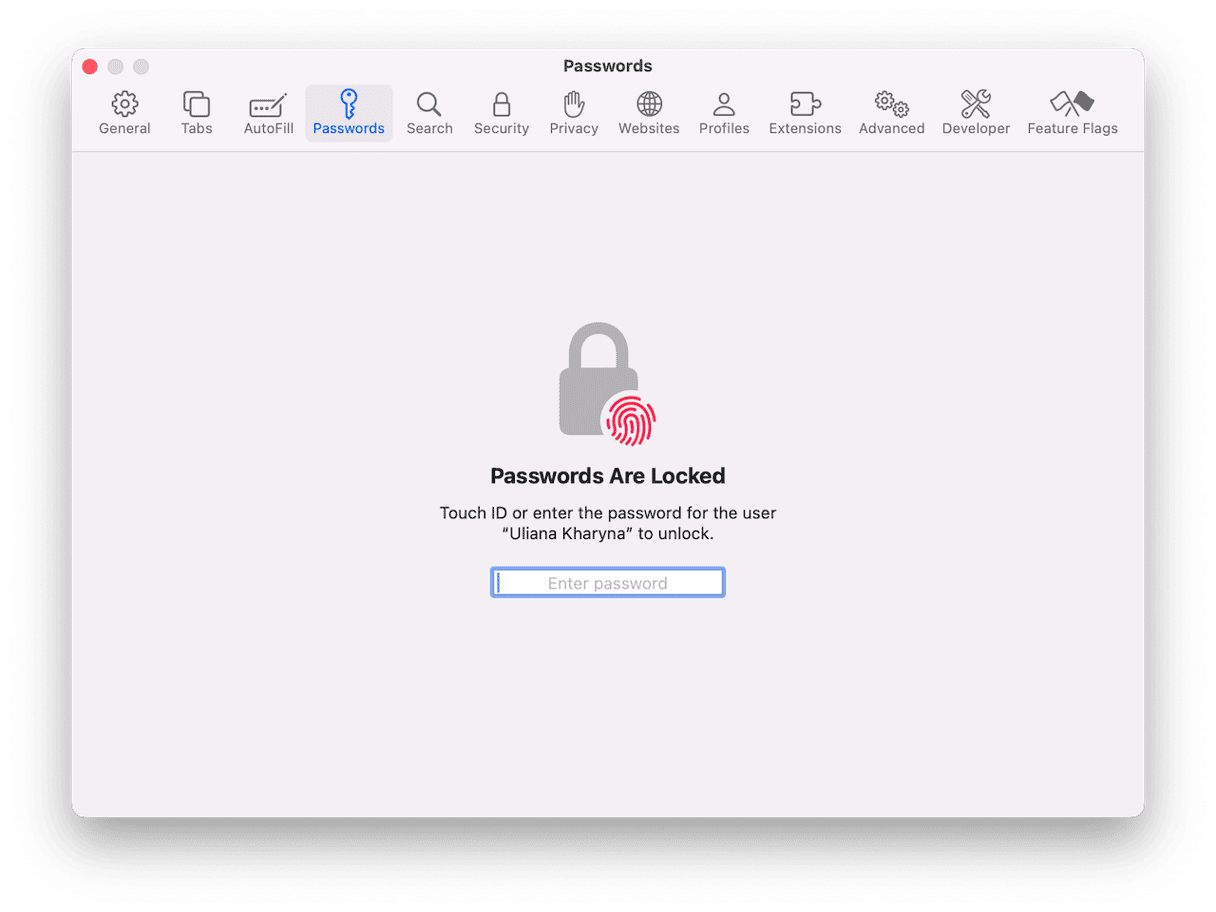
Finally, iCloud Keychain stores encrypted passwords, keys, and other sensitive data so that it can sync between your Mac and other devices.
How to set up iCloud
You can find a detailed guide to setting up iCloud here. For a brief setup, follow the steps below:
- Click the Apple menu and choose System Settings.
- Choose Apple ID and sign in using your Apple ID, or, if you have more than one, the one you want to use with iCloud.
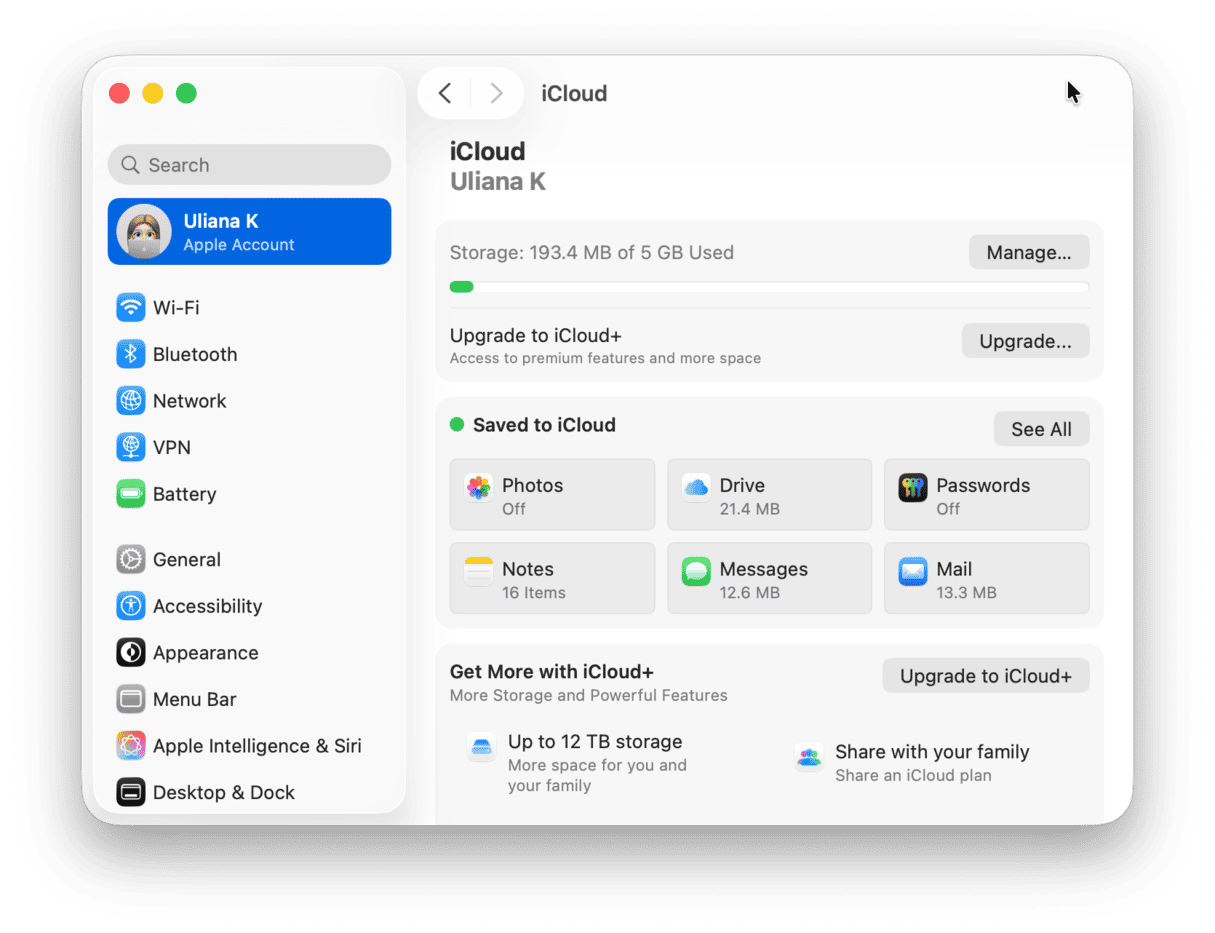
- Click iCloud.
- Under Apps Using iCloud, click Show All.
- Choose the apps and services you want to use with iCloud. If they have a toggle switch, turn it on. If the service has ‘off’ next to it, click it and turn it on.
- Click Done when you’re finished.
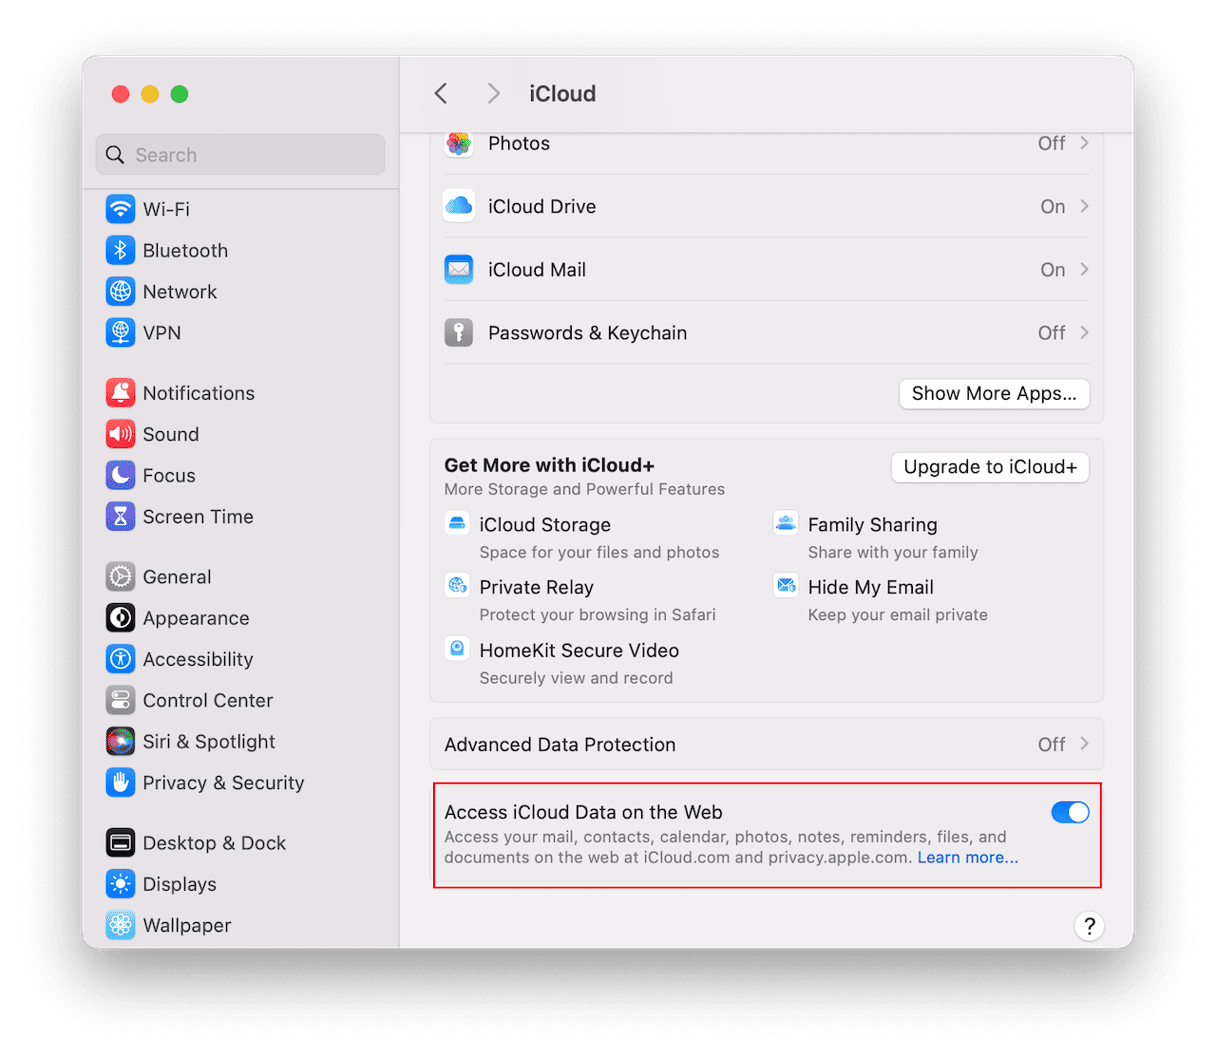
- Scroll to the bottom of the window. If you want to use icloud.com to access your data, turn on Access iCloud Data on the Web.
It’s important to note that if you want to synchronize data between your Mac, iPhone, iPad, or other Apple device, or if you want to use Handoff or Continuity features, all your devices will need to be signed into iCloud using the same Apple ID. For Handoff and Continuity features, the devices will also need to be connected to the same Wi-Fi network.
How to use iCloud
As we’ve already seen, iCloud has lots of different features, so we’ll show you how to use each.
How to set up iCloud sync
Setting up the synchronization of data using iCloud is different depending on the app you want to sync. We’ll show you the most common methods.
If you followed the steps above to set up iCloud, you will already have set up syncing for most Apple apps and some third-party applications. To recap:
- Go to System Settings and sign in with your Apple ID if you’re not already signed in.
- Click iCloud.
- Underneath Apps Using iCloud, click Show All.
- Use the toggle switch to turn on syncing for the apps you want to sync.
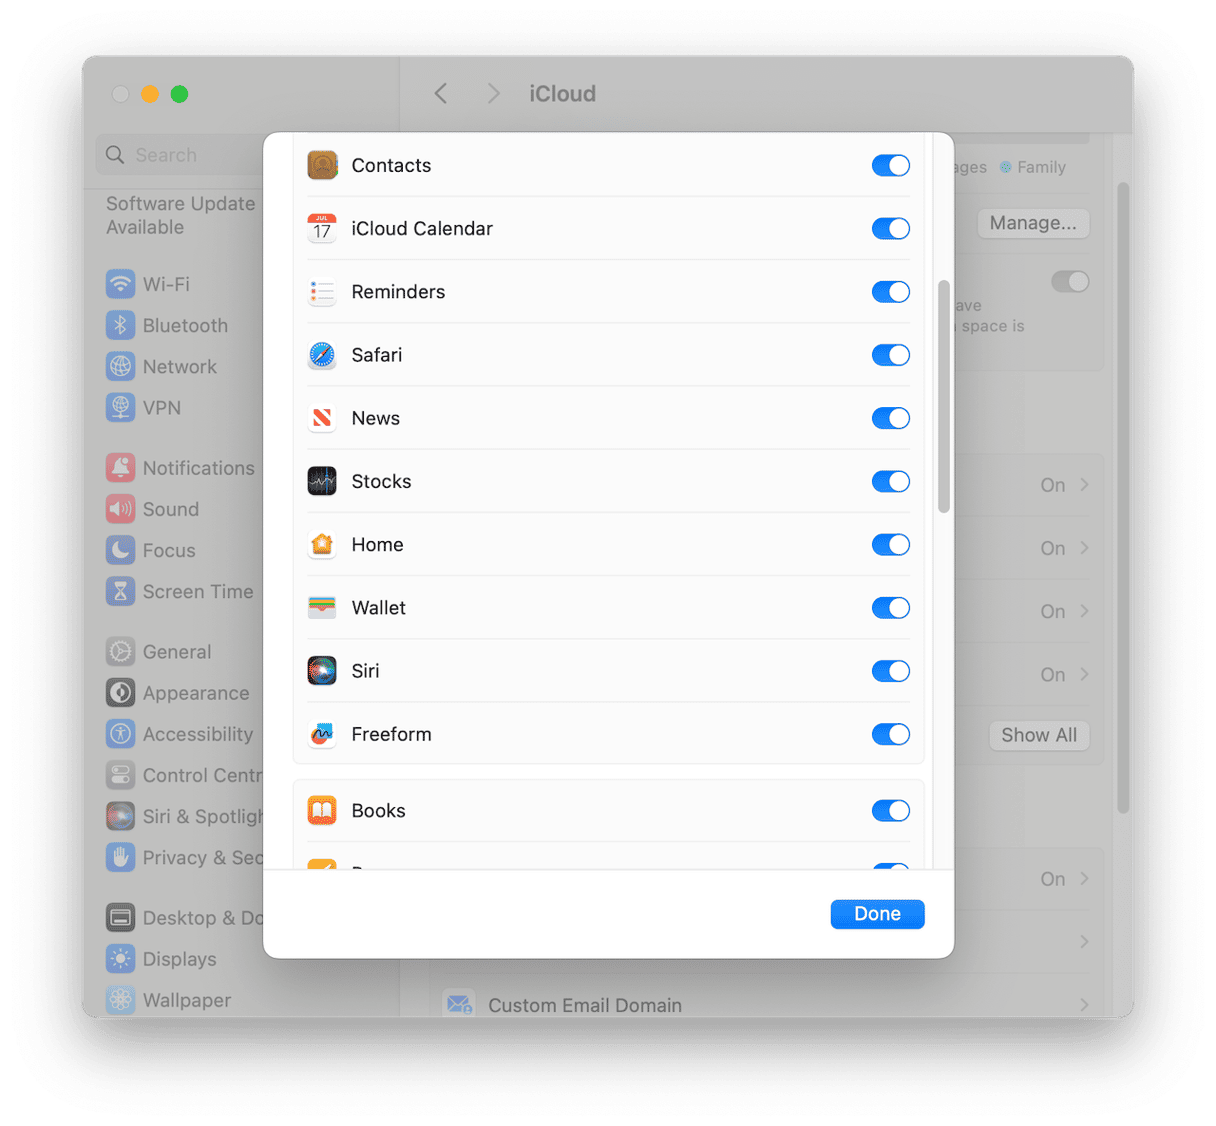
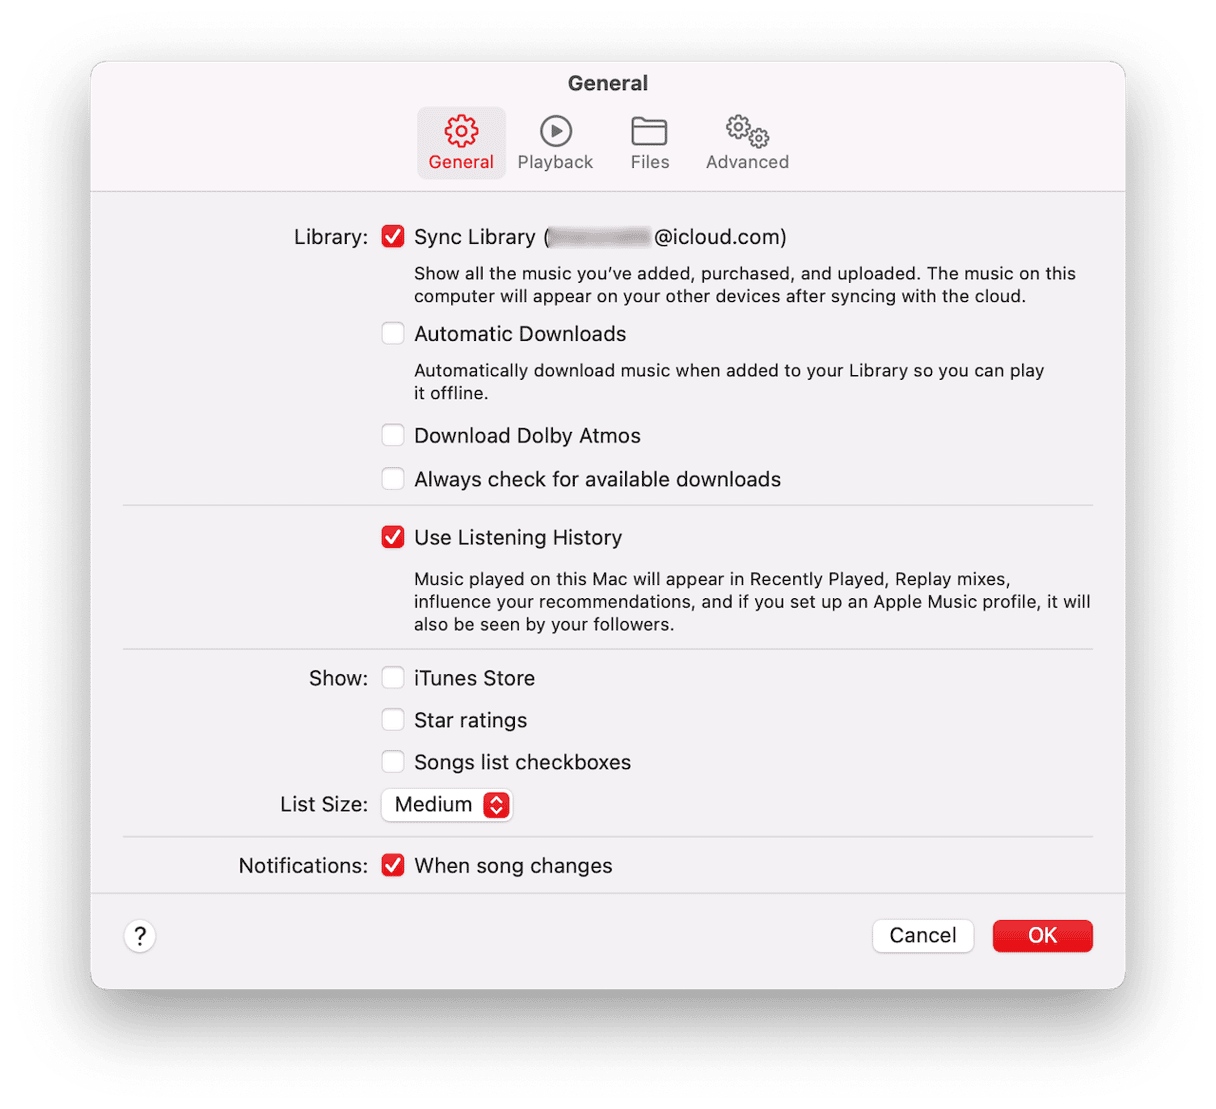
You might have noticed that not all Apple apps are listed in System Settings, notably Podcasts and Apple Music. To synchronize data in those apps, do the following.
- Open the app, either Podcasts or Music.
- Click the app name menu and choose Settings.
- In the General section, click Sync Library, making sure that the Apple ID displayed is the one you want to use with iCloud.
For third-party apps, the process will depend on the app. Usually, you will be given the option to sync using iCloud when you first open the app. If not, click on the app name menu, choose Settings, and look for an option to sync using iCloud.
How to manually upload files to iCloud
Before you can upload files to iCloud from your Mac, you’ll need to set it up and then make sure that iCloud Drive is displayed in the sidebar of the Finder window, so you can easily drag files to and from it.
Here’s how to use iCloud Drive to manually upload files to iCloud:
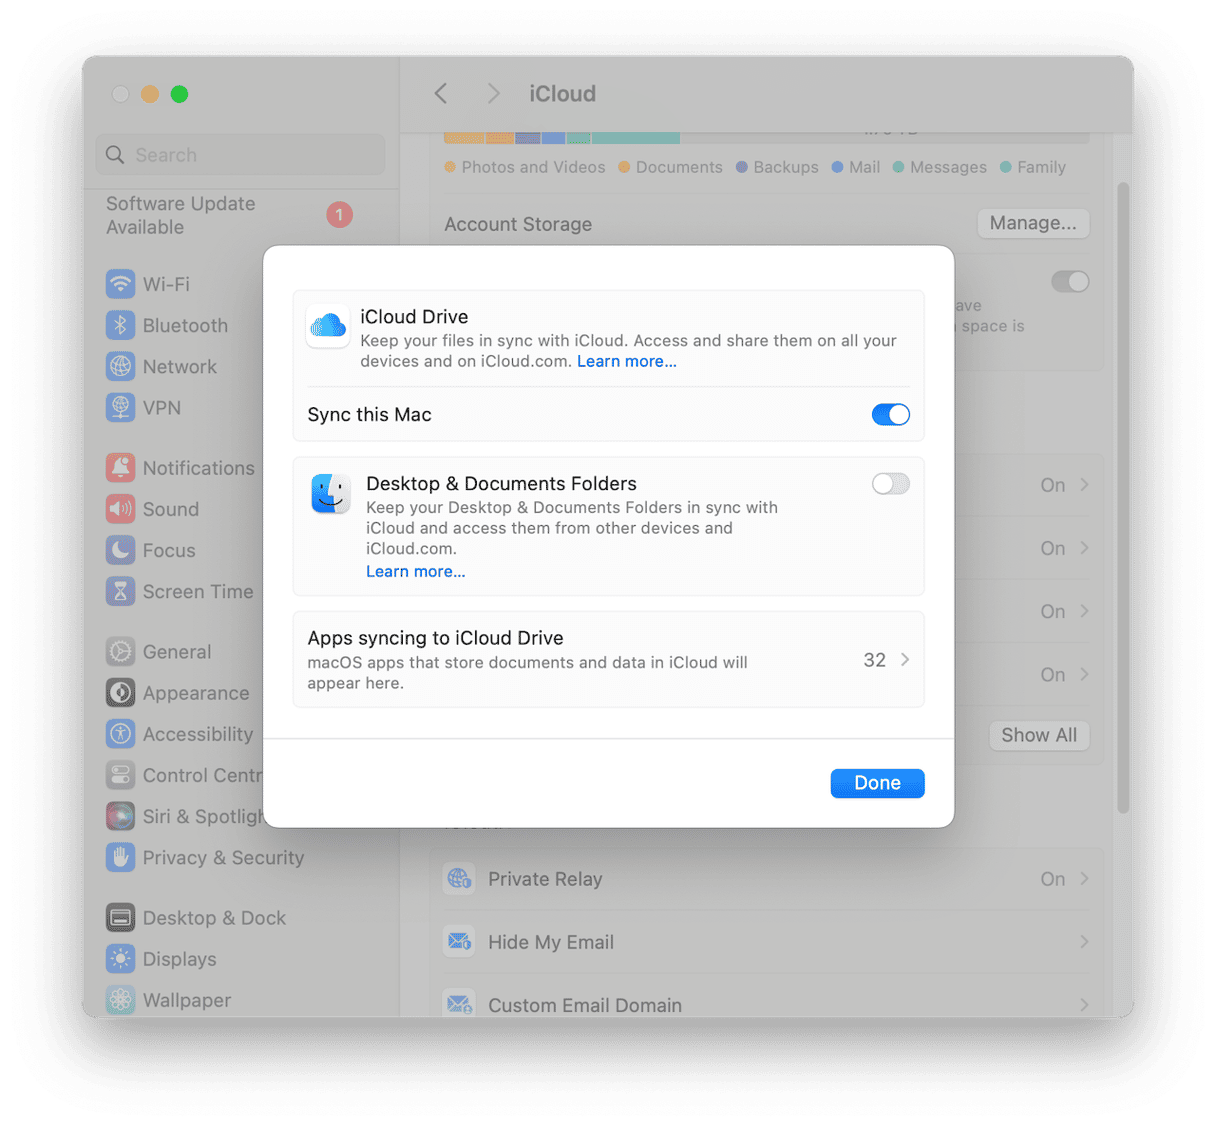
- Open System Settings and click your Apple ID > iCloud.
- Under Apps Using iCloud, click iCloud Drive.
- If the toggle switch is not set to on, click it to turn it on.
- Quit System Settings.
- Click on the Finder icon in the Dock.
- Choose the Finder menu, then Settings.
- In the Sidebar section, make sure iCloud Drive is selected.
- Quit Finder Settings.
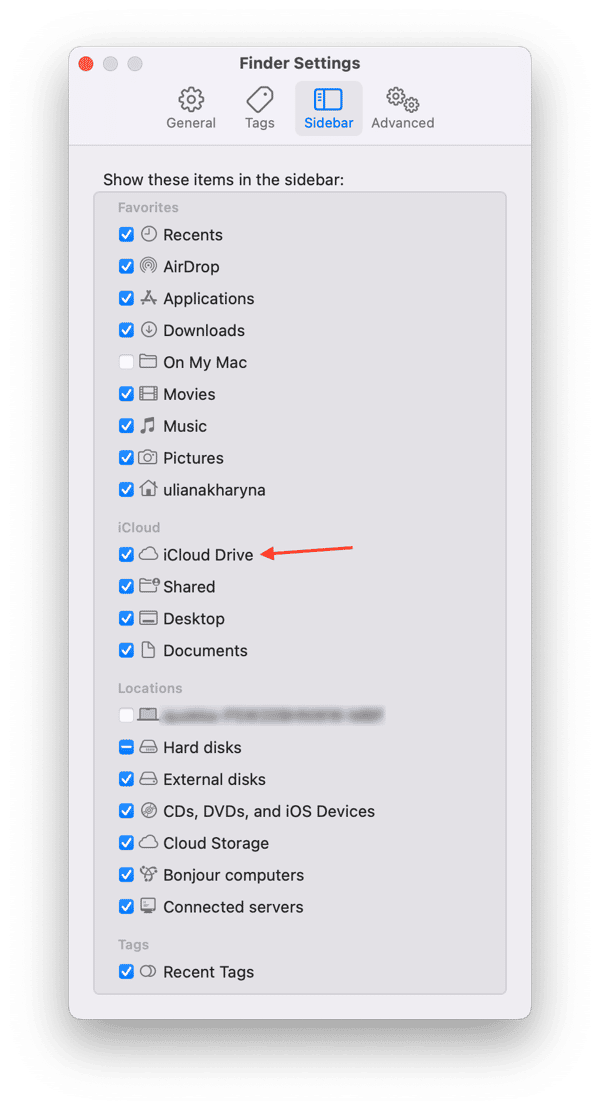
When you open a Finder window, you should see iCloud Drive in the sidebar. You can now drag and drop any file or folder to iCloud Drive. It will be uploaded.
To upload files to iCloud on an iPhone or iPad, do the following.
- Open Settings.
- Go to Apple ID > iCloud > iCloud Drive.
- Switch it on if it’s not on already.
- Quit Settings.
To upload files, use the Share icon in whatever app you use to edit the file. Choose Save Files from the share menu. Use the icons at the top of the screen to choose a folder and tap Save. You can access all the files you’ve uploaded to iCloud from the Files app.
How to use iCloud backup
You can’t back up your Mac to iCloud. Apple’s suggested method of backing up a Mac is to use Time Machine and an external storage drive. However, you can back up an iPhone or iPad. Here’s how to do that:
- Open Settings.
- Tap your Apple ID at the top of the screen, then iCloud.
- Tap iCloud Backup.
- Toggle the switch next to ‘Back Up This iPhone’ to on.
- Choose whether to allow backups over mobile data.
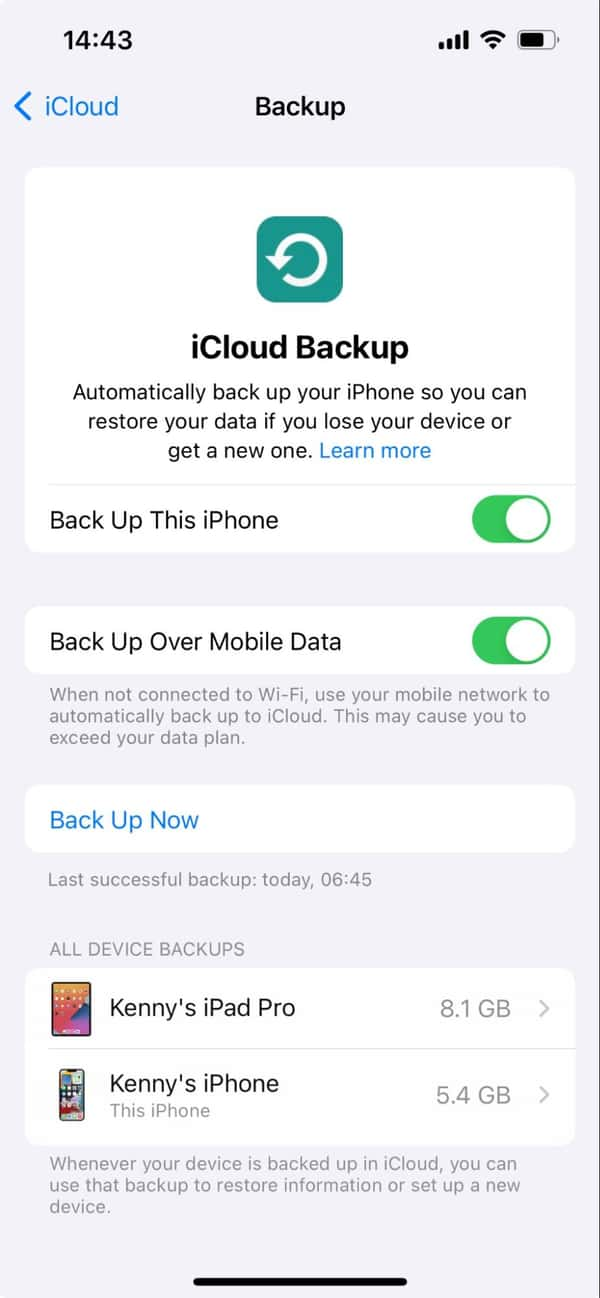
You can find out more about how to backup to iCloud here.
How to use Family iCloud storage — Family Sharing
Family Sharing is a really cool feature that allows you to share app purchases, subscriptions to Apple Music, Apple TV+, Apple News+, and an iCloud storage plan with up to five family members. To set up family sharing on your Mac, do the following:
- Click the Apple menu and choose System Settings.
- Click your Apple ID and choose Family Sharing.
- Choose Set up Family.
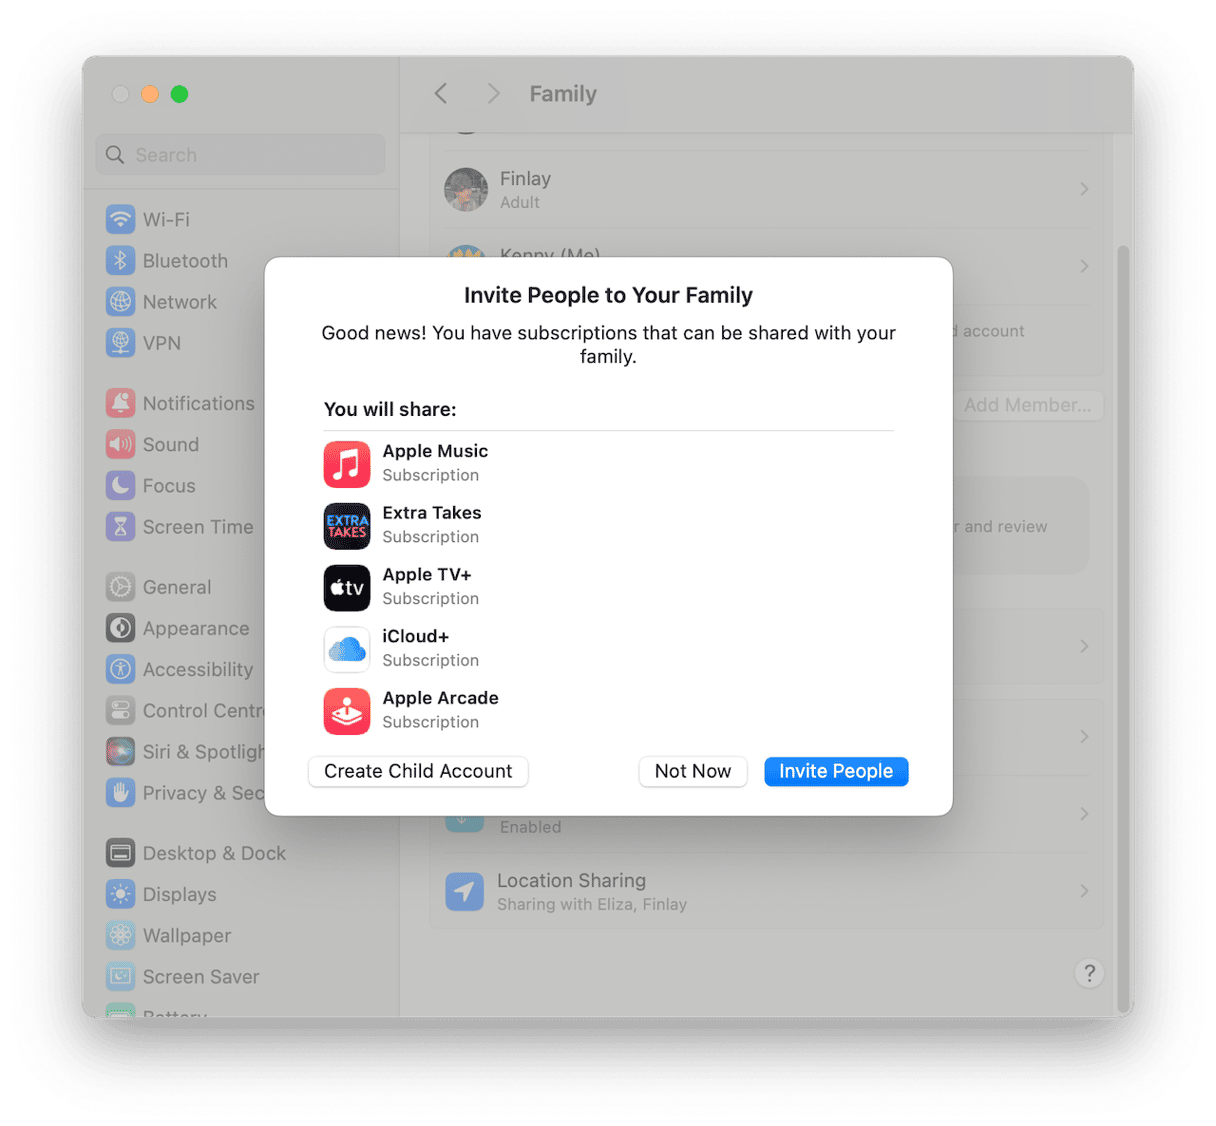
- Follow the instructions on the screen to set up your family and send invitations.
- To add another family member later, go to System Settings > Family and click Add Member. Then, follow the on-screen instructions.
- To accept an invitation, either click the link in the invitation email or message or go to System Settings > Family and follow the instructions on the screen to accept the invitation.
How to delete files from iCloud
There are various different ways to delete files from iCloud, depending on where they are stored and which app uses them. To delete files stored in iCloud Drive, just drag them to the Trash and empty the Trash. If your Desktop and Documents folders are stored in iCloud, you can delete files just by dragging them from one of those locations to the Trash and emptying it. To find out more about how to delete other files in iCloud, see this article.
How to free up space in iCloud
You can check how much space you’re using in iCloud by going to System Settings > Apple ID > iCloud. The colored bar at the top of the window will show you how much space you have used and where it is being used.
You can free up space in iCloud by deleting files manually. Just click Manage and make your way through the categories. See what can be deleted from iCloud.
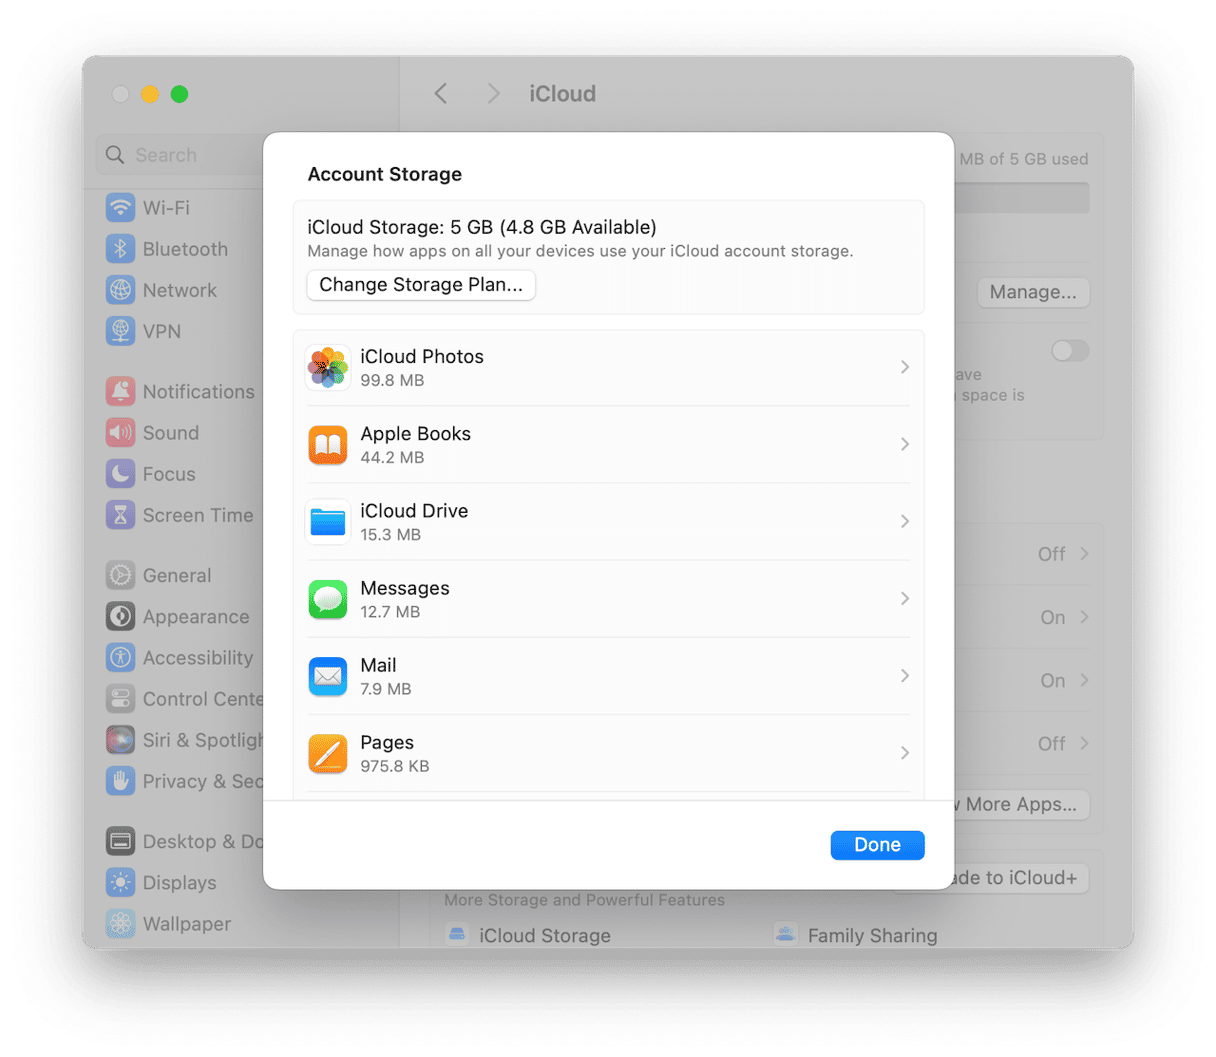
Or you could turn off features like iOS Backup, but you’d need to make sure you backed up your iPhone or iPad somewhere else.
Another option is to turn off Store in iCloud if you’re using it. Store in iCloud keeps all your files in iCloud and leaves only the most recent ones on your Mac. It’s a good way to save space on your Mac.
If you don’t want to turn it off, the next best option is to free up space on iCloud Drive. The easiest way to do it is to use a specialist cleaner app. We recommend CleanMyMac and its Cloud Cleanup feature. Once you connect your iCloud account to it, you can use the tool to scan iCloud Drive for large files stored in the cloud and locally and remove or unsync what you no longer need.
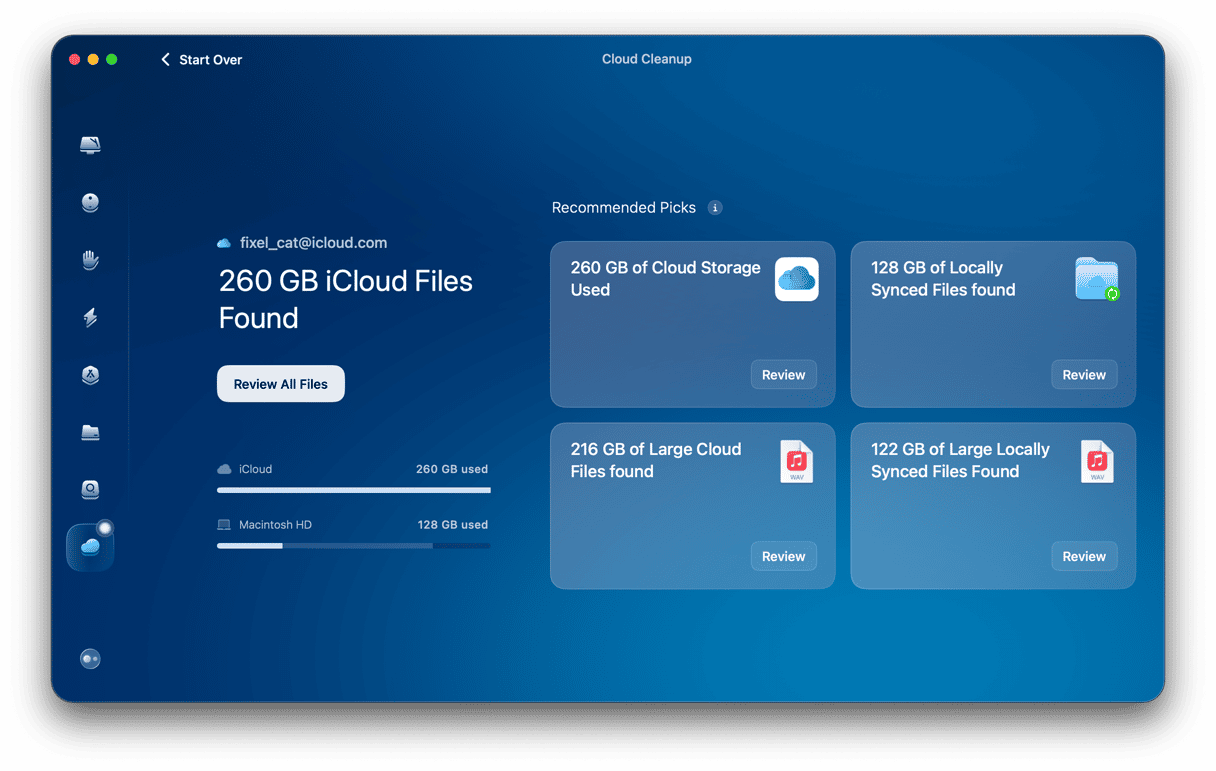
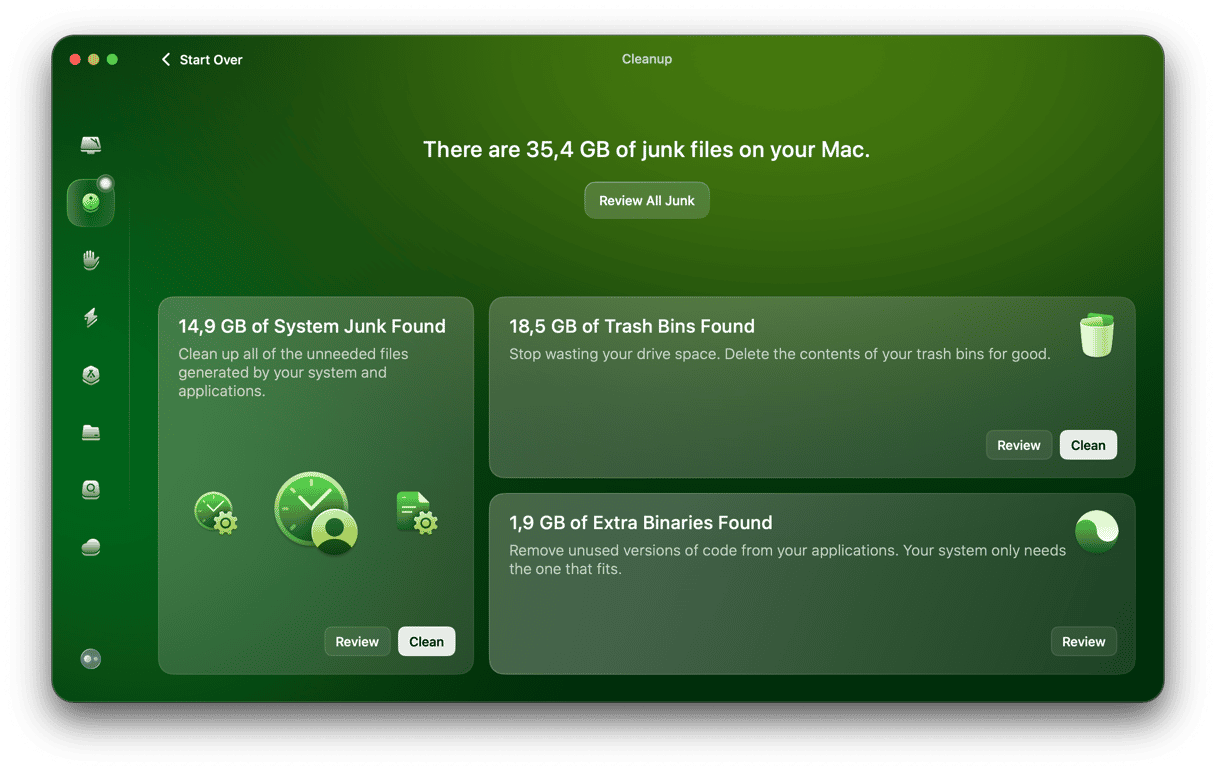
Also, do not forget to declutter your Mac by getting rid of junk files. That will create more room in iCloud because it will get rid of them there, too. You can use another feature that comes with CleanMyMac — Cleanup. It scans your Mac, looking for junk files and allows you to delete them with a click. You can also check out the My Clutter feature that reveals large and old files, duplicates, and similar images. The best part? You can test the app for 7 days at zero cost — get your free trial here.
And you can read more about freeing up space in iCloud here.
Troubleshooting iCloud issues
Most of the time, iCloud works very well, but occasionally, you may run into problems. Here are some of the most common and how to fix them.
Mac can’t connect to iCloud
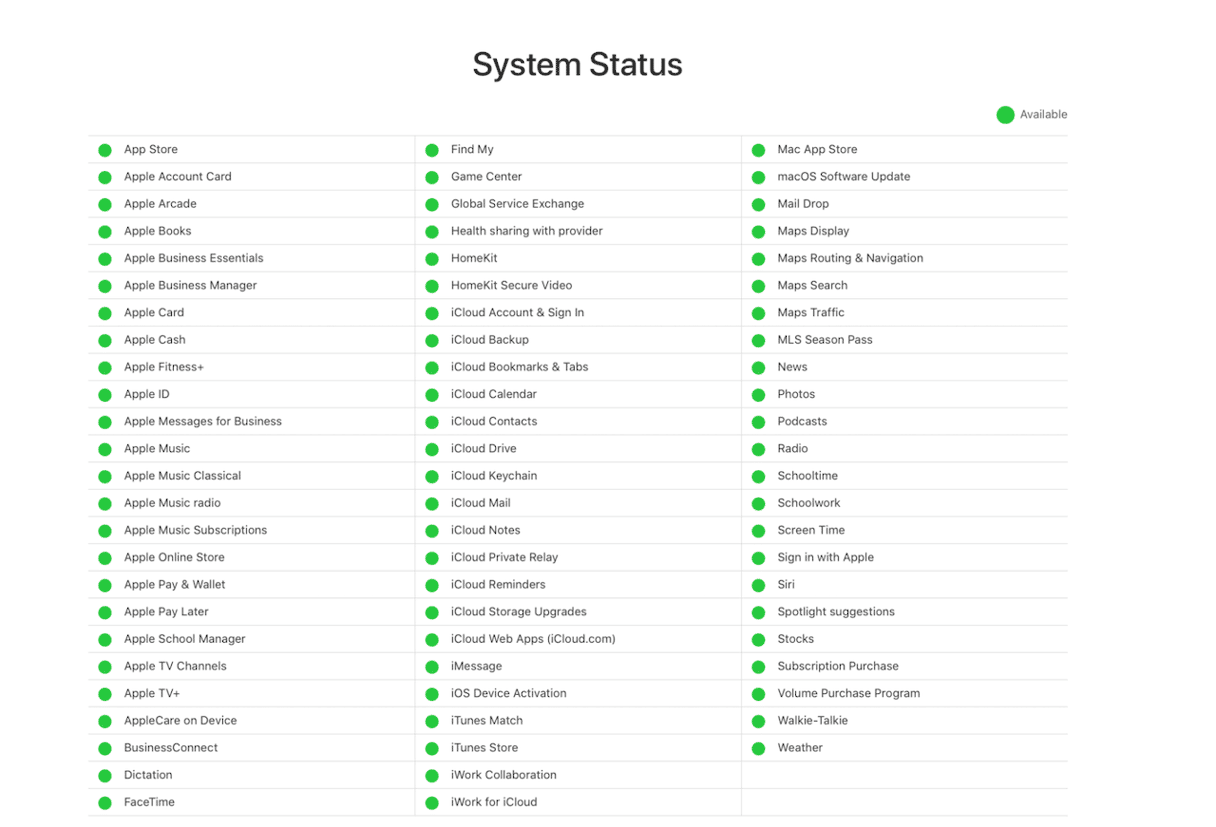
The most common reason for your Mac not connecting to iCloud is that there is a problem with your Wi-Fi or broadband connection. There could also be a problem with Apple’s servers. You can check their status here.
You can read more about how to fix it when your Mac can’t connect to iCloud here.
iCloud Drive taking up space on your Mac
If you store files in iCloud Drive, they should be removed from your Mac until you need them, at which point you can download them again. If iCloud is taking up too much space on your Mac, it could mean that that process isn’t working properly.
To fix it, try freeing up some space in iCloud like we described above. You can also read more about how to fix it here.
iCloud doesn’t sync data across devices
This could be caused by iCloud storage being full, so check that first. It could also be caused by:
- One or more devices not connected to the internet
- Apple’s servers down
- Incorrectly set settings in System Settings or the Settings app
To fix it, try logging out of your Apple ID and then in again on all devices and check System Settings using the steps we outlined above.
iCloud messages keep popping up
If you get constant notifications from iCloud, it indicates a problem somewhere. The solution is usually in System Settings — read about how to fix it here.
Duplicate photos in iCloud
If you just have a few duplicate photos, you can just delete them manually. But if there are too many to do that, there are a few solutions you can try. Read about them here.
iCloud never stops updating
This is a known and common problem. The only thing you can do is to make sure you keep macOS, iOS, and iPadOS up to date.
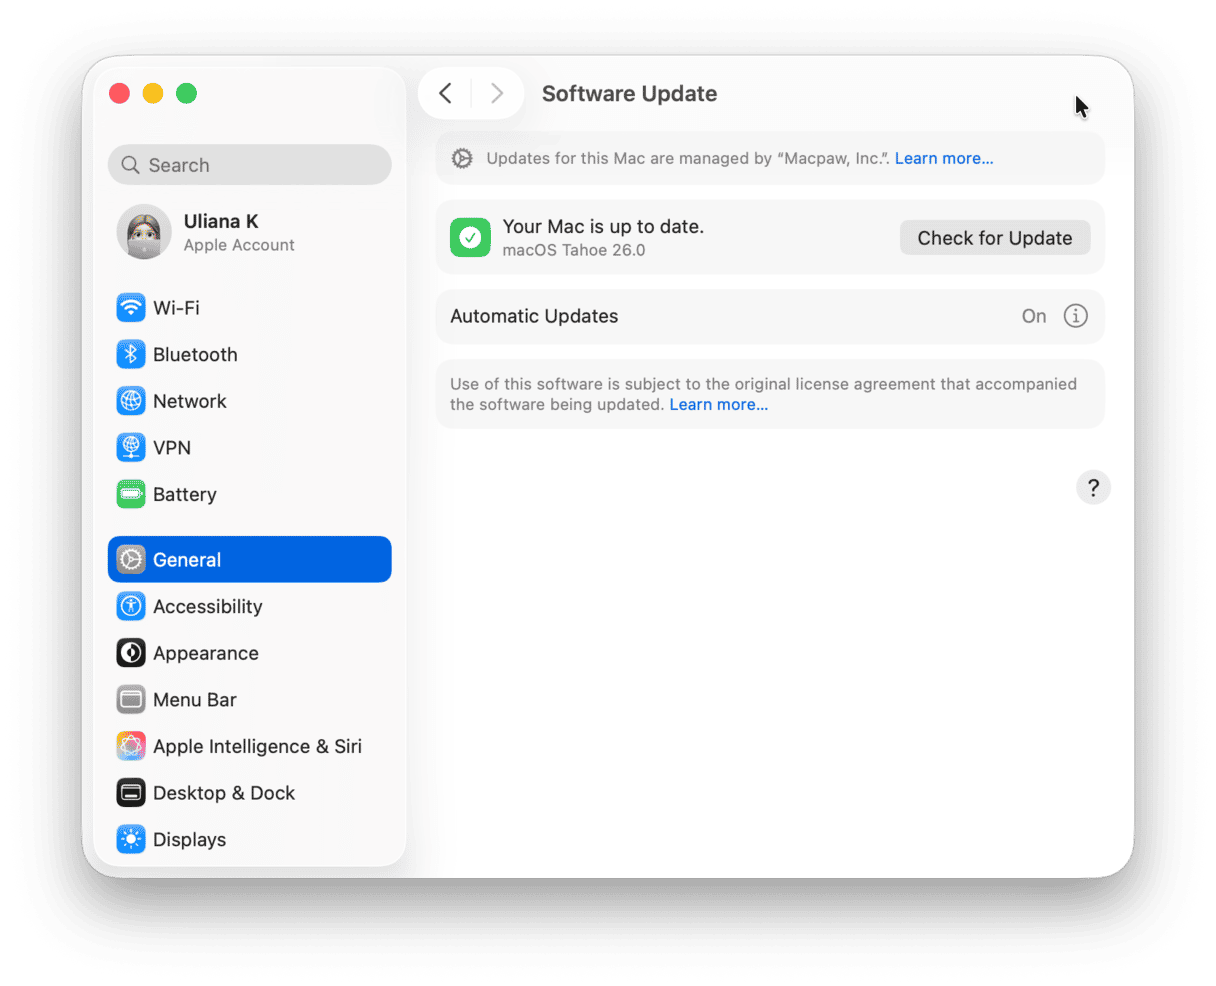
For macOS, go to System Settings > General > Software Update and check whether there are updates available.
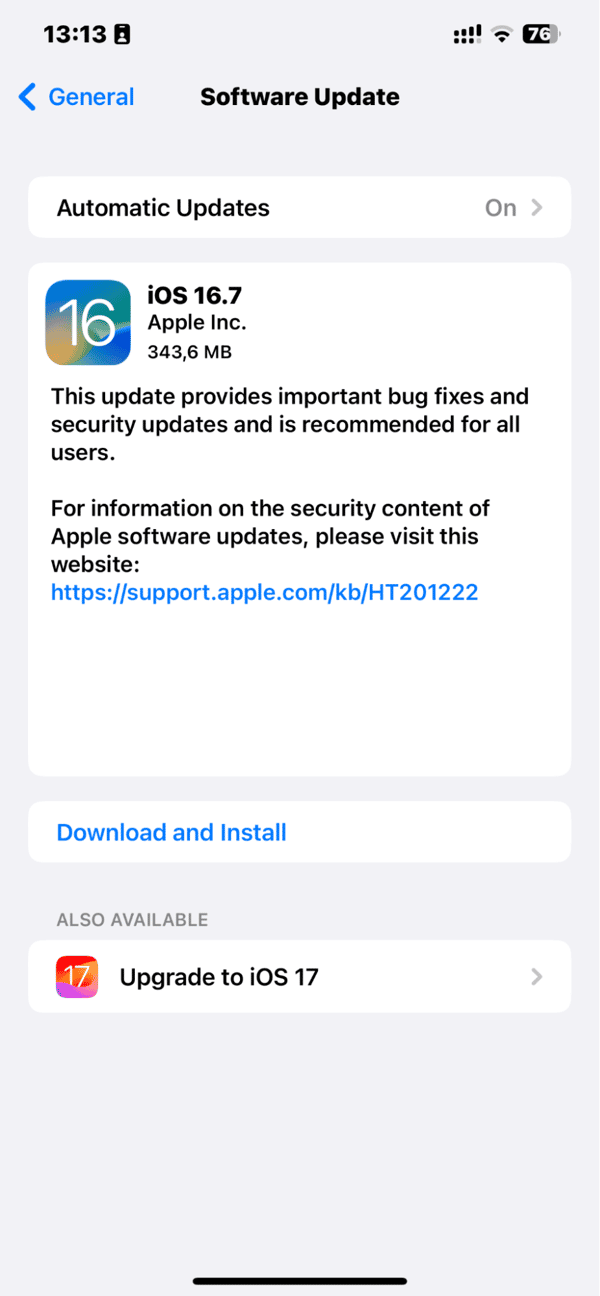
For an iPhone or iPad, go to Settings > General > Software Update. Install any updates available.
Your device keeps asking for an iCloud password
If this happens to you, check for an OS update on the device. If the OS is up to date, sign out of your Apple ID on the device, wait for a few minutes, and then sign back in again.
How to remove iCloud
To remove iCloud from a device, you can either go to Settings (System Settings on Mac) > Apple ID > iCloud and manually turn off each service and app or sign out of your Apple ID on the device.
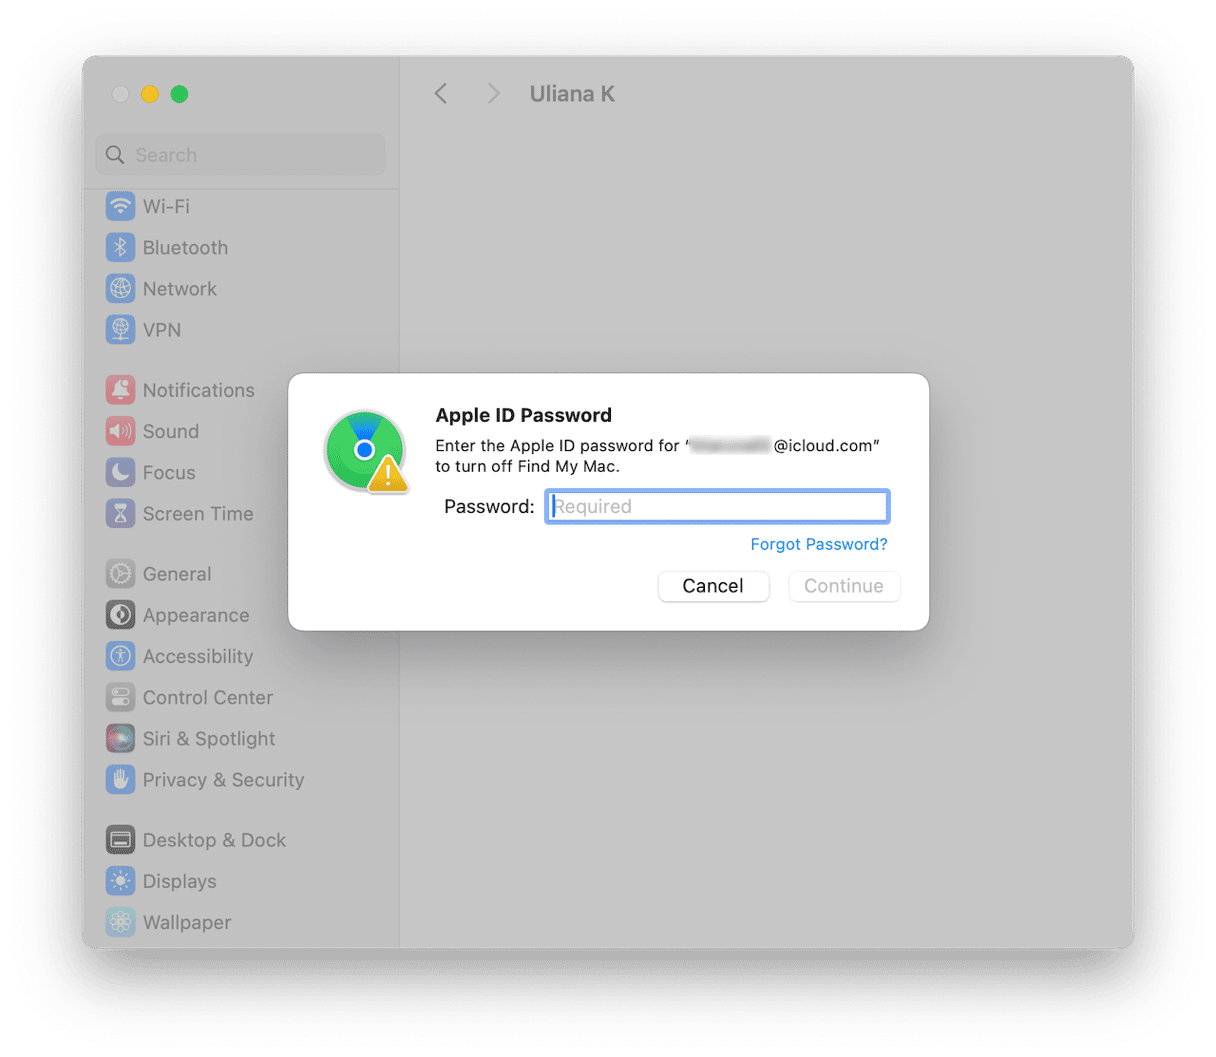
If you choose the latter, make sure you select the option to keep data on your device.
You can find out more about how to remove iCloud here.
iCloud is the backbone of Apple’s online tools and services, including syncing data between your devices and the Find My app. But there’s much more to it than that. The guide above shows you how to use iCloud and will help you get the most from it.


