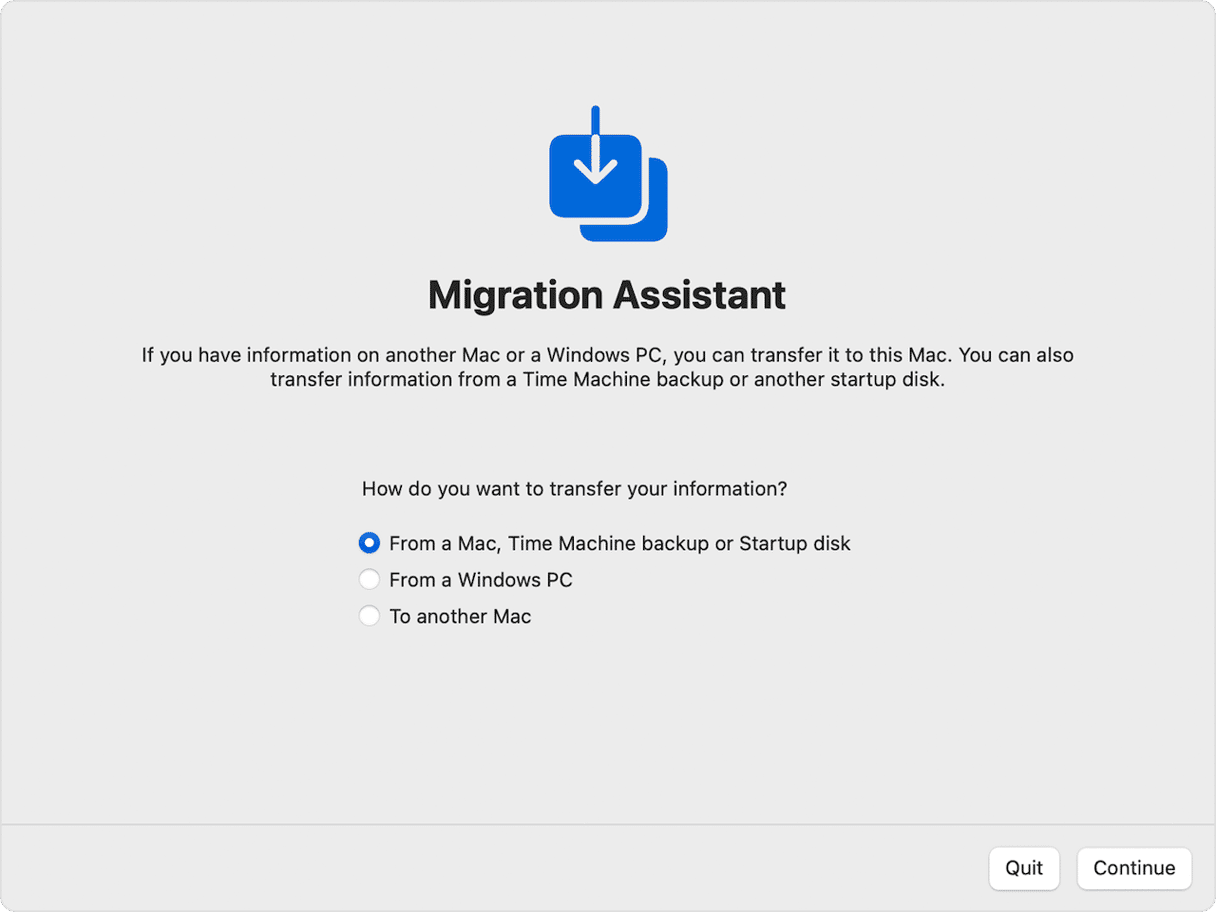
Migration Assistant is a really handy tool that most of us rarely give any thought to. That’s because we hardly ever need to use it. But when it’s needed, it’s invaluable, smoothing the process of setting up and moving files to a new Mac. Most of the time, it just works. But occasionally, things can go wrong. We’ll show you exactly what to do if that happens to you.
What is Migration Assistant?
Migration Assistant is an application that sits in the Utilities folder in your Applications folder and is designed to make it easy to transfer data from an old Mac to a new one. There’s also a Windows version, so you can use it to transfer files from a PC to a Mac. Most of us only use it once — when we set up a new Mac.

It works on any Mac running OS X El Capitan or later macOS versions, and the only stipulation is that both computers must be on the same Wi-Fi network.
How long does Migration Assistant take?
The duration of the files migration from one Mac to another or from a Windows PC to a Mac depends on the combined size of files in GB, the number of files, and the speed of your Wi-Fi network. It could take anything from a few minutes to a few hours. Apple say that large transfers may seem to have paused because they are taking so long and recommend running the transfer overnight if you have lots of data.
What to do if Migration Assistant is stuck
The first thing to do is to make sure that it is actually stuck and not just running very slowly. If it’s in the process of transferring data, give it some time before deciding it’s stuck. If it’s stuck trying to find the other Mac or PC and showing the message ‘Looking for other sources,’ follow these steps:
- Make sure both Macs are on the same Wi-Fi network.
- Make sure both Macs are running OS X El Capitan or a later macOS version; better still, update them both to the latest macOS compatible with your computer.
- Disable any antivirus or firewall software on the source Mac. To disable firewall, go to System Settings > Network > Firewall.
If none of the above works, try stopping Migration Assistant and starting again. But this time, leave the Applications option deselected. Transferring applications with Migration Assistant seems to be a common cause of Migration Assistant getting stuck. And you can always reinstall applications from scratch on your new Mac.
If Migration Assistant is unable to connect, try this
If you see a message on the Migration Assistant window telling you that it can’t connect, and you’re sure that both Macs are on the same network, try these steps:
- Restart both Macs.
- Move the Macs closer together.
- Check your internet connection by running a speed test and double-checking if the cable is properly connected. Alternatively, try to connect another device to the internet and see if it works.
- If possible, switch from Wi-Fi to wired connection.
- Check for port and cable damage.
- Update both Macs to the latest macOS version they are compatible with — a new macOS usually comes with different improvements, so Migration Assistant might work better.
- Restart your router.
- Check whether the Mac you’re transferring data from has a name by going to System Settings > General > Sharing and looking at the bottom of the window. If there is no name in the ‘Local hostname’ section, click Edit and type one in.
- Set up account password, especially if it does not have one. Without a password, you may receive an error message saying, ‘This Mac can’t be used to migrate data.’ To fix it, go to System Settings > Users & Groups, select your user, click i > Change next to password.
Migration Assistant authentication failed: what to do
On rare occasions when you’re using Migration Assistant, you may see the error ‘Authentication failed, unable to retrieve credentials from authorizing user.’ If that happens, the solution is to reset the system management controller (SMC) on the Mac you’re trying to transfer data to. Quit Migration Assistant and shut down the Mac safely. Then follow the instructions on Apple’s website here to reset the SMC on your Mac.
Migration Assistant vs Time Machine, which is better?
The answer to this question isn’t straightforward. That’s partly because you can use Migration Assistant to transfer data from a Time Machine backup. You can also restore from a Time Machine backup by booting into recovery mode. So, let’s consider the question: is it better to migrate data from your current Mac to a new one or to migrate data from a Time Machine backup?

The answer to that question depends on a couple of things:
- When did you last back up to Time Machine?
- Do you back up everything to Time Machine?
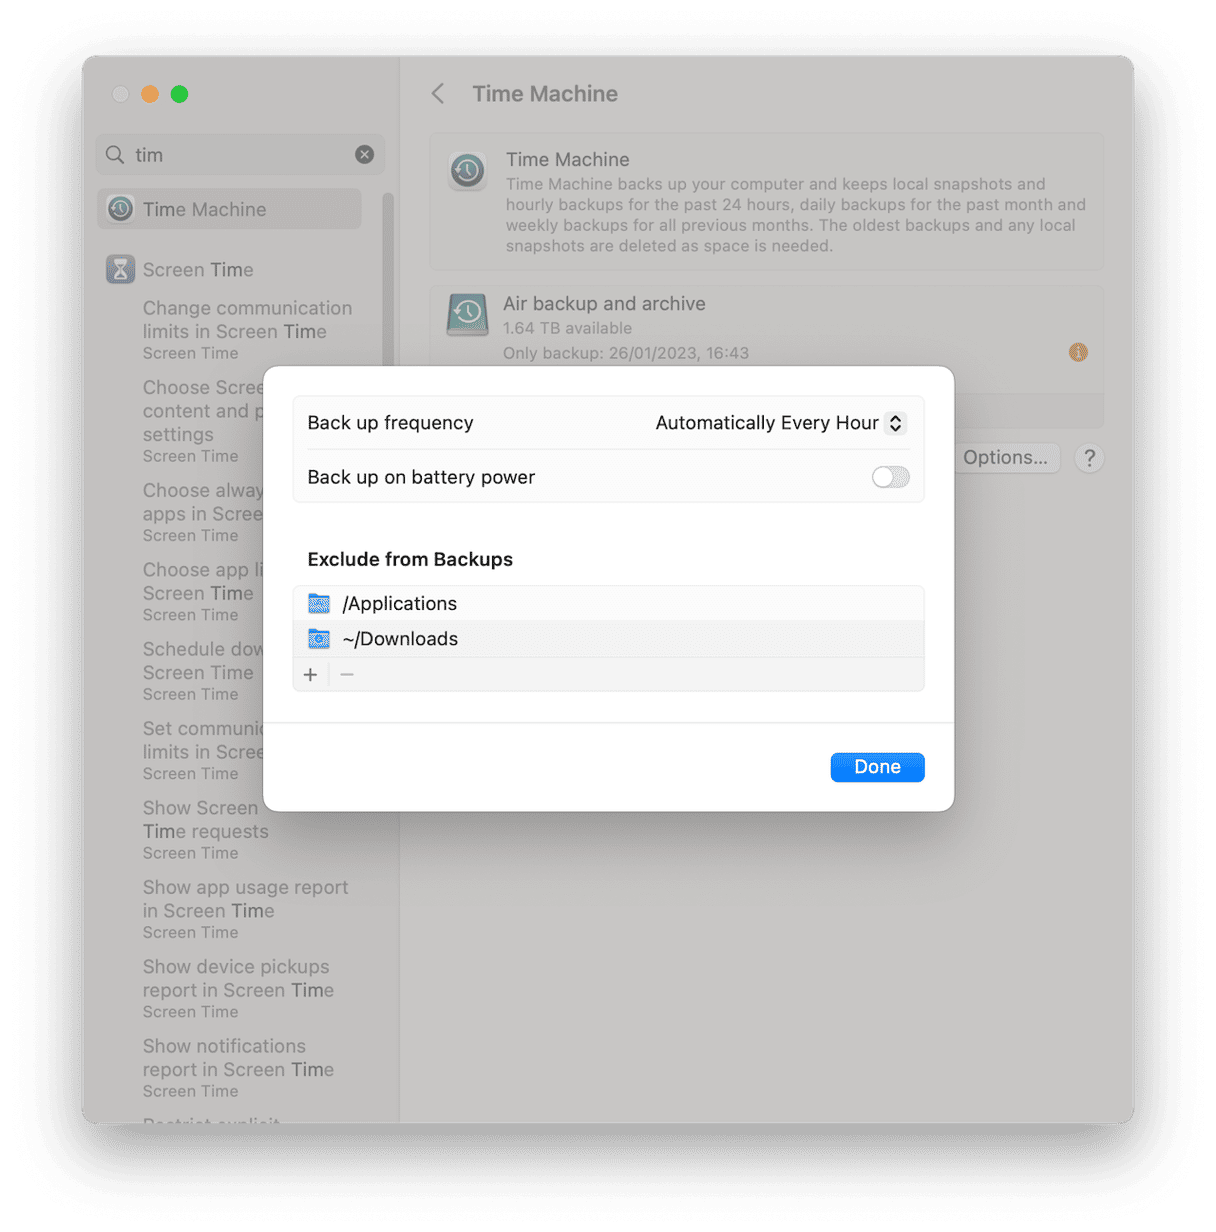
If you run regular backups to Time Machine, and so have a very recent one, and you back up all the data on your Mac, the Time Machine option may be better than transferring from Mac to Mac. Why? Because you can connect a Time Machine backup disk directly to your new Mac and will not have to rely on Wi-Fi to transfer data. However, if you exclude data from Time Machine backups, it may not be a good option, depending on the data you have excluded.
Does Migration Assistant have limitations?
Although Migration Assistant is a super handy app, there are still some limitations you should be aware of. Most importantly, it may not transfer all files. Non-compatible apps, data stored in iCloud, password-protected or encrypted files, and Boot Camp volumes are just a few examples of files that cannot be transferred. You may need to reinstall apps on a target Mac or use an external drive if you need any of these.
Another limitation is size-related. In particular, you need to make sure that the target Mac has enough space, meaning that if it has less storage than the MacBook your are transferring from, you won’t be able to complete the transfer.
Finally, Migration Assistant does not provide granular control over what is transferred. Yes, you can choose broad categories of data to move (like settings or apps), but you cannot choose specific files or folders.
Another option: target disk mode
Target disk mode allows you to connect two Macs together using a USB, USB-C, or Thunderbolt cable and boot the older Mac as an external disk that’s connected to the new Mac. If either Mac is running macOS Big Sur or later, you will need to use a Thunderbolt cable. You can then copy files directly from the old Mac to the new Mac. You can find out more about target disk mode on Apple’s website here.
If nothing else helped
If you’re still asking how to fix Migration Assistant not working, here are a few more options to try:
- Run Apple Diagnostics to check if there is a hardware problem with your Mac. To do it on an Intel-based Mac, press and hold D while restarting it. For a Mac with Apple silicon, restart your Mac and press and hold the power button. When you see the Startup Options window, press Command + D. Check what reference codes specifying the problem mean here.

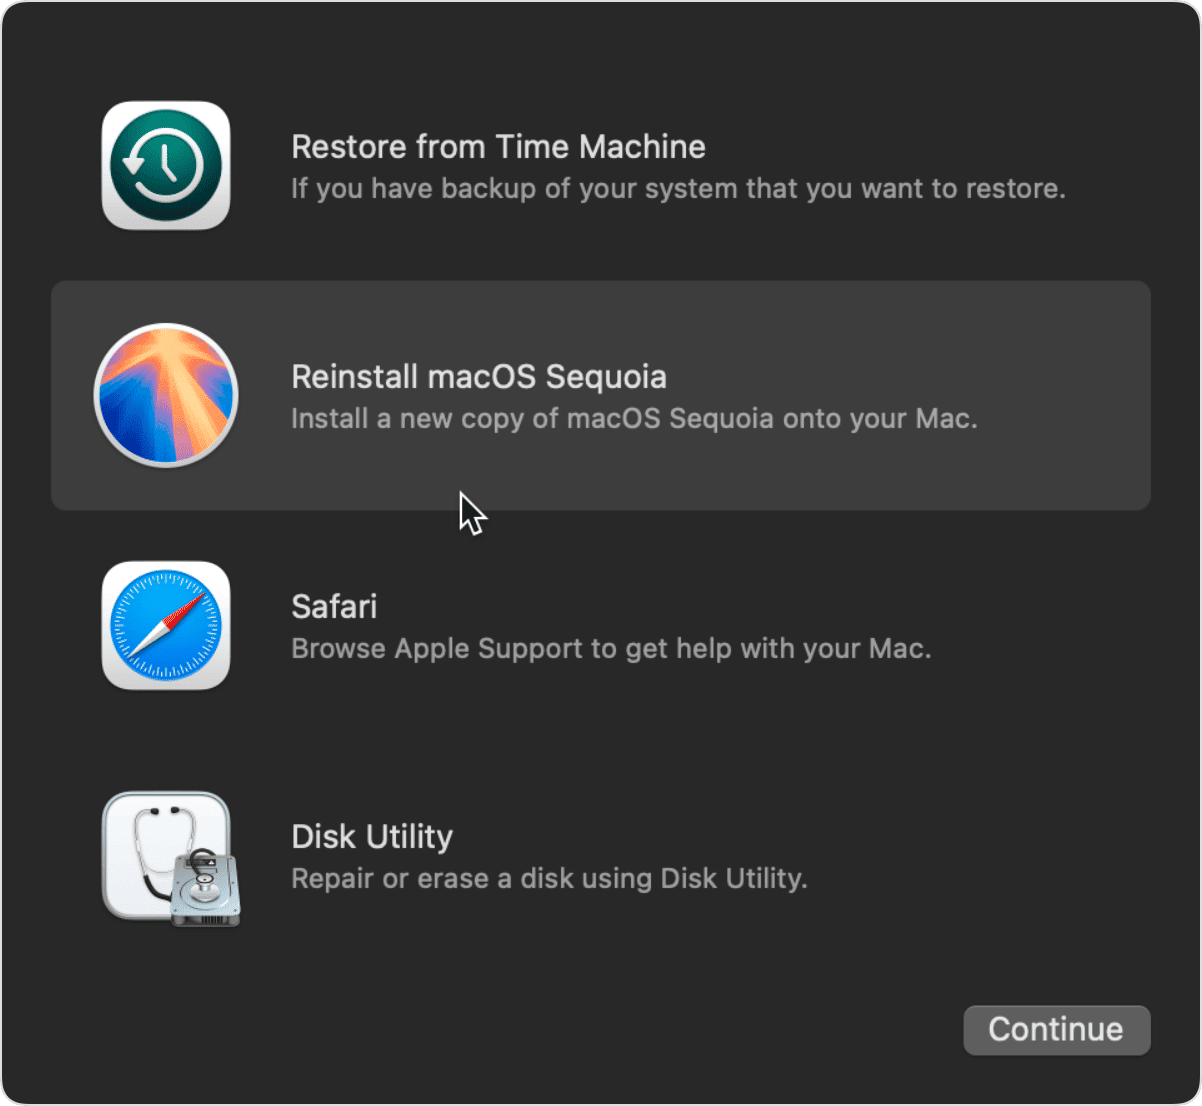
- Reinstall macOS. To do it, you’ll need to boot into recovery mode. On an Intel-based Mac, press and hold Command + R while restarting your Mac. On a Mac with Apple silicon, press and hold the power button and click Options > Continue when you see the Startup Options window. Then, click Reinstall macOS and follow the on-screen instructions to complete the process. For more tips on reinstalling macOS, check out this article.

- Contact Apple Support here for more tips and help to book an appointment with a certified service center.
If Migration Assistant gets stuck or is not working, don’t panic. Follow the advice above, and you will be able to transfer data from an old Mac to a new one.
Frequently asked questions
Where is Migration Assistant on Mac?
By default, it is in your Applications > Utilities folder. But you can also open it from Launchpad > Utilities, use the Spotlight search to find it, or ask Siri to launch the app.
How to transfer files from PC to Mac without Migration Assistant?
The easiest way to do it is to copy the files to an external drive, then plug it into your Mac, and export them to your MacBook. You can simply drag and drop all files. Make sure that your external drive is compatible with both PC and MacBook — choose ExFAT format.
Why is Migration Assistant not working?
There are many reasons why Migration Assistant is not working on Mac. They vary from software glitches to network issues and hardware problems. In some cases, data corruption and security software or firewall can cause the problem.
Where does Migration Assistant put files?
Migration Assistant creates a new user. To access the migrated account, open a new Finder window and click Home > Users from the Go menu in the menu bar. The new user will be there. You’ll then have to log into a newly created account to work with the migrated files.


