macOS 12 Monterey is Apple’s next macOS after Big Sur. To have the best experience with Monterey, you’ll need to perform a “clean install” or, simply put, install it onto a wiped drive. This way, you’ll start from a clean slate and leave behind tons of old files.
Clean installation is like starting a new life
Should you really go as far as run a clean installation of Monterey? If your Mac has been slow, cluttered with apps, etc., that’s a preferable option. Your computer will run a bit faster, and some persistent issues will be gone. So yes, that’s a perfectly normal way of upgrading your system. The only downside of clean installation is the potential file loss if you don’t prepare the backup. But we’ll make sure this won’t happen.
Just two definitions to keep in mind:
Clean installation: Installing the system on an erased drive.
Regular installation: Installing Monterey on top of your current OS.

How to clean install macOS Monterey
Things we’ll need:
- 2 USB drives: One for backup, the other for the installer
- macOS Monterey installer
- a Mac with a stable internet connection
- 1-2 hours of time
The basic steps:

System backup and cleanup → Download the installer → Write the installer onto the USB → Erase current macOS → Install the macOS from USB
The initial system checkup
If your Mac is not compatible with Monterey, it will tell right away. But for simplicity, your MacBook should be at least from 2015 and younger.
1. Clean up and back up your system
At this preparatory stage, we’ll clean your system and shave off some junk so we can make a neat backup. If macOS Monterey will freeze upon installation or will be found to contain bugs, you can roll back to your original macOS backup.
Cleaning it up
You’re about to move your macOS to a backup location. And before moving your entire “home,” it’s better to clean the garbage lying around.
Here’s an app that will help you digitally “vacuum-clean” your drive — CleanMyMac, by MacPaw. This app is notarized by Apple. It will:
- Find junk, duplicates, and other clutter on your drive
- Free up space to make the backup lighter, so you’ll save time
Here you can download CleanMyMac and start your free 7-day trial.

You can expect it to find at least 10 GB of junk: old unnecessary files, broken items, caches, etc.
Now, we’re all set to back up your freshly cleaned macOS.
Back up your Mac
Grab a clean USB drive with enough free space on it.
If you click the Apple menu > About this Mac > Storage, it will show how much space your Mac is taking up. In my case, I’ll need at least 190 GB of space to accommodate all my files. That’s why I’ve picked a 1 TB external USB drive for backup.

- Now, go to System Preferences and choose Time Machine.
- Select the drive to save the duplicate copy of your system.
- Click Use Disk.

Have you clicked Use Disk? Now, grab a drink or do some yoga because you’re in for a wait — the backup is cooking up!
Another alternative is backing up your Documents folder by folder. In this case, copy all your important information as a folder and save it to an external drive. Later you can transfer it to your new macOS. Whether to use Time Machine or copy the files themselves is up to you.
2. Download the macOS Monterey installer
You can download the installer from the Mac App Store. Just follow this link.
The Mac App Store should launch. If it doesn't, click "View in Mac App Store" and then click Get to download the installer.

3. Write the installer onto another USB drive
When the installer has finished downloading, it will prompt you to continue the installation. But that will regularly install the macOS on top of your current macOS. Because our aim is to clean install macOS Monterey, we will only go through the first part: saving the installer image to your USB drive and will skip the rest of the installation for now.
Once you downloaded the macOS Monterey, it should automatically appear in Applications.
Check your Applications.
Locate the macOS Monterey installer icon with an arrow:
That crucial Terminal command
At this point, you should grab another formatted external USB drive with at least 16 GB of storage.
Connect the drive to your Mac.
You can use Disk Utility to format the drive you have at your hand. Format it as macOS Extended (Journaled).
Now we’ll use Terminal, a command-line tool, to install Monterey from a bootable USB drive with your installer on it.
We’re basically telling the Terminal: grab this file “macOS Monterey” from Applications, put it onto the drive named “Untitled,” and make it a bootable drive.
- Go to Launchpad and type in Terminal in the search box.
- Copy and paste in the following command:
sudo /Applications/Install\ macOS\ Monterey.app/Contents/Resources/createinstallmedia --volume /Volumes/Untitled
- Enter your password and click Enter.
- Well done! The hardest part is over!
4. Erase your current macOS
Your clean install of macOS Monterey begins.
Update the startup security settings
We want to boot your Mac from USB. But how to do that? Newer Macs require an extra step to be able to boot from USB. We need to select that setting first.
- Shut down your Mac.
- Press the Power button and hold Command-R.
- Wait for about 5 seconds.
- This is Recovery Mode. Enter your password.
Now you’ll see the macOS Utilities window.
On top of that window, you’ll see a menu bar. Click Utilities > Startup Security Utility.

Under Secure boot, choose Medium security.
Under Allowed boot media, select "Allow booting from external media."
Click the Apple menu to shut down your Mac.
How to erase the current macOS
- Connect your second “Untitled” USB drive (the one with a bootable installer).
- Start your Mac by holding down the Option key.
- Boot from the macOS installer.
Now, we’ll erase your Mac in Disk Utility.

Your disk is erased now. Close the window to go back to the Recovery menu. With your USB stick still connected:
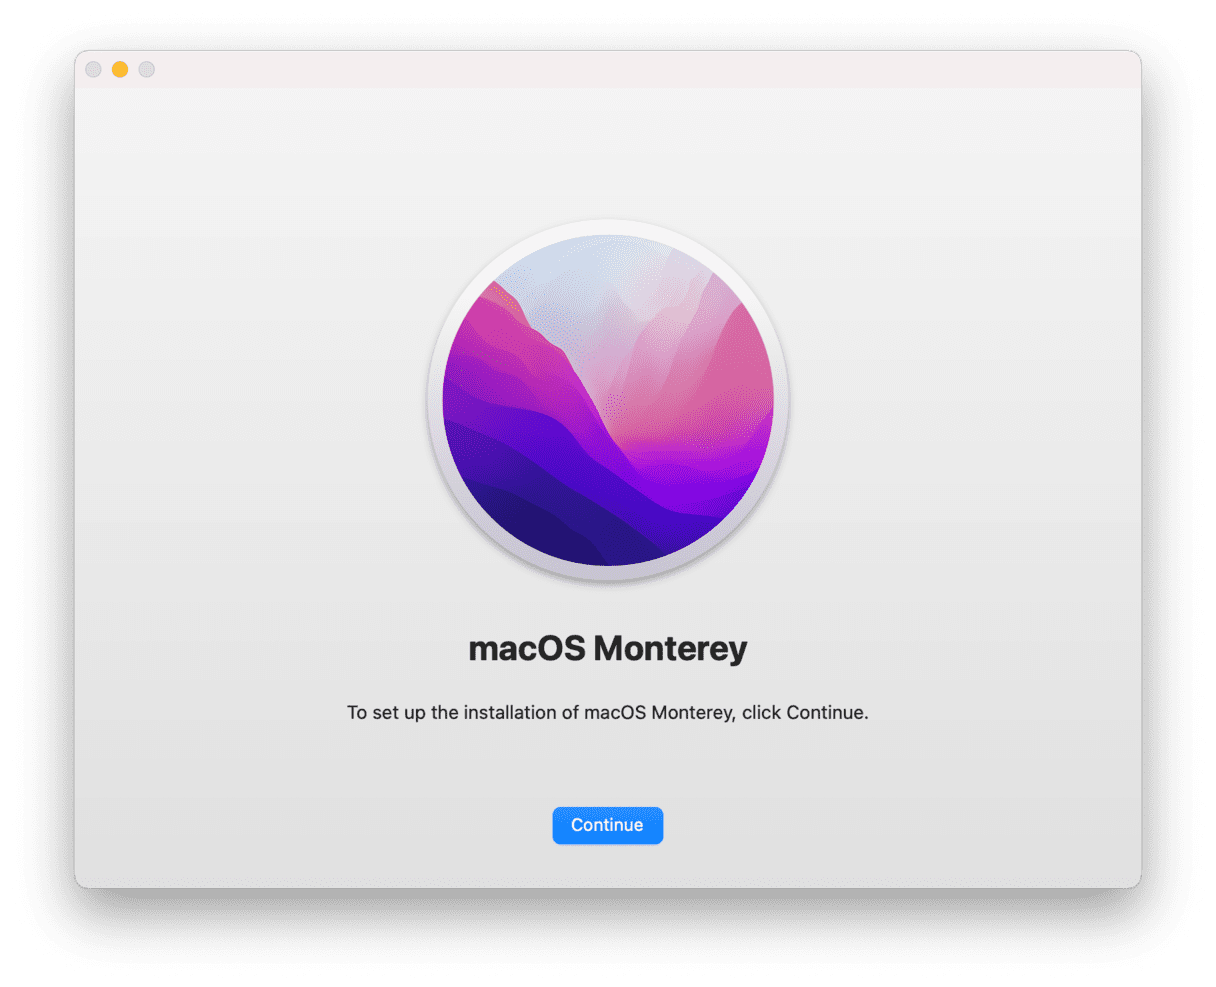
Click Install macOS > Continue.
The process will begin, and your macOS Monterey will do the rest on its own.
- Make sure your Wi-Fi is good quality.
- Your Mac will be restarting on its own a few times.
- Be patient — the installation may take 30 minutes or more.
That’s how you clean install macOS Monterey on a wiped drive. Below are two more options.
How to regularly install macOS Monterey
To install macOS regularly, without wiping your data first, just go back to your Applications.

Find the installer file in Applications, click it, and proceed with all the steps.
Alternatively, you can upgrade to macOS Monterey right from System Preferences. Click System Preferences > Software Update.
If your Mac is eligible, you’ll see the update there waiting for you.
How to reinstall macOS Monterey
This last option is for situations when your macOS Monterey is underperforming, crashes, etc. Every Mac can roll back to the last installed version of macOS.
- Restart your Mac and press Command-R.
- In this menu, choose Reinstall macOS.
Or you can connect the reserved USB drive and install your old system that we’ve backed up using Time Machine.
If your Mac is slow and messy
Clean installing macOS Monterey should give you a feeling of a new Mac. But as every Mac user knows, your Mac will keep on installing new updates, downloading files, and eventually, your Mac will become cluttered again. That’s just a matter of time.
To have a more organized Mac and keep junk in check, get a Mac decluttering app.
We’ve mentioned CleanMyMac earlier, and this app is really good at finding hidden junk all over your drive. So regular cleanups are your best strategy in the long term.

Check this app out — you can download it directly from the developer.
That was our simple instruction on how to perform a clean install of macOS Monterey. Sorry for too many steps — that’s just the way it’s done.


