Most of us have spent much of the last four years making video and audio calls to friends and family or for meetings when we’re working remotely. Most of the time, everything just works. But occasionally, you may get an error on your Mac that says, e.g., if you’re trying to use Facetime, ‘no camera available.’ What do you do when you see that error, and how should you fix it? We’ll explain that here.
How to fix ‘no camera available’ error on Mac
1. Check other apps
If the error appears in an app like Skype or Zoom, it may be the app that’s the problem and not your webcam or macOS. So, the first thing you should try is check with a different app like FaceTime to see if it works.
If the camera works in other apps, it suggests the problem is with the app you were trying to use for the first time and not your camera, which is good news. Quit and relaunch the app you were trying to use the first time, and that may fix the problem. If not, you may have to reinstall it if it’s a third-party app like Skype or Zoom.
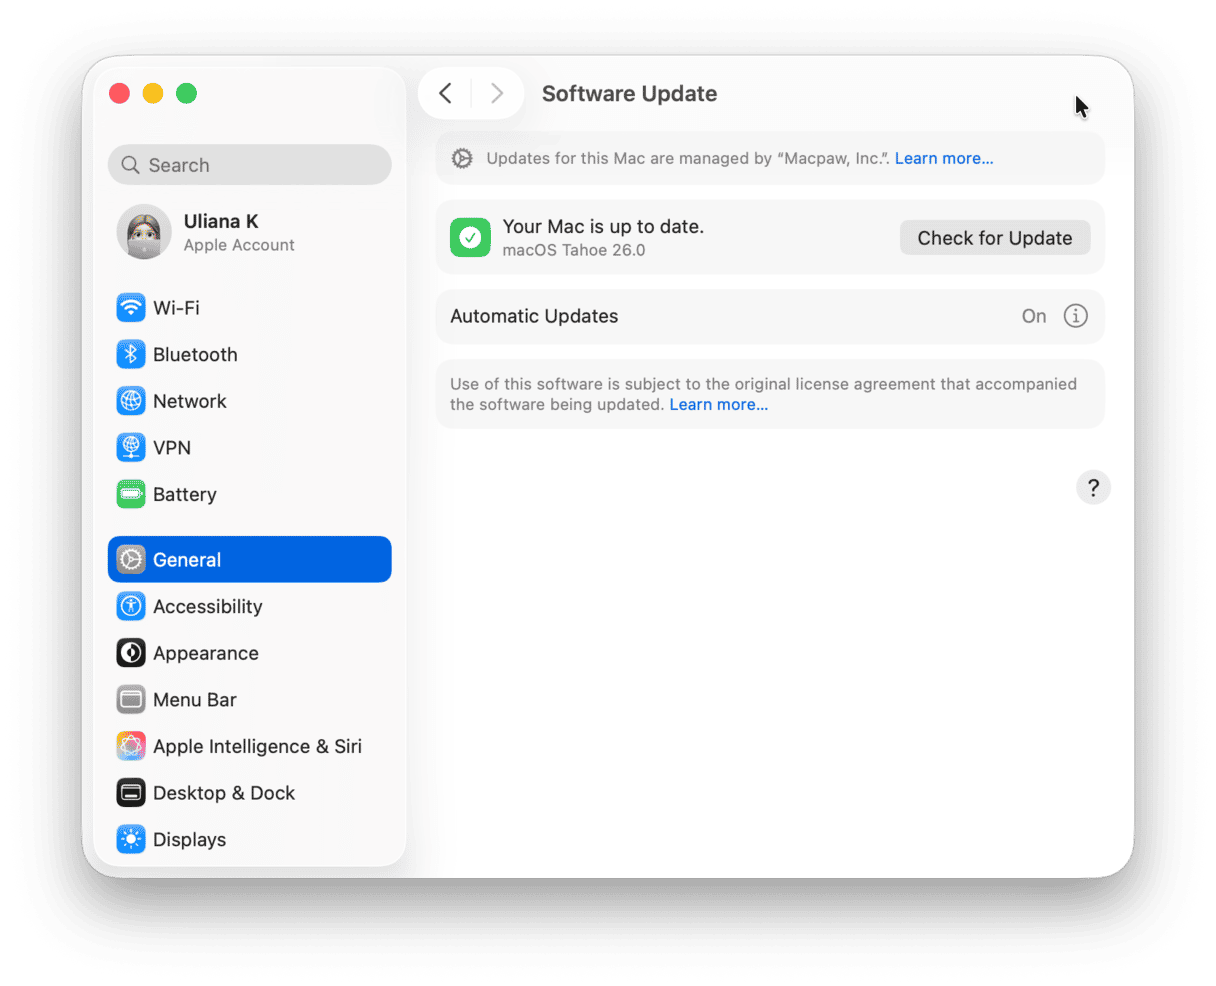
If the problem is with FaceTime, check whether an update to macOS is available by going to the Apple menu > About This Mac > General > Software Update. If there is one available, install it.
2. Restart your Mac
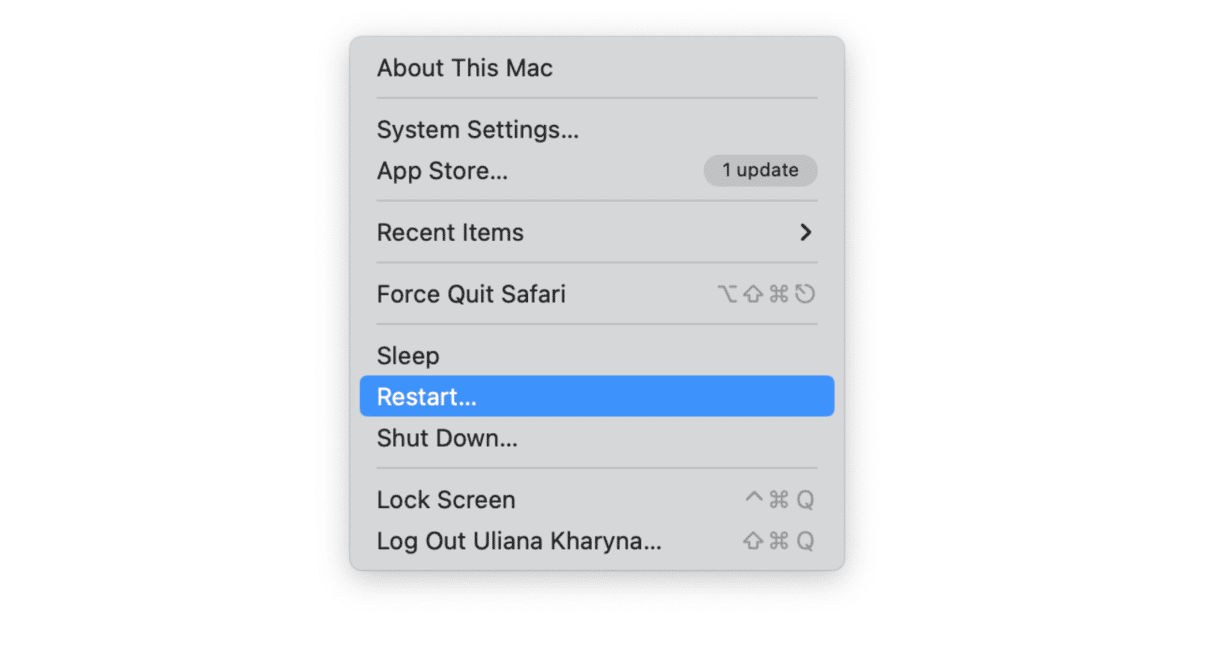
If the problem occurs in more than one application, it means the problem is with the camera. However, that doesn’t mean it’s a hardware fault; it could be the part of macOS that communicates with the misbehaving camera. Restart your Mac. That may solve the problem.
3. Check the camera connection
If you’re using a USB webcam or even a DSLR, the next step is to check that the camera is connected to your Mac securely. Try unplugging it and plugging it back in again. That may be all you need to do to get it working again.
4. Check privacy settings
In recent versions of macOS, applications need permission to access your camera and microphone. If you don’t grant them that access, they won’t be able to use them. One easy way to check if the app you’re using has access is CleanMyMac’s Privacy module.
- Open CleanMyMac (you can download it for free here if you don’t already have it).
- Click Scan.
- Select Application Permissions in the middle window.
- Find Camera in the list and click the ‘>’ sign.
- If the app you’re using doesn’t appear there, it means it doesn’t have permission to use your camera.
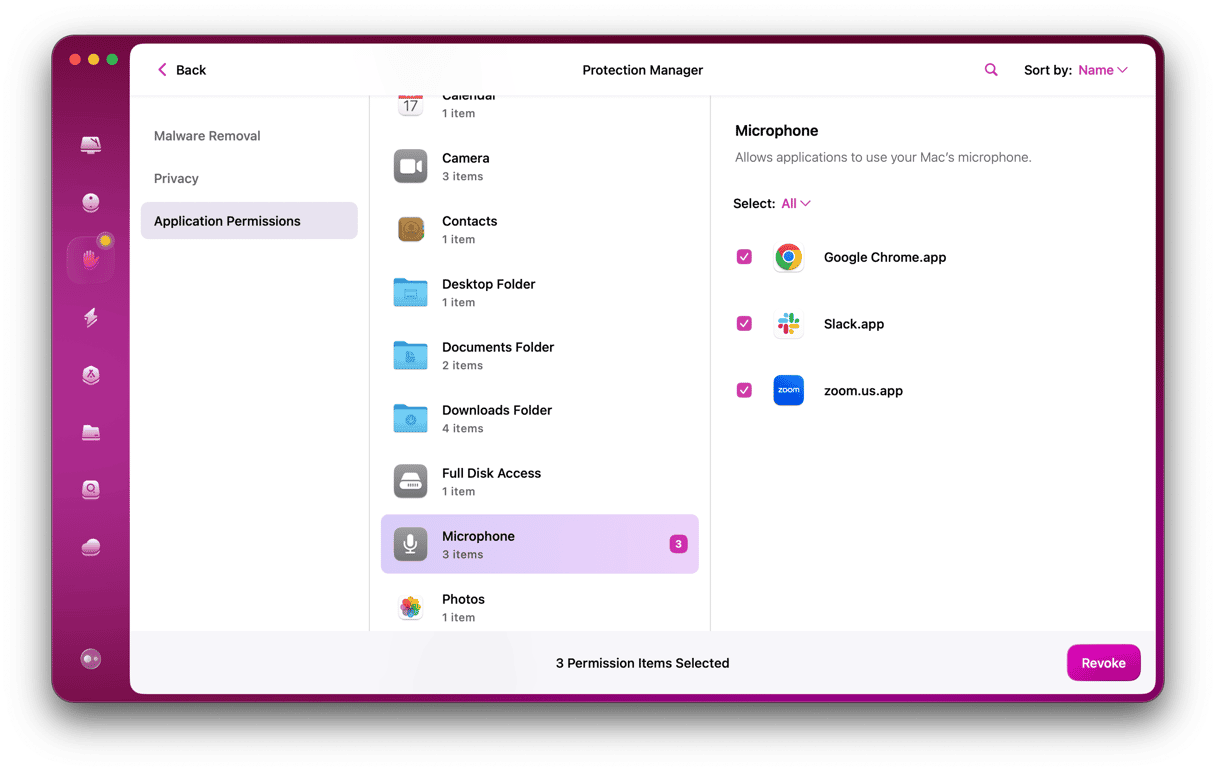
You can also remove the permissions using this feature — just select the box next to the app and click Remove. And just like that, the permission is removed.
To give the app permission:
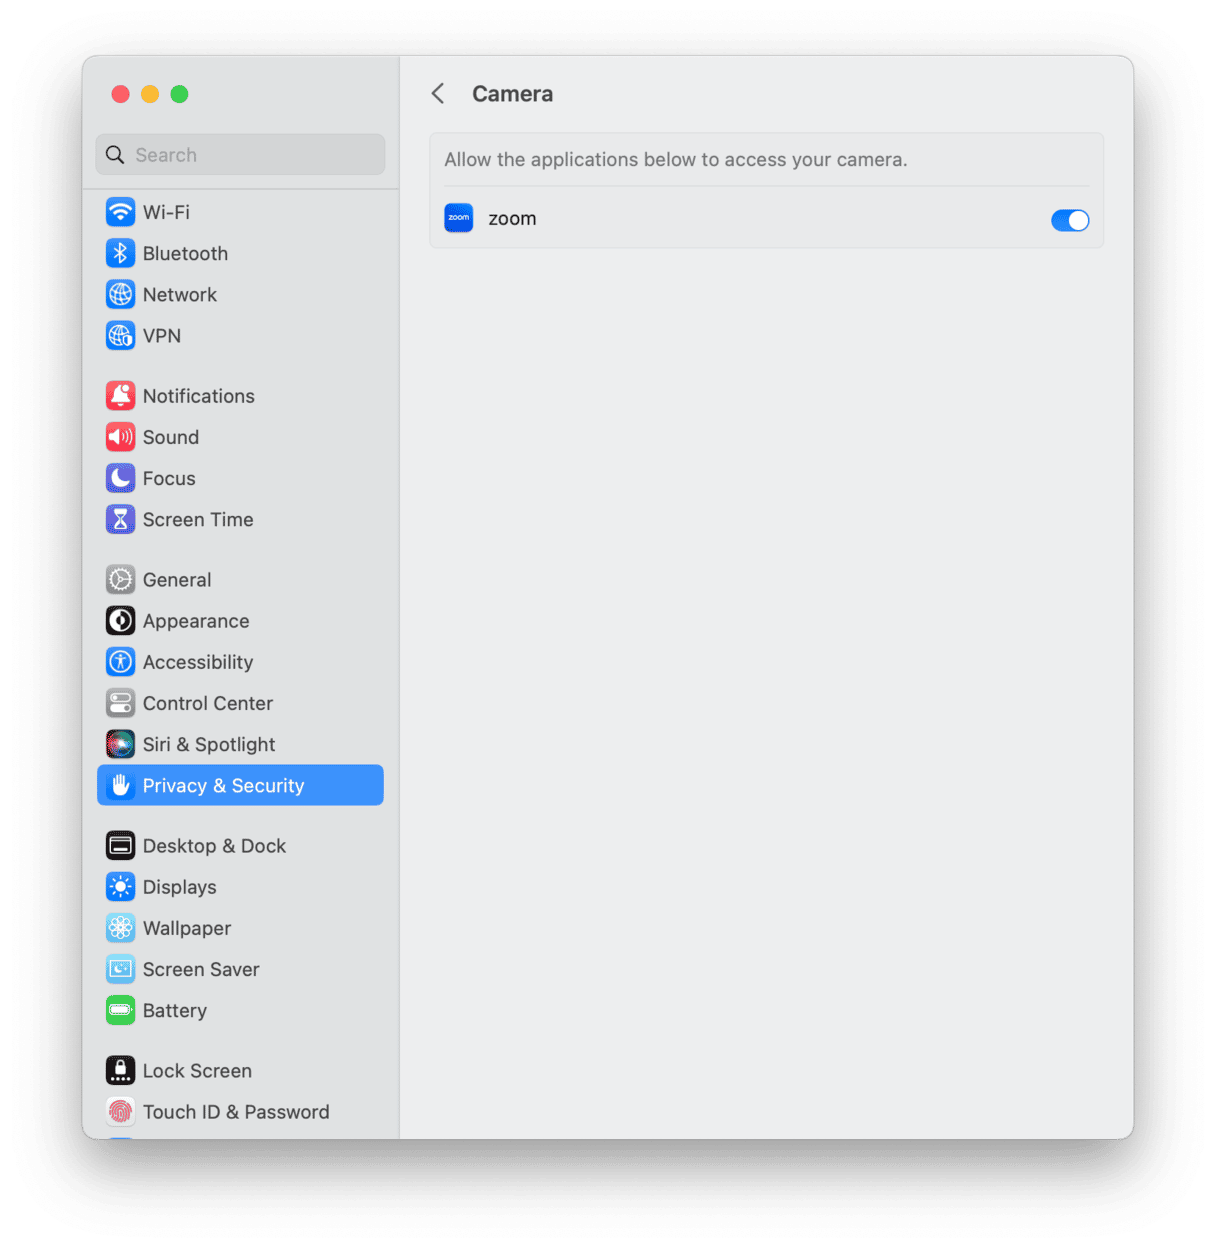
- Click the Apple menu and choose System Settings.
- Select Privacy & Security, then Camera.
- Enable the app you want to give permission to.
- Quit System Settings.
5. Reinstall macOS
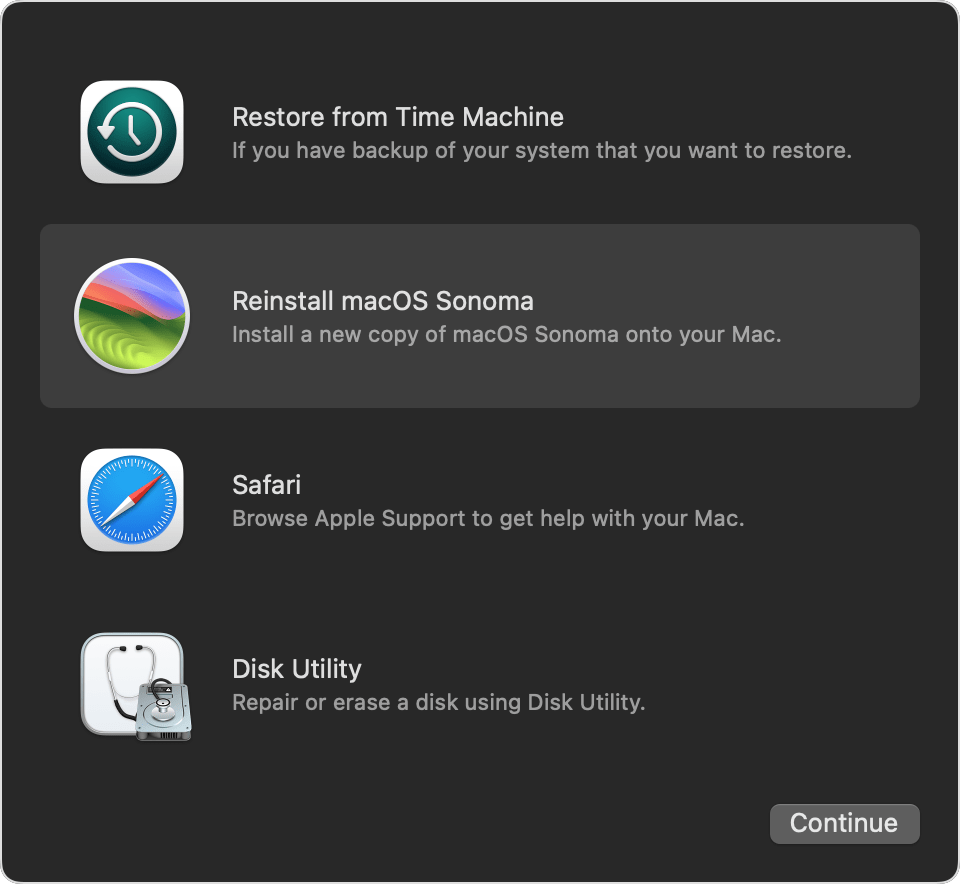
If none of the steps above work, the next step is to reinstall macOS. Before you do that, back up your startup drive, preferably using Time Machine and a USB external disk — here’s an article about how to do it. That will make it easier to restore your data and settings. To reinstall macOS, you need to restart your Mac in recovery mode (hold down Command and R on an Intel-based Mac or hold down the power button on a Mac with Apple silicon) and use macOS Utilities.
6. Get professional help
If none of the above solutions work, it could be that there is a hardware fault with the camera. If it’s a built-in FaceTime camera on an iMac or MacBook, you should book an appointment with an Apple-authorized service technician locally or with a Genius Bar at an Apple Store if there is one close by.
The error message ‘no camera available’ on your Mac doesn’t necessarily mean the camera itself is broken. Follow the steps above in order to eliminate other possibilities and possibly fix the problem.


