Updating your Mac to the latest version of the operating system, Ventura, should be a straightforward process. Either it will update automatically, and you don’t even notice it happening, or you get a notification alerting you that there is an update available, and you agree to continue. However, it doesn’t always work out like that. Sometimes updates don’t work. Sometimes they get stuck, and you need to take action to get them going again. Your action will depend on why the update got stuck or didn’t work. In this article, we’ll explain the possible reasons and show you how to fix them.

What happens when an update gets stuck?
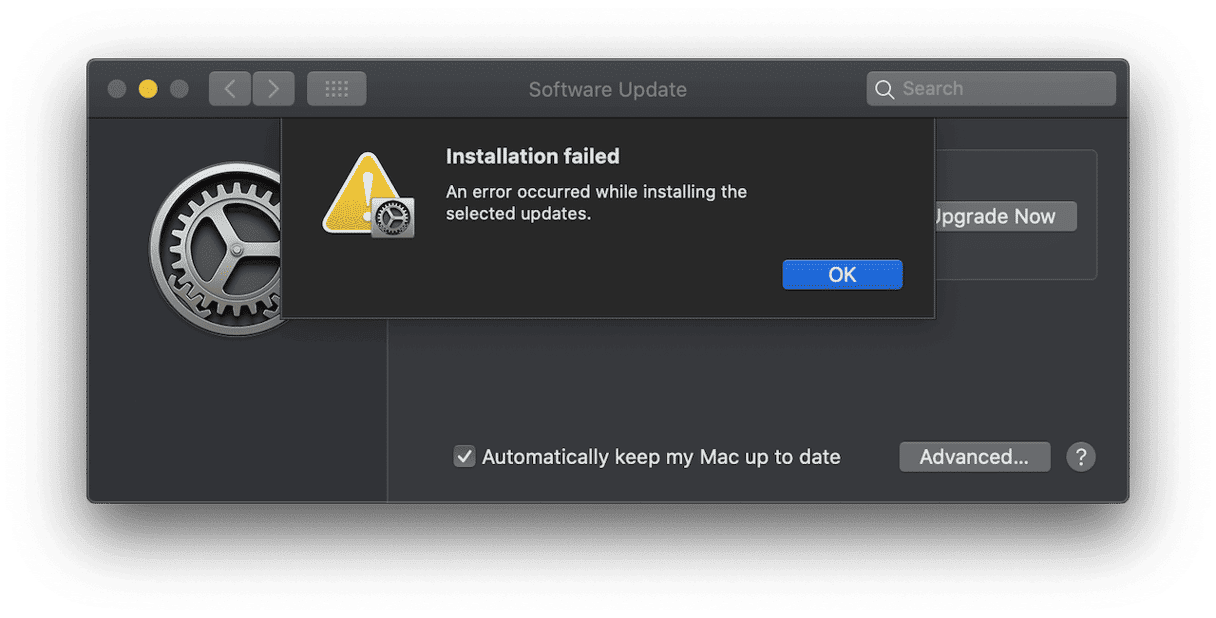
Usually, you’ll see an error message telling you the update failed because of a problem. The message could be one of the following:
- The macOS installation couldn’t be completed.
- An error occurred while installing the selected updates.
- There is not enough free space on the selected volume to upgrade the OS.
- Checking for updates (when the check never completes).
As you can see, some of those messages are more helpful than others. You may also find that when you download the update, the download looks like it’s working, but the progress bar never moves.
Why won’t my mac update to Ventura?
There are a number of reasons an update might fail. They include:
- The new version of macOS not supporting your Mac
- Problems with Apple’s servers
- Not enough free space on your boot disk
- Problems with your internet connection
- Files on your Mac corrupting the download and installation process
We’ll tackle each of these likely causes below.
How to fix it when your Mac won’t update to Ventura
1. Check if your Mac is compatible
If your Mac is not supported by macOS Ventura, it may still install (although it won’t run very well), but it may not. So if you run into problems with the update getting stuck, it’s a good place to start. Here are the Macs that are supported by Ventura:
- 2017 iMac and later;
- 2017 iMac Pro and later;
- 2018 MacBook Air and later;
- 2017 MacBook Pro and later;
- 2019 Mac Pro and later;
- 2018 Mac mini and later;
- 2017 MacBook and later;
- 2022 Mac Studio.
If your Mac is on that list, you can rule out compatibility as the cause of the problem.
2. Check Apple’s System Status page
Apple has a page on its website that tells you if any of its services is experiencing problems. So, if a download gets stuck, it’s a good idea to check that page to make sure the problem isn’t Apple’s servers.
- Go to the Apple System Status page.
- Look for the service ‘macOS Update.’
- If there’s a green circle next to it, it’s working. If the circle is red, there’s an issue that may affect the performance of the service.
If the update server is not working, you will have to wait until it’s fixed and then try again.
3. Free up space
If you’ve eliminated everything above, the next thing to check is that you have enough free disk space to install macOS Ventura. While the installer itself is only around 12GB in size, you’ll need about twice that to install it. So you should ensure you have at least 25GB of free space on your boot drive. If you don’t, you’ll need to free up space.

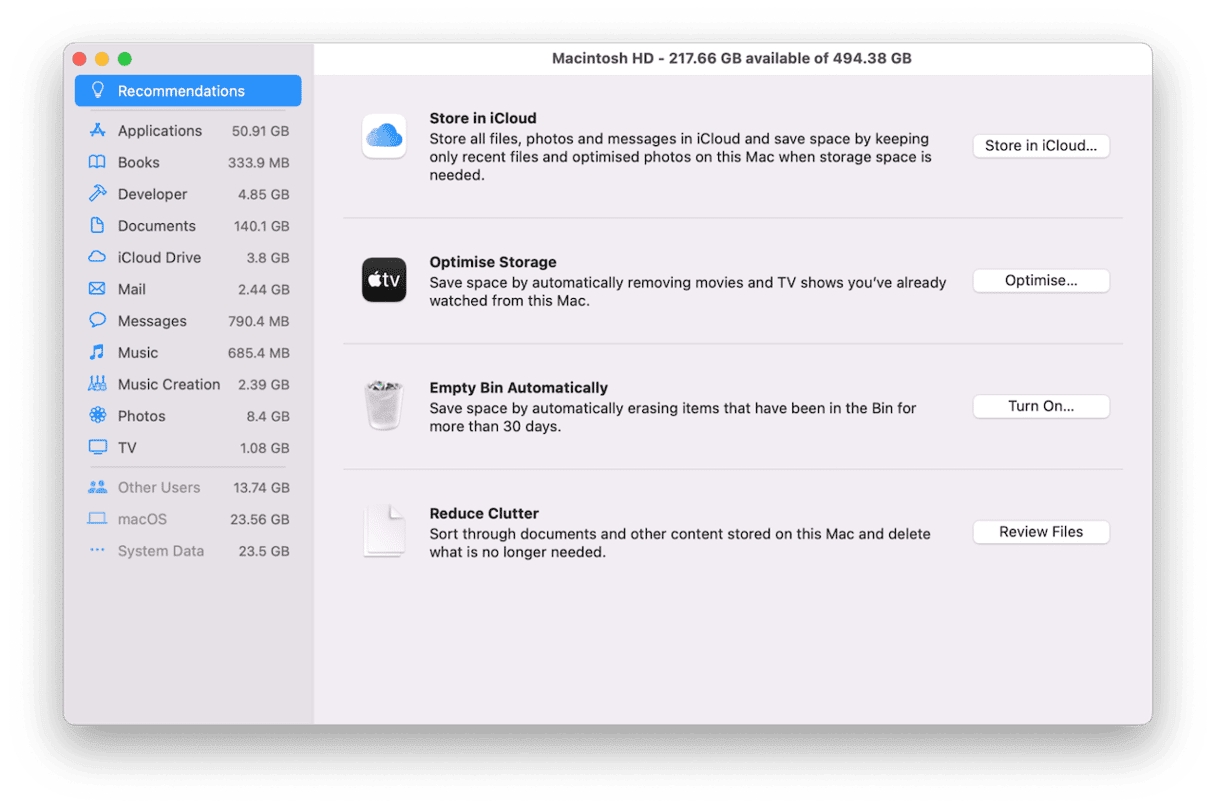
There are lots of ways you can free up space on your Mac, including using Apple’s excellent Manage Storage feature (Apple menu > About this Mac > Storage > Manage Storage). Follow the recommendations, and you should free up lots of space.
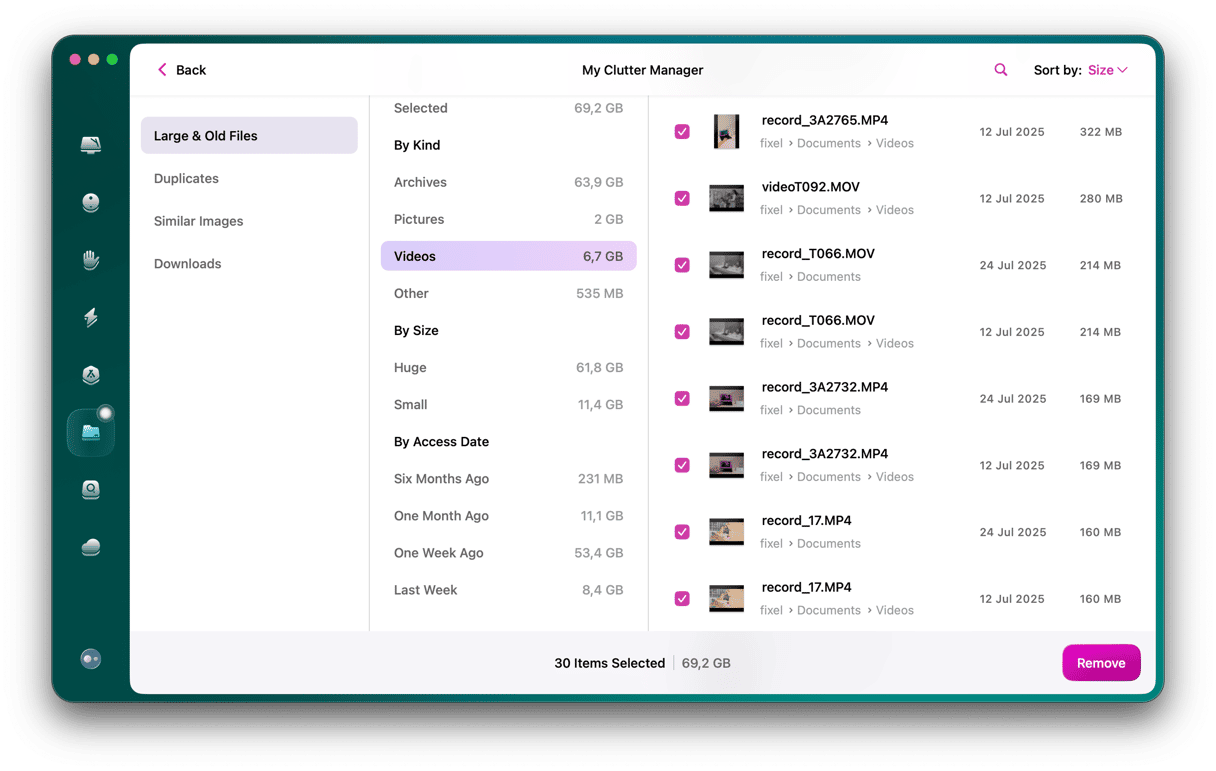
However, one of the quickest and simplest ways is to identify the files that take up the most space on your Mac and those that you never open and either delete them or copy them to an external disk. The easiest way to identify these large and old files is to use a handy app called CleanMyMac.
CleanMyMac has lots of tools to help you free up space on your Mac, including Large & Old Files — a tool that does exactly what we described above. Get your free CleanMyMac trial.

4. Check your internet connection
There are two things you need to check here:
- The connection between your Mac and your router, usually Wi-Fi.
- The connection between your router and the internet.
First, check that you can connect to web pages in a browser; if so, you can rule out your internet connection as the cause of the problem. If not, try the steps below.
- Restart your web browser.
- Restart your Mac.
- Move your Mac closer to your Wi-Fi router, if possible.
- Try connecting using a different device.
- Restart your router.
If you still haven’t got an internet connection on any device connected to your router, contact your broadband provider.
5. Fix problems on your Mac
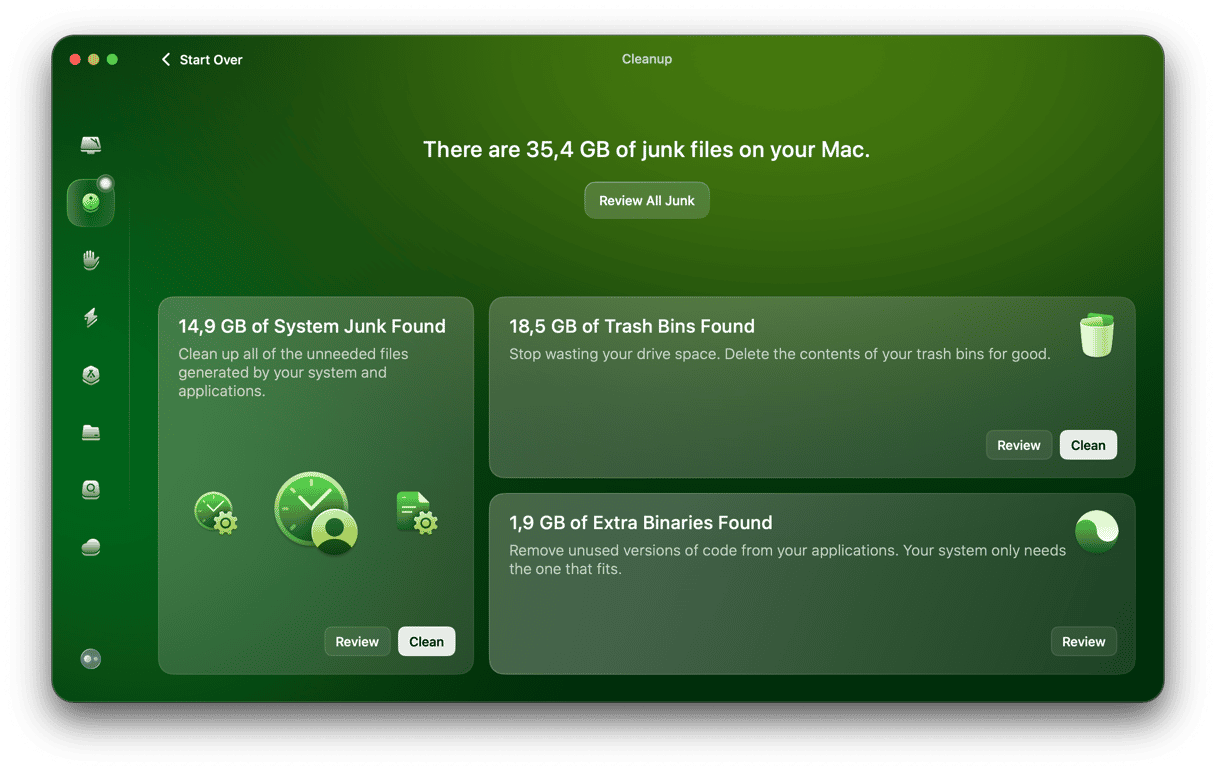
If Ventura still won’t install, the problem may be caused by files on your Mac conflicting with the update process. Issues like this are often caused by ‘junk’ files — system log files, files that should have been temporary but were never deleted, or user cache.
One way to remove these files quickly and easily is to use the Cleanup tool in CleanMyMac. It looks for junk files on your Mac, shows them to you, and lets you delete them all at once. As a bonus, it will free up several gigabytes of space on your boot drive!

There are lots of reasons why your Mac won’t update to Ventura. However, if you follow the steps above in order, you will eliminate the most likely causes and eventually find the reason. Then you can follow the instructions to fix the problem, and you should be able to install Ventura and enjoy using it on your Mac.

Frequently Asked Questions
How to detect that the macOS Ventura update is stuck?
You’ll see error messages telling you:
- The macOS installation couldn’t be completed.
- An error occurred while installing updates.
- There is not enough free space on the selected volume to upgrade.
- Checking for updates.
Why does Mac fail to update to macOS Ventura?
If macOS Ventura updates fail, it can be because macOS doesn’t support your Mac, issues with Apple’s services, insufficient disk space, unstable internet connection, or files corrupting the installation process.
How to check if there is a problem with Apple’s services?
Apple has a dedicated page on its website to notify users if any systems fail. Simply go to the Apple System Status and check if there is a green or red indicator next to the service ‘macOS Update.’


