If you own a MacBook or an iMac, your device is equipped with a built-in camera known as the FaceTime HD camera. Depending on the model, this camera has a resolution of either 720p or 1080p. Its purpose is similar to that of the FaceTime camera on the iPhone and iPad: to allow you to make video calls and take selfies. However, unlike the iPhone and iPad, the Mac does not come with a dedicated Camera app. So, how do you open the camera on your Mac? We’ll show you.
Where is the camera on a Mac?
Whether you have a MacBook Air, MacBook Pro, or iMac, the camera is located in the center of the bezel above the screen. Typically, you won’t notice it, but when an application is using it, a green light is illuminated next to the camera, and a green rectangle with a white camera icon appears in the menu bar.
How to open the camera on Mac
The only way to open the camera on your Mac is to open an application that uses the camera, such as FaceTime or PhotoBooth. When you launch these apps, you'll see what the camera sees displayed on the screen. You can also open the camera by launching QuickTime Player, clicking on the File menu, and selecting "New Movie Recording."
To open the MacBook camera using FaceTime, follow these steps:
- Press Command-Space, type FaceTime, and open it.
- If asked, log in with your Apple ID and password.
- The tiny green light will turn on, indicating the camera is active.
- Click New FaceTime to make a video call.
Which other applications can open the camera on Mac?
Any application that you have granted permission to use the camera can access it on your Mac when needed. This includes video calling tools like Zoom and Skype, as well as third-party apps that allow you to take selfies.
How to fix it if the camera won’t turn on
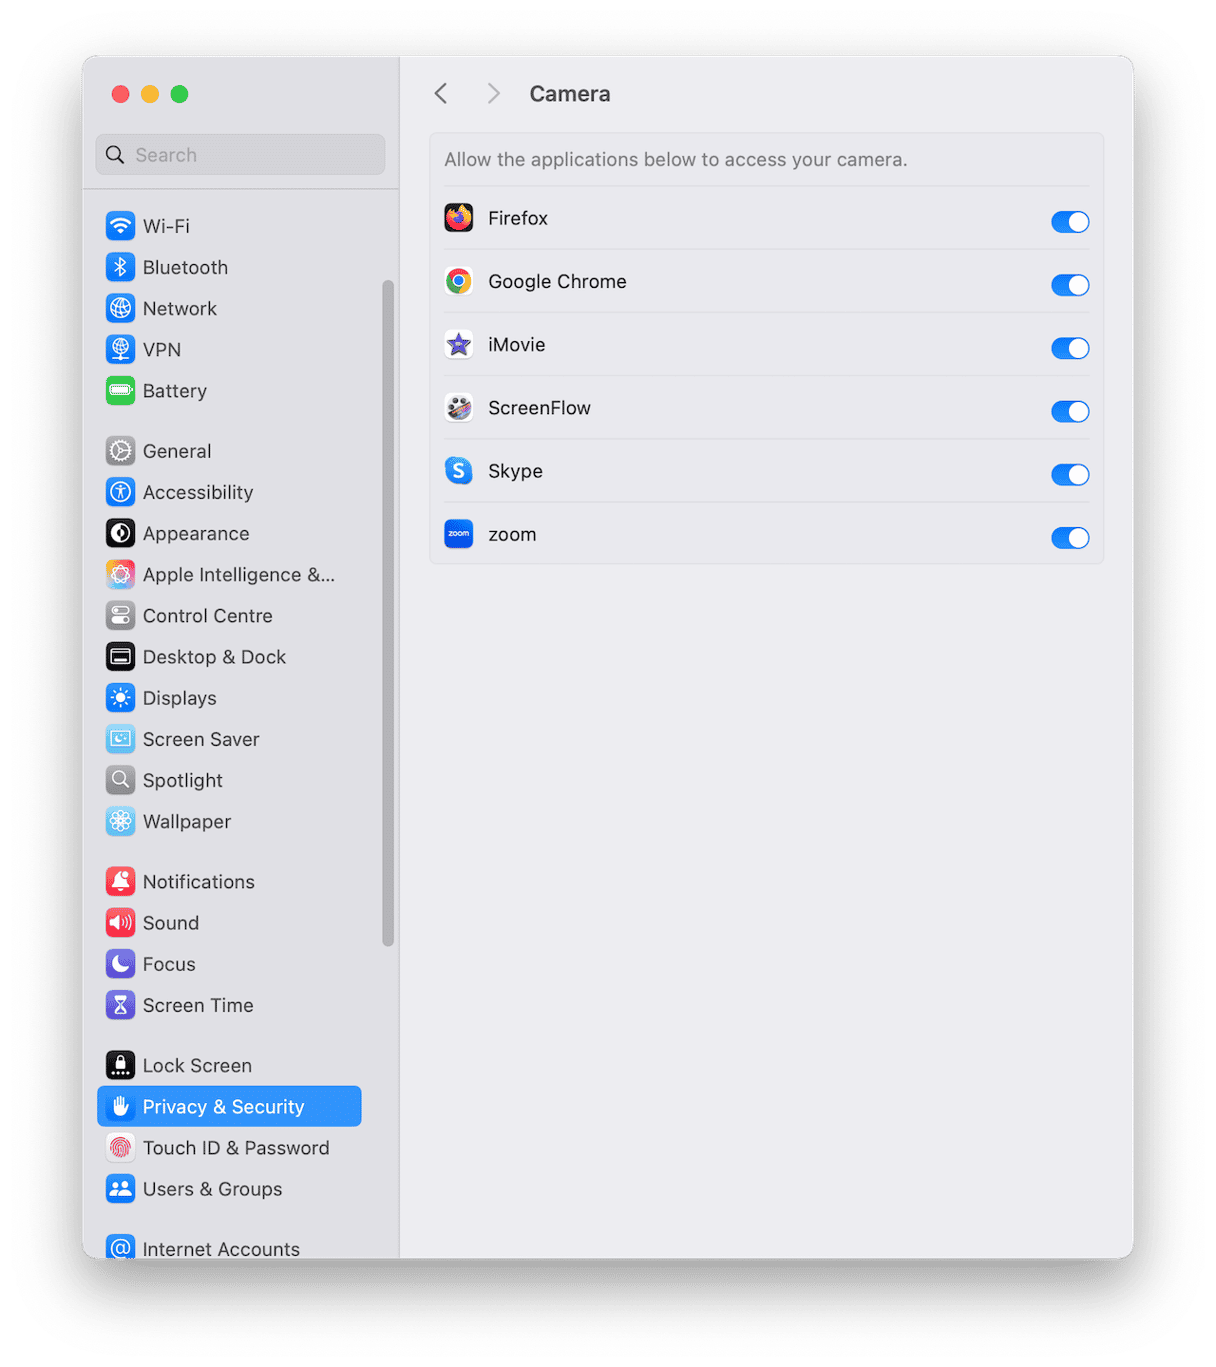
If your camera won’t turn on while using a third-party app, the first step is to check the app's permissions. Go to the Apple menu and select System Settings > Privacy & Security. Click on Camera and ensure that the app is listed there with the switch set to "On." If the app isn’t listed, it means it hasn't requested permission. Note that Apple’s apps do not require permission and, therefore, do not appear on this list.

If the app has permission but the camera still won’t turn on, try the solutions below.
- Restart your Mac and then try again. This can help clear temporary files and free up RAM, which may be all you need to resolve the issue.
- If the camera works in one application but not another, the problem lies with the app, not the camera itself.
- If the issue occurs with only one specific app, try uninstalling and then reinstalling it. If the app does not have its own uninstaller, you’ll need to remove all related files manually. To do this, open Finder and select the "Go" menu, then choose "Go to Folder." In the text box, paste each of the file paths below one at a time. Look for files or folders that contain the application's name and drag them to the Trash.
~/Library/Preferences
~/Library/Application Support
~/Library/Caches
~/Library/Containers
~/Library/Logs - If you are experiencing issues with the camera across multiple applications, follow the steps on Apple’s website to restart your Mac in safe mode. After doing so, try opening the camera again using the same applications you previously attempted.
- If the camera works in safe mode, restart your Mac normally. Then, navigate to System Settings > General > Login Items & Extensions. From there, turn off all extensions and restart your Mac. If the camera opens successfully, enable the extensions one at a time, restarting each time until the camera fails to open again. That way, you’ll identify the cause of the problem.
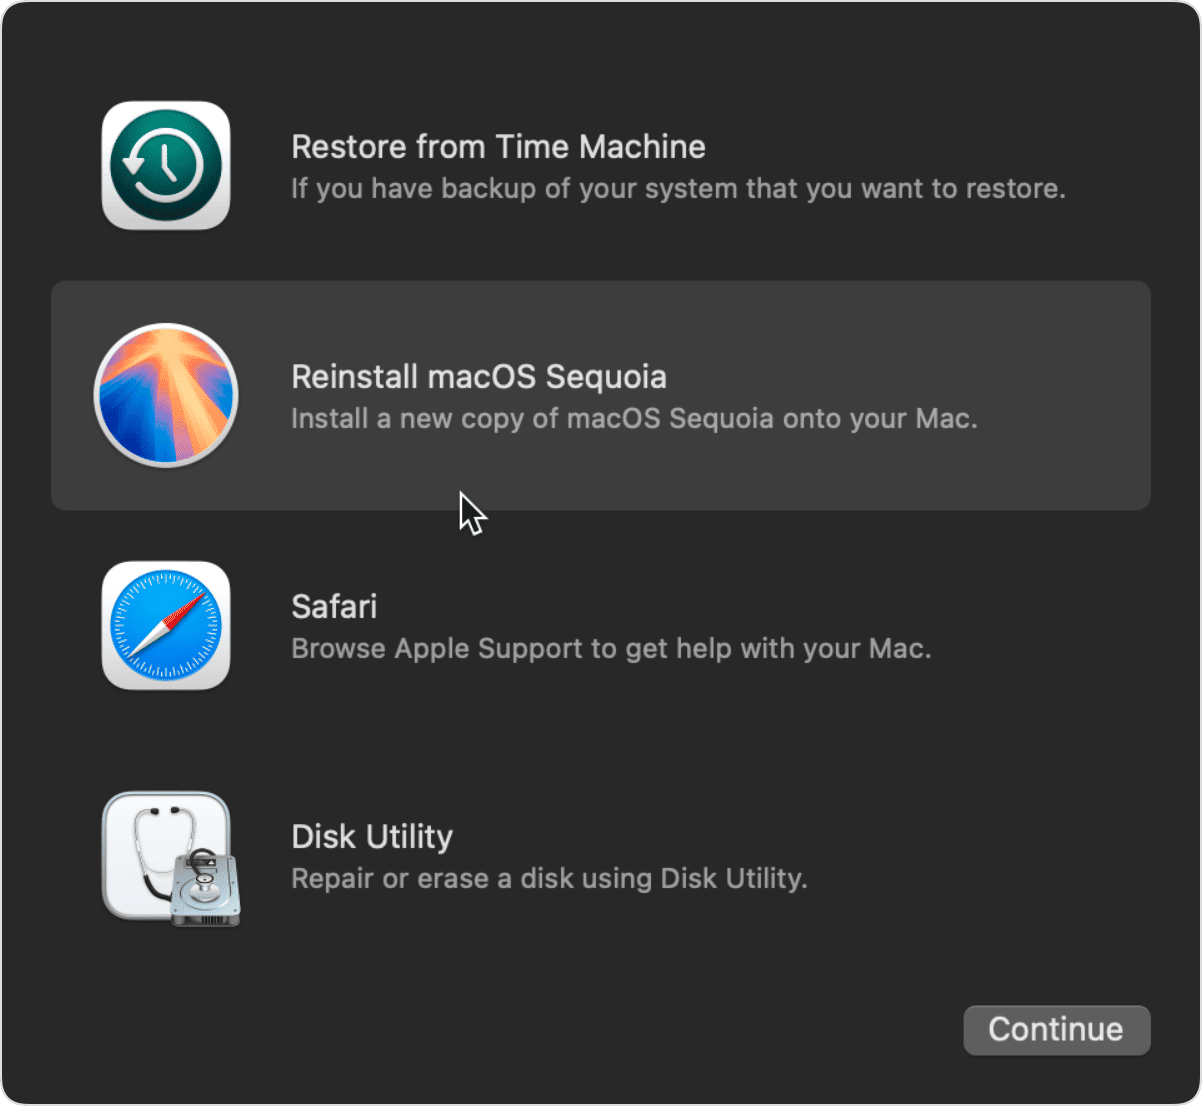
- If you’ve tried everything and the camera still won’t open in any application, consider reinstalling macOS. To do this, restart your Mac in Recovery Mode. Make sure to back up your data first, preferably using a Time Machine. Once you’ve reinstalled macOS, you can restore your data and settings from the backup.

To use your Mac camera with non-Apple applications, you have to grant permission to those apps to access your camera. You can do this by going to System Settings > Privacy & Security. Once the app has permission, the camera should activate when you launch the app. If the camera does not open, follow the instructions above to troubleshoot and resolve the issue.


