If you work from home or spend time making video calls to friends and family, you’ll know how important it is that everything just works when you need it to. Perhaps most important of all is that your camera works. After all, no camera means no video call. Unfortunately, technology doesn’t always do what it’s supposed to do, and sometimes cameras don’t work. So, in this article, we’ll show you what to do with Zoom camera not working on Mac.
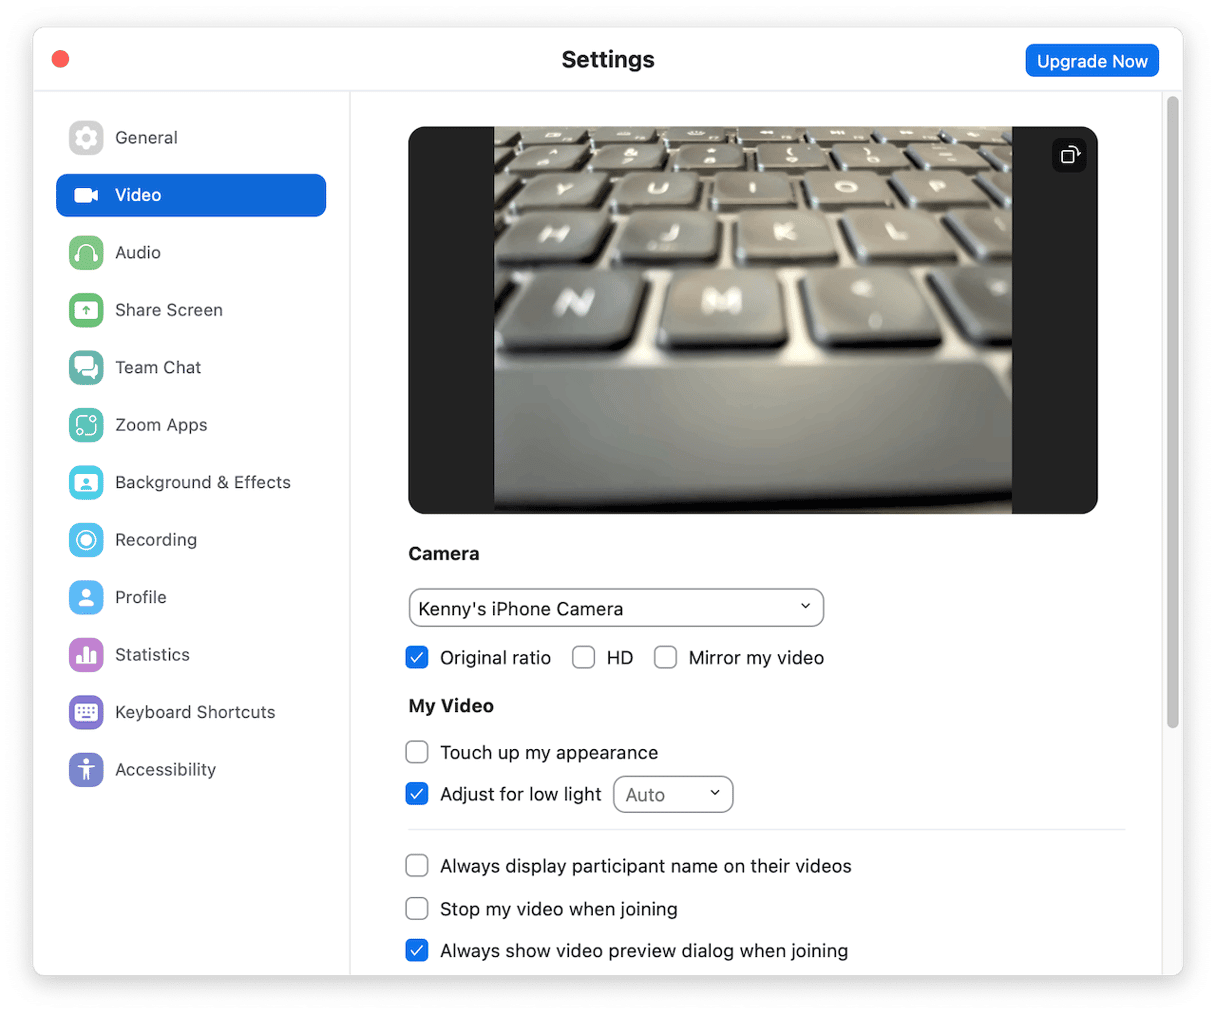
Why is my Zoom camera not working?
Here are some common reasons that may help you answer this question, “why is my camera not working on Zoom?” These include faulty connection, outdated software, software bugs (including both macOS- and Zoom-related), issues with permissions, and issues with Zoom app. We’ll show you how to address all of them.
How to fix it when my Zoom camera is not working
1. Check connections
If you use an external webcam for Zoom, make sure it’s connected securely to your Mac. If you use an adapter to connect to a USB-C port on your Mac, make sure that it is connected securely too.
If you use Continuity camera with your iPhone to make Zoom calls, make sure your iPhone is close to your Mac and is signed into the same Apple ID as your Mac.
If you’re using an external camera or Continuity camera and you’ve checked it’s connected properly, disconnect it completely and try your Mac’s built-in camera if it has one. If that works, it’s either a problem with the connection or the external camera. If it doesn’t, it’s likely a software issue.
2. Update Zoom
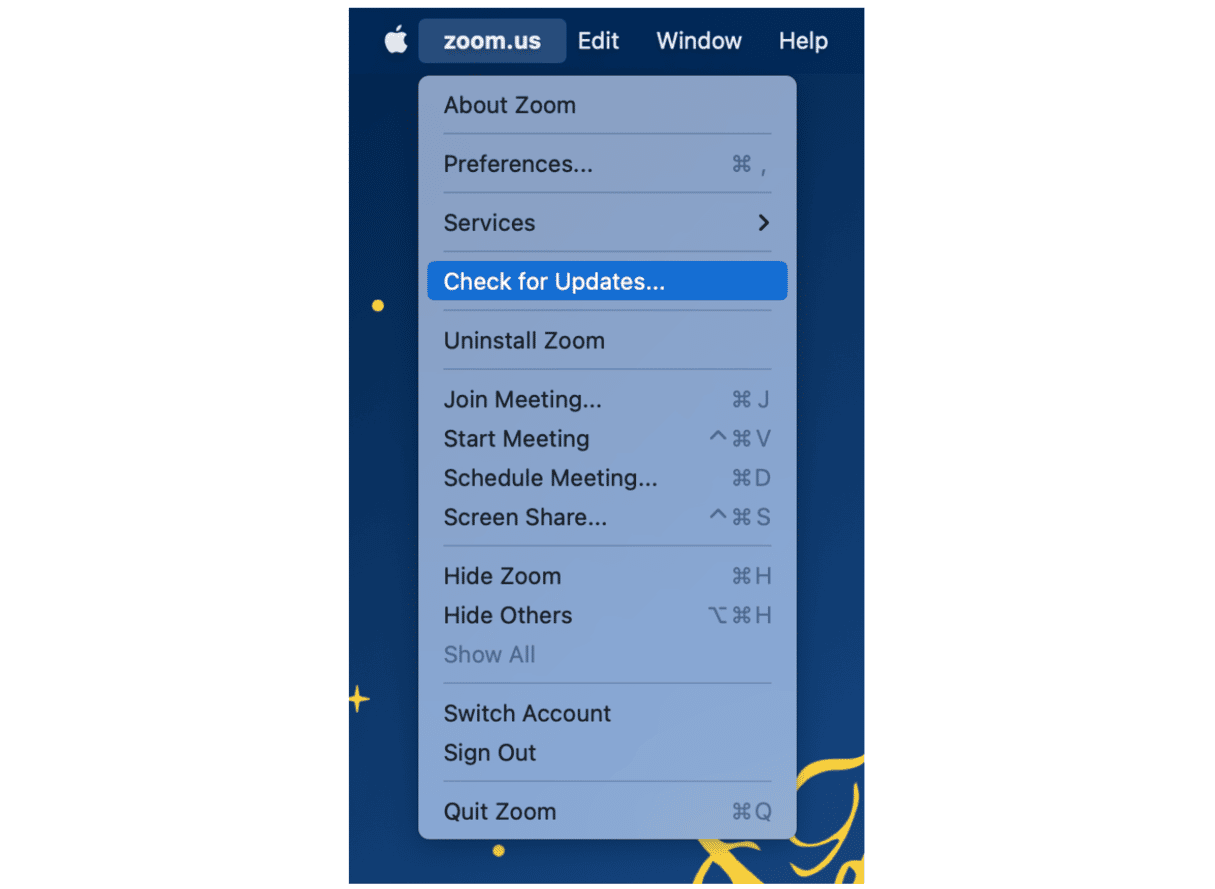
The next thing to check is that you’re running the most recent version of Zoom. Click on the Zoom menu and choose Check for Updates. If there is an update available, install it.
3. Update your Mac
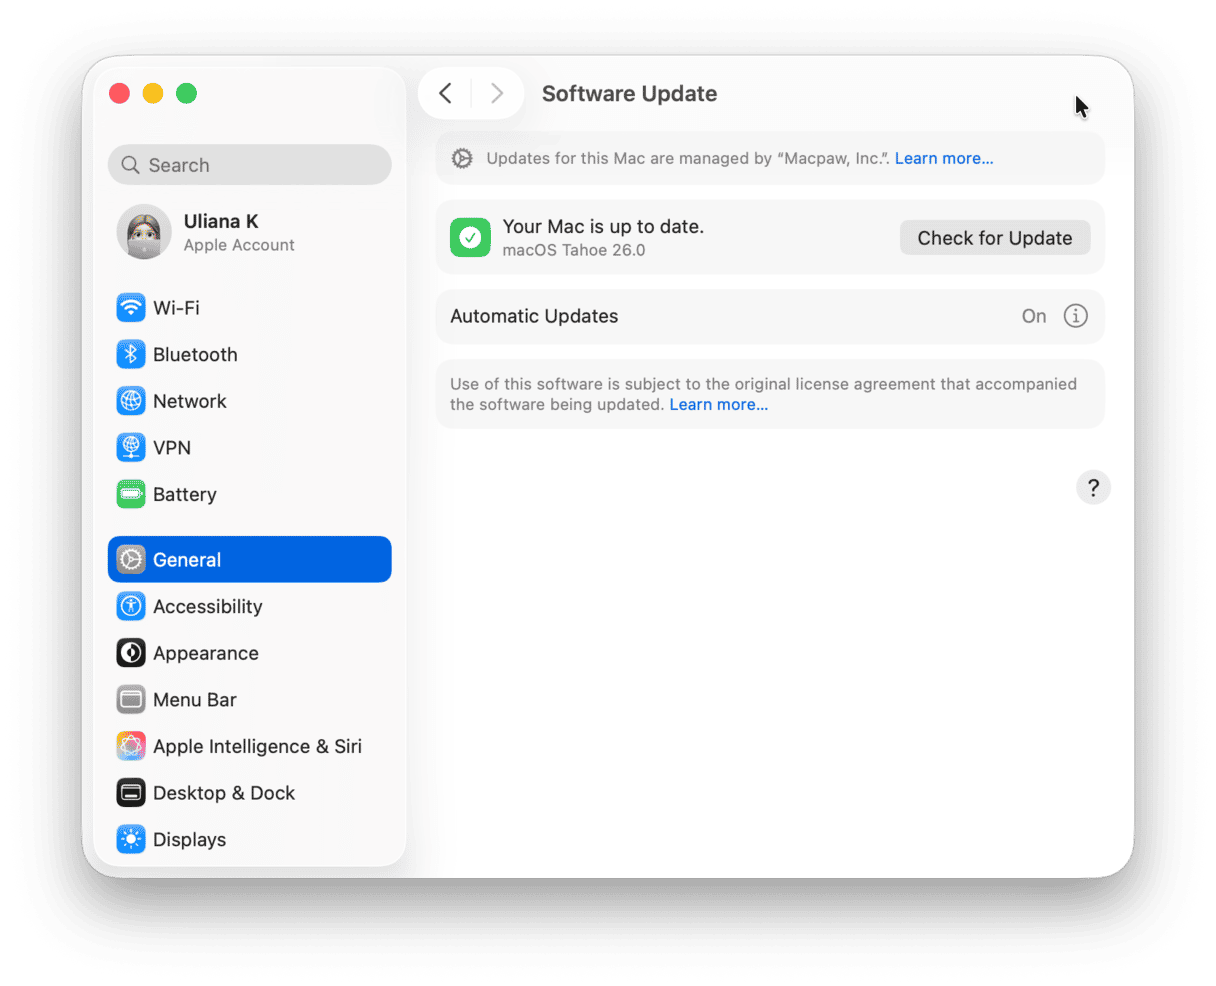
In any situation where something is not working as it should on your Mac, it’s a good idea to check to see whether there is an update to macOS available, and if there is, install it.
- Click on the Apple menu and choose System Settings.
- Go to General > Software Update.
- Wait for it to check for an update.
- If there is an update available, follow the on-screen instructions to install it.
4. Check Zoom permissions
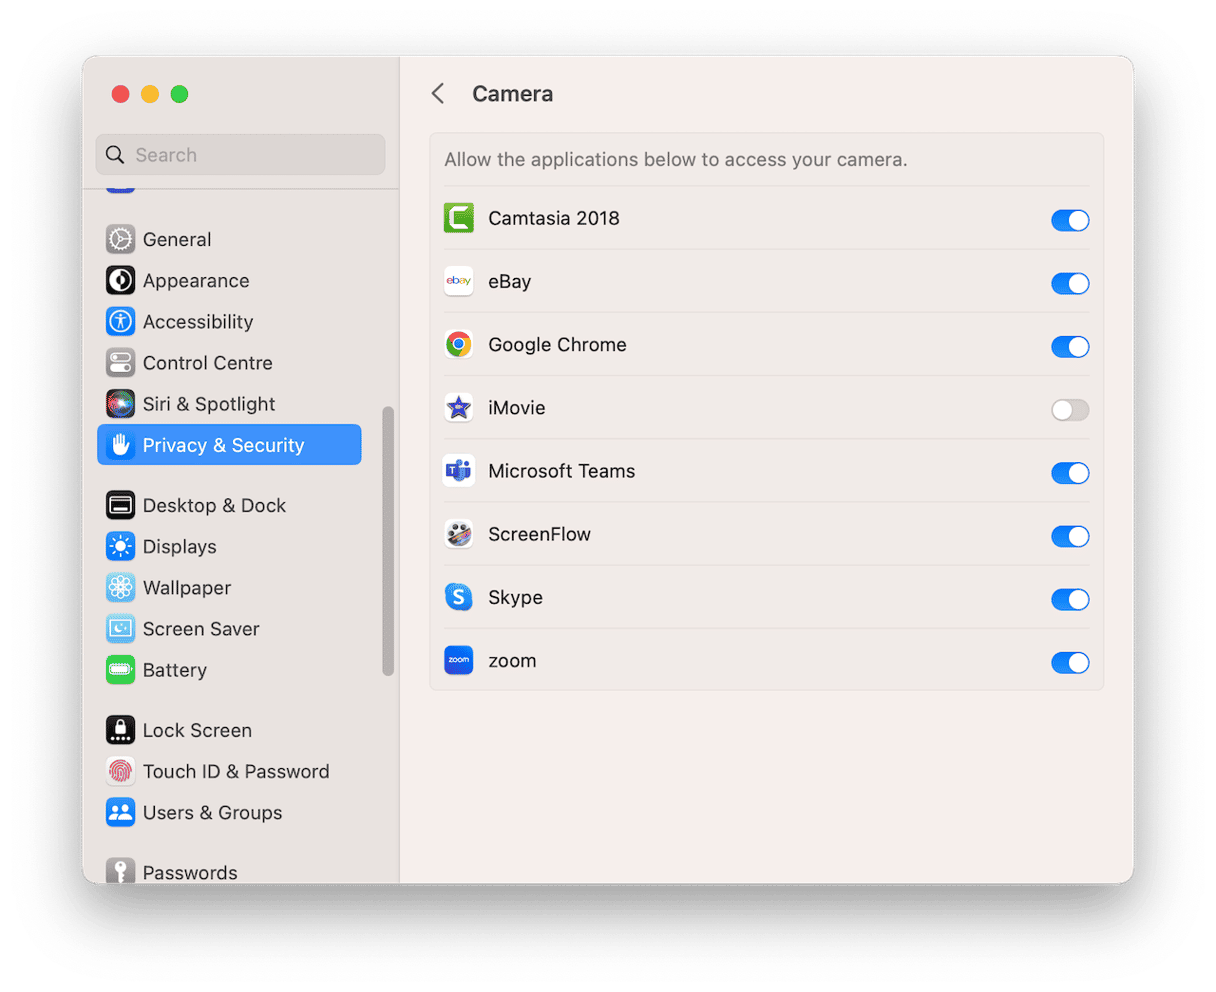
When you install any application on your Mac that uses its camera or microphone, you need to give it explicit permission to access them. If Zoom doesn’t have permission to access your camera, it won’t work. Follow the steps below to check permissions:
- Click on the Apple menu and choose System Settings.
- Choose Privacy & Security, then Camera.
- Look for Zoom and make sure the switch next to it is toggled to the on position.
- Quit System Settings.
5. Check for other apps using your camera
If there is another app using your Mac’s camera, like FaceTime or a screen recording tool, Zoom might not be able to access it.
- Quit Zoom.
- Look at the top of the screen.
- Is the green light next to the camera on?
- If so, another app is using the camera.
- Quit any apps that have permission to use the camera and relaunch Zoom.
6. Check the fault is not with your camera
- Quit Zoom.
- Open FaceTime or another app that uses the camera.
- Can you see a preview of the camera on the screen?
- If you can see the camera view on the screen, you can rule out a hardware fault.
7. Did you enable video in the meeting?
Every time you join a Zoom meeting, you have to allow your camera to be used. If you check the box ‘Turn off my video’ in the Join Meeting box, your camera won’t work. If you think you might have done that, check the camera icon at the bottom of the window. If there’s a line through it, it’s been switched off. Click the start video icon to get the camera working again. You should also make sure you have selected the correct camera.
8. Reinstall Zoom
If you still have a problem with MacBook camera not working with Zoom, it’s time to reinstall Zoom. Before you can reinstall it, though, you’ll need to uninstall it completely. That means removing all the files it has placed on your Mac, including those ones hidden away in your Library folder. It’s probably an issue with one of those files that is causing the problem with your camera. The best way to uninstall Zoom is to click the Zoom menu in the application and choose uninstall Zoom.
Once it has been uninstalled, you can download a fresh version from zoom.us and install it again.
9. Try Zoom in a web browser
OK, by the time you’ve got here, if your camera is not working in Zoom, even after reinstalling it, there is one final thing to try. You can use Zoom in a web browser, and it works in exactly the same way as the app. So, in your favorite browser, navigate to zoom.us and log in to your account. Then try to make a call using your camera. Hopefully, even if the app still doesn’t work, that will.
It can be very frustrating when your Zoom camera is not working, especially if you need it for work rather than just calling friends or family. You could try an alternative like FaceTime, but that’s not going to be possible if it’s an important work meeting. Fortunately, there are lots of things you can try to fix the problem. Follow the steps above in order, and you should no longer wonder why my camera is not working on Zoom.


