We’ve all felt the excitement of upgrading to a new version of macOS and looking forward to trying out all the new features. And many of us have also experienced the disappointment of realizing that our Mac runs more slowly or less smoothly under the new version than it did with the previous version. The good news is that there is plenty you can do to improve the performance of your Mac after installing a new version of the OS. And that’s what we’re going to show you in this article as we explain macOS Sonoma optimization tips and tricks.
Why is my Mac slow after installing macOS Sonoma?
The main reason your Mac may run more slowly after installing a new version of macOS is that all the new features and additions place increased demands on your Mac’s resources, like CPU cycles and RAM. And if your Mac is a few years old, it may struggle to keep up. That’s why some Macs that were able to run, say, macOS Ventura are not supported to run Sonoma.
How to optimize macOS Sonoma
Many of the things you can do to optimize Sonoma are very straightforward and take only a few minutes, so they are definitely worth trying.
1. Check for updates
Keeping whichever version of macOS is installed on your Mac up to date is super important. Updates include bug fixes, performance improvements, and security updates. So, the first thing you should do when you want to optimize Sonoma is check for updates.
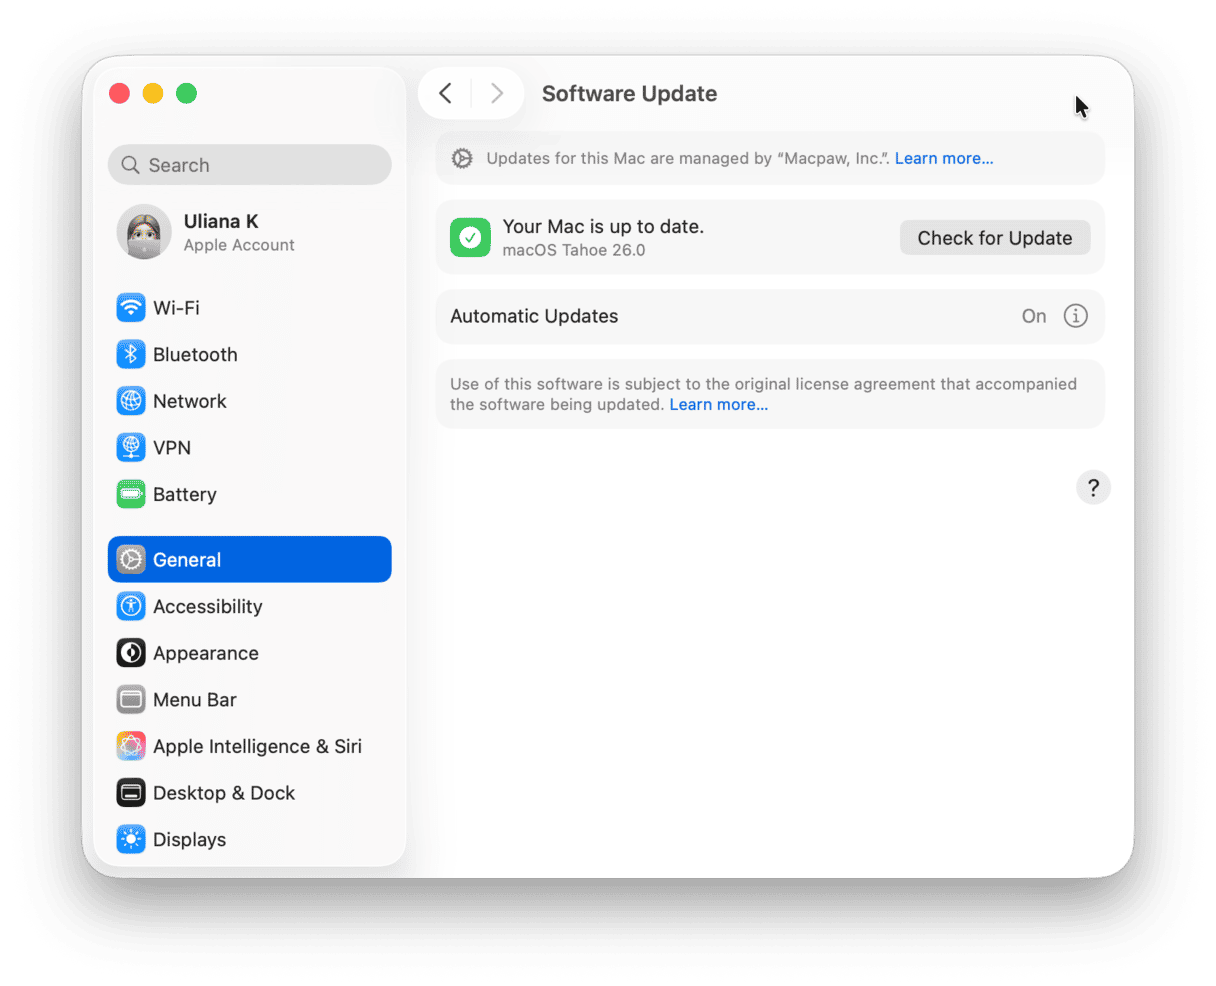
- Click on the Apple menu and choose System Settings.
- Go to General > Software Update. Wait to see if there is an update available.
- If there is, follow the instructions on the screen to install it.
2. Clear out the junk
As you use your Mac, it accumulates lots of clutter in the form of temporary files that were never deleted, settings for apps you no longer use, and language files for languages you don’t need. All that clutter can slow down your Mac, so it’s a good idea to get rid of it.
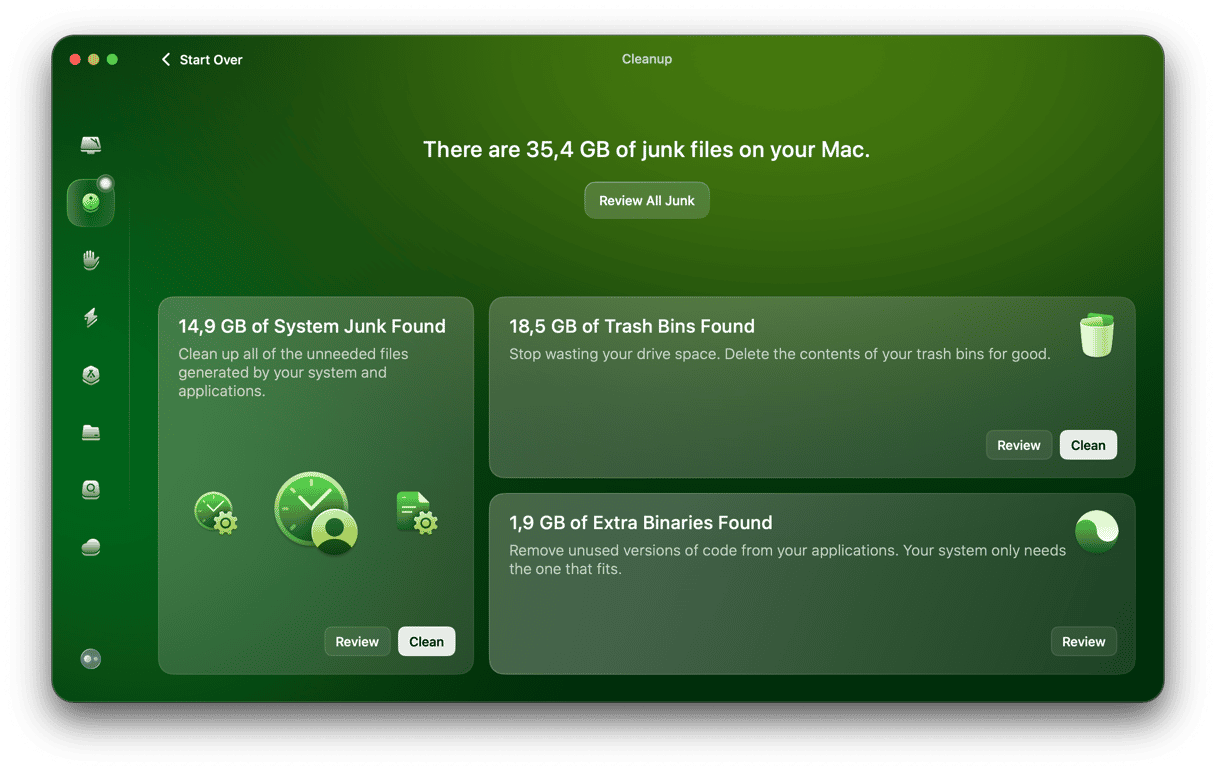
Looking for junk files spread across your Library would take a long time, so here’s a much faster way — use CleanMyMac’s Cleanup feature. It scans your Mac looking for junk files and then, in just a few seconds, allows you to remove them all with a click or review what it has found and decide what to remove yourself. Here’s how to use it:
- Get your free CleanMyMac trial.
- Install the app.
- From the sidebar, click Cleanup.
- Hit Scan, and wait for it to complete.
- Click Clean or Review All Junk to see what CleanMyMac has found.
3. Update your apps
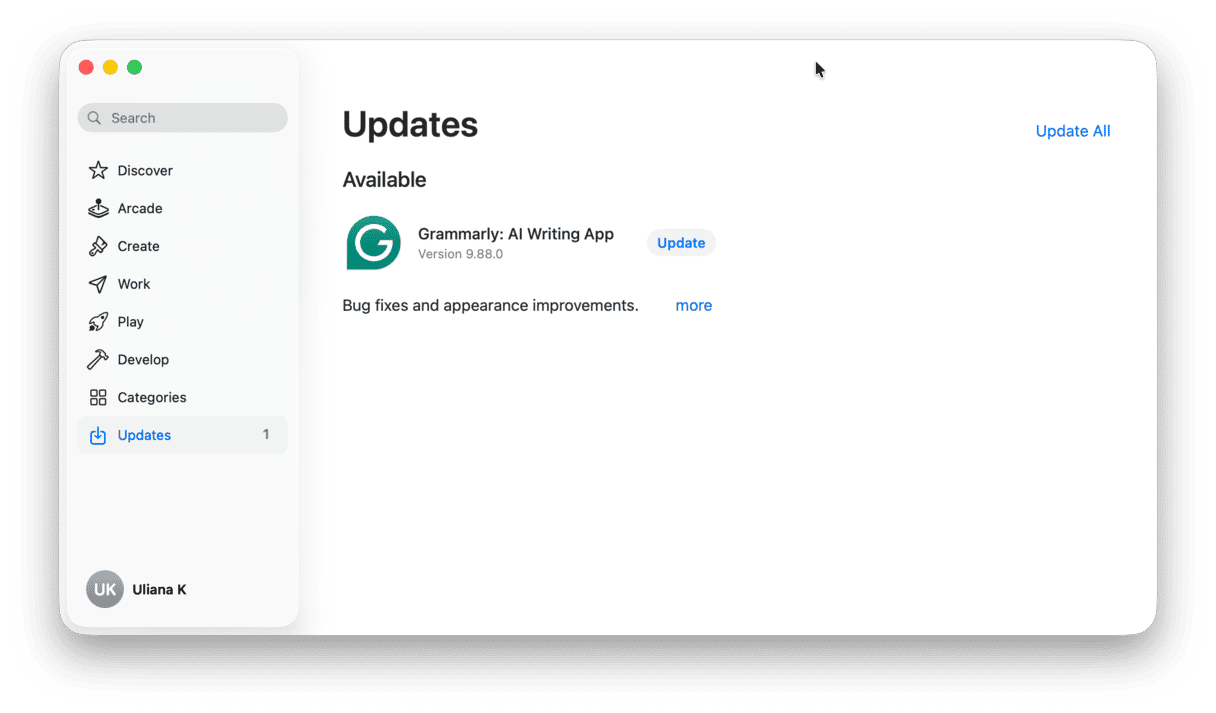
If you have noticed that some of the apps you use have slowed down after installing macOS Sonoma, check to see if there are updates available for them. Sometimes, apps need to be updated to be optimized for macOS Sonoma. If you downloaded the app from the Mac App Store, open the Mac App Store app and go to the Updates section to check.
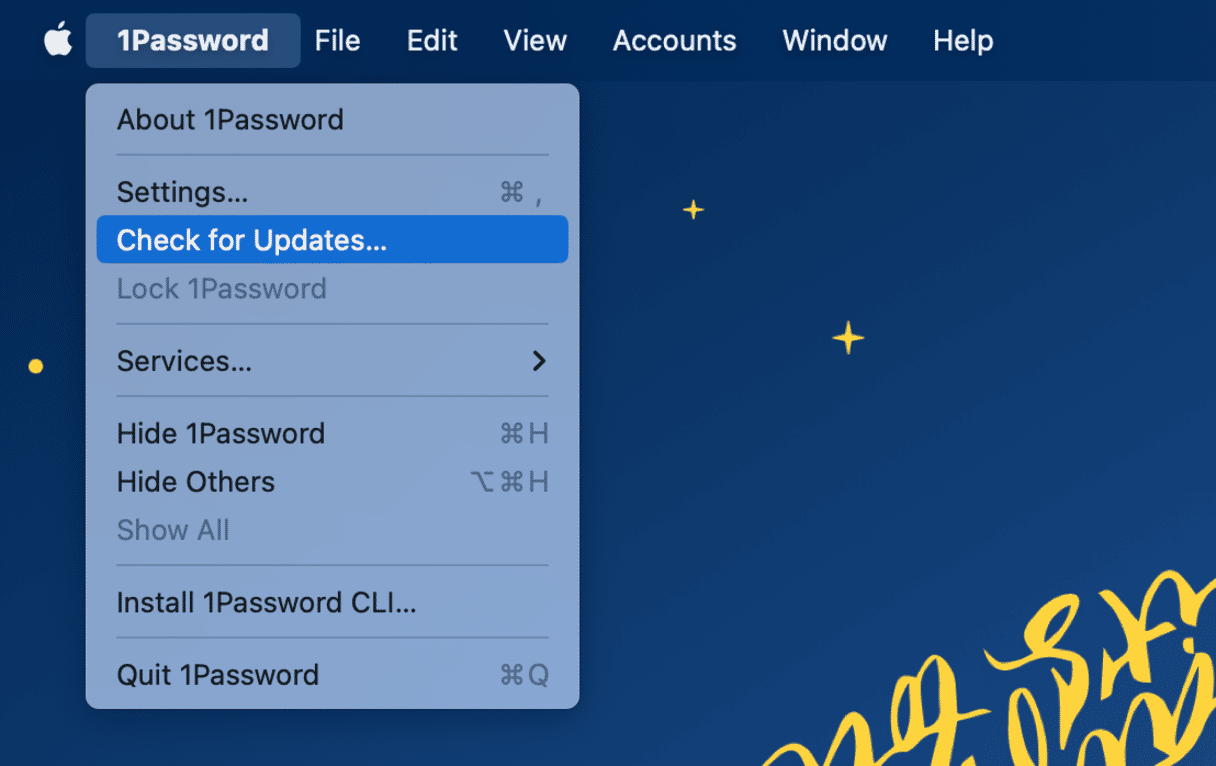
If you downloaded the app from the developer directly, click on the app’s name in the menu bar and choose Check for Updates.
4. Turn off visual effects
MacOS Sonoma has lots of visual effects that look great but put additional strain on your Mac’s resources. These include:
- Magnification and Genie Effect in the Dock
- Transparency and motion effects
- Stage Manager
To optimize Sonoma, turn off these effects:
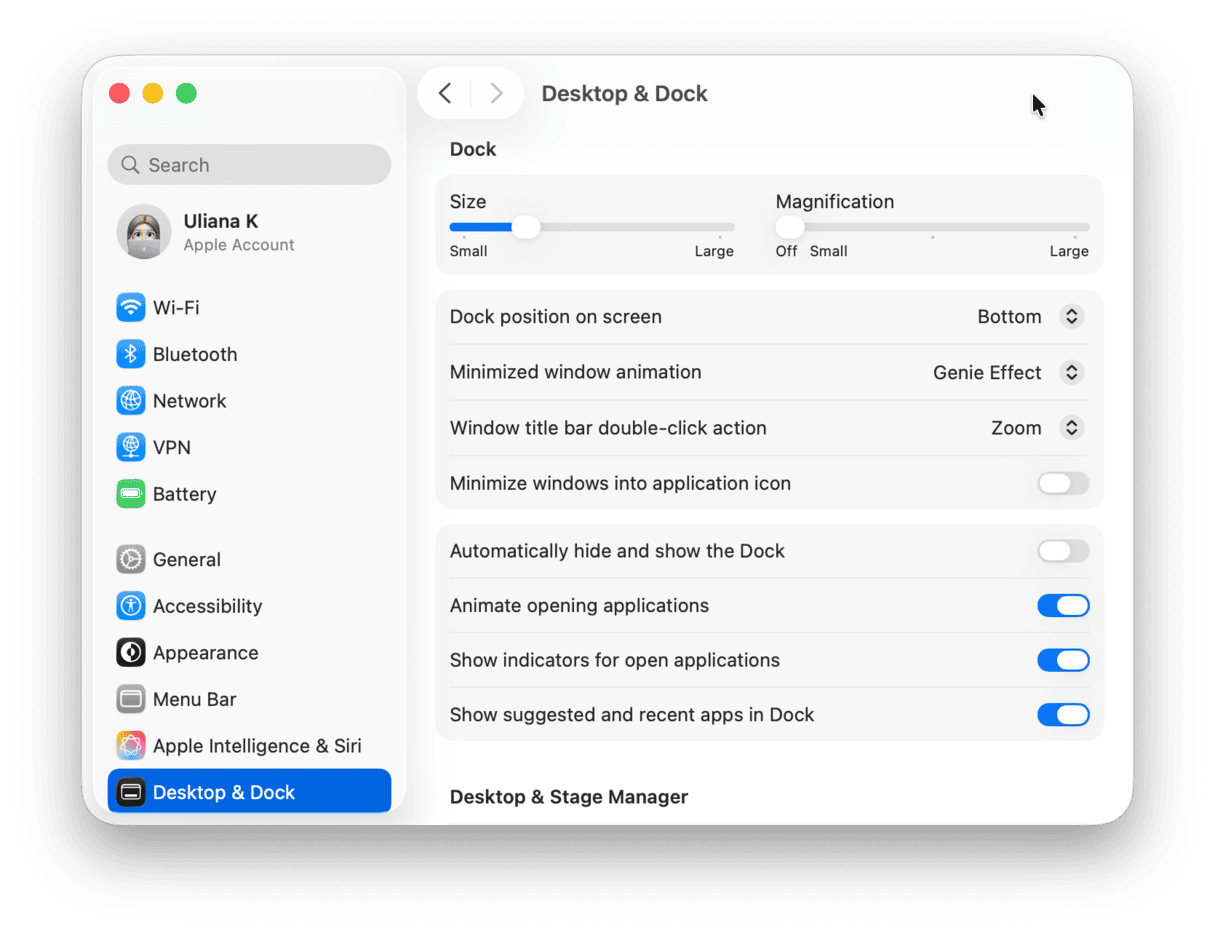
- Open System Settings and go to Desktop & Dock.
- Set the Magnification slide to zero and choose Scale Effect from the Minimize Windows Using menu
- Scroll down and turn off Stage Manager.
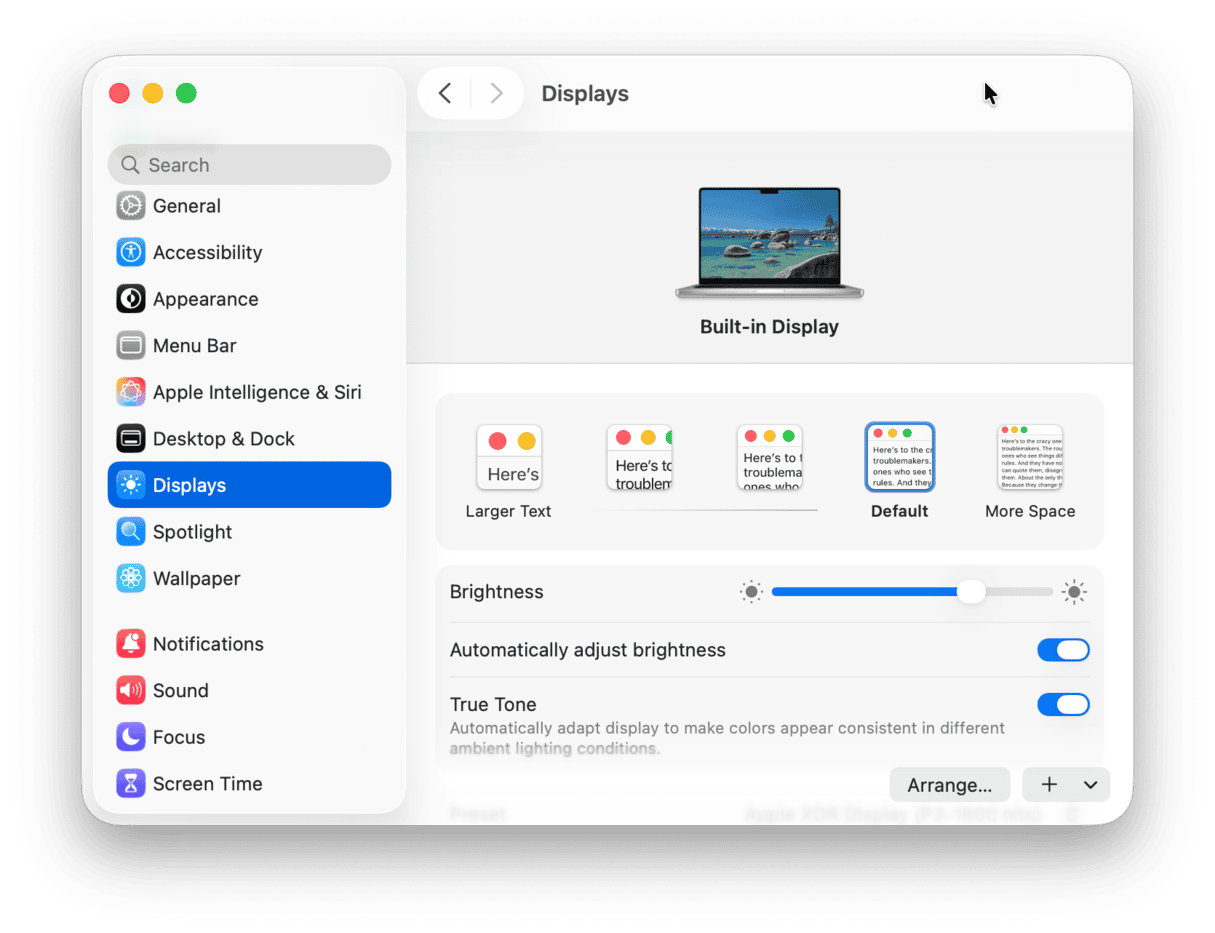
- Next, go to the Accessibility section of System Settings.
- Click on Display, then turn on Reduce Motion and Reduce Transparency.
5. Declutter your Desktop
Many of us have Desktops cluttered with files. Screenshots, email attachments, and AirDropped files — they all end up on our Desktop and cover it wit file icons. A cluttered Desktop doesn’t just look messy. It can slow down your Mac, too. Each icon preview of a file on your Desktop has to be redrawn every time you open, close, or move a window. That uses system resources like memory and CPU cycles. Clearing the clutter is important if you want to optimize Sonoma.
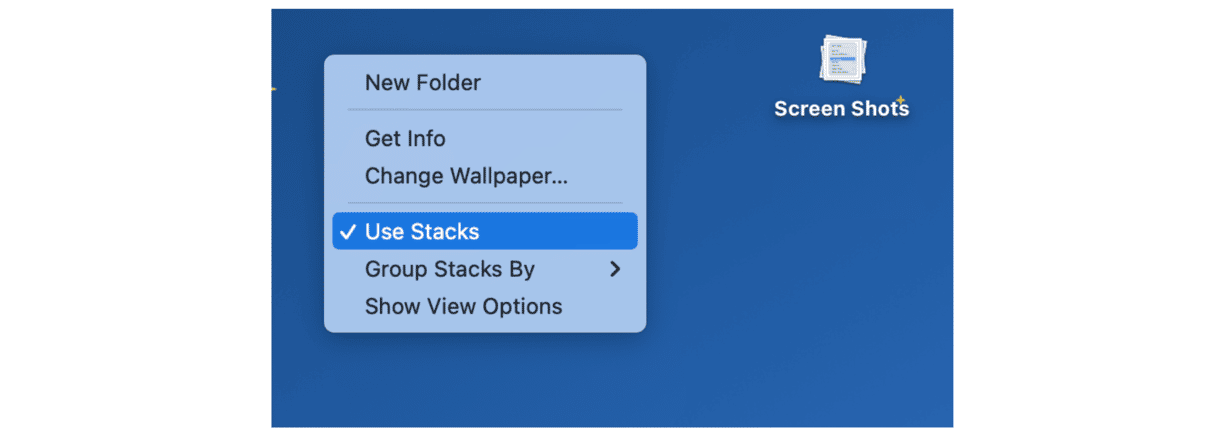
Fortunately, you don’t have to find a home for all those files. You can use the Stacks feature in Finder to group them in stacks by file type. It will make your Desktop look neater and improve performance.
- Right-click or Control-click anywhere on the Desktop.
- Select Use Stacks.
6. Review background items
If you have lots of applications and services running in the background, it could slow your Mac down. So, another way to optimize macOS Sonoma is to review those items and switch off the ones you don’t need.
- Go to System Settings > General > Login Items.
- Look in the Allow in Background section. If there are applications you don’t use, switch them off.
- Check Open at Login and remove unneeded apps.

7. Run macOS maintenance
Whenever your Mac slows down, it’s a sign things don’t run as smoothly as they should. Running a little maintenance may help you fix the performance issues and get back your Mac efficiency.
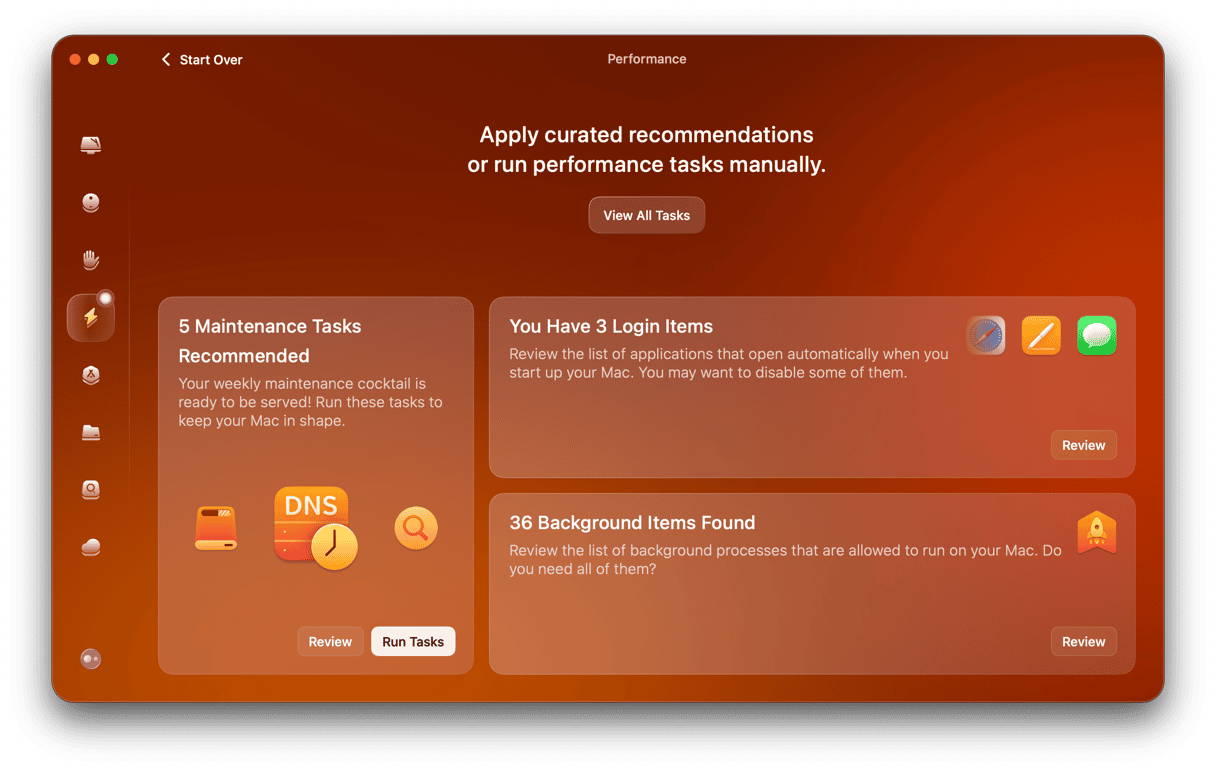
You could use Terminal commands, but it’s much easier to use the Performance feature in CleanMyMac, which can also run a number of other helpful optimization tasks such as flushing the DNS cache, reindexing Spotlight, repairing disk permissions, and speeding up mail. Here’s how:
- Open CleanMyMac and go to Performance from the sidebar.
- Run a quick scan.
- Click Run Tasks.
If your Mac seems to be running more slowly after upgrading to the latest version of macOS, don’t worry. There’s a lot you can do to speed it up. Follow the steps above to optimize macOS Sonoma and get your Mac running smoothly again.


