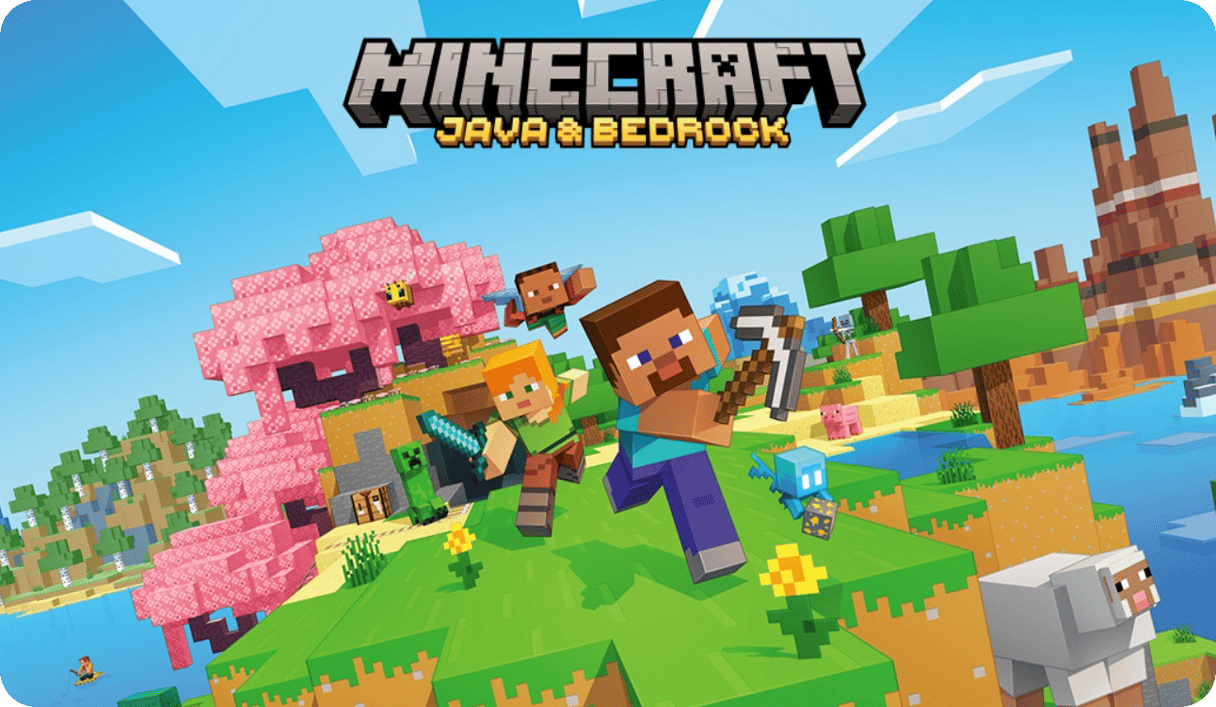
Minecraft Bedrock is out on pretty much everything — Windows, Xbox, PlayStation, Switch, iOS, Android. Just not on Mac.
Maybe your friends play multiplayer games on Bedrock, and you want to join them. Maybe you purchased lots of extras on the Bedrock marketplace and want to use them when you play on your Mac. Or maybe you just don’t like Java.
There's no official macOS client, but there are real ways to get it running. Buying Minecraft on iOS and running it through Mac Catalyst was a known workaround — but Apple disabled it, so don't go that route.
Here are the actual ways to get Bedrock running on a Mac in 2026, including a couple that are completely free.
Minecraft Bedrock vs Java
First off, what are the main differences between Minecraft Bedrock and Java editions? Well, there are hundreds of them, technically. Here are the ones that actually matter:
Java Edition
- The original, and still the most moddable — shaders, resource packs, Forge, Fabric, all of it
- Deterministic redstone, familiar combat, no marketplace
- Run any version, multiple instances, deep community server ecosystem
- Cross-play is limited to Mac, Windows, and Linux
Bedrock Edition
- Built for accessibility and easier for beginners
- Animated 3D skins, more challenging mob behavior, smoother on lower-end hardware
- Cross-play across consoles, mobile, and Windows PC
- Not natively available on Mac
How to play Minecraft Bedrock on Mac
One simple thing to understand before we get into it. If you're on an Intel Mac, Boot Camp is your best bet. Native Windows, no virtualization layer, best performance.
If you're on Apple Silicon (M1, M2, M3, M4), Boot Camp is no longer an option since Apple killed it when they switched chips. The good news is that there are some decent options for M-series Macs, including a couple of free ones. The bad news is that none of them are as clean as just running Windows natively. You'll find something that works, but expect a bit of trial and error.
1. Parallels Desktop (~$99.99/year, Intel + Apple Silicon)
Parallels Desktop is the most reliable, lowest-friction way to run Minecraft Bedrock on Mac because it runs Windows in a virtual machine with good graphics support. It’s sort of the default “easy answer” for Mac virtualization. You just launch Windows as an app, install Bedrock through the Microsoft Store, and play.
Pros:
- Smoother to set up and more polished
- Usually better for gaming and graphics-heavy apps
- Works on Apple Silicon
- Has a free tria
Cons:
- Parallels Desktop is ~$99.99/year
The only thing that really hurts is the price. Fortunately, Parallels goes on sale fairly often — you can sometimes grab it at up to 45% off.
And if you're not ready to buy, start with the free trial and see whether it fits your setup before committing to a license.
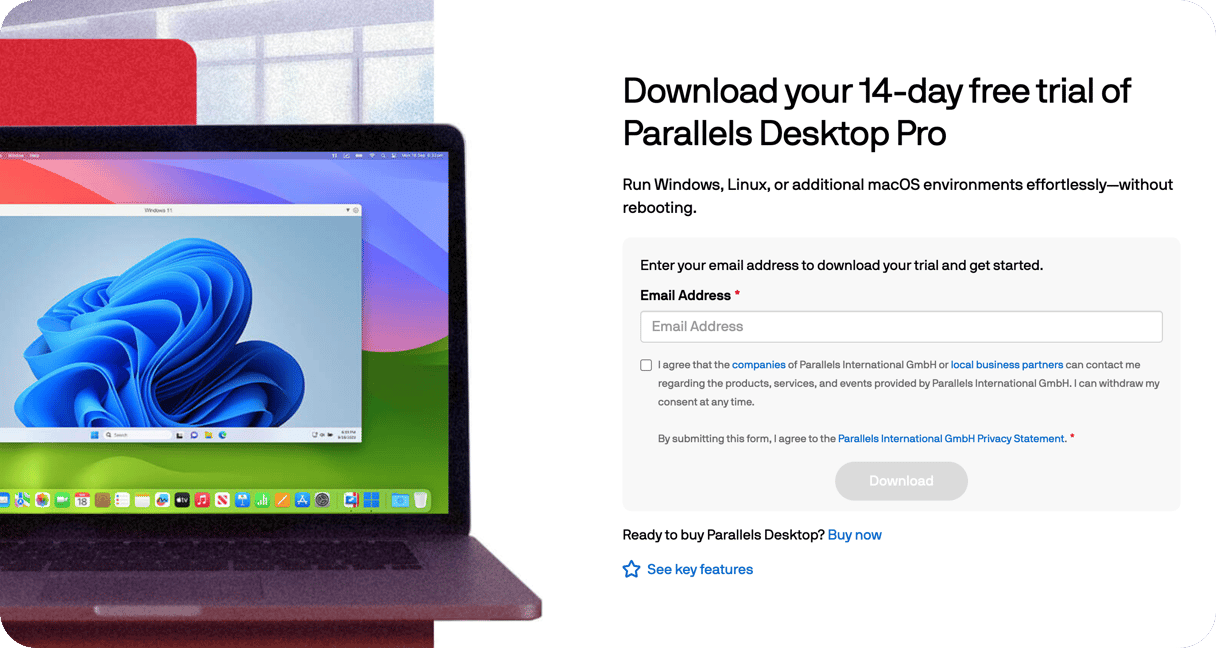
- Click Try Free, enter your email, accept the terms, and download Parallels.
- Open the DMG file and follow the prompts to download and install Windows 11.
- Once Windows is installed, make sure it's fully up to date. Head to Settings, where you'll also see a Windows activation prompt. Keep in mind that a Parallels license and a Windows license are separate — you don't need to activate Windows just to install and play Minecraft.
- Finally, open the Microsoft Store, purchase Minecraft, download it, and hit play.
2. VMware Fusion Pro (free, Intel + Apple Silicon)
VMware Fusion Pro has been free for personal use since late 2024. Like Parallels, it lets you run Windows in a virtual machine, so you can install and play Minecraft Bedrock on both Intel and Apple Silicon Macs.
But while Parallels is pretty much a one-click installation, setting up VMware requires a few more steps. You'll need to create a free Broadcom account before you can download VMware Fusion, and some parts of the installation require more manual configuration. It's also less polished overall, and community support is thinner. But if you're comfortable with that tradeoff, it's an excellent free alternative.
To get started, click Download on VMware's website. You'll be redirected to Broadcom, where you'll need to register for a free account.
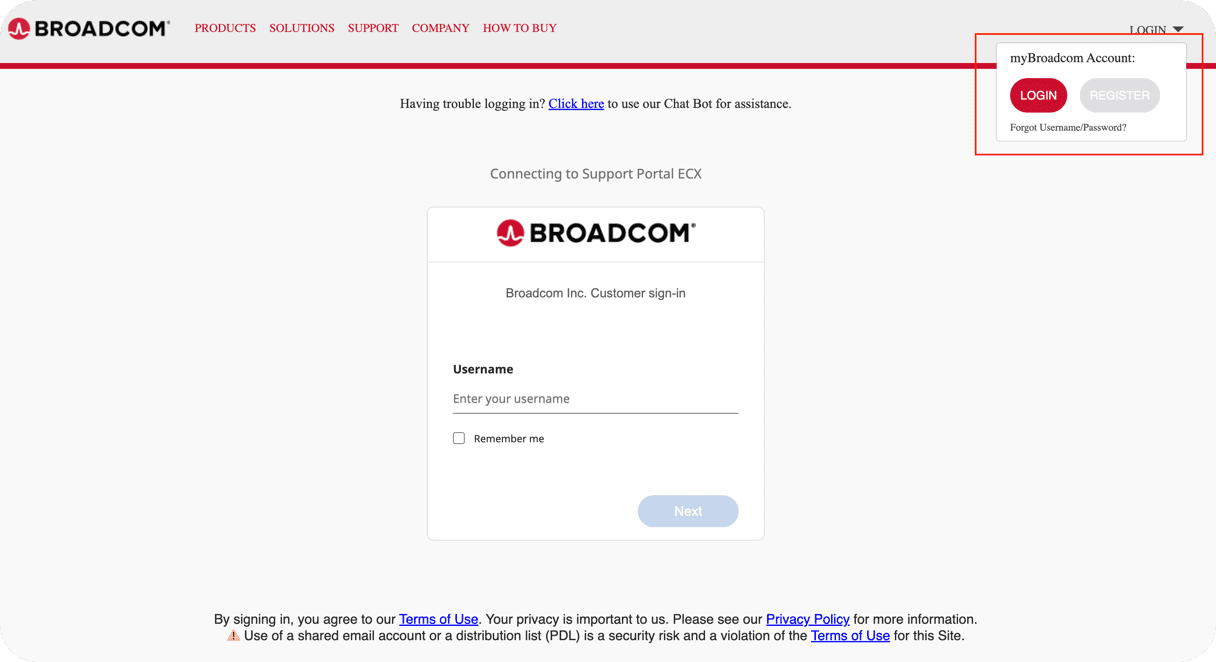
Once you're signed in, download the latest version of VMware Fusion and follow the prompts to install it. From there, you can install Windows and download Minecraft Bedrock from the Microsoft Store, just like you would with Parallels.
Parallels or VMware: which one should you choose?
If you're not sure where to start, try VMware Fusion first. It's free, and for most people, it gets the job done. If you run into compatibility issues or simply want a smoother, more polished experience, that's when Parallels becomes worth the money. And if you catch it during one of its regular sales, you can often pick it up for around $50, which makes it a pretty good deal
What happens after you install virtual machines
One thing people don't always expect is how quickly a virtual machine grows. Windows itself takes around 20 GB, but after installing Minecraft, updates, launchers, and a few other apps, it's common for a virtual disk to reach 50–80 GB. And if you later uninstall Minecraft, or even Parallels or VMware, that storage isn't always reclaimed automatically.
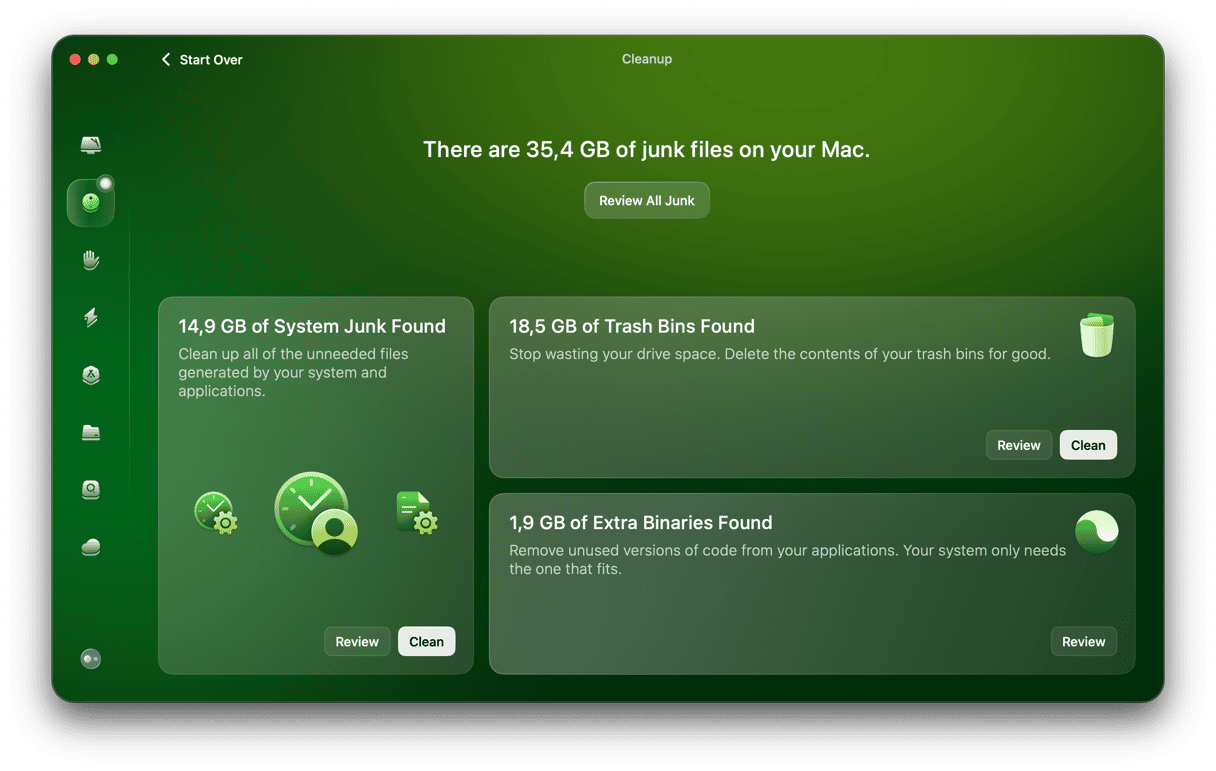
If you ever need that space back, finding what's safe to remove can be frustrating because virtual machine data is tucked away inside package files and Library folders. Tools like CleanMyMac can save you a lot of time here, helping you clean up unnecessary system files instead of hunting through macOS manually.
If you're installing your first virtual machine or just want to see what's taking up space on your Mac, you can scan it for free with CleanMyMac.
3. BlueStacks Air (free Android emulator, Apple Silicon)
If you've been browsing r/macgaming lately, you've probably come across BlueStacks Air. It's a free Android emulator built for Apple Silicon Macs (M1–M4), so you'll need to own the Android version of Minecraft from Google Play. It works well with Minecraft Realms, making it a good long-term option if you mainly play with friends.
It also supports Vibrant Visuals, which is a nice bonus if you care about graphics.
What you need first: Minecraft Bedrock purchased on Google Play (~$7).
Setup steps:
- Download BlueStacks Air from bluestacks.com (make sure you're on the Apple Silicon version).
- Open BlueStacks Air, click Home > System apps > sign in to Google Play Store.
- Search for Minecraft in the Google Play Store inside BlueStacks and install it.
- If you've already purchased Minecraft but the Play Store still shows a price, refresh the page — it should recognize your purchase and let you install the game.
- Before launching Minecraft, go to Settings > Performance and switch to High Performance mode for the best results.
- Go to Settings > Preferences and disable ads during gameplay > click Save changes.
- Launch Minecraft and sign in with your Microsoft account — this is required for cross-play.
Why choose BlueStacks instead of Parallels?
Unlike Parallels or VMware, BlueStacks doesn't require a Windows license or a virtual machine. The tradeoff is that you're playing the Android version of Minecraft rather than the Windows edition.
4. Linux Minecraft Launcher (free, Intel + Apple Silicon)
The Linux Minecraft Launcher is a free, open-source tool on GitHub that lets you run the Android/Linux version of Minecraft Bedrock on macOS. It works on both Intel and Apple Silicon Macs. Unlike BlueStacks Air, it doesn't support Vibrant Visuals.
But if you don't mind a bit of tinkering and want a completely free solution without installing Windows, it's worth having a look.
What you need first: Minecraft Bedrock purchased on Google Play (~$7), linked to a Google account.
Setup steps:
- Go to the GitHub page for the Linux Minecraft Launcher and download the macOS DMG depending on your version of macOS.
- Drag the app to your Applications folder.
- On first launch, macOS will block it — go to System Settings > Privacy & Security and click "Open Anyway".
- You’ll have to sign in using the Google Play Store account that you used to purchase the game.
- Download Minecraft, and you'll be ready to play.
Today, I'd only recommend this option if you specifically want a free, open-source solution and don't mind using an older Minecraft version.
5. Xbox Cloud Gaming (~$15/month)
If you'd rather skip virtual machines, emulators, and Windows altogether, Xbox Cloud Gaming is one of the simplest ways to play Minecraft on a Mac. Since the game runs in the cloud, your Mac's hardware matters much less — what matters is having a stable, fast internet connection.
The Xbox listing currently includes the Minecraft: Java & Bedrock Edition for PC bundle, but game availability and input support can vary by region and Microsoft's cloud catalog, so it's worth checking xbox.com/play before subscribing.
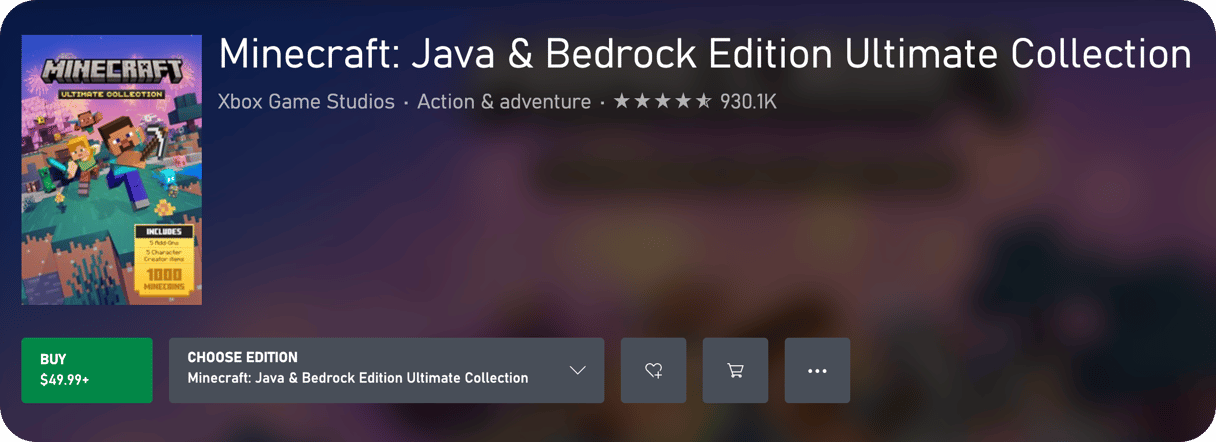
If you're happy playing with a controller and already have, or are considering, Game Pass Ultimate, it's a low-friction option that also gives you access to hundreds of other games.
6. Shadow PC (~$19.99/month)
If you want the full Windows experience without installing Windows on your Mac, Shadow PC could be a good solution. Shadow PC rents you a full Windows PC in the cloud, where you can install Minecraft Bedrock just like you would on a physical machine. You then connect to it through the Shadow app or your browser.
Because everything runs remotely, there's no virtual machine to configure and no local Windows installation taking up storage. Performance depends largely on the quality of your internet connection rather than your hardware.
At $19.99/month (around $240/year), Shadow PC is significantly more expensive than Parallels in the long run. It's also only available in selected regions, including North America and parts of Europe, so check shadow.tech before subscribing.
While Minecraft Bedrock still doesn't officially support macOS, that doesn't mean you can't play it. Whether you go with Parallels, VMware, BlueStacks Air, or a cloud service comes down to what matters most to you — price, convenience, or performance.
Choose the one that best fits your budget and setup, and jump into your next world.