Updating your Mac, whether to an incremental upgrade or a full new version of macOS, is usually a straightforward process. Most of the time, the worst that will happen is that it will take longer than you expected, usually because of the sheer number of requests being made to Apple’s update server. However, occasionally, more serious problems can occur. One of those is an error message that says, “the requested version of macOS is not available.” In this article, we’ll show you what to do if that happens to you and how to fix it.
Why is the requested version of macOS not available?
There are a number of possible reasons you may see the error message “the requested version of macOS is not available” issue on your Mac. It could be something as simple as your internet connection not working properly or Apple’s servers having a bad day. However, it’s also possible that the problem could be a more serious issue with your Mac.
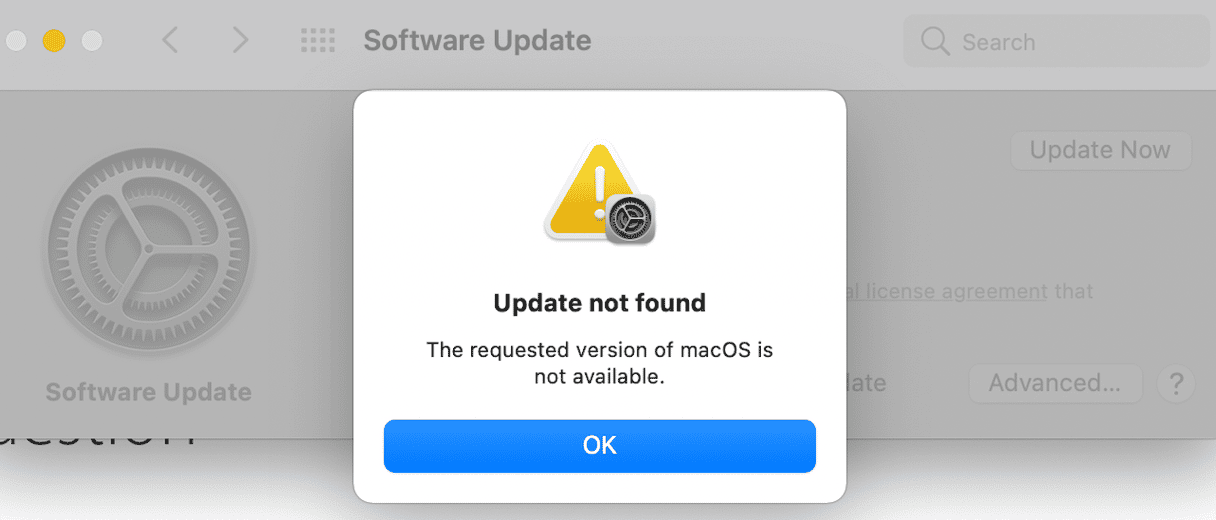
How to fix it when the requested version of macOS is not available
Before you begin the steps below, it’s a good idea to restart your Mac. Restarting clears out temporary files and frees up memory. It can also, on its own, solve many problems and may be all you need to do.
You should also check that you have enough storage space to update macOS, especially if you are upgrading from one full version to another. And if you use a VPN or third-party firewall, turn that off and try again. Those could be causing the problem.
If none of these quick tips helped, follow the steps below one by one.
1. Make sure your Mac is compatible
The first thing to check is whether your Mac is compatible with the version of macOS you’re trying to upgrade to. If it’s an update to the version your Mac is already running, that shouldn’t be an issue. If, however, it’s a new version of macOS, it could be that your Mac isn’t compatible. Sometimes, you will see that it is the case in the error message itself, but the best way to check is to visit Apple’s website. For example, you can see the list of Macs compatible with macOS Sequoia here.
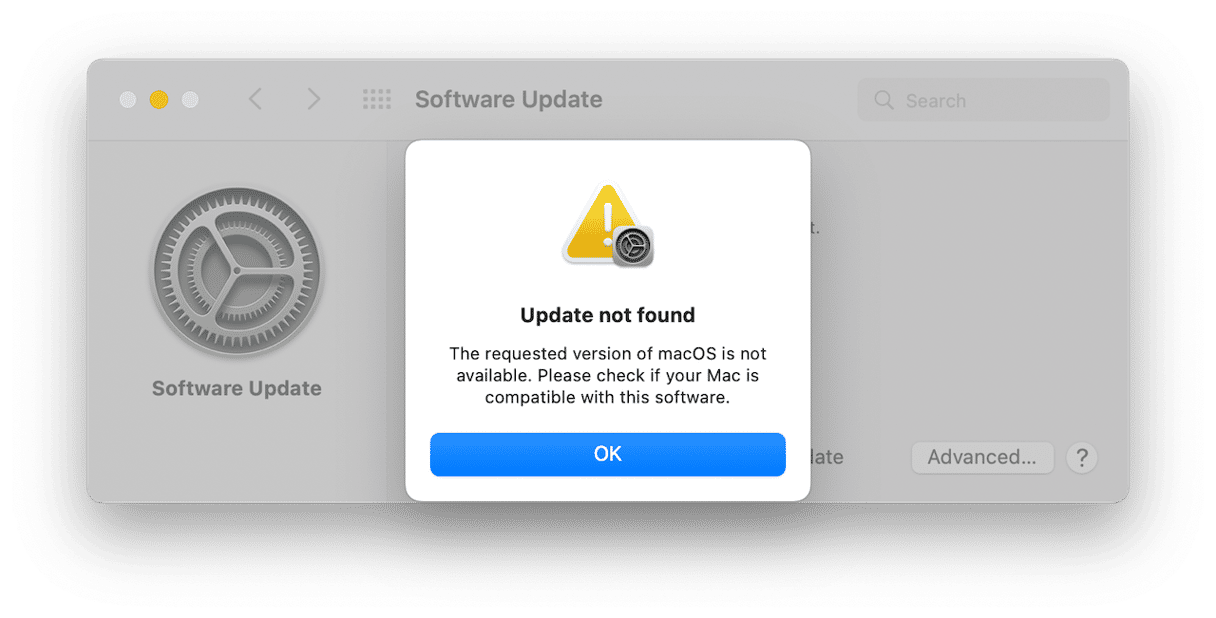
2. Check internet connection
Next, make sure your Mac is connected to the internet. Can you visit websites in Safari or another web browser? If so, you can rule that out as a possible cause. If not, check your Mac’s Wi-Fi and your router’s broadband connection. Try turning Wi-Fi on your Mac off and then on again from Control Center.
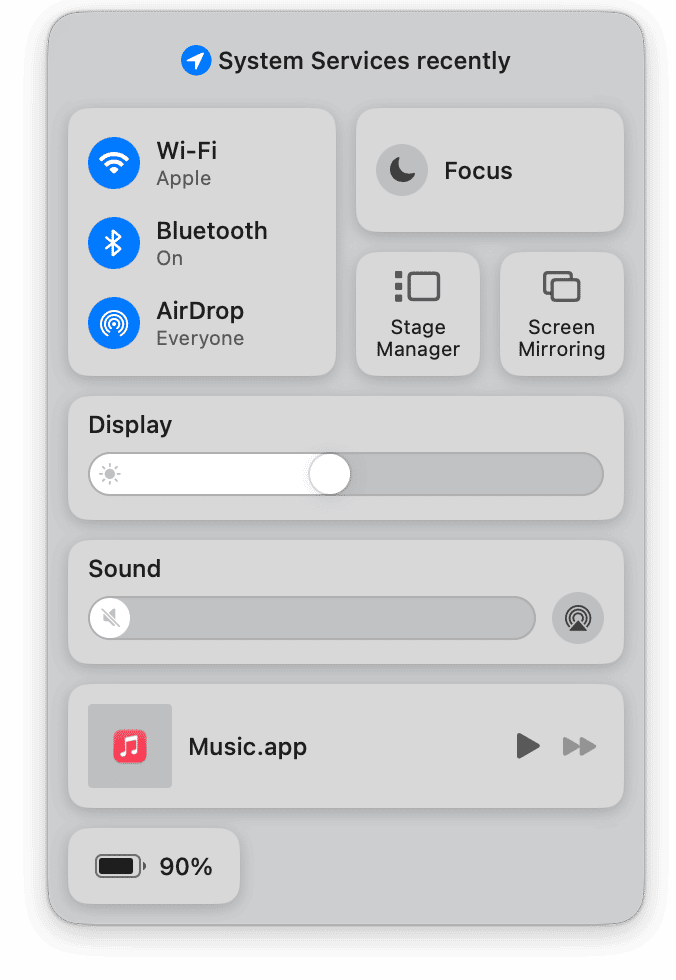
3. Run maintenance on your Mac
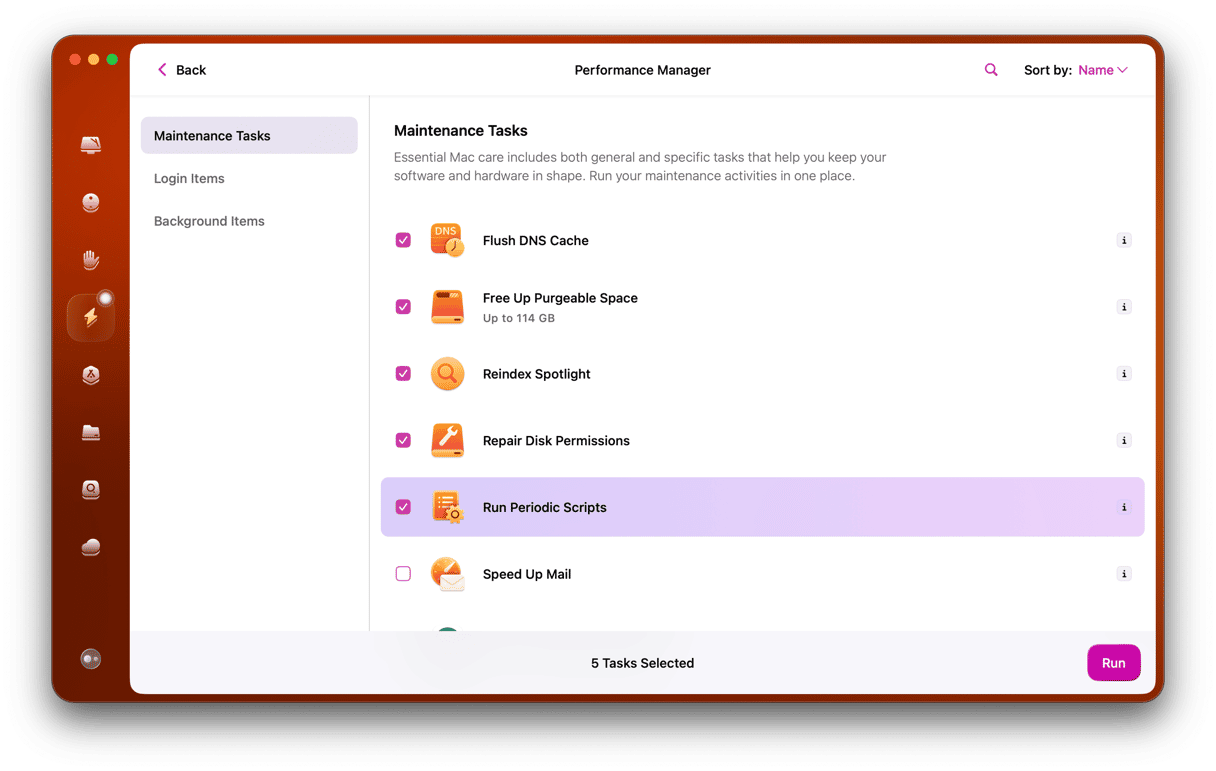
It’s a good idea to run maintenance tasks on your Mac regularly. But when you run into a problem, you should definitely do it. Maintenance tasks include freeing up RAM, reindexing Spotlight, flushing the DNS cache, and repairing disk permissions. Doing all that manually would take quite a while and involve quite a lot of work, not the least of which is finding out how you do it.
However, you don’t have to do it manually; CleanMyMac’s Performance tool can do it for you. It can run all those tasks, as well as repair disk permissions, thin out login items, double-check background items, and speed up Mail with just a couple of clicks. So, there’s no reason not to run it regularly. You can download CleanMyMac for free here. Once you’ve done that, follow the steps below:
- Open CleanMyMac and click the Performance tool in the sidebar
- Click Scan.
- After the scan, you can click Run Tasks or View All Tasks.
- If you choose the latter, select the tasks you want to run.
- Click Run.
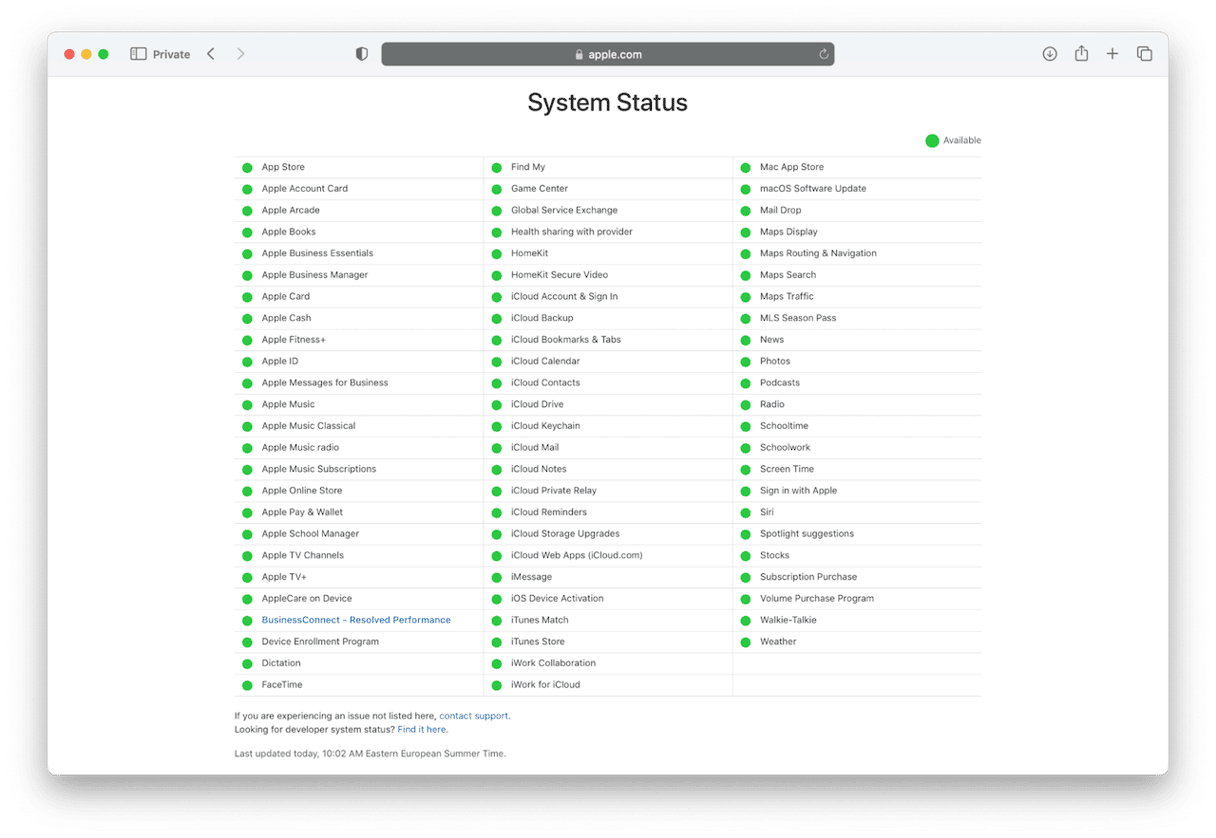
4. Check Apple’s status page
Apple has a status page where it lists the status of each of its services. A green light means everything is fine, and any other color means there is a problem. Go to this page and look for macOS Software Update.
5. Check the date and time on your Mac
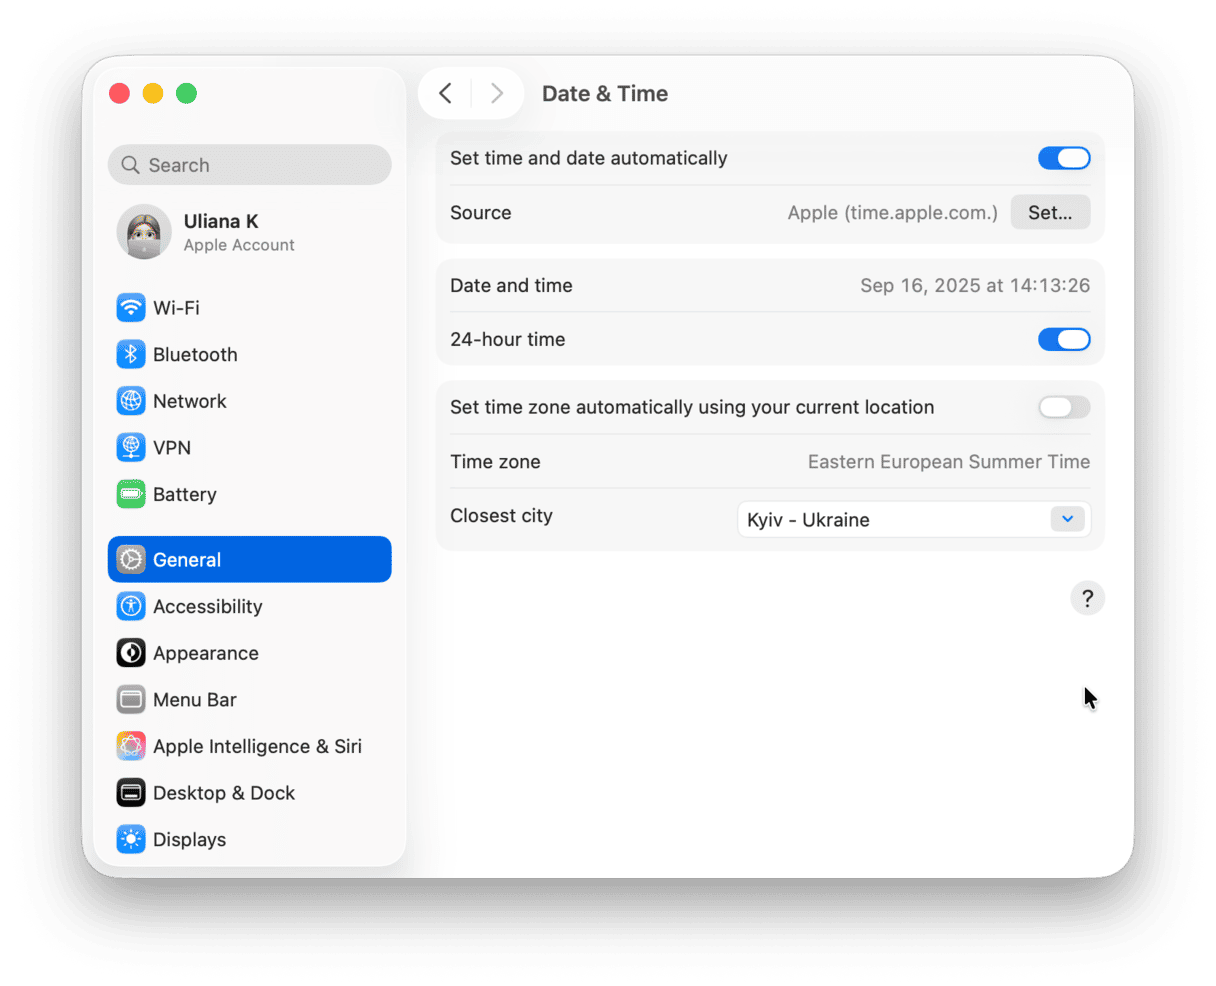
Another possible reason your Mac is having trouble communicating with Apple’s update server is a mismatch in the date and time between the two. Here’s how to check:
- Open System Settings and go to General > Date & Time.
- Check that ‘Set date and time automatically’ is switched on and the source is time.apple.com
6. Update your Mac via Terminal
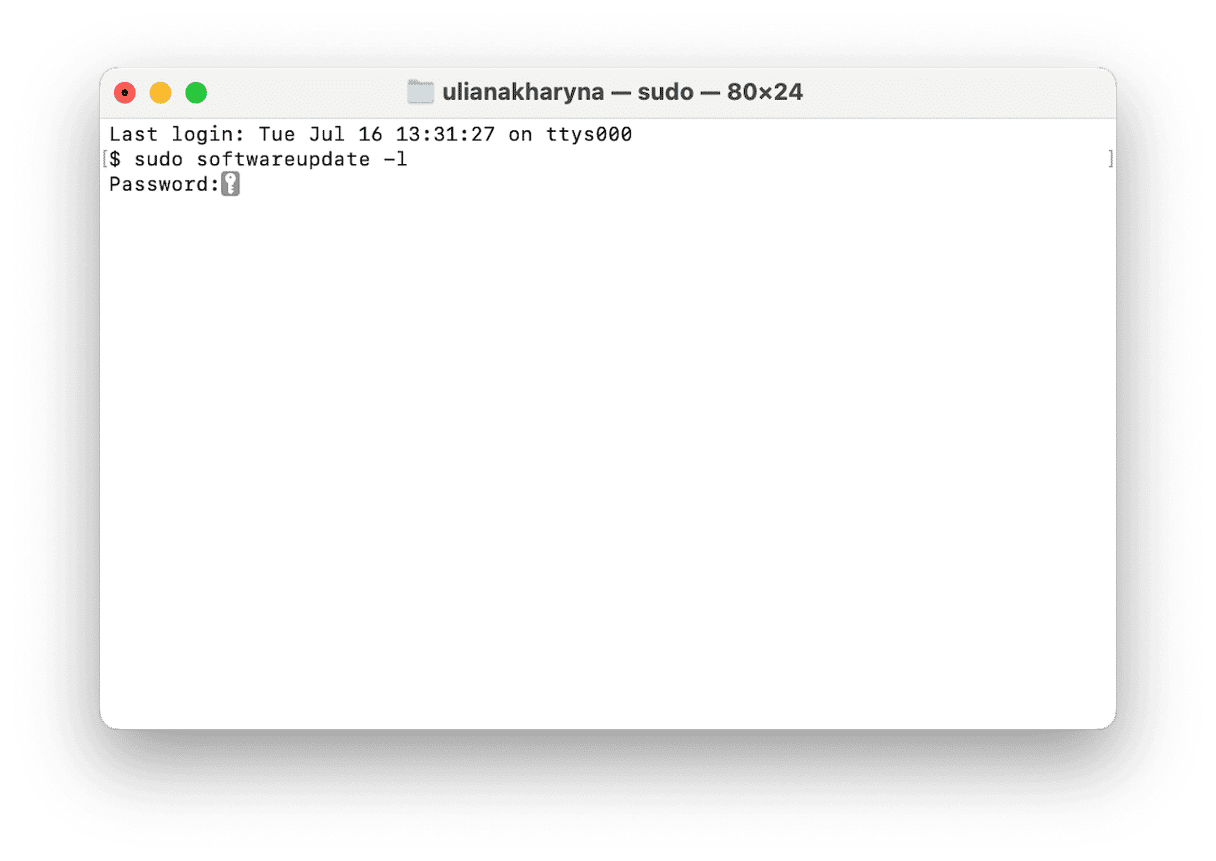
If your internet connection is working, there’s no issue with Apple’s servers and the date and time on your Mac is in sync with Apple, the next thing to try is to update your Mac from Terminal. Here’s how to do that:
- To update your Mac to the latest update of the version of macOS installed on your Mac, type
sudo softwareupdate -land press Return. - Type in your admin password and press Return again
- Your Mac should begin downloading the update.
- To update to a specific version of macOS, use the command below followed by Return (replace ‘NAME’ with the version you want to install. The first version of macOS Sequoia is 15.0, for reference):
sudo softwareupdate -i ‘NAME’ - Type your admin password and press Return again.
7. Reinstall macOS
If nothing so far has worked, the next step is to reinstall macOS from recovery mode. Before you do that, however, you should back up your Mac. It’s a good idea to use Time Machine for that because it makes it easier to recover data and settings if you need to. The method for entering recovery mode is different for Intel-based and Apple silicon Macs.
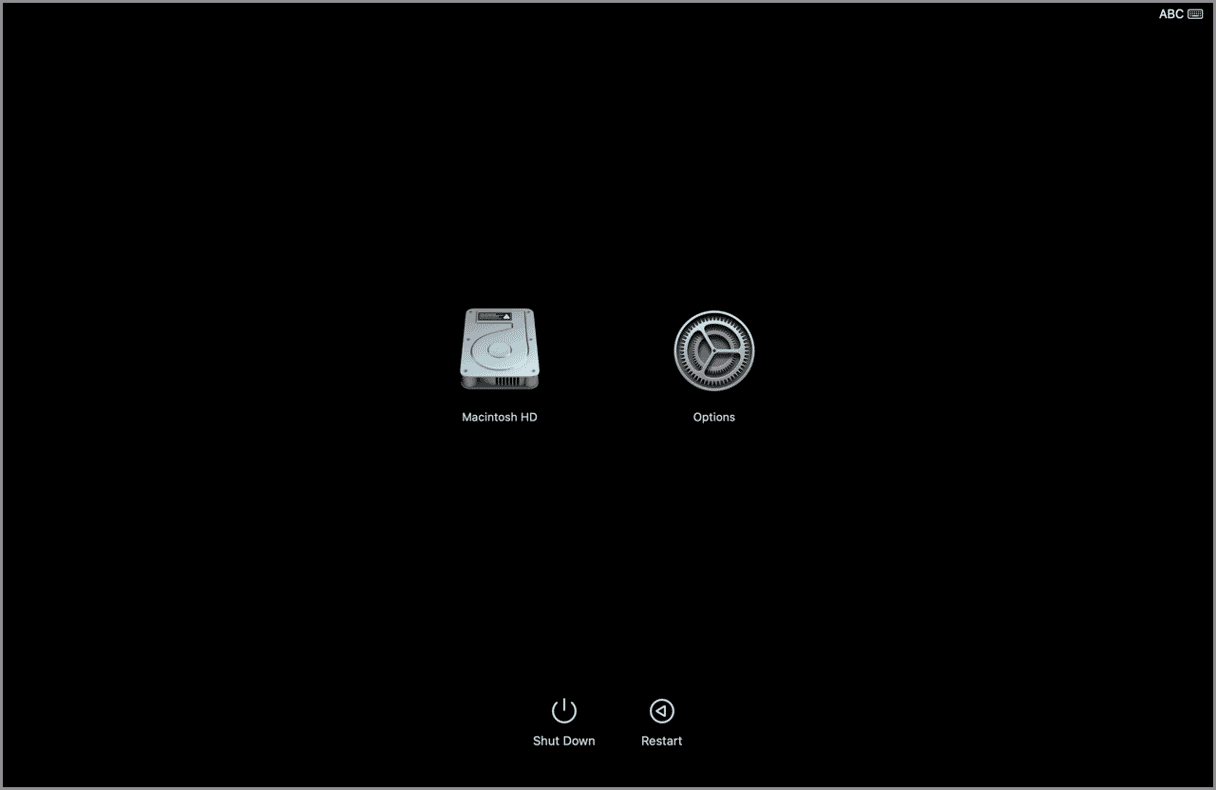
A Mac with Apple silicon
- Shut down your Mac.
- Press and hold the power button until you see startup options.
- Click Options and then click Continue.
- Type in your admin name and password.
- You should see the macOS Utilities menu.
An Intel-based Mac
- Shut down your Mac.
- Hold down Command-R and then press the power button.
- Release Command-R when you see the Apple logo or another image.
- Type in your admin name and password.
- You should now see the macOS Utilities window.
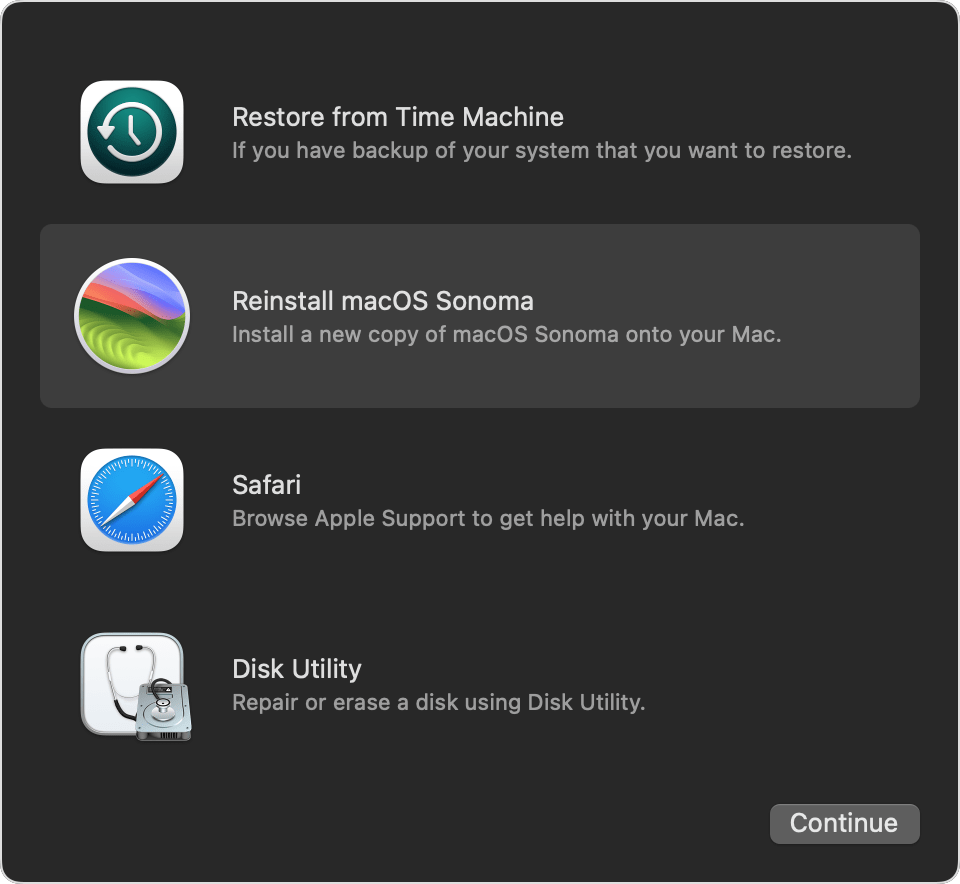
From macOS Utilities, choose Reinstall macOS from the menu and follow the instructions on the screen. Once the reinstallation has finished, you can try updating your Mac again if you need to.
8. Reinstall from a USB stick
If you can’t reinstall macOS from Recovery mode, the next option is to create a bootable USB stick and reinstall macOS from that. You can find instructions on how to create a bootable USB stick on Apple’s website here.
Once you have created the bootable installer, you can boot into recovery mode, erase your startup disk using Disk Utility (don’t forget to back up first), and then boot from the USB installer.
There are instructions on how to boot from the USB installer on the same page on Apple’s website. Once you’ve booted from the installer, you will see the option on screen to reinstall macOS. Follow the instructions on screen to do that. When installation is complete, your Mac will begin the set-up process and you will be able to restore from the Time Machine backup you made earlier.
The error message “the requested version of macOS is not available” sounds serious. But the chances are that there’s a simple reason for it that’s not too difficult to fix. Follow the steps above to fix it and upgrade your Mac.


