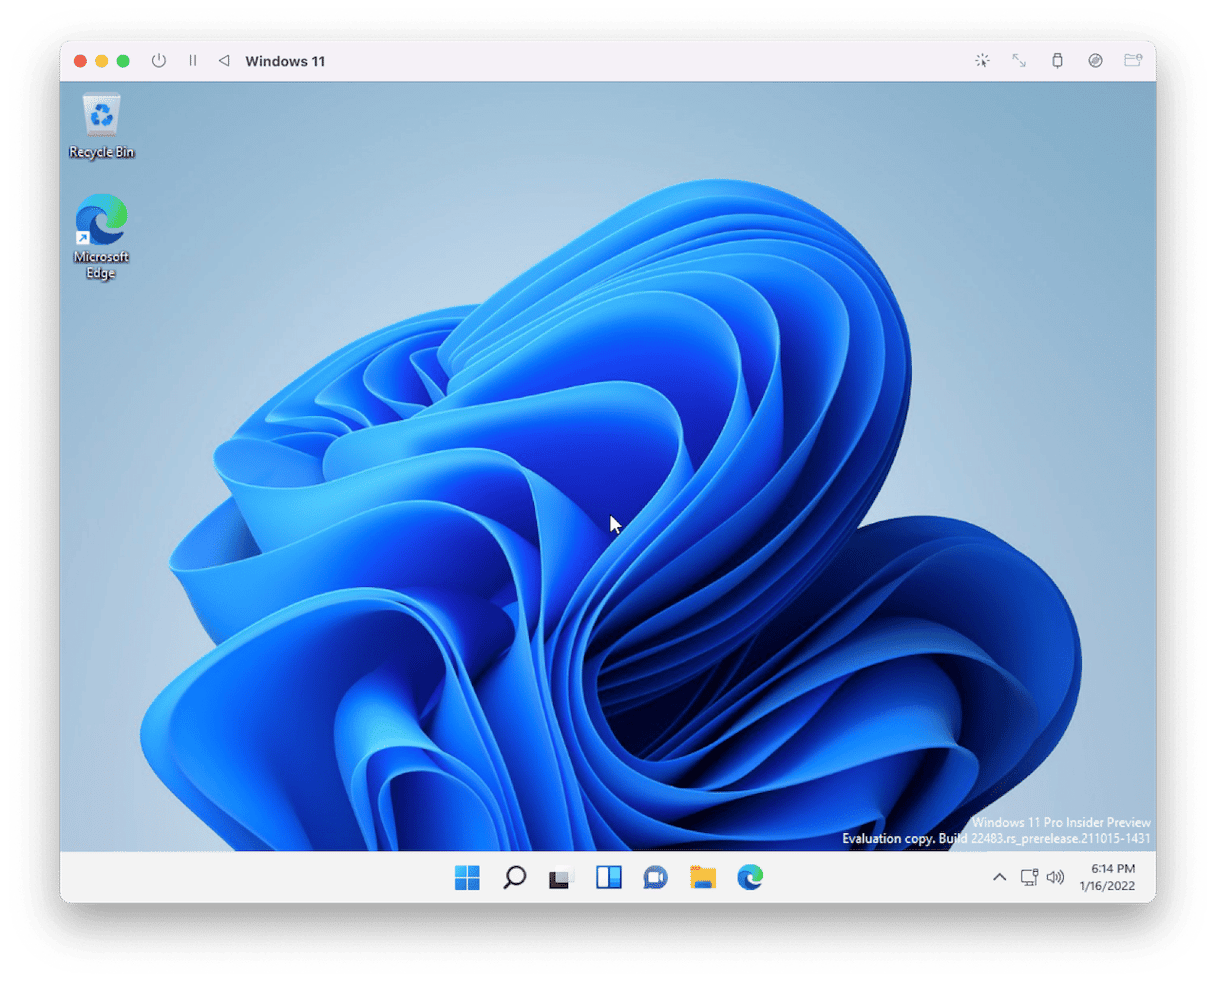
When Apple first announced it was switching to Intel processors nearly 20 years ago, Boot Camp was a prominent new feature. You could install Windows and boot your Mac into it by creating a Boot Camp partition on your startup disk. So, you had a Mac that could run either macOS or Windows natively — the best of both worlds.
The switch from Intel to Apple's silicon, based on processors designed by ARM, put an end to Boot Camp, but it's still possible to run Windows on your Mac. There have always been software tools that allow you to install Windows on top of them, and there still are. It's not as fast a solution as Boot Camp, but much more flexible. In this article, we'll review the options for running Windows on your M1 or M2 Mac.
Why run Windows on a Mac?
While Macs are much more commonly used in business than they were when Boot Camp first appeared, there are still some apps that are Windows-only. And there are lots of games that only run on Windows. While you could keep a separate computer for running Windows-only applications and games, it’s much cheaper and more convenient to run them on your Mac.
How to run Windows on M1 and M2 Macs
Virtualization software is the only way to run Windows on an M1 or M2 Mac. There were several very good options for virtualization tools available for Intel Mac computers, but partly because of the challenges of moving to a different architecture, not many remain.
The good news is that when you use a virtualization tool, you can also use your Mac’s webcam and microphone, as well as printers connected to it while you’re in the Windows environment, and you can copy and paste between Mac and Windows. You can even keep all the Windows elements hidden except the application window you’re working on. Whichever method you prefer, you’ll need to join the Windows Insider program for free and download the ARM version of Windows.
Option 1: Parallels Desktop
Parallels have been selling its virtualization software for the Mac for a couple of decades, and it’s a great way to run Windows on your Mac. It’s pretty fast, allows you to copy and paste between Mac and Windows, and you can use your Mac peripherals in Windows.
You can run Windows in a window on your Mac and use it in that window as if it were a PC. Or, in Coherence mode, you can have the Windows app you’re using visible as if it were just another Mac app. There are two versions of Parallels Desktop for individual users, one Standard and one Pro. The main difference is that the Pro version is faster and more powerful, giving you access to 128GB RAM instead of 8GB and 32 virtual CPUs instead of 4. There’s also a business edition for teams. The Parallels Standard subscription will cost you $99.99 a month.
One downside of Parallels Desktop is that it doesn’t support DirectX, which means that there are some Windows games you won’t be able to play.
Option 2: QEMU and UTM

While Parallels Desktop is a polished, easy-to-use app that you can install straight out of the box, QEMU is aimed at those Mac users who prefer a do-it-yourself approach. It’s free, but to install it, you’ll need to either use Homebrew and install it from Terminal or use the free GUI tool UTM. UTM puts a graphical user interface on top of QEMU, making it much easier and friendlier. UTM is free if you download it from the developer’s website.
Option 3: Windows 365 Cloud PC
Windows 365 Cloud PC works on any device that can run a web browser, including M1 and M2 Mac computers. If you’ve ever used a tool like Citrix, you’ll know how it works. You pay a subscription, which lets you access a cloud-based PC, set it up the way you want, and run the apps you use. You can use it just like a virtualization tool, connecting to your local servers and using your own peripherals. However, Windows 365 Cloud PC is currently aimed at business users and runs on a subscription basis, with pricing starting at around $30/month.
Which of the above options you choose to run Windows on your M1 or M2 Mac will be dependent on how often you need to use Windows applications and how much time you spend using them. If it’s substantial, it’s well worth paying for Parallels Desktop. If you want to try it out or need occasional access, QEMU may be a better bet.


