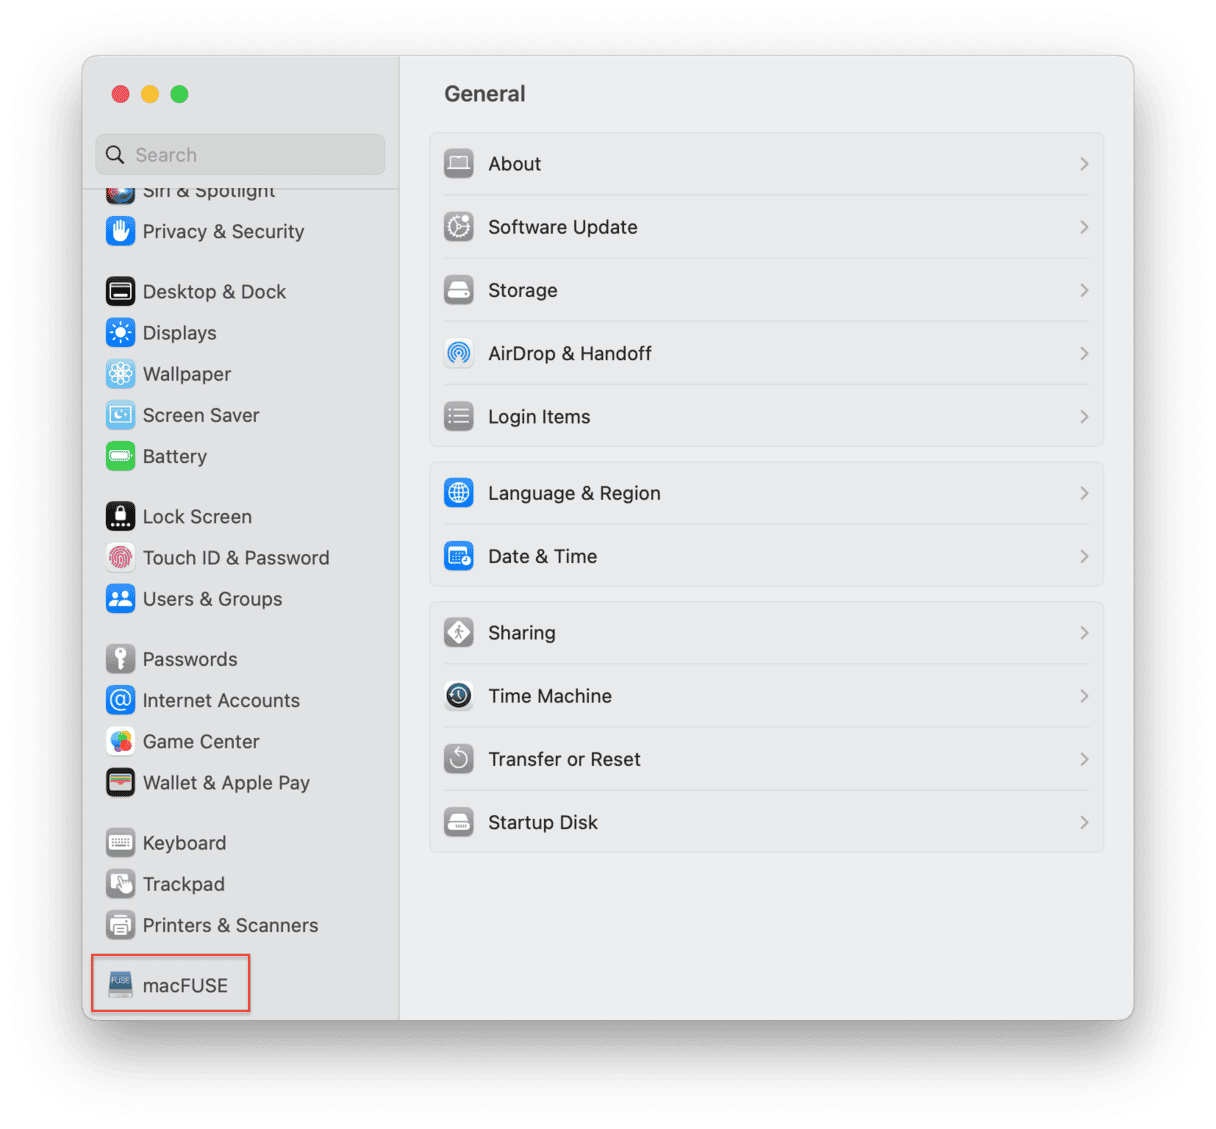
If you’ve ever installed virtualization software on your Mac or used a tool to allow you to mount cloud-storage drives on your desktop, you may have noticed a pane in System Settings called macFUSE. It’s nothing to worry about, even if you don’t remember installing it yourself. It was likely installed by virtualization or cloud storage software. But what is it, and why is it there? And how do you uninstall it if you no longer need it? Read on to find out.
What is macFUSE?
To understand what macFUSE is, we need to talk about file systems. File systems are one of the most basic building blocks on which operating systems are built. They control how files are created, stored, written to, and read from. Think of a library where the books are arranged in alphabetical order and by category. We can find books easily because we know how the filing system works. And your Mac can do the same with files stored on drives it’s connected to, thanks to a file system with strict rules.

However, not every OS uses the same file system as macOS, and so your Mac doesn’t know how to use the file system used by Windows or other OSes. macFUSE bridges that gap — it provides a means for your Mac to access those other file systems. Doing that makes it possible to move files between your Mac’s files system and the file system used by the operating system you run as a virtual machine or the cloud storage service you are using.
macFUSE is used by some virtualization tools that allow you to run Windows or Linux on your Mac. It can also be used to allow your Mac to read from and write to NTFS-formatted drives. And if the virtualization tools install it on your Mac, you’ll see the macFUSE pane in System Settings.
How to uninstall macFUSE
The first thing you need to consider is why you want to remove macFUSE. If it was installed by virtualization software or another tool you use on your Mac, uninstalling it will mean that software no longer works properly. So, before you uninstall it, be sure you know why it was installed in the first place and that you no longer need it.
There are two ways to uninstall macFUSE, manual and automatic. We’ll start with the manual method.
- Go to the Apple menu and choose System Settings.
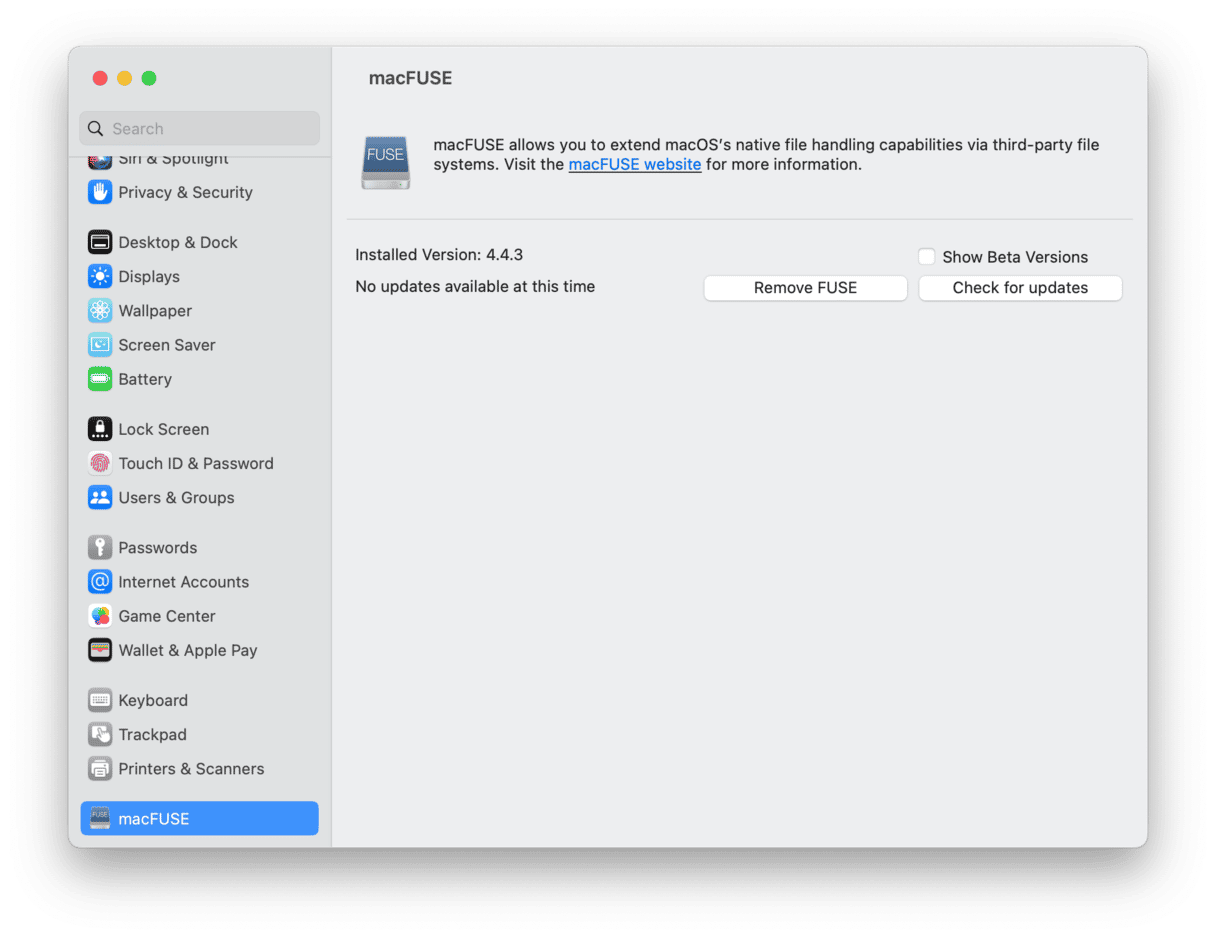
- Click the macFUSE pane to open it.
- Deselect the box labeled “Show Beta Versions.”
- Click Remove FUSE and enter your admin password.

- Now, right-click or Control-click the macFUSE System Settings pane and choose Remove “macFUSE” Settings Pane.
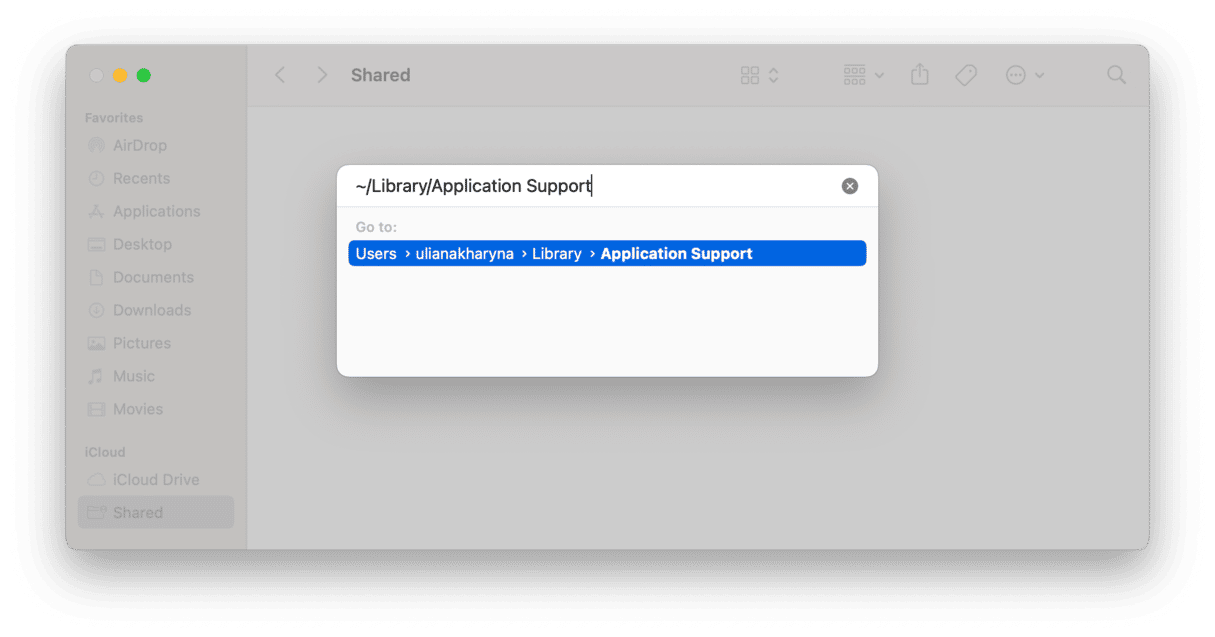
- Finally, you need to check that all the files macFUSE put on your drive have been deleted. In the Finder, click the Go menu and select Go to Folder.
- Paste each of the locations below in turn into the text box and check the folders for files with macFUSE in the name. If you find any, get rid of them.
~/Library/Logs
~/Library/Preferences
~/Library/Application Support

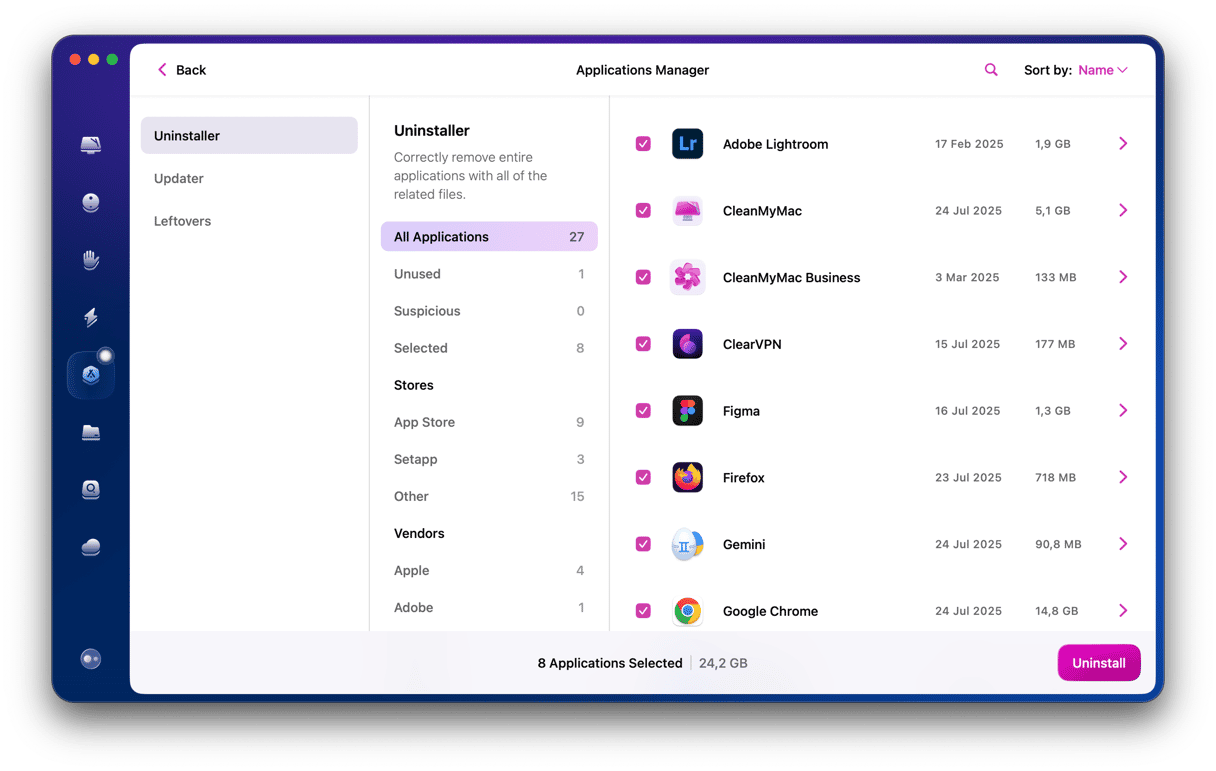
The problem with the manual method — in addition to it being fiddly and taking a while — is that you might not delete all the files it installs. So, here’s how to remove macFUSE and all its leftovers automatically using CleanMyMac.

- Start your free CleanMyMac trial.
- In CleanMyMac, select Applications in the sidebar and click Scan.
- Click Manage My Applications and locate macFUSE.
- Click Uninstall.
macFUSE is a piece of software that allows macOS to access non-Mac file systems, like NTFS. It’s used by virtualization tools and some cloud storage utilities. If you’ve ever used any of those, you may have macFUSE installed on your Mac, and you may want to uninstall it. Follow the steps above and you’ll do that in no time.


