Voice Memos is one of the most useful built-in apps in macOS. You can use it to record reminders for yourself, ideas for stories, poems, or songs, and even to record yourself singing or playing an instrument. One thing that’s not immediately clear, however, is what you can do with a voice memo after you’ve recorded it, except for listening to it in the Voice Memos app. In this article, we’ll show you how to save a voice memo to a different location on your Mac.
What is a voice memo?
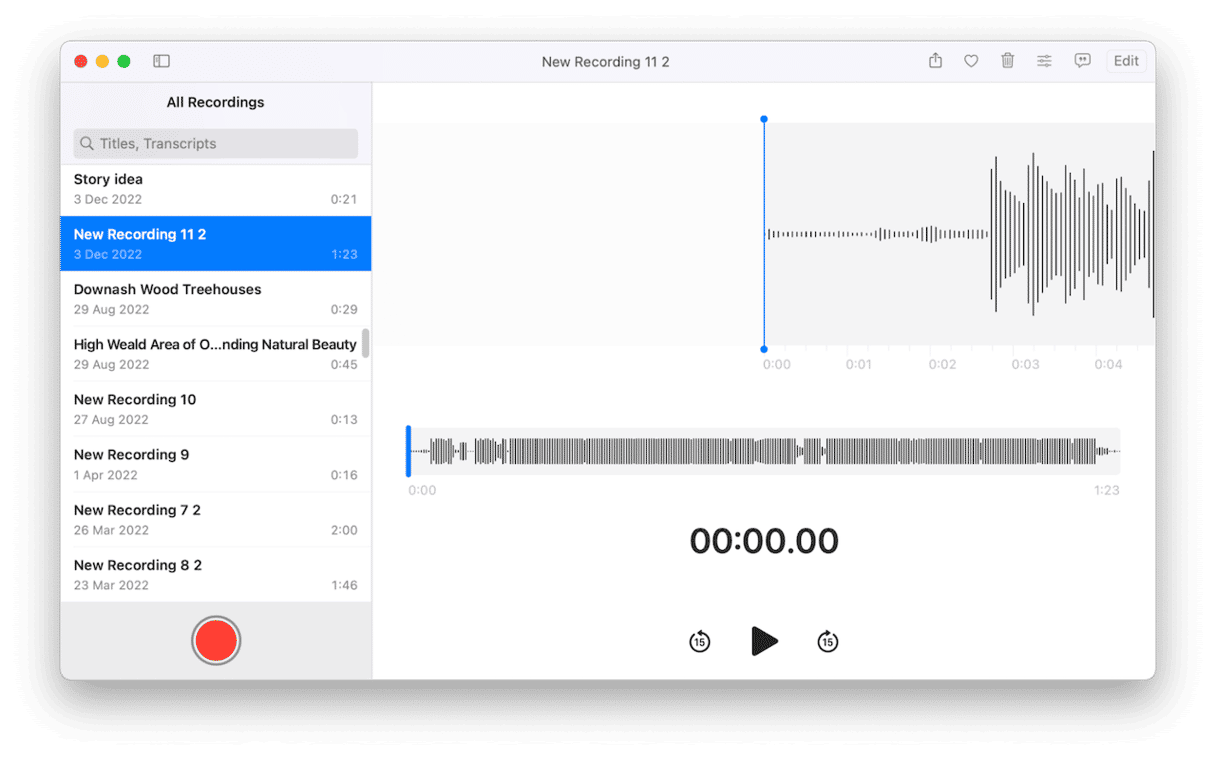
A voice memo is a snippet of audio, usually short, recorded in the Voice Memos app. The app appears in macOS, iOS, and iPad OS and when you record a memo, it is saved automatically in the app and synced across your devices. You can also rename and edit memos or delete them altogether in the app.
How to save a voice memo as a file on Mac
Normally, in any Mac app, if you want to save a file, you just click the File menu and choose Save or Save As. Click the File menu in Voice Memos, though, and you’ll notice there is no option to save anything. Fortunately, that doesn’t mean you can’t save voice memos; you just have to do it a different way. Voice Memos, like a lot of recent Mac apps, uses the Share button as a way to save files. But there are other ways to save voice memos, too.
1. Drag and drop
The easiest way to save a voice memo is to drag it from the list of memos and drop it on your Mac’s Desktop. It will be saved as a .m4a file. You can then open it and play or edit it in any application that supports .m4a files. If you want to convert it to a different format, you will have to use a third-party tool like Permute.
2. Copy and paste
Copy and paste works in a similar way to drag and drop. This time, instead of dragging a memo onto the Desktop, right-click or Control-click on it and choose ‘Copy’. Then navigate to where you want to save it to and press Command-V to paste it.
3. Right-click
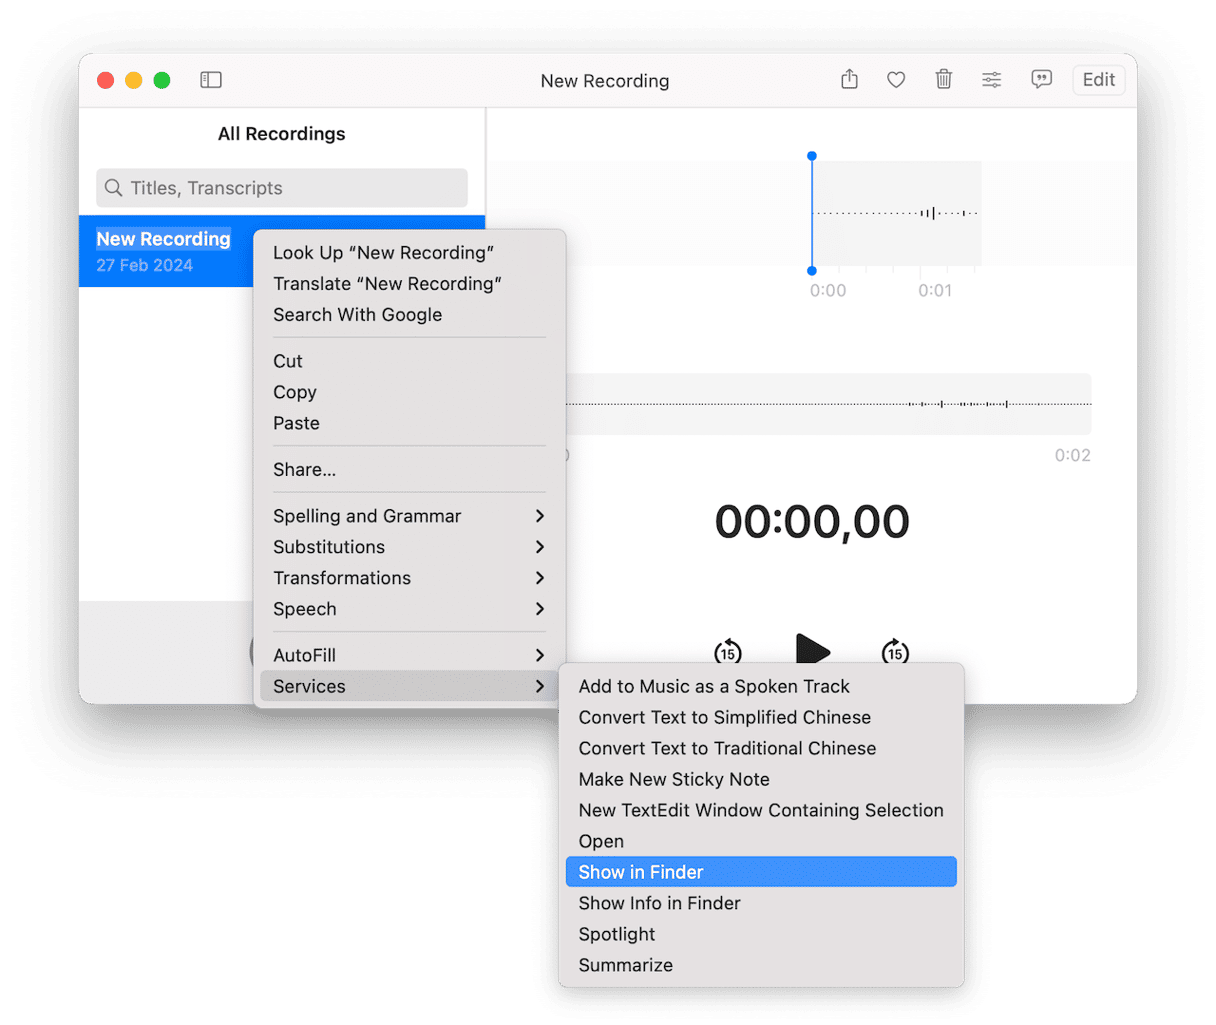
Right-click or Control-click the memo you want to save and choose Services > Show in Finder. A Finder window will open at the location where the file is saved. You can then copy it from there by selecting and pressing Command-C and paste it into any folder you like.
4. Share it
The fourth method is the most complicated but if for some reason the first three don’t work, it’s worth trying.
- Select the voice memo you want to save.
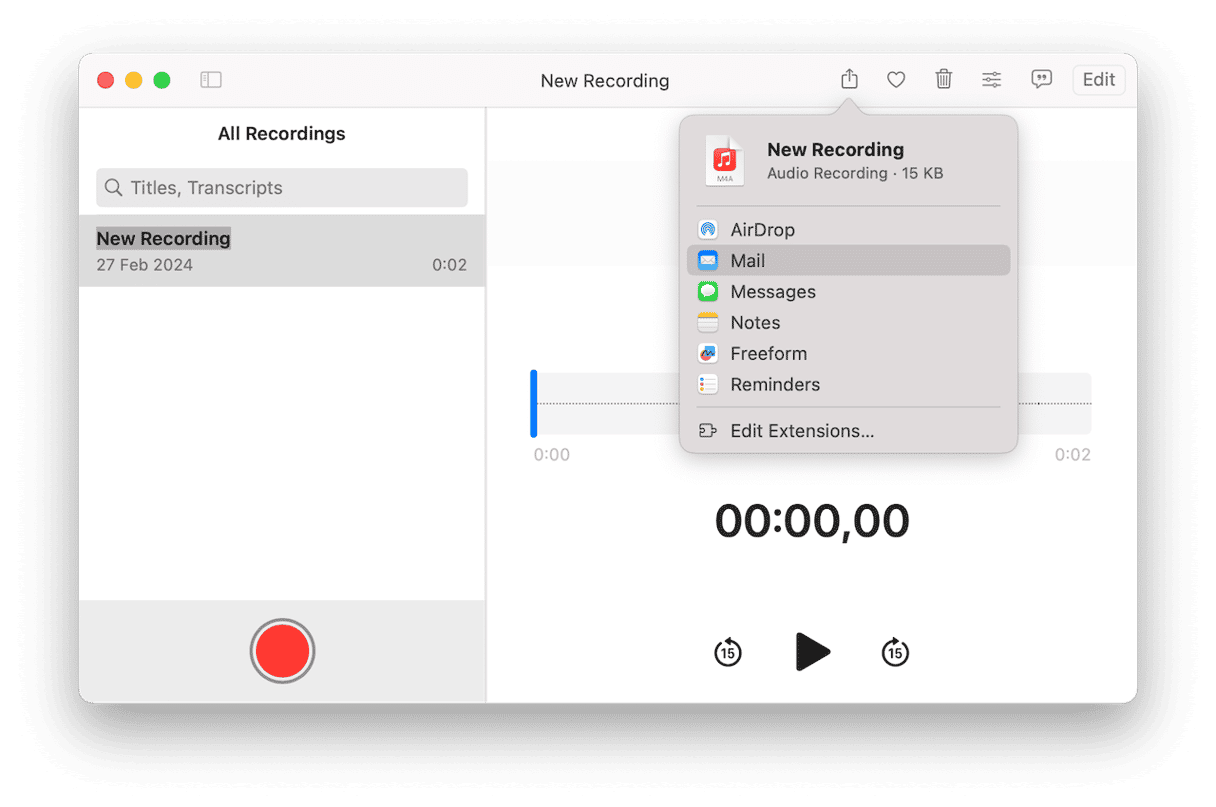
- Click the Share button at the top of the window or right-click on the memo and choose Share.
- Select the method by which you want to share it — we suggest emailing it to yourself.
- If you select Mail, a new Mail message will open with the voice memo as an attachment. You can then add the recipient’s email address and click Send. Or you can drag the attachment off the message and onto your Mac’s Desktop to save it there.
As you can see, although you can’t choose File > Save as you normally would for any other app, there are lots of different ways to save a voice memo on your Mac. Choose the one that best suits you and follow the instructions above.


