Have you ever wondered how to scan documents on an iPhone? Believe it or not, it’s as easy as opening your Notes app and snapping a photo. You can quickly scan and save receipts, contracts, notes, articles, recipes, etc. Let’s take a look at how to scan documents on an iPhone, as well as some common questions and answers about how the process works.
How to scan documents on an iPhone
There are many reasons why you might want to scan a document on your iPhone: you’ve jotted down a handwritten note and need to copy it onto your phone. You’ve found a cool recipe in a magazine that doesn’t belong to you, or you want to save your receipts without having a pocket full of paper that will eventually get lost.
Can you scan documents on iPhone?
You sure can! iPhone makes it easy to scan your document using Notes, which means there are no third-party apps to deal with. What you do have to deal with is digital clutter management, which we’ll talk about next.
Scanning a document with your iPhone is a straightforward process that anyone can do, and it creates a high-quality scan that you can easily save as a PDF or share via email or text message. You can even store your scanned documents in iCloud, so you never lose them.
First, tidy up your digital clutter
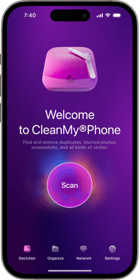
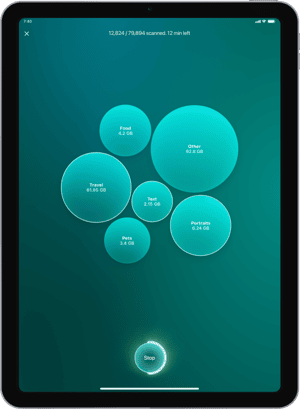
It’s true that digital clutter takes up far less space than a stack of papers or photos stuffed into a drawer, but just because the clutter is tidy doesn’t mean you shouldn’t manage it. Since digital photo clutter is usually the biggest space hog, let’s tackle it together. CleanMy®Phone makes the tedious chore of managing your photo library on your iPhone easy, swift, and… even fun. It uses an advanced AI model to analyze and sort your media files, selecting those you may not want to keep any longer. Here’s how to use it to quickly save space on your iPhone:
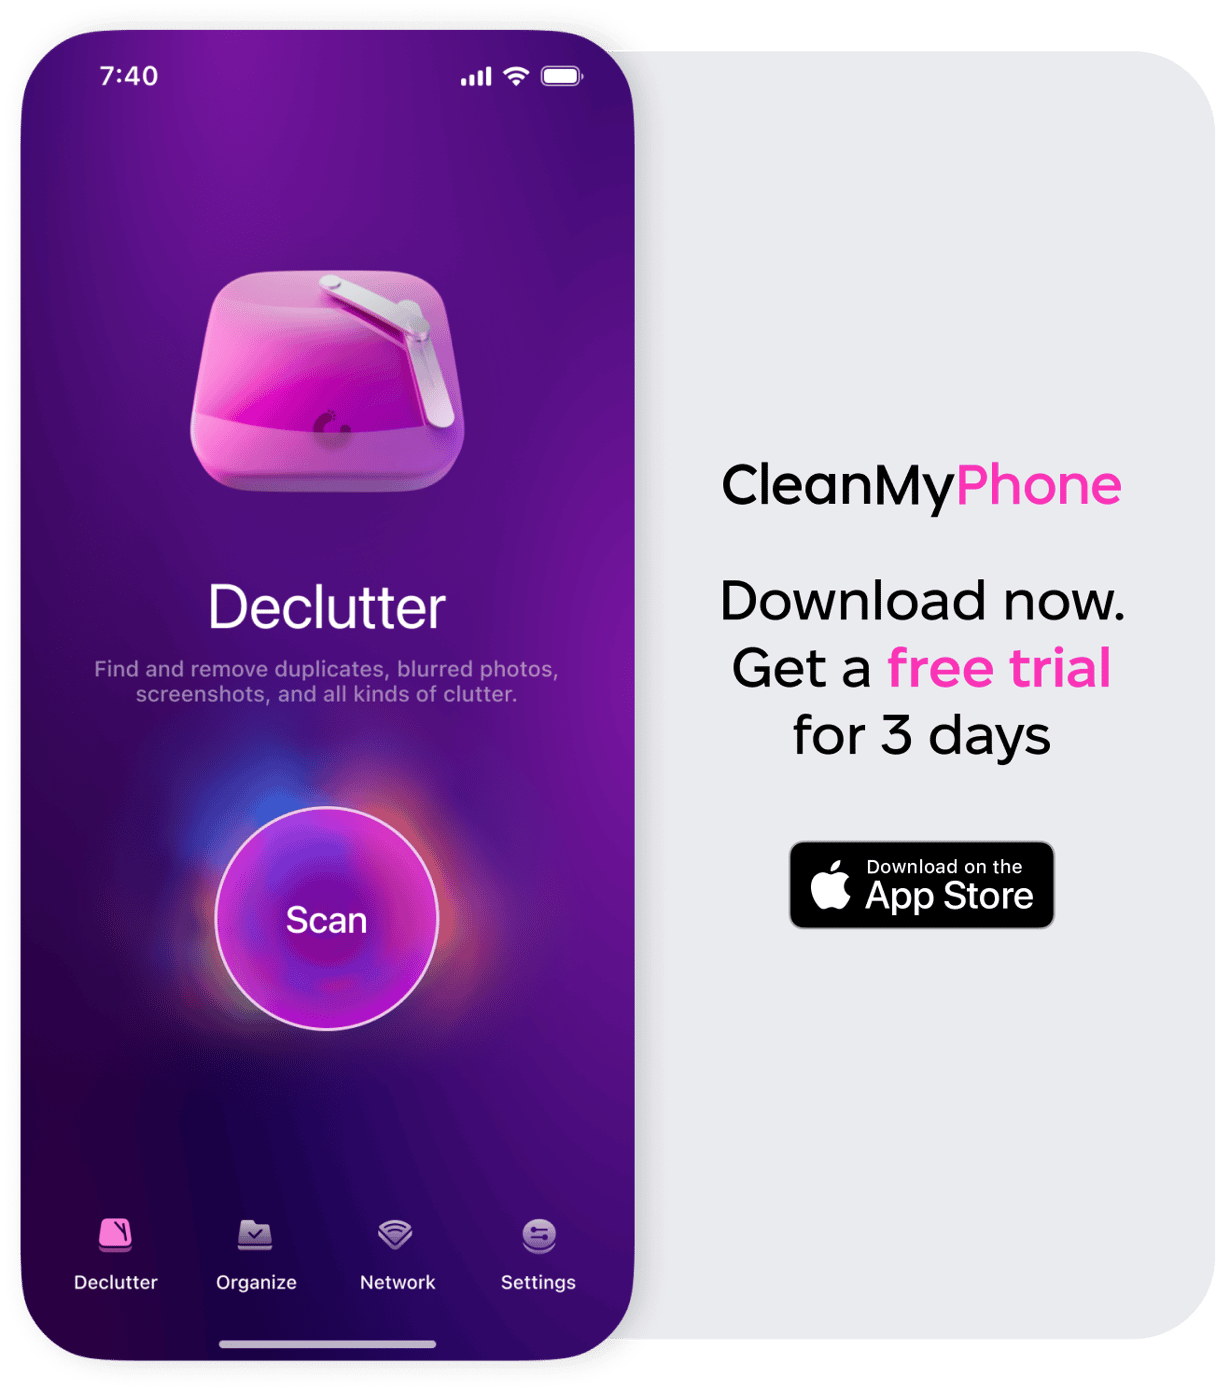
- Download CleanMy®Phone and open it on your iPhone.
- Tap ‘Declutter,’ then ‘Scan.’
- CleanMy®Phone will sort your photos into categories. Tap a category to see all of the photos within.
- Deselect any photos that you want to keep. If you need to take a closer look at a specific photo, tap the photo to open it full-screen.
- Once finished with your review, tap ‘Close’ to go back to the list of the categories found.
- Repeat these steps for other categories. Or, if you want to skip some of the categories entirely, deselect them.
- After reviewing the contents of all selected categories, tap ‘Clean’ and then tap ‘Delete’ to confirm your choice.
Can you scan documents with an iPhone for free?
Yes! In fact, the best part about scanning documents on an iPhone is that it’s completely free to do. The Notes app comes pre-installed on all iPhones, and it has a built-in scanner that detects text so that you can easily snap a photo and convert it to a scanned document without using additional software. It’s one of the most useful but little-known tools on your iPhone.
Here’s how to use Notes to scan documents on your iPhone:

- Open the Notes app on your iPhone.
- Tap the new note icon in the lower right corner.
- Tap the camera icon.
- Choose ‘Scan Documents’.
- Position the document within the frame. The app will detect the edges and automatically snap a photo. You can also tap the shutter if it doesn’t work automatically.
- Tap ‘Save’ or drag the corners to adjust them. If you adjust, tap ‘Keep Scan’ or ‘Retake’ based on your needs.
- Your document will be saved in Notes.
How to find scanned documents on iPhone
Your scanned documents will be stored in the Notes app unless you save them elsewhere. To find them, simply open Notes and scroll through until you find the document you’re looking for. You can use the search bar at the top to search your notes using keywords or the title.
Tap on a note to view the scanned document. Tap the down arrow next to the document’s title to share, rename, or save it to your files.
Scanning documents on your iPhone is an easy way to capture recipes, receipts, and notes for future use. Just be sure to keep up with the digital clutter so that you don’t run out of space on your phone.


