There are a number of reasons why you might want to take screenshots on a Mac, from saving evidence of an online purchase to grabbing an image of an error message when something goes wrong.
Whatever the reason, most of us use the same method to take a screenshot: press Command + Shift+3, which gives the screenshot a name and saves it in the default location. However, you can change the name and the location, as well as several other options, when taking screenshots.
Where do Mac screenshots go?
By default, when you take a screenshot, it’s given the name “Screenshot” followed by the date and time it was taken. And it’s saved on the Desktop. So to find it, you just have to look on your Desktop or open the Finder window, choose Desktop in the sidebar, and look for it there.
Check your Desktop
- To go to your desktop, press Fn + F11 (on a Mac with a Touch Bar).
- For all other Macs, just press Fn + H.
- Alternatively, open the Finder and select the Desktop tab in the sidebar.
If you are running a recent version of macOS and have Stacks turned on in the View menu of the Finder, all the screenshots you take will be kept together in a Stack called “Screenshots.” To see them all, just click on the Stack.
How to change the default location for screenshots
There are a number of ways of changing the default location for screenshots. If you’re running macOS Mojave or later, you can use the Screenshots app.
- Go to Applications > Utilities > and double-click Screenshots to open it, or press Command-Shift-5.
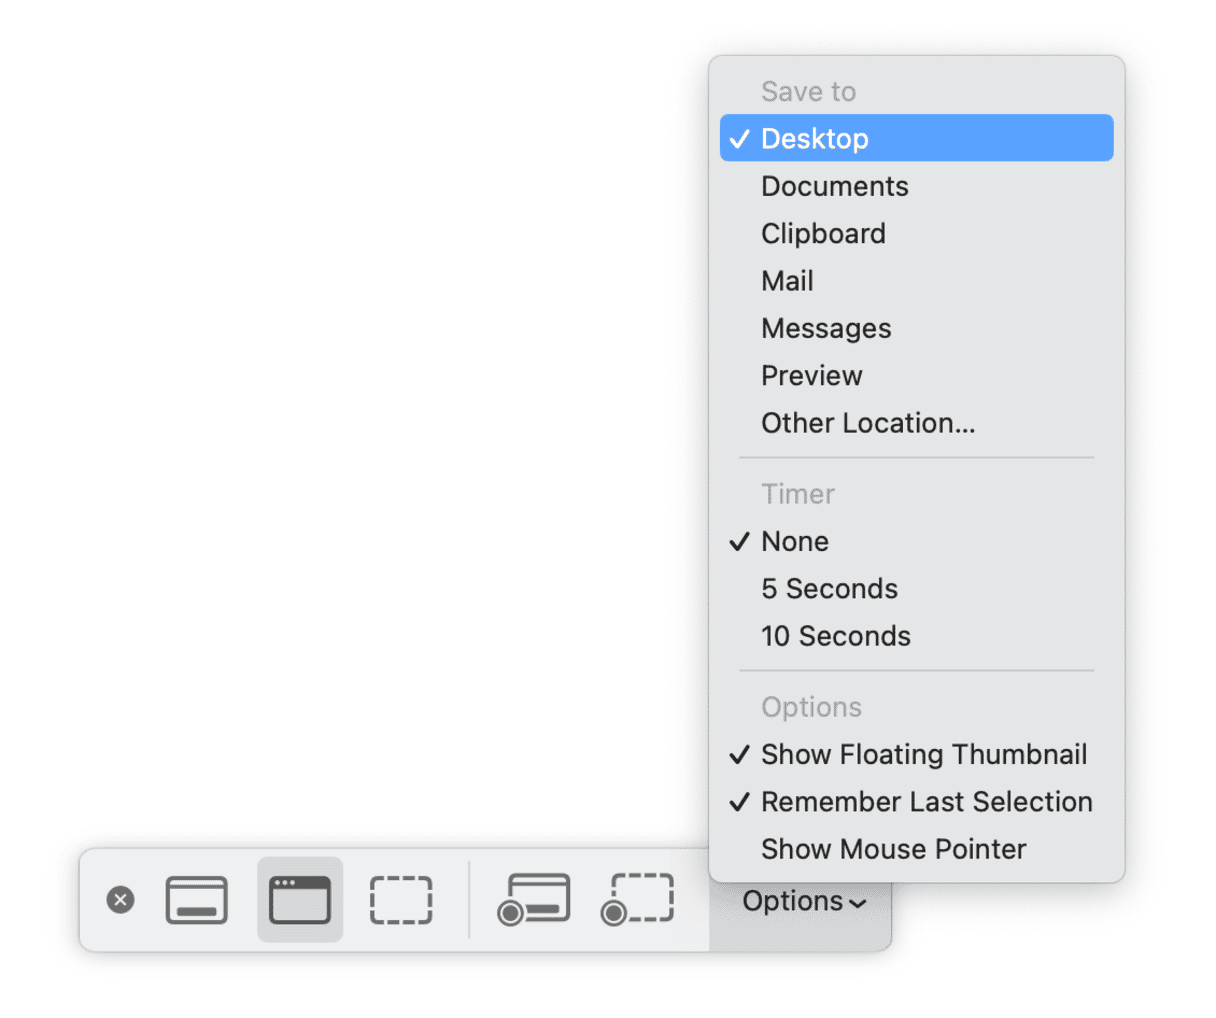
- At the bottom of the screen, you’ll see a toolbar. Click Options.
- The top section of the menu allows you to choose where to save screenshots. Choose an option or click Other Location and choose a folder.
- Press Escape to avoid taking a screenshot.

If you’re not running macOS Mojave or later, there are a couple of options. You can use a third-party tool like MacPilot, which allows you to change parameters that are not normally accessible via Mac’s graphical user interface. Or you can use a Terminal command.
How to change the default screenshot location using Terminal
- Go to Applications > Utilities and double-click Terminal.
- Type the following command:
com.apple.screencapture location[there needs to be a space after ‘location’]. - Drag the folder you want to save screenshots in onto the Terminal window.
- Press Return.
- To make sure it works, type:
killall SystemUIServer - Press Return.
Screenshots will now be saved by default in the folder you chose. To revert back to saving them on the Desktop, use the following commands:
- Type:
com.apple.screencapture location ~/Desktop - Press Return.
- Type:
killall SystemUIServer - Press Return.
How to take a screenshot of a window on Mac
You don’t have to take a screenshot of the whole screen; you can grab a window or a section of the screen:
- Press Command-Shift-4.
- To grab a section of the screen, drag the crosshairs over that section and let go.
- To grab a window, press the spacebar, drag the camera icon over the window you want to grab, and click the mouse button.
- In both cases, the screenshot will be saved in the default location.
In macOS Mojave or later, you can also use the Screenshot application to grab a window or section of the screen by pressing Command-Shift-5 and selecting the option you want from the toolbar.
How to record videos of your screen on Mac
As well as taking screenshot images of your Mac’s screen, you can record videos using the Screenshot app or QuickTime Player.

- Press Command-Shift-5 to open the Screenshot app.
- Use the Options menu to choose where to save the video and whether to use a timer or record audio on your Mac’s microphone.
- Click the Record button for either the whole screen or a section of the screen. If you choose the latter, drag the crosshairs over the section you want to record.
- To end the recording, click the Record button in the Finder menu bar.
The recording will be saved with the default name “Screen Recording” followed by the date and time. If you didn’t specify a location, it will be saved in the same location as screenshots.
Record the screen in QuickTime Player
- Go to Applications > Utilities and open QuickTime Player.
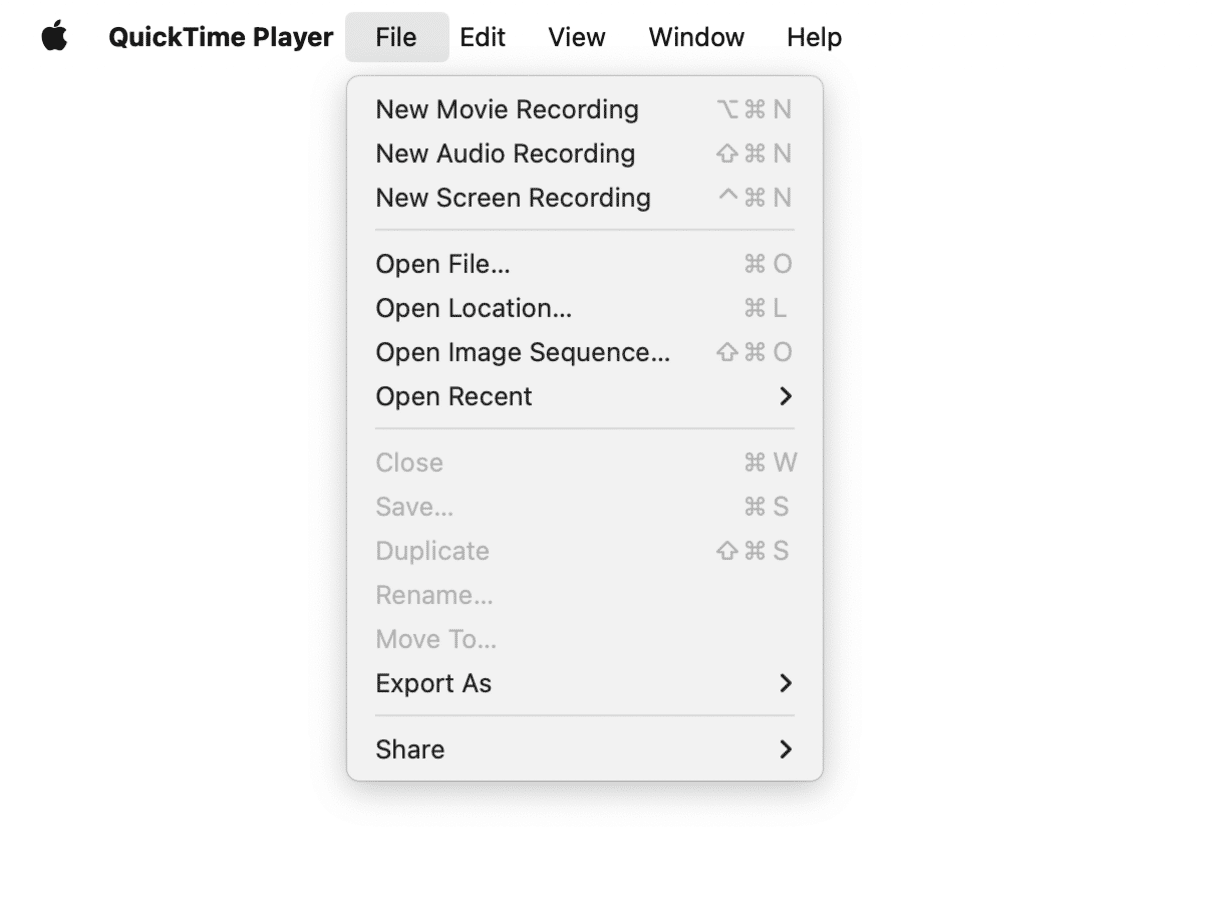
- Go to the File menu and choose New Screen Recording.
- Follow steps 2-4 above.

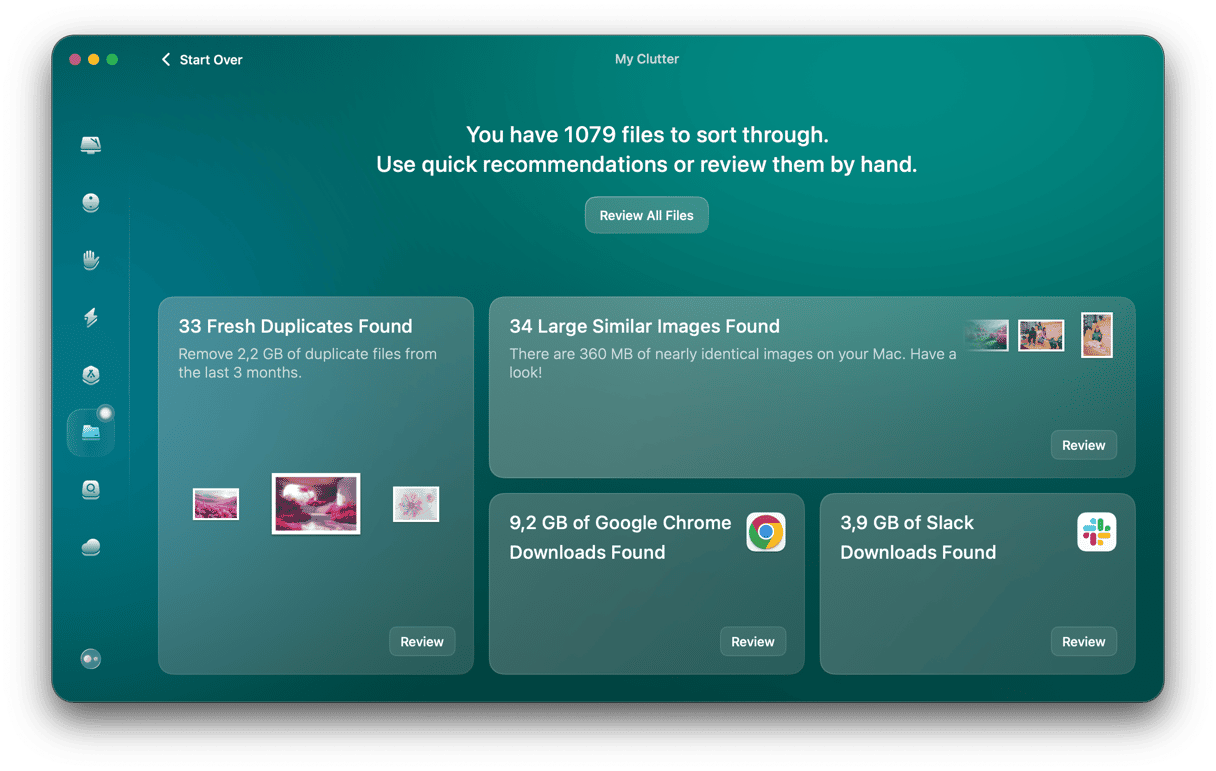
You should now know the answer to ‘where are Mac screenshots saved.’ When you take a screenshot or screen recording on your Mac, it is stored on the Desktop by default and given a name that includes the date and time it was taken to help you identify it. However, you can easily change the default location and take different types of screenshots. If you need to track down screenshots, recordings, or other large files, use CleanMyMac’s My Clutter tool. BTW, this app includes a few more useful Mac features — get your free trial here.


