Updating or installing macOS should be a simple process. Even if you’re upgrading to a completely new version of macOS, it should be straightforward. You just use Software Update in System Settings and follow the instructions on the screen, and after a bit of a wait and a couple of restarts, you have a freshly updated Mac. However, occasionally, things go wrong. And one problem some people have reported when it comes to installing macOS is a message that says ‘select the disk where you want to install macOS’ but doesn’t have any options to click. That leaves them stuck, unable to move forward and install macOS. In this article, we’ll show you how to fix the problem.
Why do I see the message ‘select the disk where you want to install macOS’?
In most situations, macOS doesn’t need to ask you where you want to install macOS because there is only one option — your Mac’s startup disk. However, if macOS runs a check to find a suitable volume and can’t find one, it will ask that question and show the options to choose from if there’s more than one suitable disk. You should see those volumes in the window under the message and be able to click the one you want to install macOS on. The installation would then continue.

But if it can’t find a volume suitable for installation, it won’t be able to offer any options to click. The problem seems to occur when a container or volume on the startup disk is incorrectly formatted or damaged to the point where macOS can’t be installed. In those circumstances, the only viable solution is to erase the disk and run a completely fresh installation. If the disk you want to install macOS on is an external disk or a virtual machine, that’s not too much of a problem. However, it’s much more complicated if the problem is with your internal startup disk.
How to fix ‘select the disk where you want to install macOS’ blank
The first thing you should do is back up your Mac. Restart your Mac normally. If it restarts and allows you to access the Finder, use a backup tool like Time Machine to back up everything on your Mac. If you restart and end up back at the same screen, unable to access the Finder, and you have file sharing turned on, you may be able to access your data from another Mac on your network and copy it to that Mac.
If you don’t have file sharing turned on and have access to another Mac, you may be able to use target disk mode to connect the Mac.
Once you’ve backed up your Mac, if you are able to restart and access the Finder, do so. Then follow the steps above to try to repair your startup disk.
- Go to Applications > Utilities and open Disk Utility.
- Click the View menu in the toolbar and choose ‘Show all devices’.
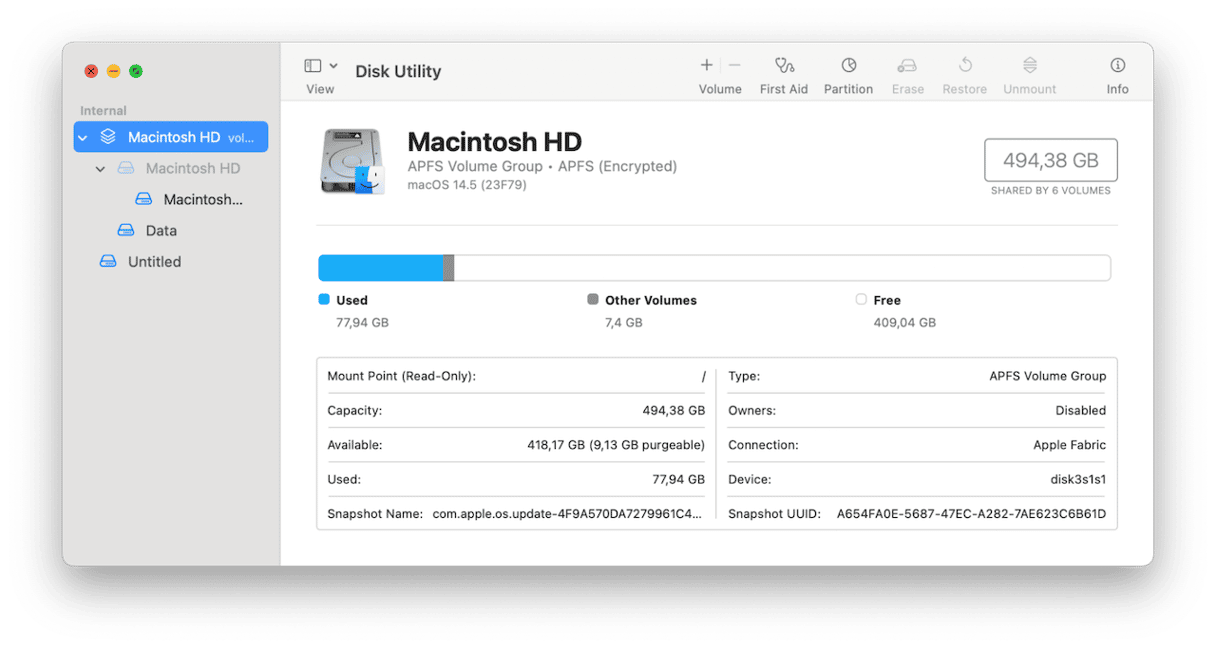
- Select your Mac’s startup disk in the sidebar (make sure you select the disk and not a container or volume).
- Click First Aid in the toolbar > Run.
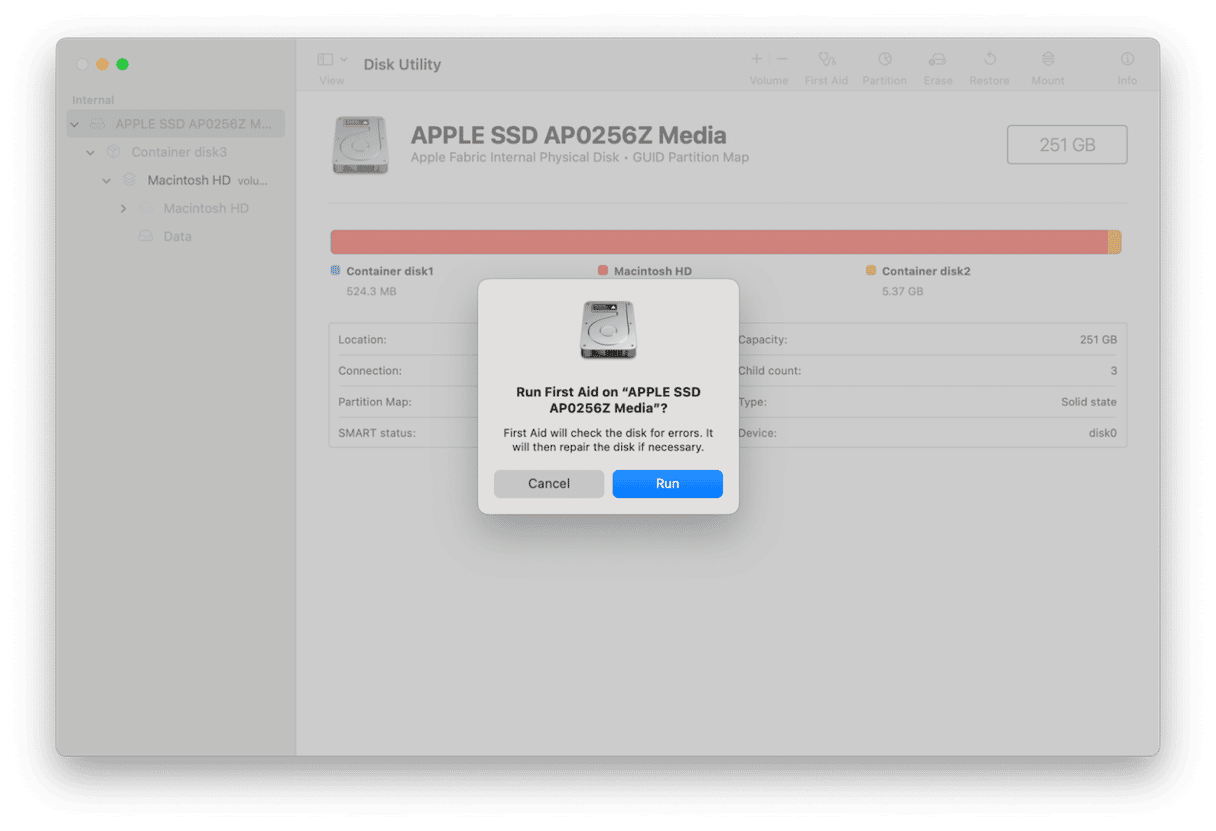
- When First Aid is complete, quit Disk Utility.
- You can now try updating macOS again.

If you run into the same problem, move to the next stage. This involves wiping the Mac’s startup disk completely, so it’s important to backup and retrieve whatever data you can before you go any further.
Next, follow the steps below to boot your Mac into recovery mode.
If you have an Intel-based Mac:
- Shut down your Mac, then press and hold Command-R and press the power button.
- Release Command-R when you see the Apple logo or another image.
- Type in your admin username and password when prompted.
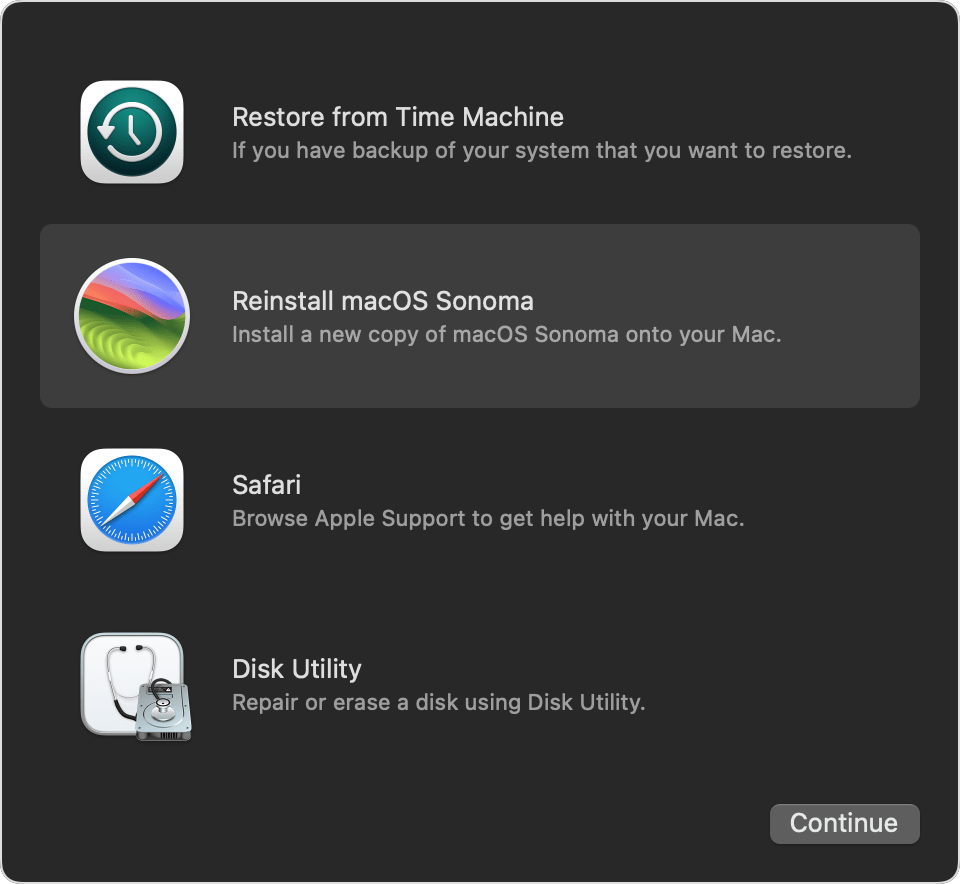
- You should now see the macOS Utilities screen.
If you have a Mac with Apple silicon:
- Shut down your Mac, then press and hold the power button.
- Release the power button when you see ‘Startup Options’.
- Click Options, then Continue.
- You should see the macOS Utilities screen.

Once you’ve booted your Mac into recovery mode, follow these steps:
- Choose Disk Utility from macOS Utilities.
- Click ‘View’ in the toolbar and choose ‘Show all devices’.
- Select your Mac’s boot disk (not a container or volume).
- Choose Erase in the toolbar.
- Follow the instructions on the screen to choose a name for the new disk and a format (choose APFS if it’s available, if not, macOS Extended (Journaled).
- When the disk has been erased, quit Disk Utility.
- From the macOS Utilities screen, choose Reinstall macOS.
- Follow the instructions on the screen to complete the reinstallation.
- When your Mac reboots, you will see the macOS startup screen. Follow the instructions to set up your Mac and transfer data back to your startup disk using Migration Assistant.


How to keep your Mac running smoothly
macOS’ inability to find a correctly formatted volume onto which it can install an update is an extreme example of the kind of thing that can go wrong when you use your Mac. In this case, the corruption of a few lines of text in a file can make the volume appear inaccessible or even invisible and create a serious headache for you. One way to minimize the risk of problems like that occurring when you use your Mac is to run regular maintenance. That means running macOS maintenance scripts (which are scheduled to run automatically in the middle of the night but won’t if your Mac is shut down), reindexing Spotlight, freeing up RAM, and clearing purgeable disk space, among other things.
Doing all that manually is time-consuming and difficult because you would need Terminal. However, you don’t have to do it manually. You can run all those tasks with a few clicks using CleanMyMac’s Maintenance module. As well as the tasks we’ve already mentioned, it can clear DNS cache, repair disk permissions (which could be crucial to prevent volumes going missing), and thin out Time Machine snapshots. You can download CleanMyMac for free here. Once you’ve done that, follow the steps below:
- Open CleanMyMac and choose Maintenance in the sidebar.
- Select the tasks you want to run. You can click each of them and read what they do right in the app. This time, start with Run Maintenance Scripts and Repair Disk Permissions, among other tasks.
- Click Run.

It’s a good idea to run those tasks every few weeks or so to keep your Mac running smoothly and prevent problems in future.
macOS usually installs and updates without a problem. However, if there is a fault with a disk, container, or volume hosted on the disk, you may see a message that says ‘select the disk where you want to install macOS’ but doesn’t have anything to click. That’s obviously a problem because you can’t continue with the installation. Follow the steps above to fix the issue and reduce the chances of it happening again.


