Most of us give little thought to the way the Finder works. The only thing we do is change the view from list to column to icon now and again. Or, if we’re feeling really adventurous, we switch to the gallery view. But there are many ways to make the Finder work better for us and customize it to locate files more quickly. One of the easiest things to find what you need is to sort files by date. We’ll show you how to do that in this article.
Why sort by date?
The main reason is because it can help you search for files more easily. If you have a folder full of files and you need to find one that you know you worked on last Wednesday, you can sort the window by date, look for last Wednesday’s date and find the file you need. The same goes for files you know were created, or in the case of your Downloads folder, downloaded, on a specific date.
How to sort files by date
The first thing to note about sorting files by date is that it’s better to use it with a list view. The second is that you can sort your files by the creation date, the modified date, or the last opened date. What’s that? You can only see the modified date column in the Finder? We can help with that.
- In the Finder, open the folder, which contains the files you want to sort.
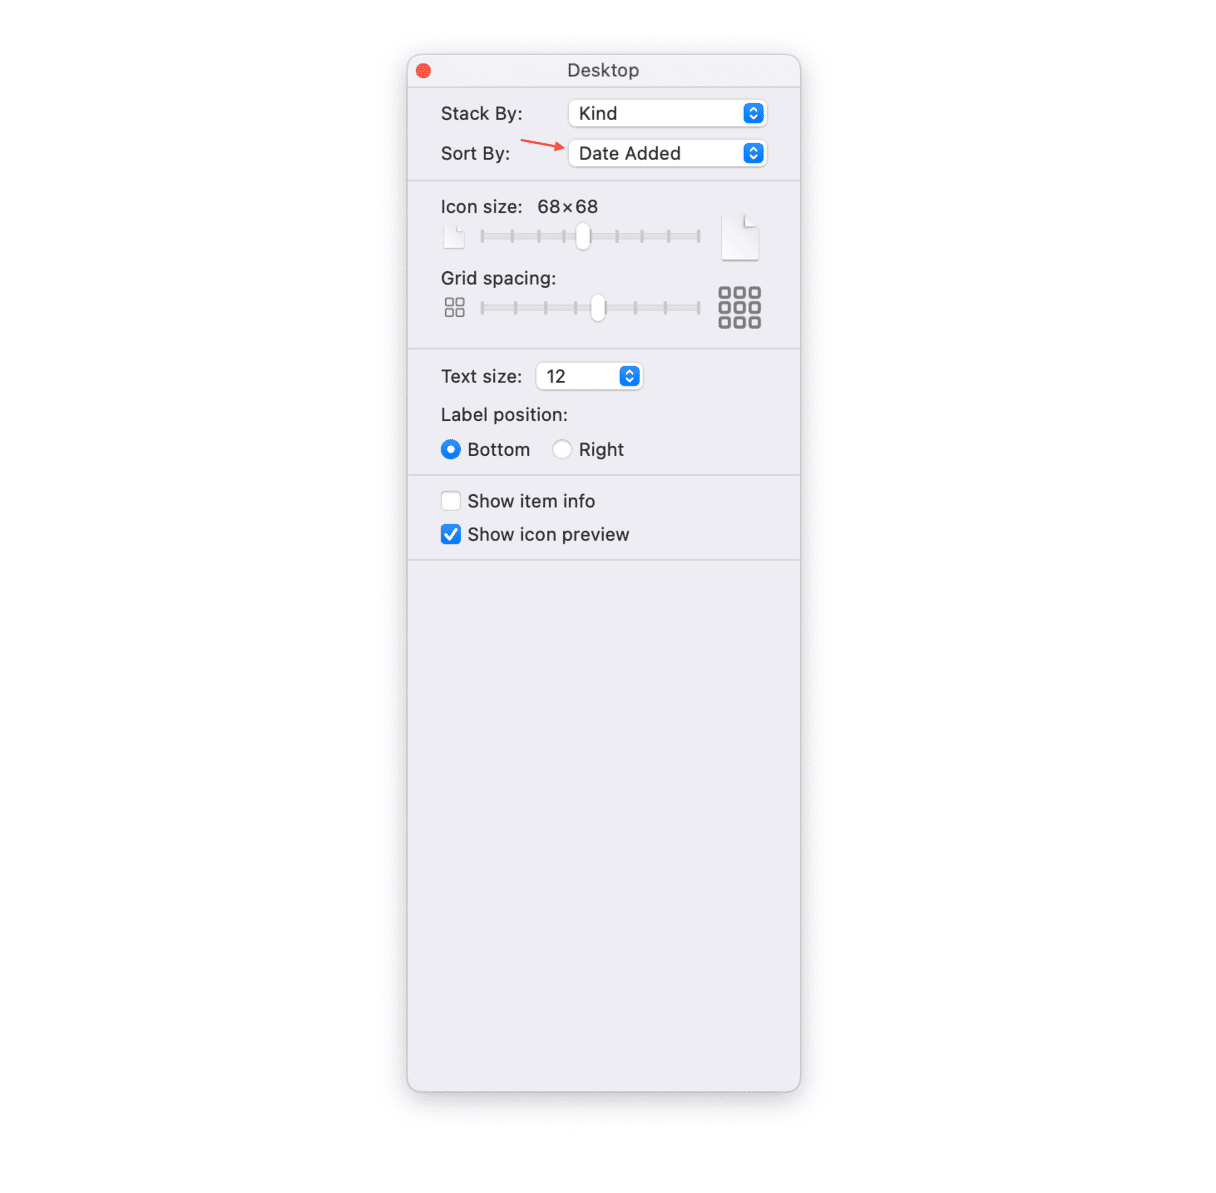
- Click the View menu and choose Show View Options.
- Click the Sort By menu and choose the sort order, such as Date Added.

At the moment, the view settings you’ve configured only apply to the current folder. If you want them to apply to all folders, click Use as Defaults at the bottom of the window.
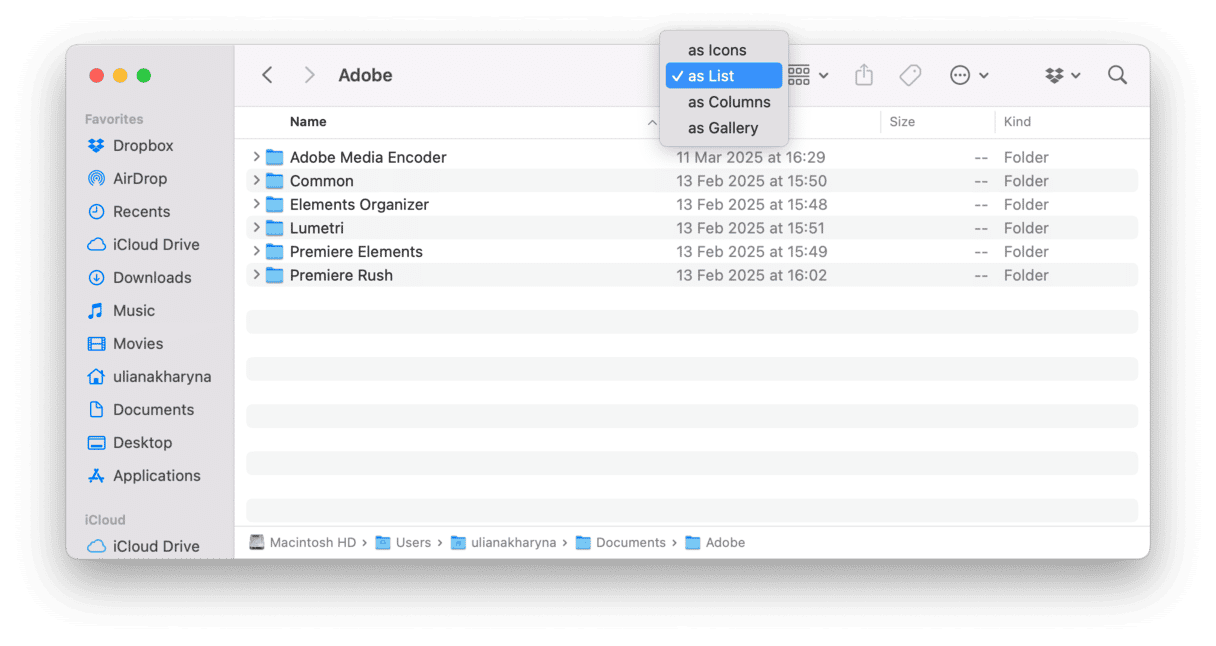
Once you’ve set view options for the folder, click the View button in the Finder window toolbar and choose ‘as List.’

Do one of the following:
- Click the Date Added column header to sort files by the date they were added to the folder.
- Click the Date Created column header to sort by the creation date.
- Click Date Modified to sort by the date they were last edited.
- Click Date Last Opened to sort by the date they were last opened.
In all cases, if you click the column header again, it will change the order from oldest to most recent or vice versa.
How to identify and remove large and old files
If you want to organize files by date so you can delete older ones, there is an easier way. And it will identify large files, too, so you can immediately see which files are taking up the most space on your Mac.
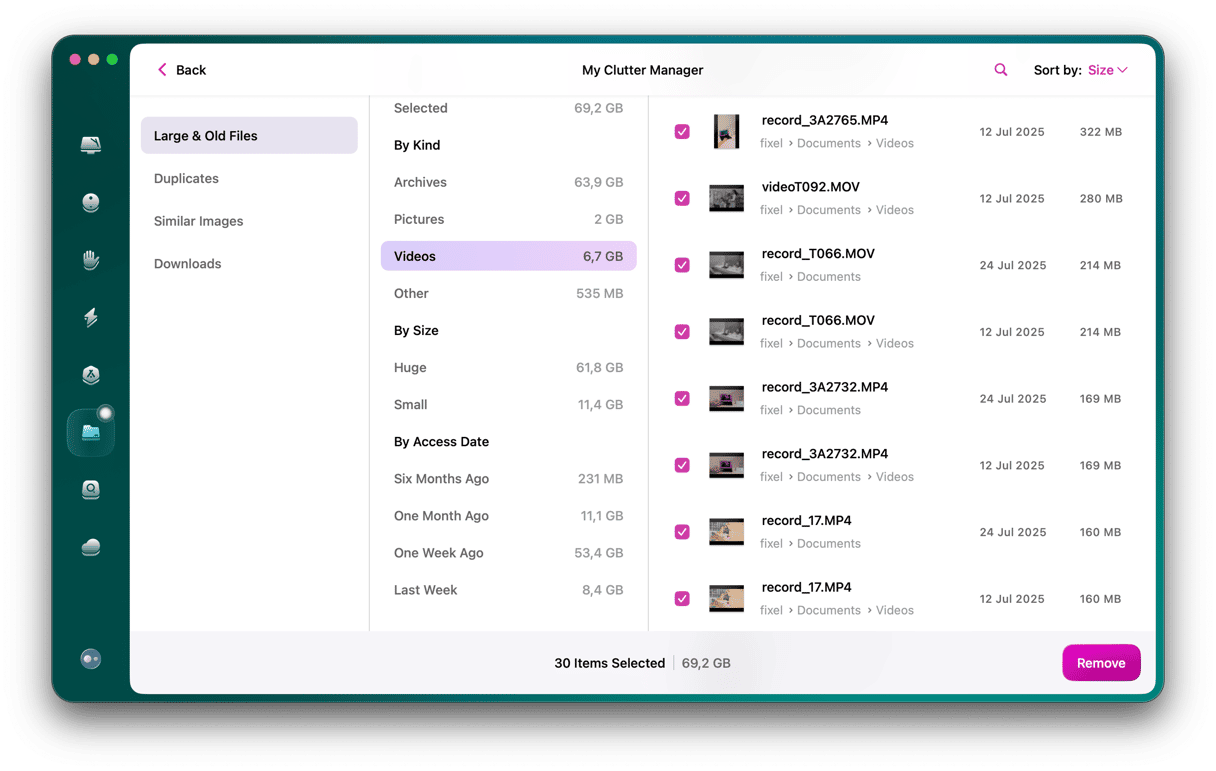
CleanMyMac is a handy Mac care app that has lots of different tools to help keep your Mac running smoothly and free from junk. Its Large & Old Files feature scans your Mac and shows you the oldest and heaviest files on your disk. It then makes it really easy to remove them. Get your free CleanMyMac trial — use it at zero cost for 7 days.
Once installed, open the app, click My Clutter > Scan > Review All Files, and select files for deletion in the Large & Old Files tab. You can sort by date, name, or size. Finally, click Remove.

How to change the date of a file
To change either the created or modified date for a file, you need to use Terminal. It’s not difficult, and you’ll need only one command, but it’s important to get the formatting right. The date and time format for each method is different, so make sure you use the correct one.
To change the created date:
- Open Terminal.
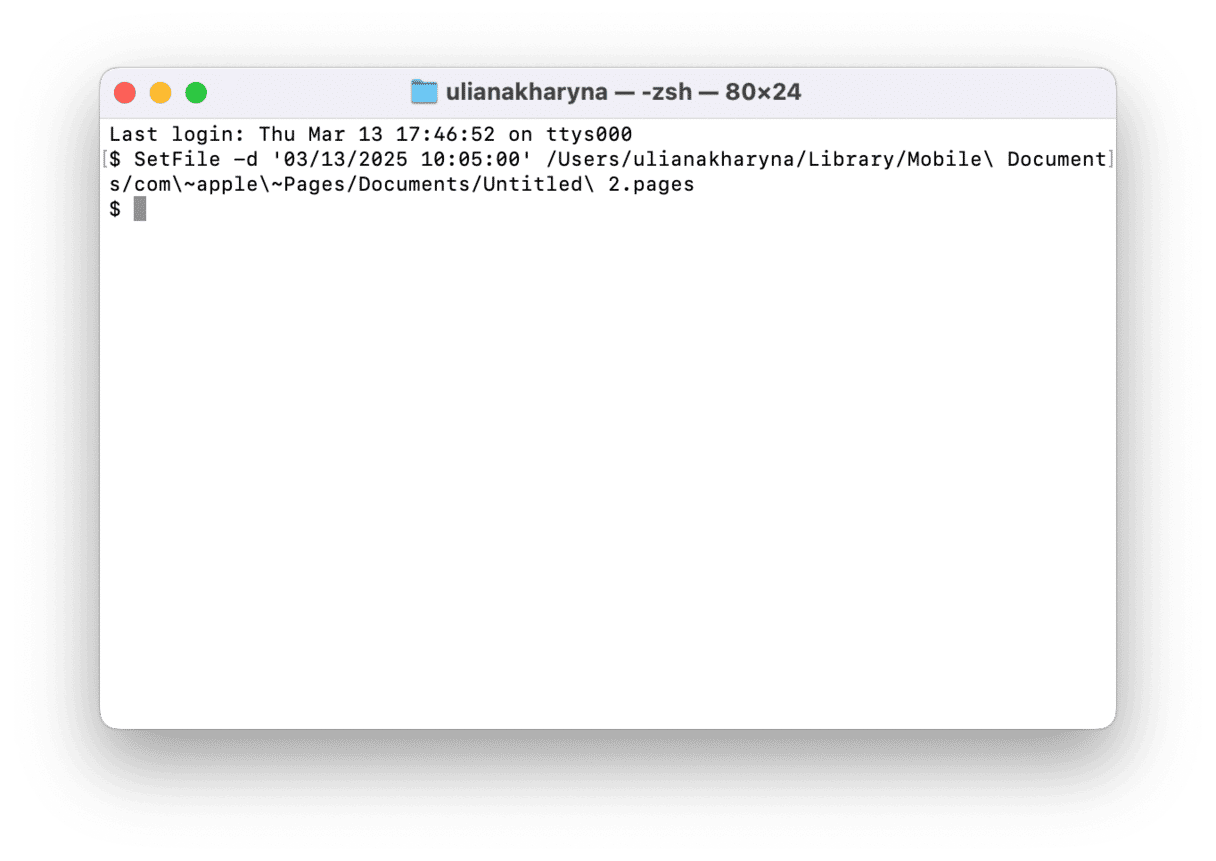
- Type the command:
SetFile -d 'MM/DD/YYYY hh:mm:ss' - Replace ‘MM/DD/YYYY hh:mm:ss’ with the date and time you want to set for the created date and time so, for example, 13 March 2025 would be '03/13/2025' and 10:05am would be '10:05:00'
- Type a space.
- Drag the file the date of which you want to change onto the Terminal window.
- When its file path appears, press Return.

To change the modified date:
- In Terminal, type:
touch -t YYYY/MM/DD hh:mm:ss - Replace ‘YYYy/MM/DD hh:mm:ss’ with the date and time you want to change to.
- Press the spacebar.
- Drag the file the date of which you want to change onto the spacebar.
- Press Return — it will reset the date to its original state.
Viewing files by date is really easy, once you know how. Follow the steps above and you’ll find those old files in no time at all.


