If macOS Golden Gate is slow on your device, you’re absolutely not imagining it. I probably shouldn't have felt disappointed when I updated mine, because a little bit of a system slowdown after a major upgrade is considered normal, but for some reason this one just felt heavier.
I spent a couple of weeks reading the forums and trying fixes, and if you’re on an older Silicon model, you might feel the slowdown the most; that’s not because M1’s aren’t supported; they are — it’s just that they're somewhat considered on the low side of the Mac performance range.
But anyway, all hope is not lost, and there’s quite a bit you can do. Here’s what I found that actually works to speed it back up.
Is my Mac slow after Golden Gate update or am I imagining it?
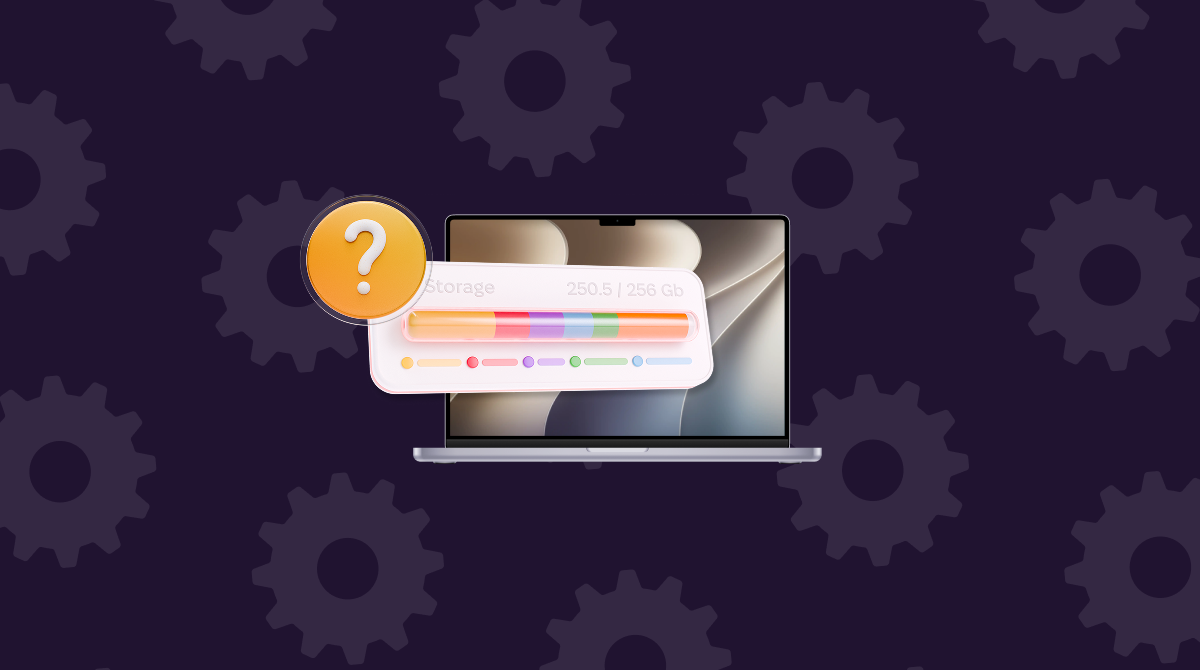
macOS Golden Gate is laggy; you’re not going crazy, but it’s usually temporary. Right after upgrading, the main culprit is usually indexing, so that’s things like Spotlight, Photos, your Mail app, and even your synced iCloud account. They all start rebuilding search data in the background, and while it’s normal behavior, it’s an extra burden on your Mac.
The second cause is AI background activity. One thing I discovered is that Golden Gate leans more heavily on on-device processing, so Apple Intelligence features can use extra CPU, memory, and storage.
The third cause is Liquid Glass. The new visual effects put way more load on your GPU, with older Apple silicon Macs feeling this impact the most.
Overall, M1 and M2 Macs are probably going to be impacted by this temporary slowdown more than M3 Macs or even newer models. So, now that we’ve cleared this up, let’s get on the actual fixes.
How to fix macOS Golden Gate performance slowdowns
There are seven tips here to help when Golden Gate is slow. I think the first one might be one of the most important ones; you do need to give your Mac a bit of time when you first upgrade, and it’s easy to get frustrated and just think the update was not worth it. A little bit of patience often goes a really long way.
1. Check Activity Monitor first
Start by figuring out what is actually consuming CPU.
- Open Activity Monitor from Applications > Utilities and click on the CPU column.
- Force-quit any open Apps that are using up resources unnecessarily.
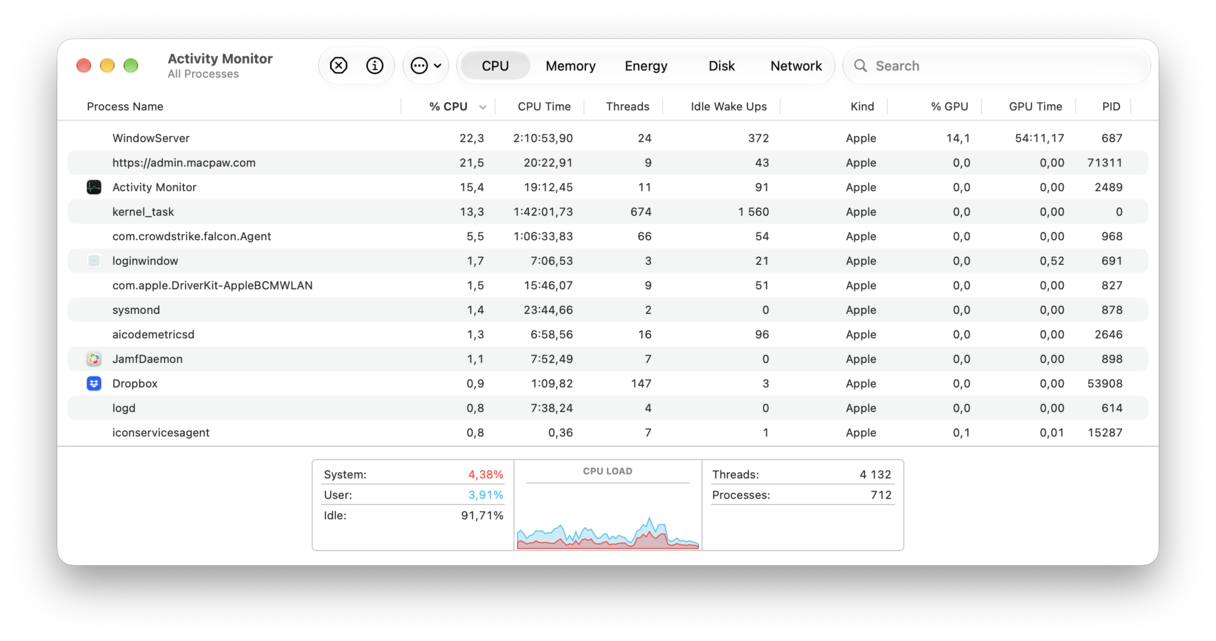
Look for anything like mds / mdworker. These are Spotlight indexing activities, and if they’re there, then that's probably what's causing the slowdown. You need to give your Mac 24–48 hours to complete this task; this is just standard post-upgrade behavior. Once your Mac is finished reindexing, things should improve quickly.
2. Run some maintenance tasks
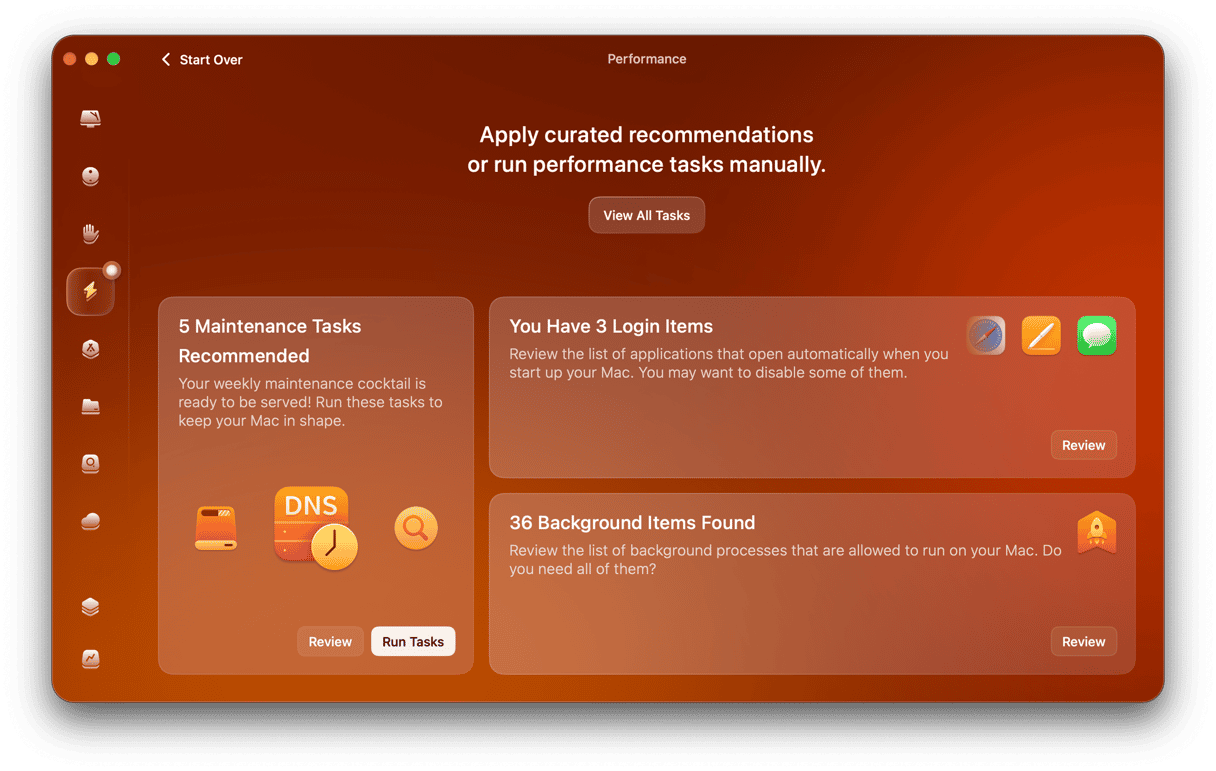
Running some basic system maintenance after an upgrade is always wise, things like flushing out your old DNS caches, reindexing Spotlight, or freeing up some purgeable space. I always use the Performance feature from CleanMyMac. All you need to do is hit Scan and let it run the recommended tasks. It’s quicker than running commands in Terminal and restarting your MacBook. You can also test it for 7 days — get your free trial here.
3. Trim your login items
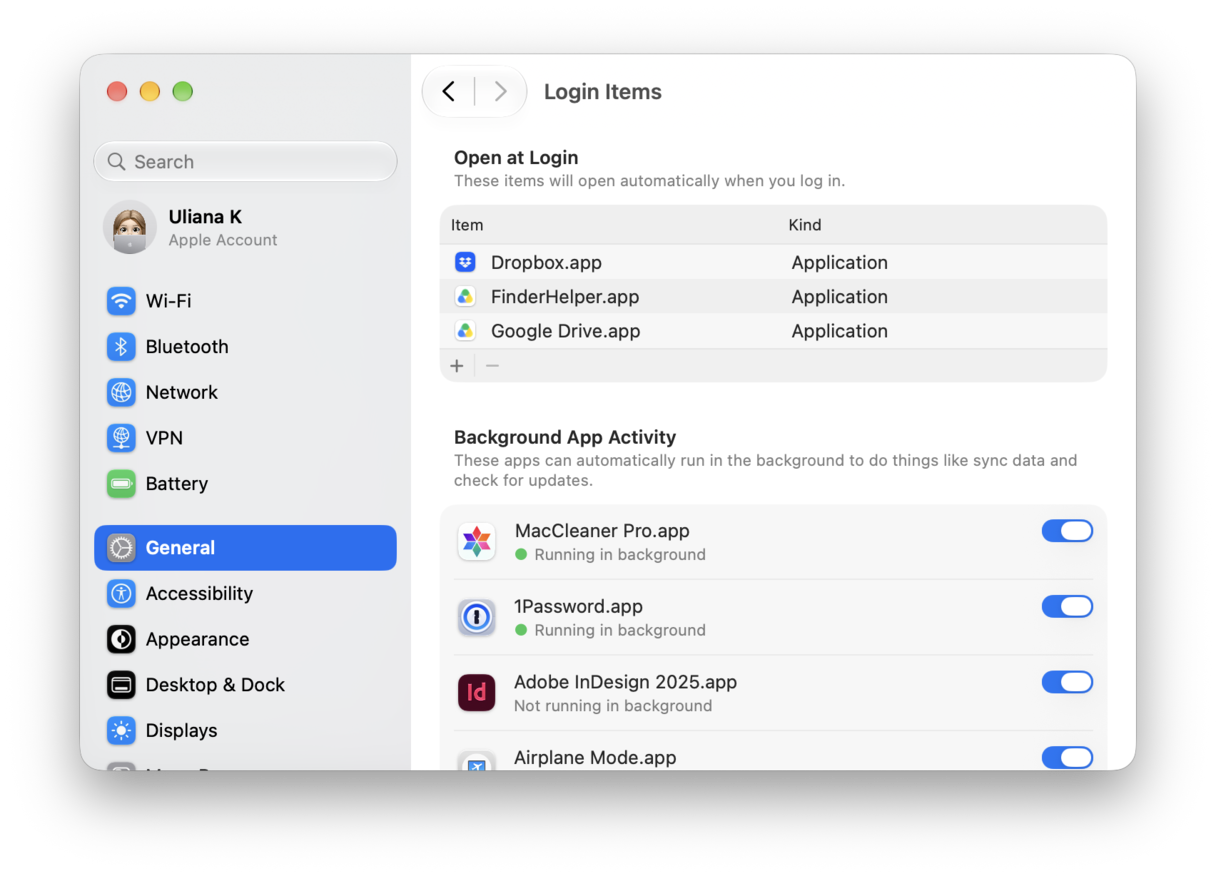
After any major updates like Golden Gate, loads of apps re-enable their login items, which means on boot-up your Mac is under extra stress. You’ve got two options here.
- Either go to your System Settings > General > Login Items & Extensions and disable what you don't need.
- Or use the Performance feature from CleanMyMac because that also trims down login items, too.
4. Clear up your old system junk
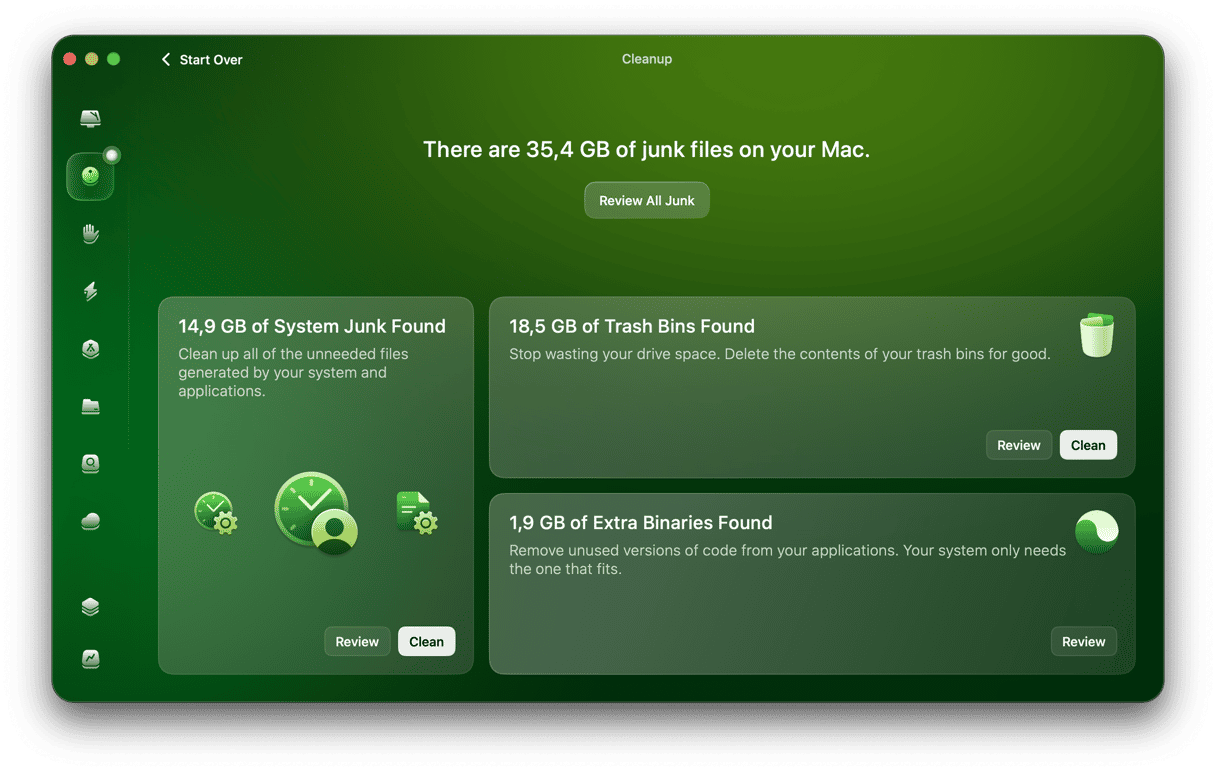
Accumulated cache, outdated Time Machine snapshots, and all the useless system junk we collect can accumulate quickly, and after a big upgrade this might swell.
Run a Cleanup scan in CleanMyMac; it's pretty common to find 10 GB or more of junk that built up during the install, but it also can find app leftovers, old language files, and other stuff too that’s just hogging space and resources.
5. Dial back Liquid Glass visual effects
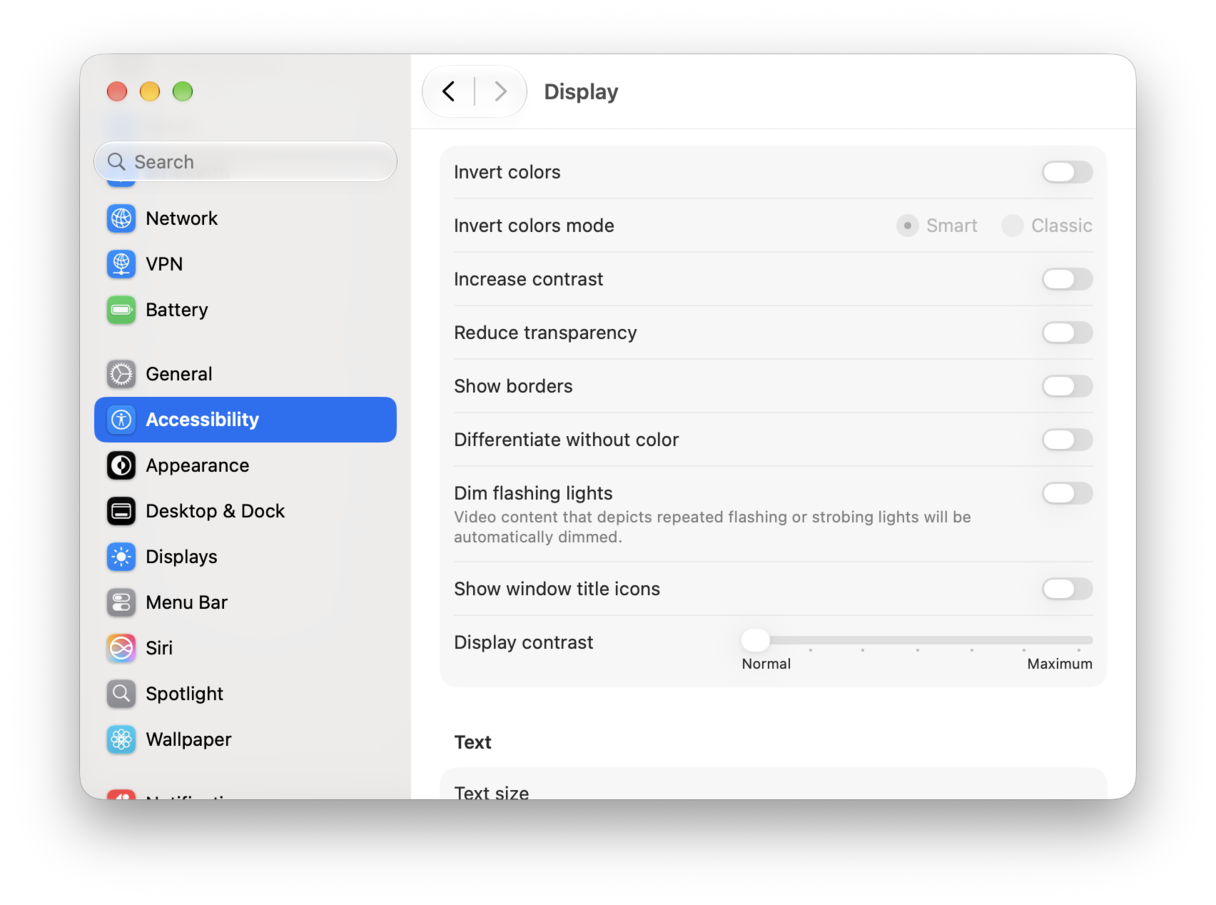
If you don’t really need the flashy visual effects, you can actually pretty significantly reduce GPU load by lowering them; this is actually a pretty good tip for M1 Macs.
- Go to your System Settings > Accessibility > Display > enable Reduce Transparency
- Now, head to Accessibility > Motion > Reduce Motion.
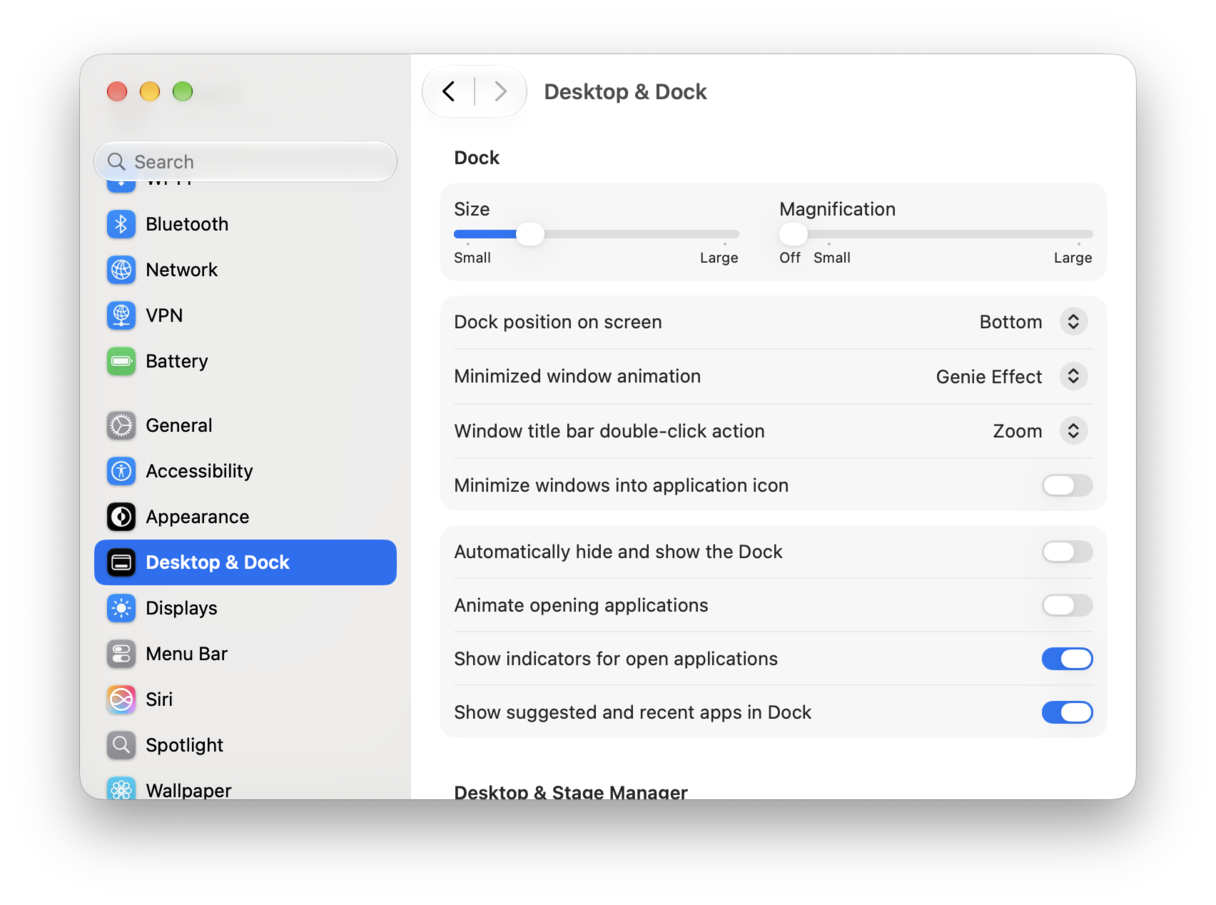
It’s also worth checking Desktop & Dock > turn off 'Animate opening applications', set minimize to Scale Effect.
6. Limit Apple Intelligence background activity
Again, if you’re not using some of the new Apple Intelligence features, turn them off, because this is going to save bandwidth.
So, back in your System Settings > Siri, just disable features you don't use.
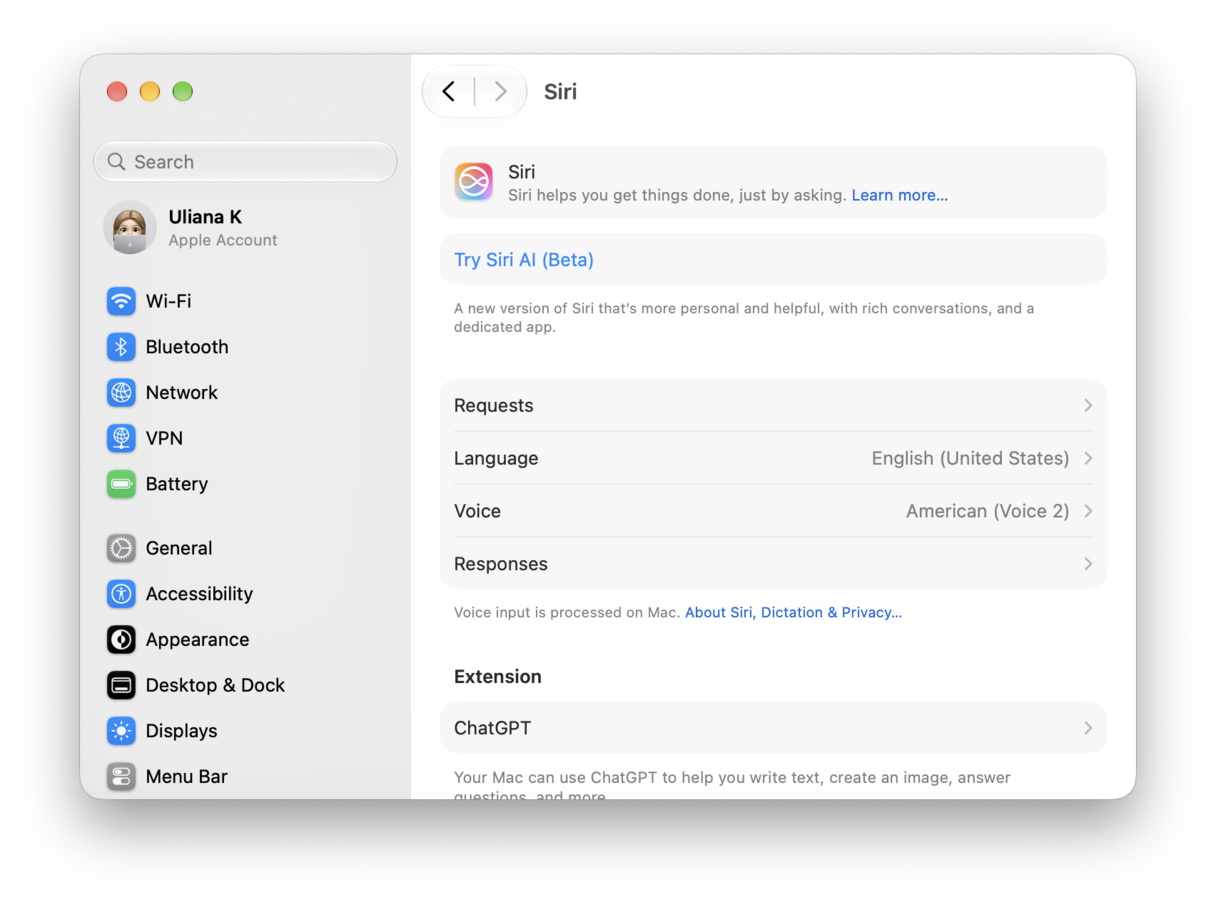
Good to know that M1 and M2 Macs run these via cloud, not on-device, but it’s still worth disabling unused features to cut background network activity.
7. Update apps and keep macOS updated
If you’ve got any third-party apps that haven’t yet been optimized for Golden Gate, this is going to cause issues. Make sure you keep an eye out for updates in the App Store or on developer websites.
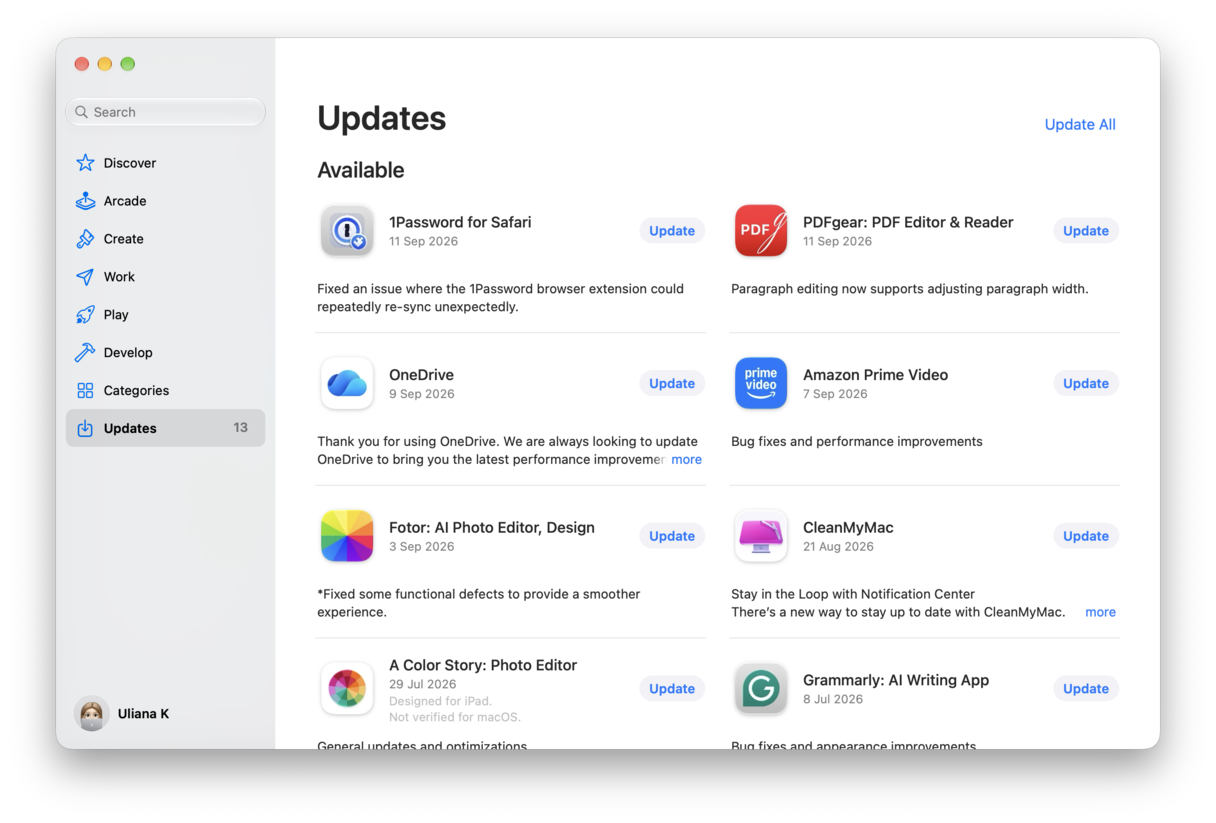
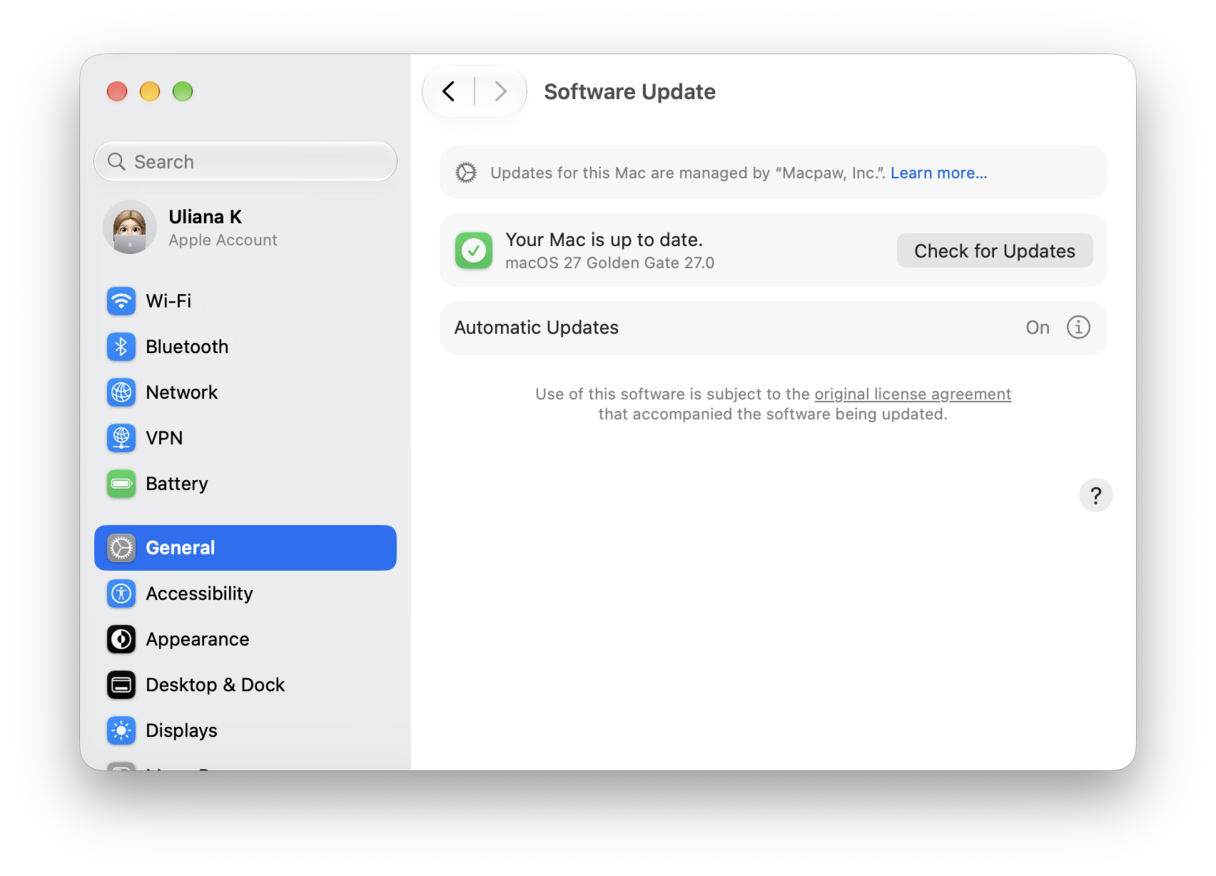
It’s also important to turn on auto updates, because Apple regularly ships point releases with performance fixes. Just go to System Settings > General > Software Update to turn them on.
Even after trying all of these tips, you feel like your Mac just hasn’t come back up to speed. I also recommended reading this article from MacPaw; it’s got even more tips.
Just remember that most macOS Golden Gate slowness is temporary or fixable, so don’t panic too early. M1 Macs are still fully supported, but they’re just at the lower end of the performance range now, so make sure you do give your Mac up to 72 hours after upgrading to finish indexing before assuming something is seriously wrong.